For 1990-2009 cars only
Removal Procedure
Note: When performing the following service procedures, use only hand tools to remove and install the fill or drain plugs.
- Raise the vehicle. Refer to Lifting and Jacking the Vehicle .
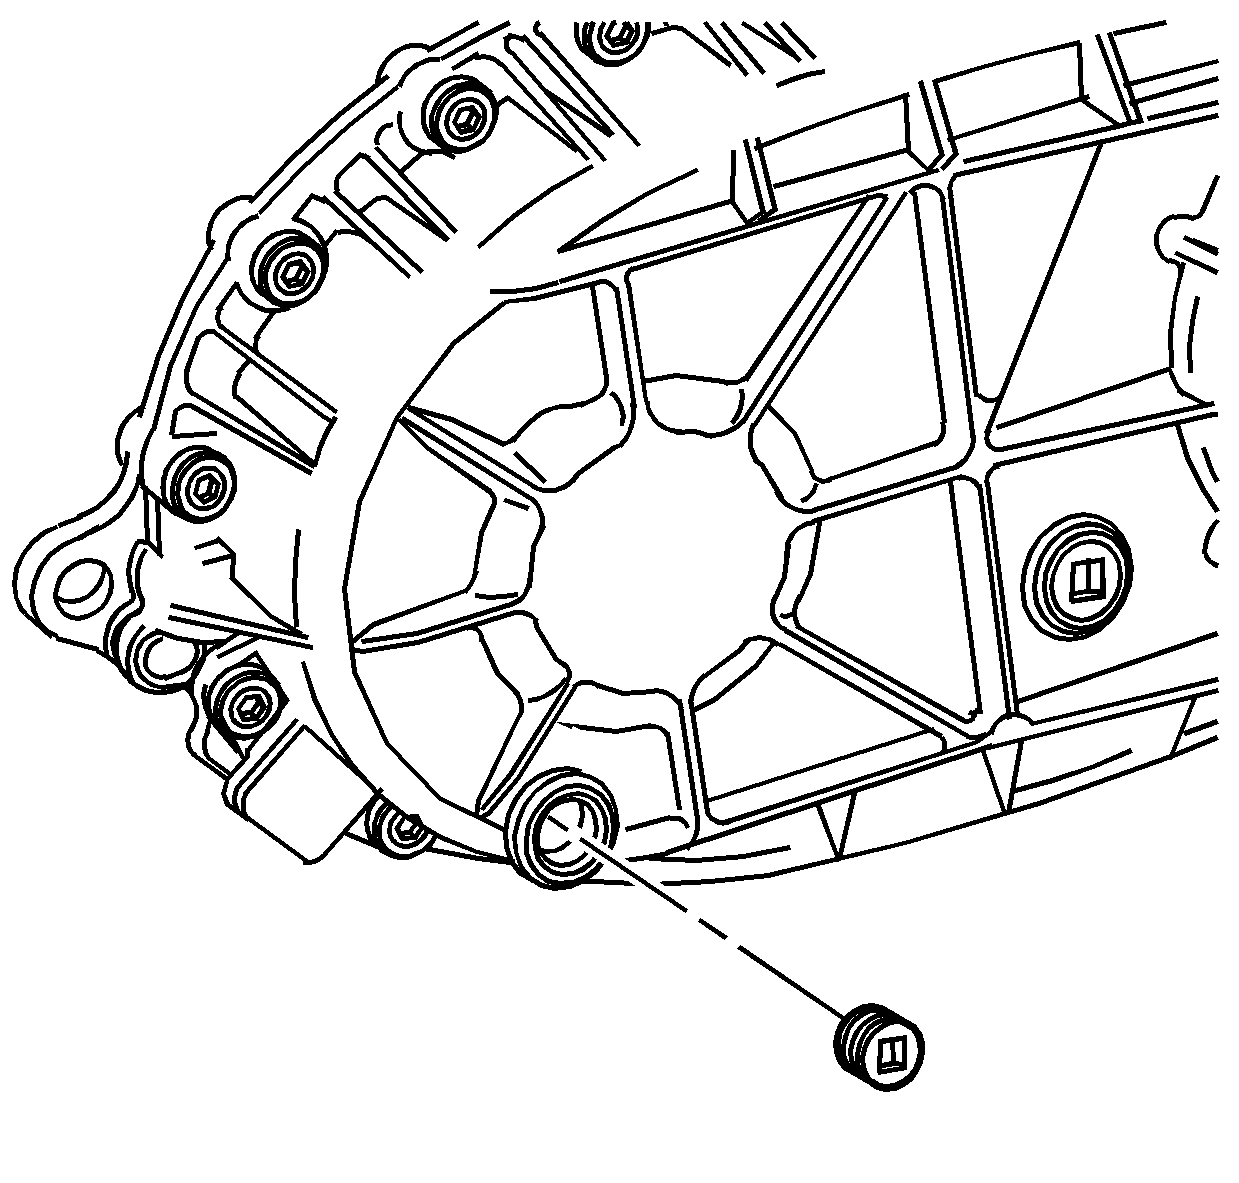
- Remove the fill plug from the transfer case.
- Remove the drain plug from the transfer case.

Note: When draining the transfer case, make sure that an approved drain pan is used.
Installation Procedure
- Apply pipe sealant GM P/N 12346004 (Canadian P/N 10953480) to the threads on the drain plug.
- Install the drain plug in the transfer case and tighten the drain plug to 25 N·m (18 lb ft) .
- Fill the transfer case to the bottom of the fill hole with the proper fluid. Refer to Adhesives, Fluids, Lubricants, and Sealers .
- Apply pipe sealant GM P/N 12346004 (Canadian P/N 10953480) to the threads on the drain plug.
- Install the fill plug and tighten to 25 N·m (18 lb ft)
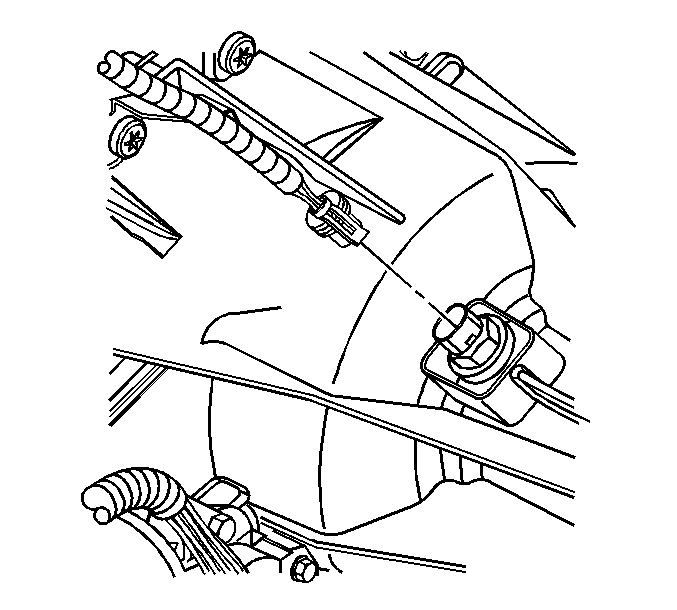
- Remove the electrical connector from the speed sensor.
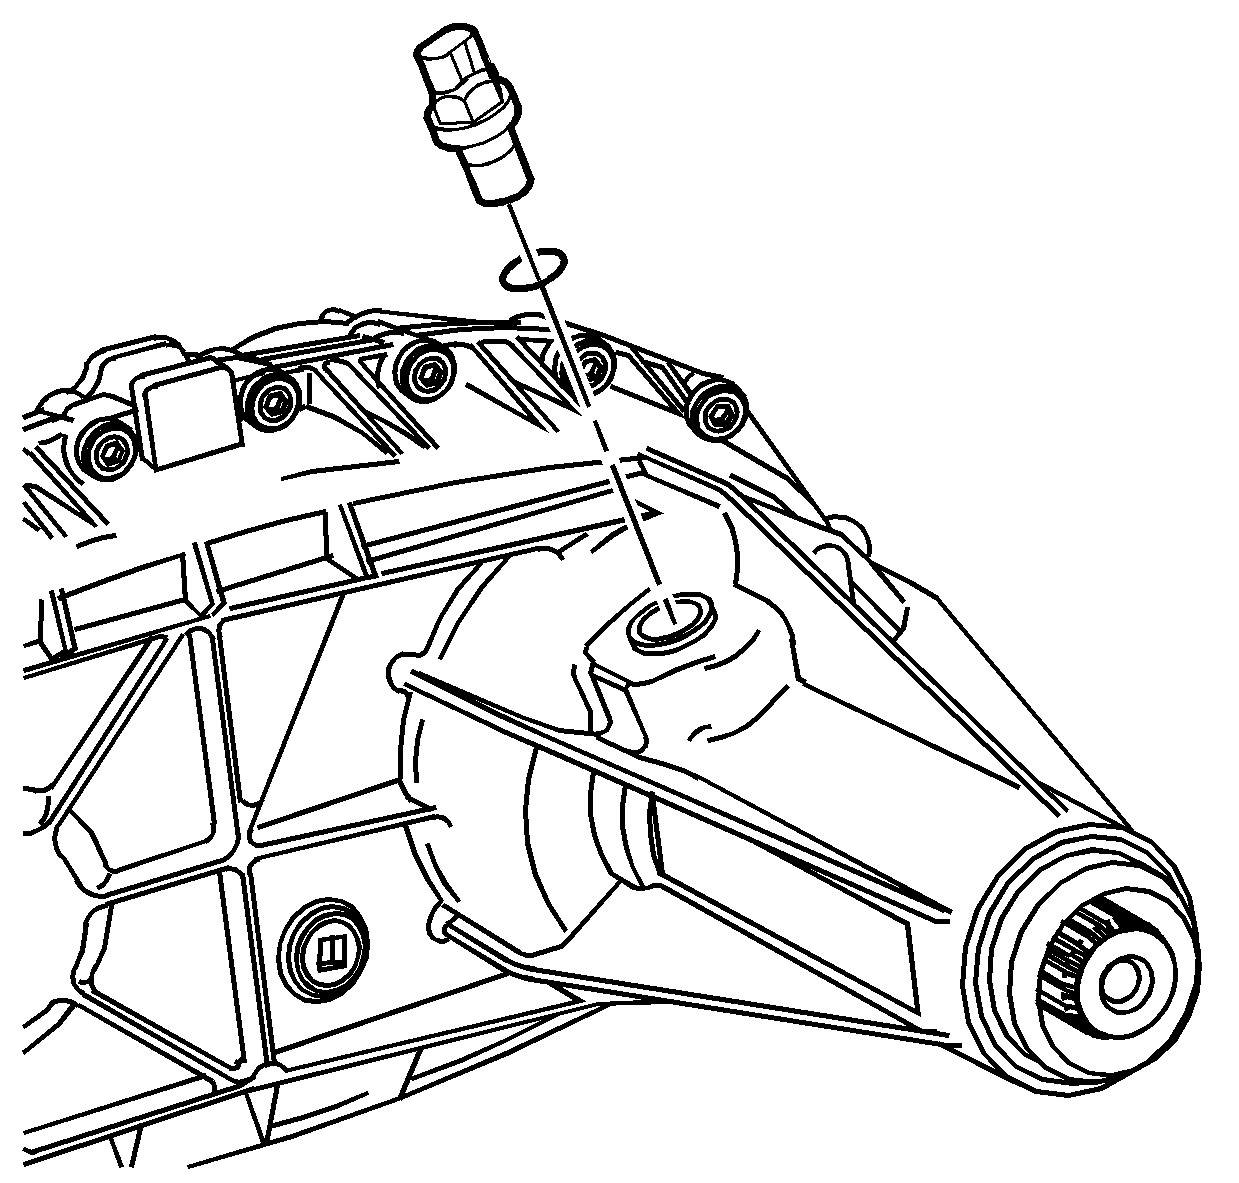
- Remove the speed sensor and the O-ring from the transfer case.
- Add 1.0 L (1.06 quarts) of the recommended transfer case fluid through the threaded speed sensor opening. Refer to Adhesives, Fluids, Lubricants, and Sealers .
- Install the new speed sensor into the transfer case with a new O-ring seal and tighten the right rear speed sensor to 17 N·m (16 lb ft)
- Install the electrical connector to the speed sensor.
- Lower the vehicle.
Caution: Refer to Fastener Caution in the Preface section.


