Tools Required
J 45878 Combustible Gas Detector
Removal Procedure
- Relieve the CNG fuel system pressure. Refer to Fuel Pressure Relief .
- Disconnect the negative battery cable. Refer to Battery Negative Cable Disconnection and Connection in Engine Electrical in the G/H Van service manual.
- Before removal, clean the fuel rail assemblies with a spray type engine cleaner, GM X-30A or equivalent, if necessary. Follow the package instructions. Do not soak fuel rails in liquid cleaning solvent.
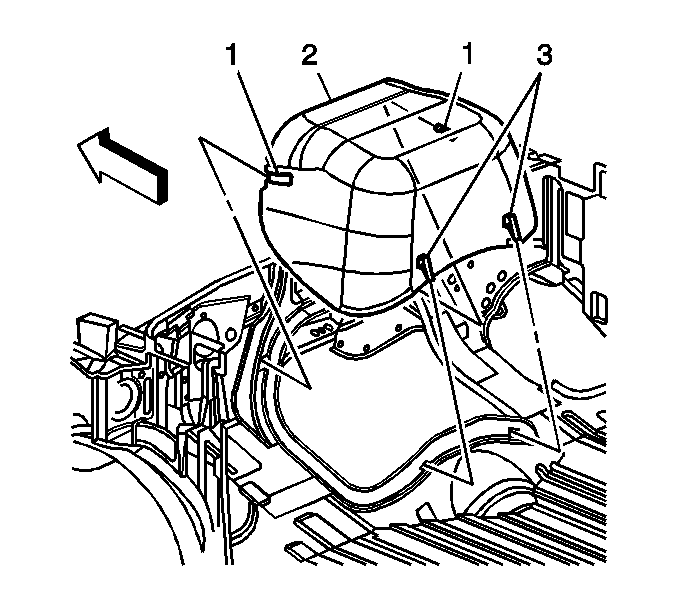
- Remove the engine cover. Refer to Engine Cover Replacement in Interior Trim in the G/H Van service manual.
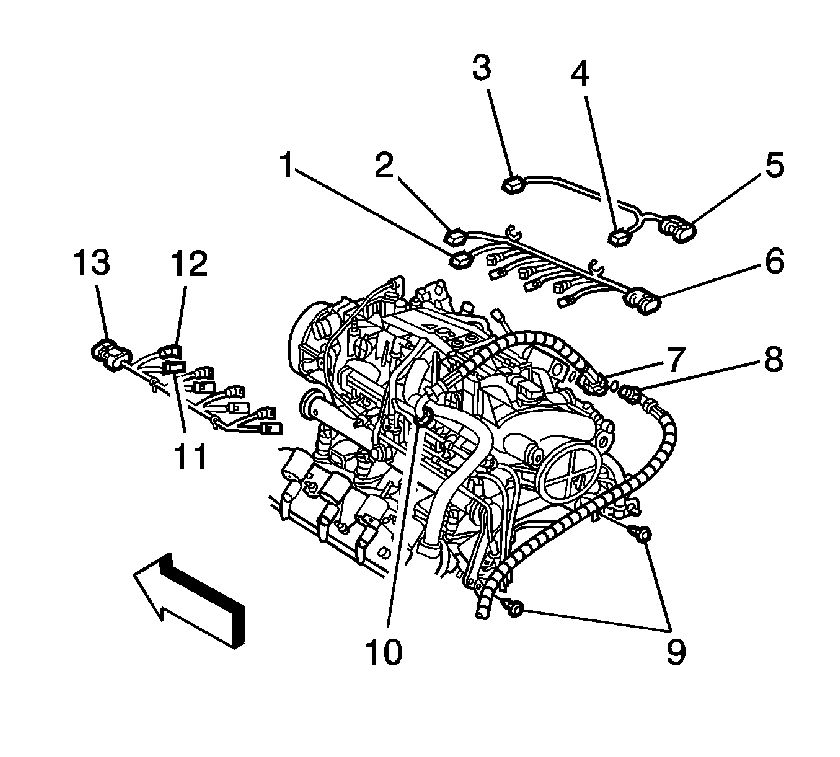
- Disconnect the low pressure lock-off (LPL) solenoid electrical connector.
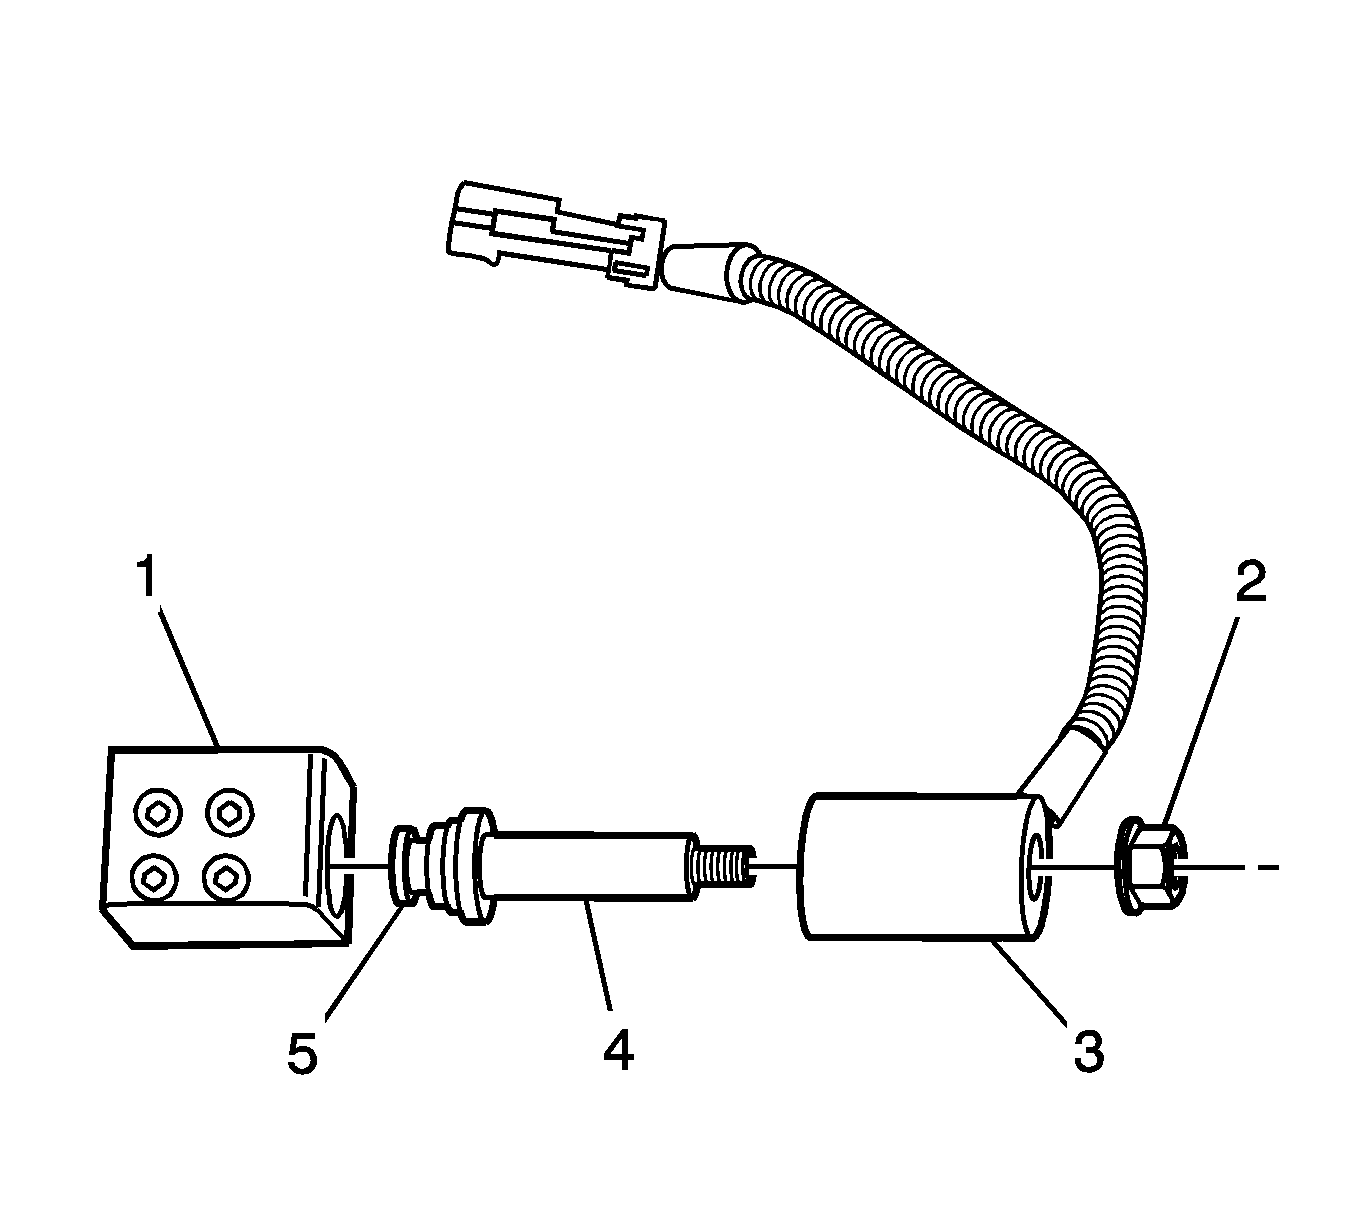
- Remove the LPL solenoid coil retaining nut (2).
- Remove the LPL solenoid coil (3).
- Remove the LPL solenoid core tube (4).
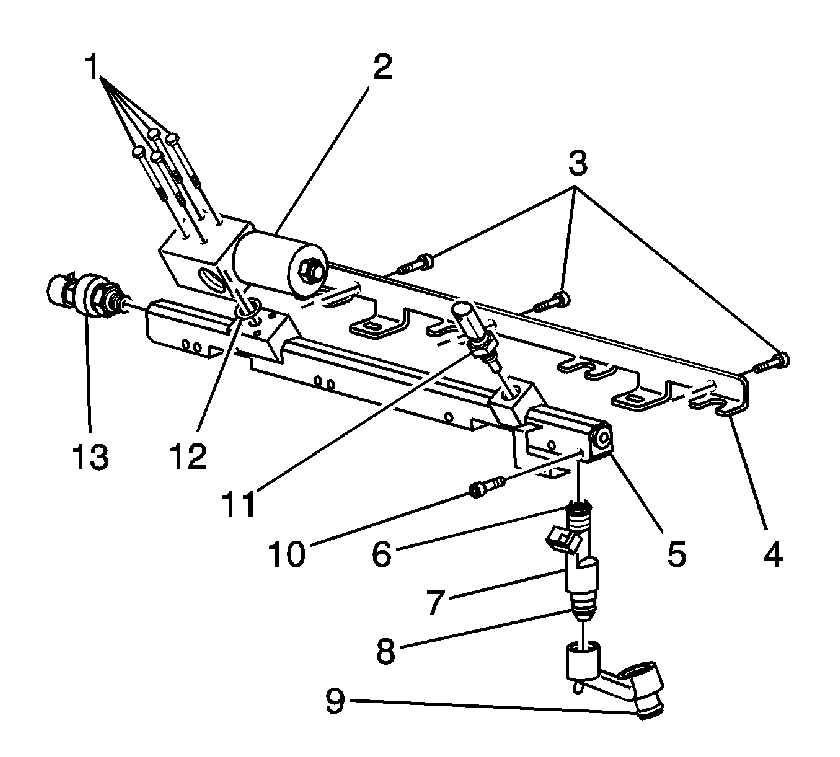
- Disconnect the fuel inlet line (8) and discard the copper sealing washer.
- Disconnect the fuel crossover line (7) and discard the copper sealing washer.
- Remove the LPL solenoid housing mounting screws (1).
- Remove the LPL solenoid housing from the fuel rail (5) and discard the O-ring (12).
Caution: Natural gas is highly flammable. In order to reduce the risk of fire and personal injury, keep sparks, flames, and smoking materials away from the vehicle while you perform the Compressed Natural Gas (CNG) fuel system service.
Caution: The Compressed Natural Gas (CNG) system operates at pressures up to 24820 kpa (3600 psi). Relieve the CNG fuel system pressure before servicing CNG fuel system components in order to reduce the risk of fire and personal injury.


Important: Do not perform the following steps unless replacement of the LPL solenoid housing is required.


Installation Procedure
- Install the low pressure lock-off (LPL) solenoid housing to the fuel rail (5) using a new O-ring (12). Lubricate the O-ring with petroleum jelly or equivalent before installation.
- Connect the CNG fuel inlet line (8) using a NEW copper sealing washer.
- Connect the CNG fuel crossover line (7) using a NEW copper sealing washer.
- Ensure the LPL piston assembly (5) spring is installed inside the core tube (4). Lubricate the piston O-ring with petroleum jelly or equivalent before installation.
- Install the core tube (4) and piston assembly (5) into the LPL solenoid housing (1). Lubricate the core tube O-ring with petroleum jelly or equivalent before installation.
- Install the LPL solenoid coil (3) onto the core tube (4).
- Install the LPL solenoid coil retaining nut (2).
- Connect the LPL solenoid electrical connector.
- Install the negative battery cable. Refer to Battery Negative Cable Disconnection and Connection in Engine Electrical in the G/H Van service manual.
- Start the vehicle and inspect for CNG fuel leaks at the serviced fittings with the J 45878 or equivalent combustible gas detector.
- Install the engine cover. Refer to Engine Cover Replacement in Interior Trim in the G/H Van service manual.
Notice: Refer to Fastener Notice in the Preface section.

Tighten
Tighten the mounting screws to 4 N·m (35 lb in).

Tighten
Tighten the fuel line fitting to 37 N·m (27 lb ft).
Tighten
Tighten the fuel line fitting to 27 N·m (20 lb ft).

Tighten
Tighten the core tube to 41 N·m (30 lb ft).
Tighten
Tighten the nut to 14 N·m (10 lb ft).

