Tools Required
| • | J 21366 Converter Holding Strap |
| • | J 42451-1 Engine Support Adapter |
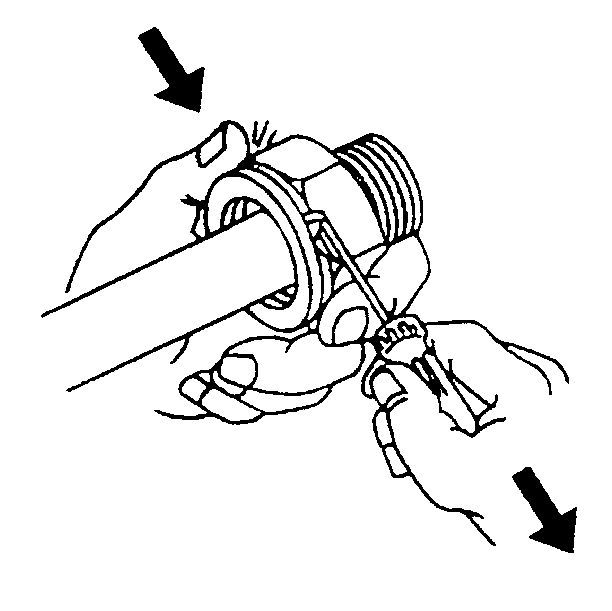
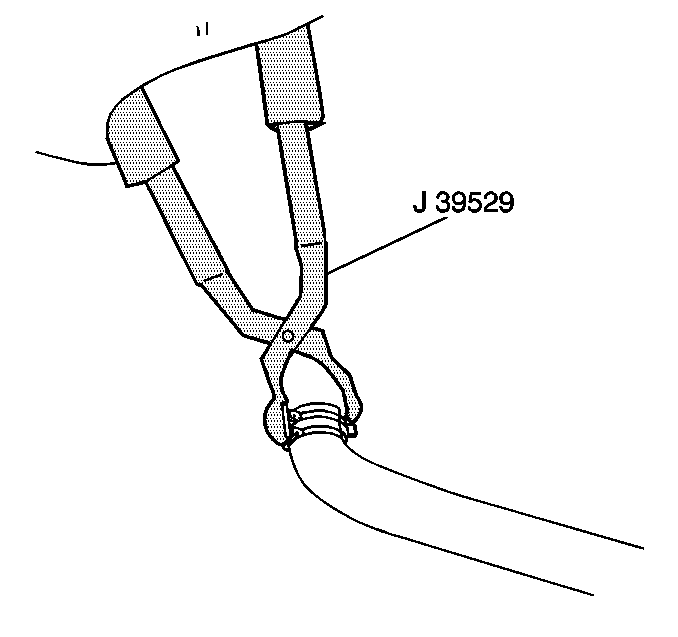
| • | J 38185 Hose Clamp Pliers |
Removal Procedure
- Remove the engine cover. Refer to Engine Cover Replacement in Interior Trim.
- Disconnect the negative battery cable. Refer to Battery Negative Cable Disconnection and Connection in Engine Electrical.
- Recover the HVAC refrigerant. Refer to Refrigerant Recovery and Recharging in Heating, Ventilation and Air Conditioning.
- Drain the cooling system. Refer to Cooling System Draining and Filling in Engine Cooling.
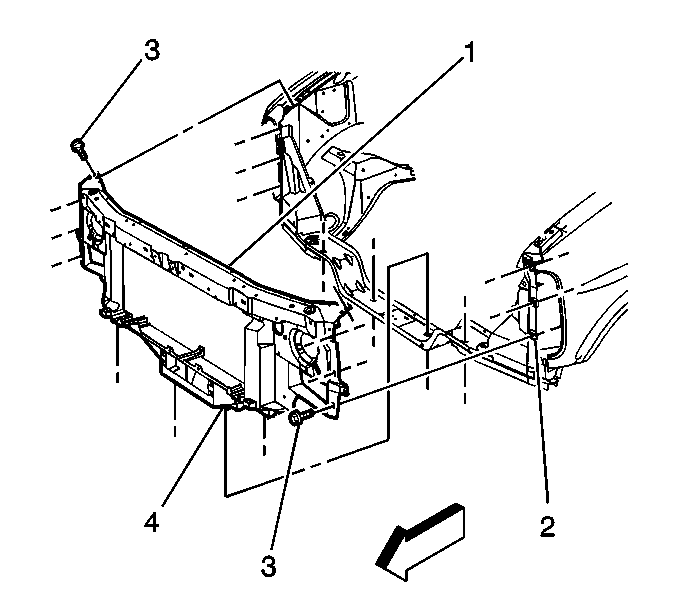
- Remove the sheet metal to radiator support bolts and supports from the vehicle.
- Remove the air cleaner assembly. Refer to Air Cleaner Assembly Replacement in Engine Controls - 4.8L, 5.3L and 6.0L.
- Remove the coolant reservoir. Refer to Coolant Recovery Reservoir Replacement in Engine Cooling.
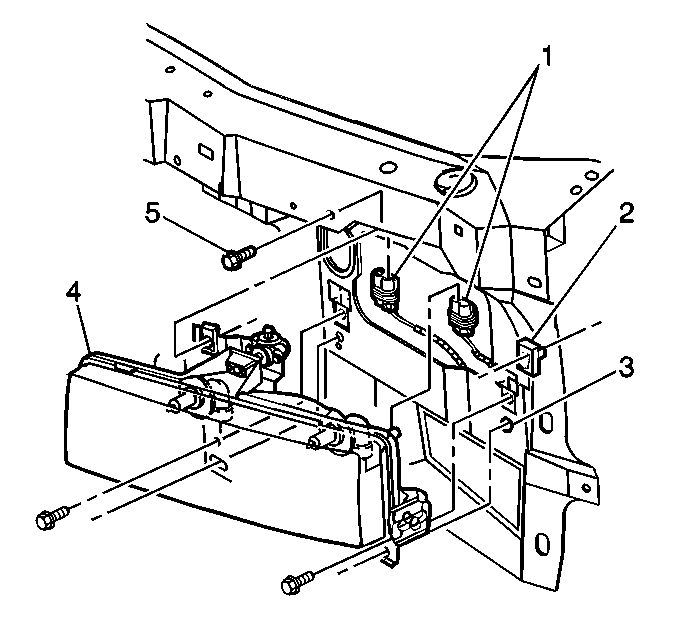
- Remove the right and left headlamp capsules. Refer to Headlamp Capsule Replacement in Lighting Systems.
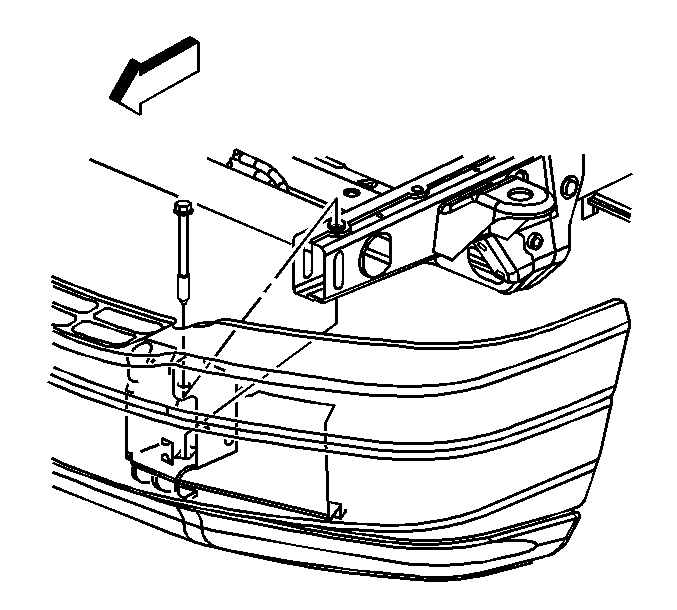
- Remove the front bumper. Refer to Front Bumper Replacement in Bumpers.
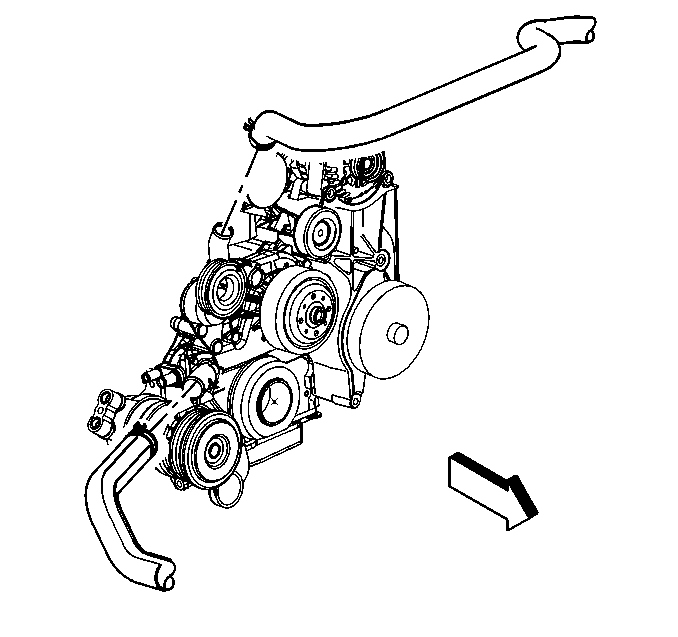
- Reposition the radiator inlet hose clamp at the water pump.
- Remove the radiator inlet hose from the water pump.
- Reposition the radiator outlet hose clamp at the water pump.
- Remove the radiator outlet hose from the water pump.
- Disconnect the transmission cooler lines from the radiator. Refer to Transmission Fluid Cooler Hose/Pipe Quick-Connect Fitting Disconnection and Connection in Automatic Transmission - 4L60-E/4L65-E.
- Disconnect the oil cooler line from the radiator, if equipped.
- Disconnect the HVAC lines from the condenser.
- Disconnect the ground G106 from the right hand inner fender. Refer to Power and Grounding Component Views in Wiring Systems.
- Disconnect the C4 at the underhood fuse block. Refer to Power and Grounding Component Views in Wiring Systems.
- Disconnect the positive battery cable from the underhood fuse block and position aside.
- Remove the core support retaining bolt (3).
- With the aid of an assistant, remove the core support assembly with the radiator, condenser radiator hoses and fan shroud intact.
- Remove the clutch fan. Refer to Fan Replacement in Engine Cooling.
- Remove the accessory drive belt.
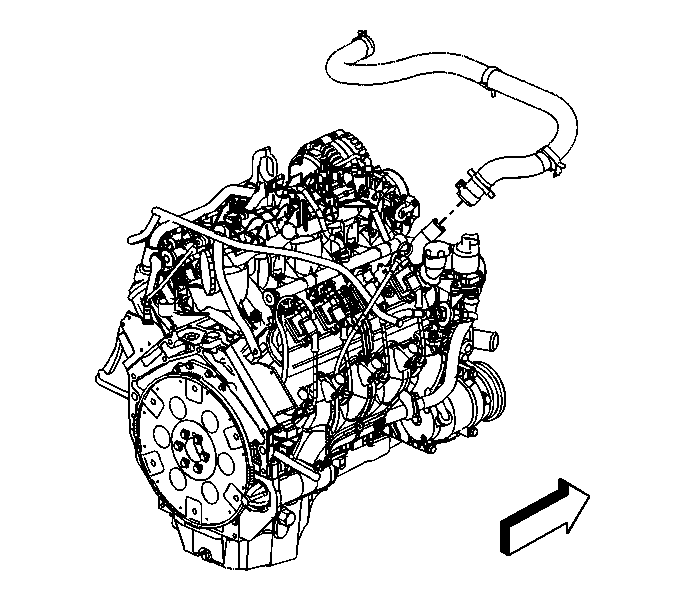
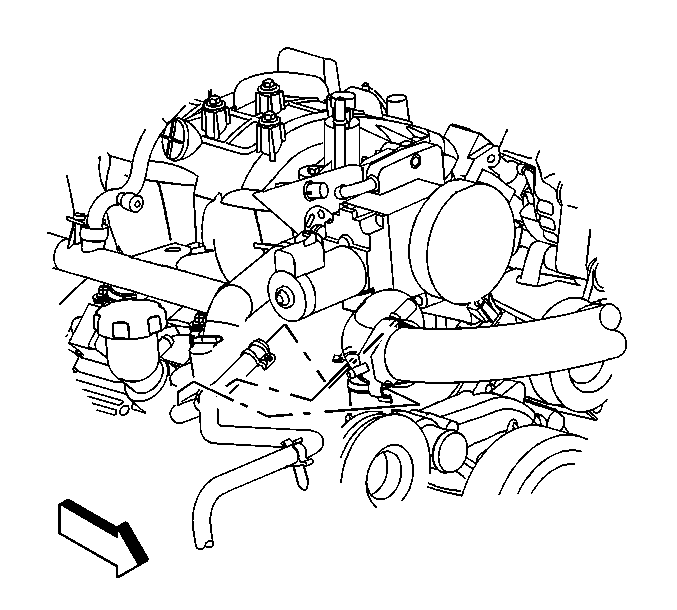
- Remove the air bleed hose (1) from the throttle body.
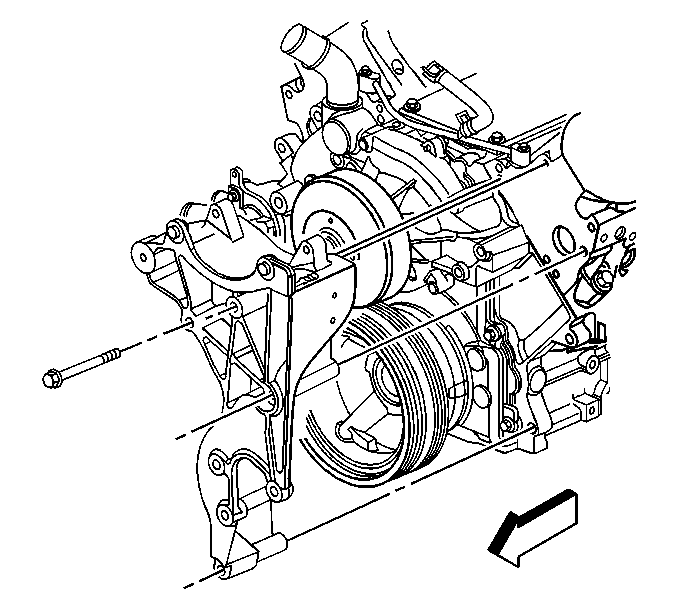
- Remove the generator bracket from the engine. Refer to Generator Bracket Replacement in Engine Electrical. Leave the generator and power steering pump retained to the bracket. Use a suitable strap and position the bracket assembly aside.
- Remove the radiator vent inlet hose from the throttle body.
- Remove the ground strap from the frame and engine.
- Remove G104 and G105 from the engine. Refer to Power and Grounding Component Views in Wiring Systems.
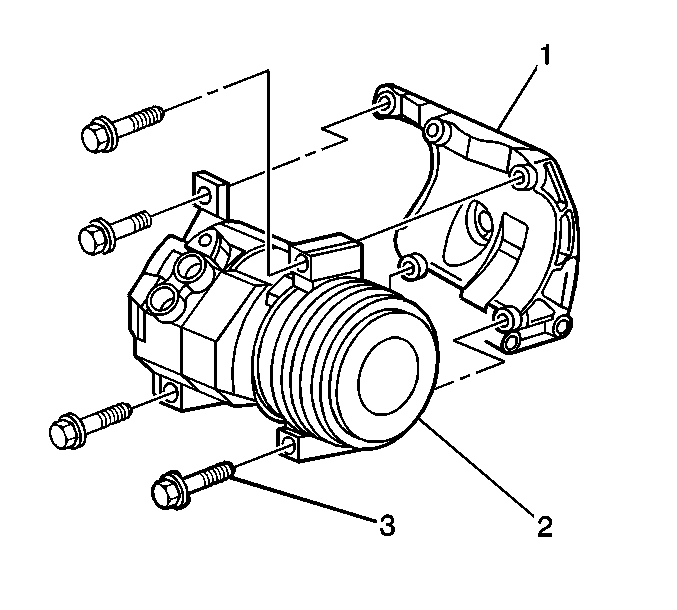
- Remove the air conditioning compressor (2). Refer to Air Conditioning Compressor Replacement in Heating, Ventilation and Air Conditioning.
- Disconnect the heater hoses from the water pump.
- Remove the intake manifold. Refer to Intake Manifold Removal .
- Remove the ignition coils from the engine. Refer to Ignition Coil Replacement .
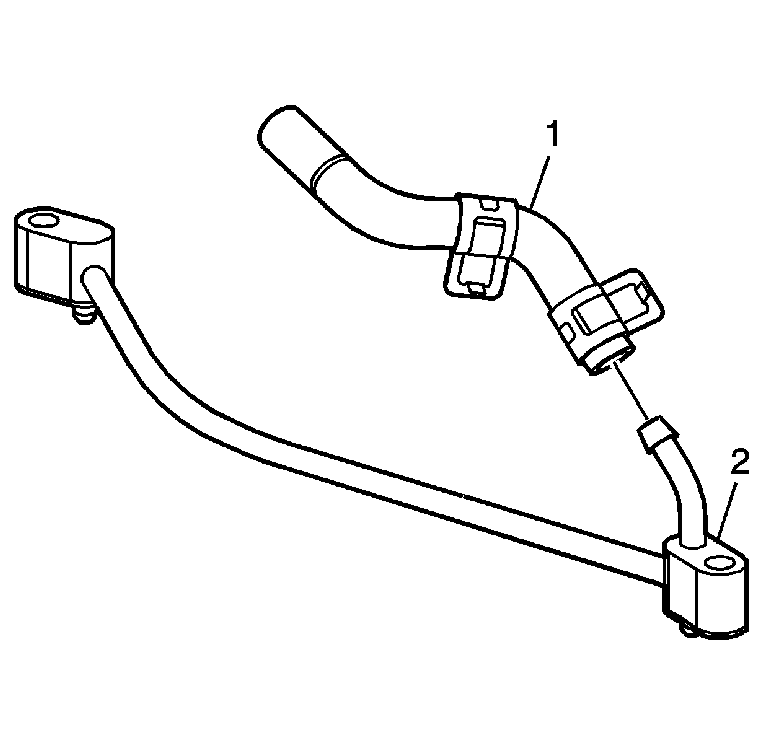
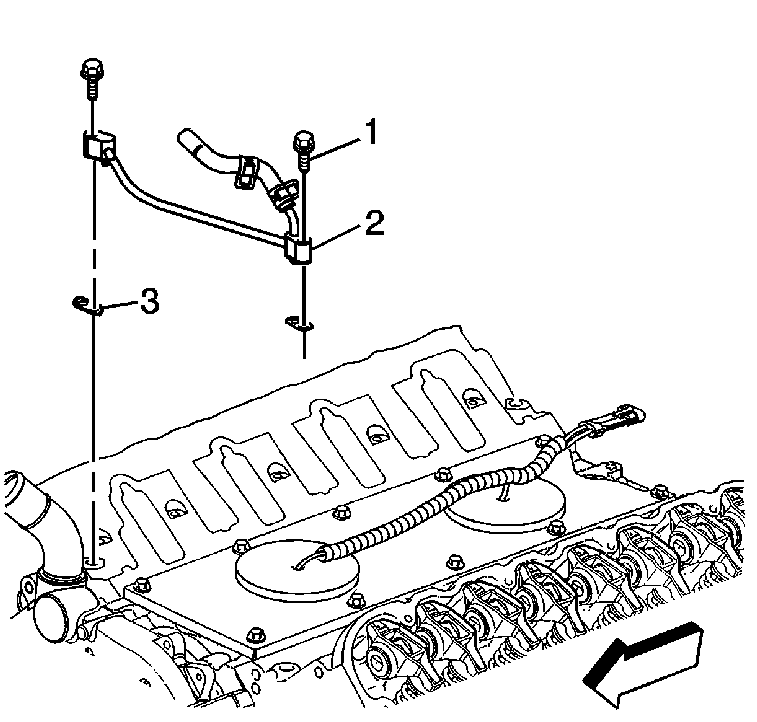
- Remove the coolant air bleed pipe (2) from the engine. Refer to Coolant Air Bleed Pipe Assembly Replacement in Engine Cooling.
- Raise the vehicle. Refer to Lifting and Jacking the Vehicle in General Information.
- Remove the oil drain plug and drain the oil into a suitable container.
- Remove the starter motor. Refer to Starter Motor Replacement in Engine Electrical.
- Disconnect the catalytic converter pipe from the exhaust manifolds. Refer to Catalytic Converter Replacement in Engine Exhaust.
- Disconnect the following electrical connectors:
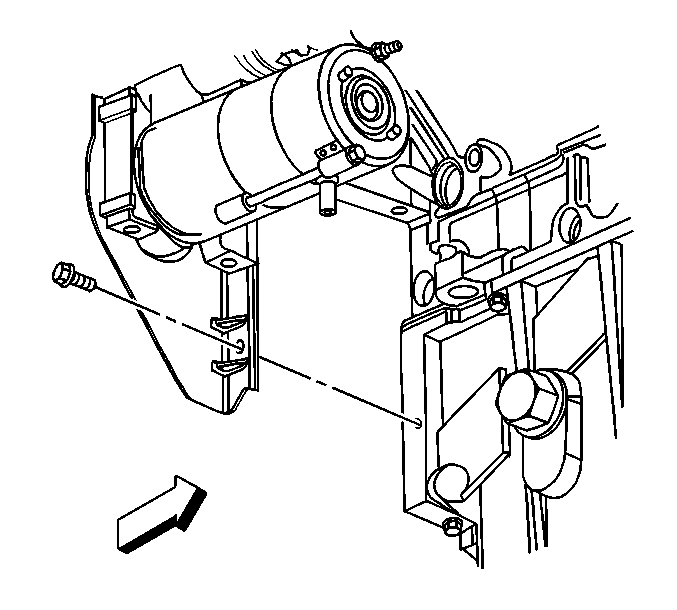
- Remove the battery cable channel bolt.
- Slide the channel pin out of the oil pan tab.
- Gather all branches of the engine wiring harness and reposition off to the side.
- Remove the lower 6 bell housing to engine studs and bolts. Leave the top 2 studs in place.
- Remove the torque converter bolts.
- Lower the vehicle.
- Remove the left and right exhaust manifolds.
- Install the J 42451-1 to the cylinder heads.
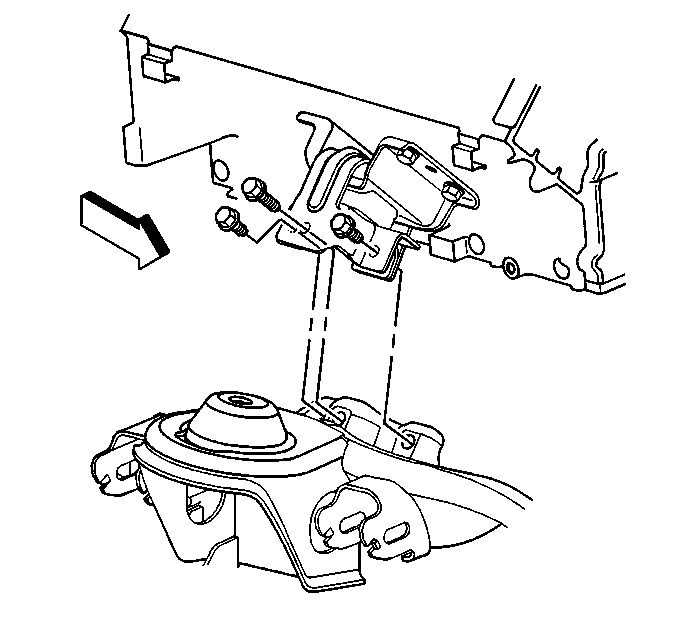
- Remove the left and right engine mount-to-engine mount bracket bolts.
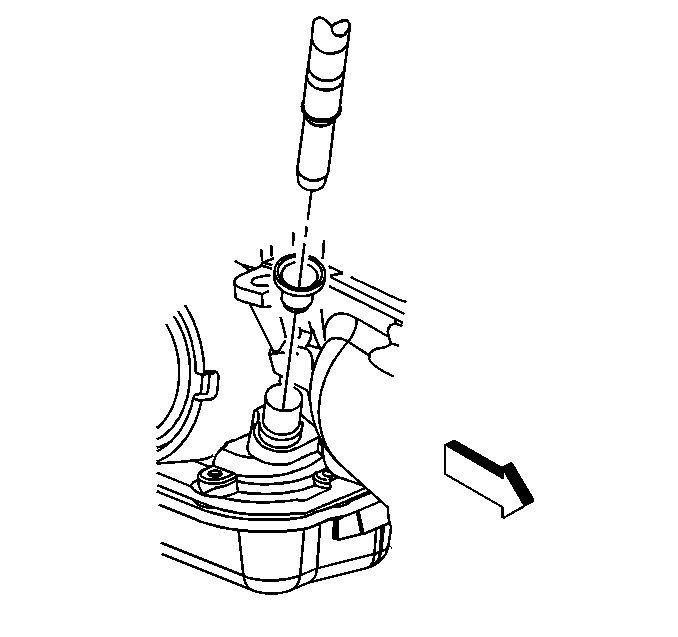
- Remove the transmission oil level indicator tube nut.
- Remove the transmission oil level indicator tube.
- Remove the top 2 automatic transmission studs.
- Install a floor jack under the transmission for support.
- Install an engine hoist to the J 42451-1 .
- Separate the engine from the automatic transmission, if equipped.
- Remove the engine.
- Install the engine to an engine stand.
- Remove the engine hoist.
- Remove theJ 42451-1 from the engine.
| • | The crankshaft position (CKP) sensor (1) |
| • | The engine oil level sensor (6) |
| • | The coolant heater, if equipped |
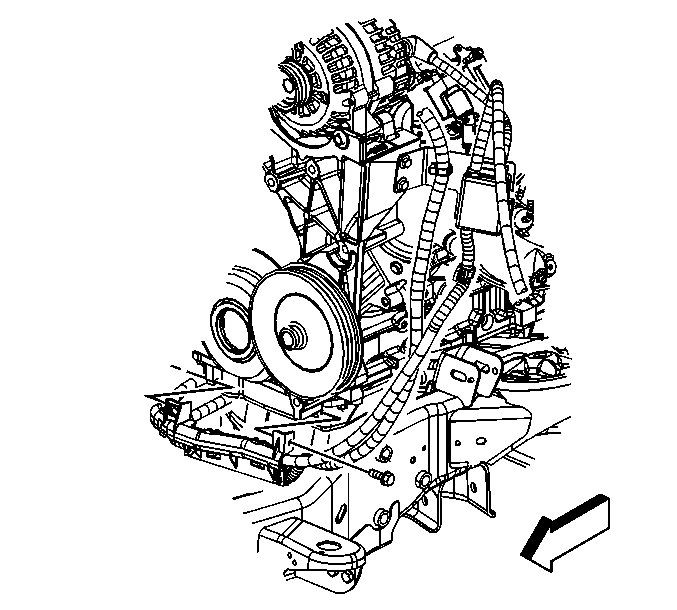


Notice: Refer to Fastener Notice in the Preface section.
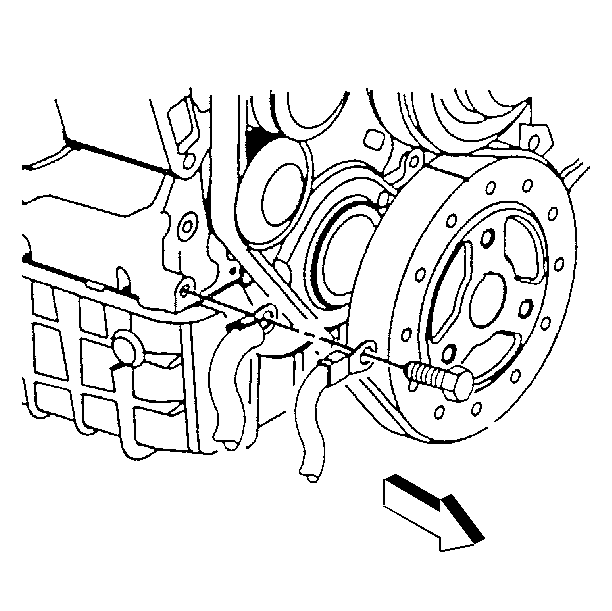
Tighten
Tighten the M10 engine lift bracket bolts to 50 N·m (37 lb ft).
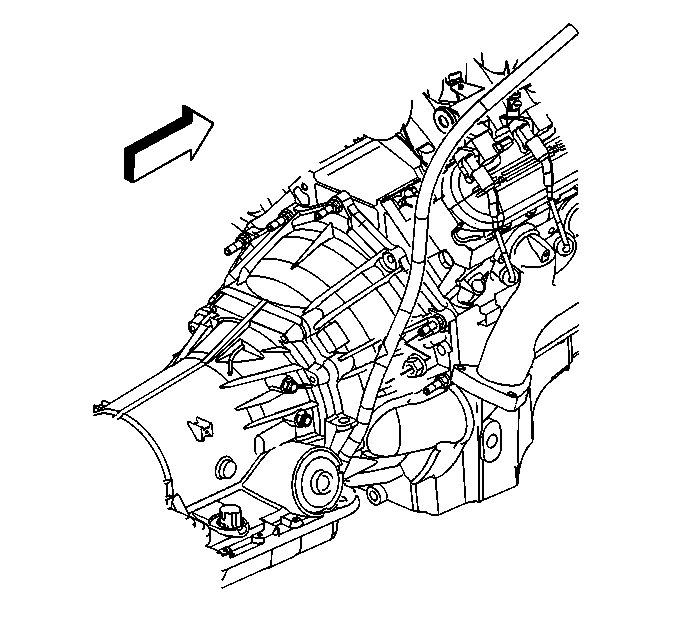
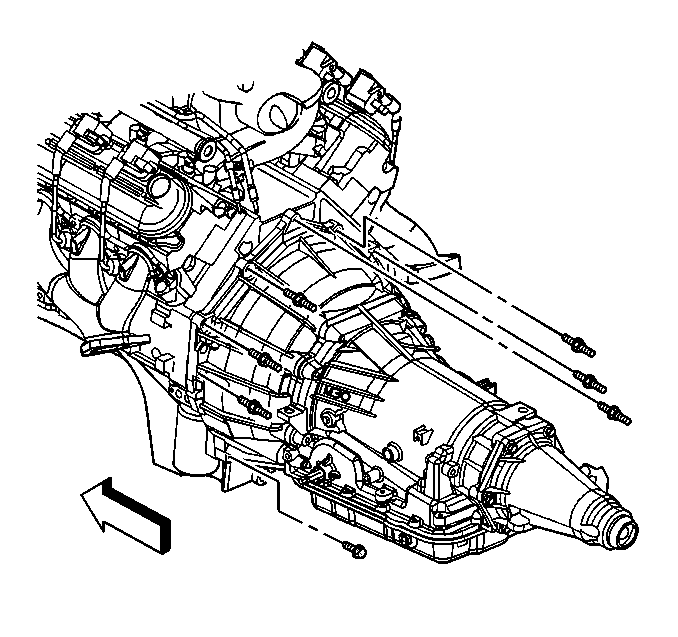
Install the J 21366 to the transmission in order to hold the torque converter.
Installation Procedure
- Install theJ 42451-1 to the engine.
- Install an engine hoist to the J 42451-1 .
- Remove the engine from the engine stand.
- Install the engine to the vehicle.
- Align the engine and transmission.
- Install the left and right engine mount-to-engine mount bracket bolts.
- Install the upper transmission bolts until snug.
- Remove the floor jack from under the transmission.
- Remove the engine hoist.
- Remove the J 42451-1 from the engine.
- Install the left and right exhaust manifolds. Refer to Exhaust Manifold Installation - Left Side and to Exhaust Manifold Installation - Right Side .
- Install the intake manifold. Refer to Intake Manifold Installation .
- Install the ignition coil(s) and the spark plug wire(s). Refer to Ignition Coil Replacement in Engine Controls - 4.8L, 5.3L and 6.0L.
- Raise the vehicle.
- Remove the J 21366 from the transmission
- Install the automatic transmission bolt/studs, if equipped.
- Install the torque converter bolts, if equipped.
- If equipped with the 4L80-E automatic transmission, install the transmission converter cover bolts.
- If equipped with the 4L60-E automatic transmission, install the transmission bolt and stud on the right side.
- Install the automatic transmission oil level indicator tube, if equipped.
- Install the automatic transmission oil level indicator tube nut, if equipped.
- Install the positive battery cable clip and bolt.
- Install the catalytic converter. Refer to Catalytic Converter Replacement in Engine Exhaust.
- Connect the following electrical connectors:
- Install the starter motor. Refer to Starter Motor Replacement in Engine Electrical.
- Lower the vehicle.
- Position the generator bracket assembly to the front of the engine.
- Install the generator bracket assembly. Refer to Generator Bracket Replacement in Engine Electrical.
- Install the heater hoses to the water pump.
- Install the air conditioning compressor (2) to the engine.
- Install the air conditioning discharge hose to the compressor.
- Install the engine ground strap to the frame.
- Install the ground strap and negative battery cable to the engine.
- Install the clutch fan. Refer to Fan Replacement in Engine Cooling.
- Install the accessory drive belt.
- With the aid of an assistant, position the core support assembly to the vehicle.
- Install the core support bolts.
- Install the positive battery cable to the underhood fuse panel.
- Install the G106 to the inner fender. Refer to Power and Grounding Component Views in Wiring Systems.
- Connect the C4 to the underhood fuse panel. Refer to Power and Grounding Component Views in Wiring Systems.
- Install the air conditioning lines (2) to the condenser.
- Install the transmission cooler lines to the radiator.
- Install the oil cooler lines to the radiator, if equipped.
- Install the radiator hoses to the thermostat housing and water pump.
- Install the coolant air bleed to the throttle body.
- Install the headlamp capsules (4). Refer to Headlamp Capsule Replacement in Lighting Systems.
- Install the front bumper. Refer to Front Bumper Replacement in Bumpers.
- Install a NEW accelerator control cable. if required. Refer to Accelerator Control Cable Replacement in Engine Controls - 4.8L, 5.3L, and 6.0L.
- Install the air cleaner assembly (4). Refer to Air Cleaner Assembly Replacement in Engine Controls - 4.8L, 5.3L and 6.0L.
- Install the coolant reservoir. Refer to Coolant Recovery Reservoir Replacement in Engine Cooling.
- Install the sheet metal to the fender supports.
- Fill the cooling system with coolant. Refer to Cooling System Draining and Filling in Engine Cooling.
- Fill the crankcase with the proper quantity and grade of engine oil. Refer to Approximate Fluid Capacities or Fluid and Lubricant Recommendations in Maintenance and Lubrication.
- Perform the CKP system variation learn procedure. Refer to Crankshaft Position System Variation Learn in Engine Controls - 4.8L, 5.3L, and 6.0L.
- Close the hood.
Tighten
Tighten the M10 engine lift bracket bolts to 50 N·m (37 lb ft).

Tighten
Tighten the engine mount-to-engine mount bracket bolts to 65 N·m
(48 lb ft).
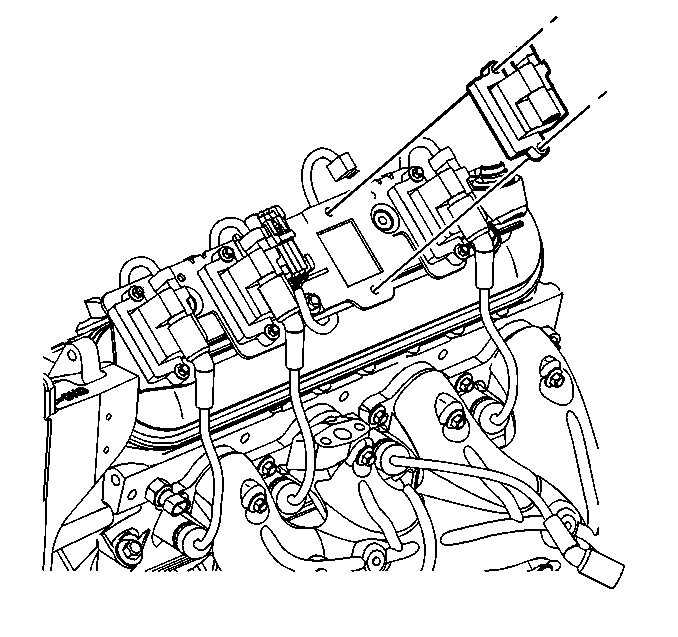

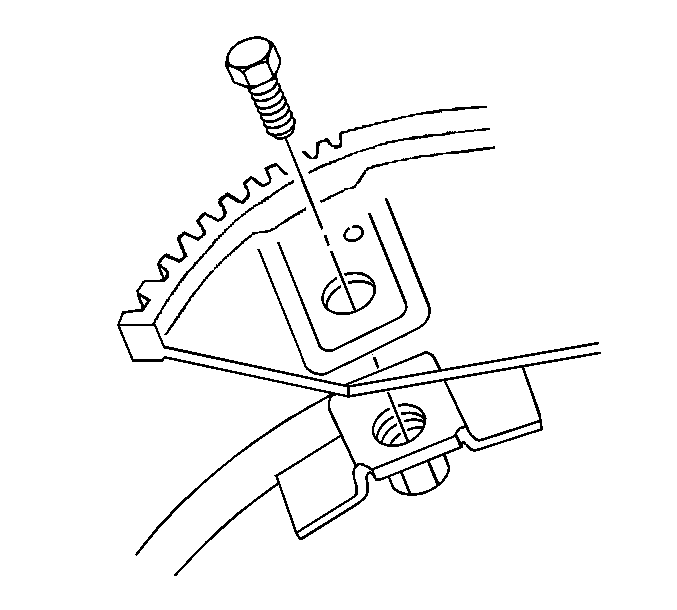
Tighten
| • | If equipped with the 4L60-E, tighten the torque converter bolts to 63 N·m (37 lb ft). |
| • | If equipped with the 4L80-E, tighten the torque converter bolts to 60 N·m (44 lb ft). |
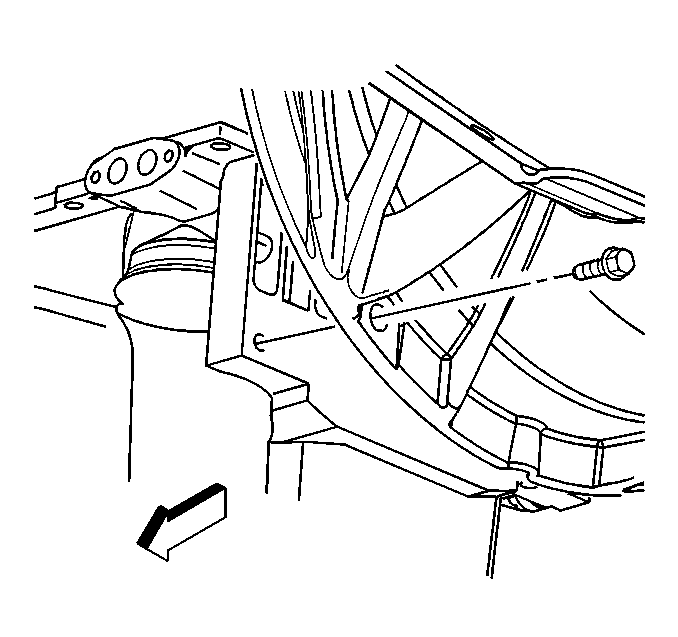
Tighten
Tighten the transmission converter bolts to 33 N·m (24 lb ft).
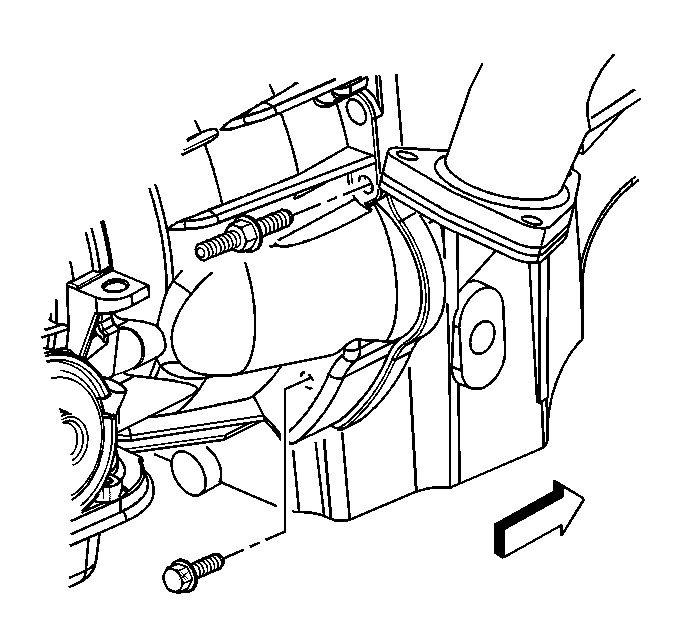
Tighten
Tighten the automatic transmission bolts/studs to 50 N·m (37 lb ft).


Tighten
Tighten the automatic transmission oil level indicator tube nut to 18 N·m
(13 lb ft).
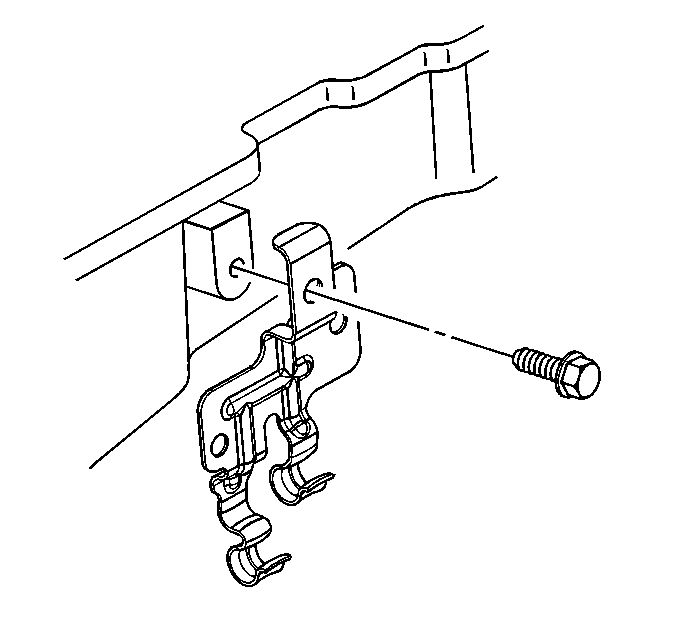
Tighten
Tighten the positive battery cable clip bolt to 9 N·m (80 lb in).
| • | Crankshaft position sensor |
| • | Engine oil level sensor |
| • | Coolant heater, if equipped |
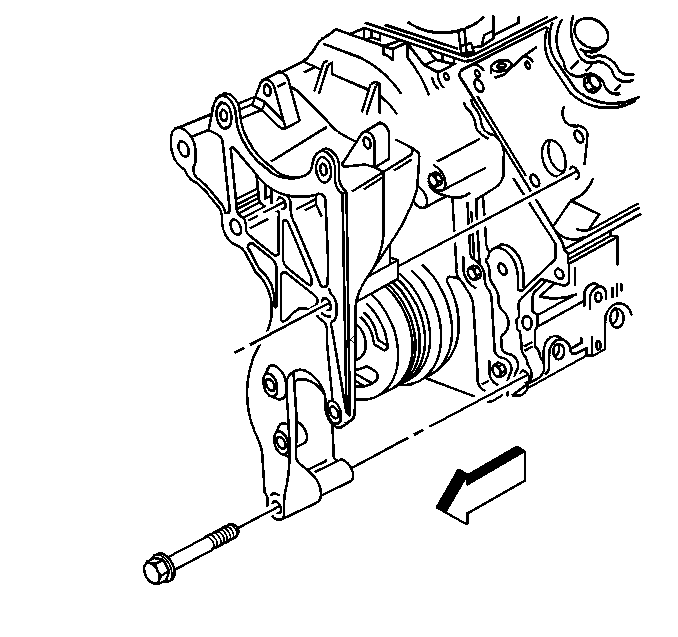
Tighten
Tighten the generator bracket bolts to 50 N·m (37 lb ft).

Tighten
Tighten the compressor mounting bolts to 68 N·m (50 lb ft).
Tighten
Tighten the bolt to 35 N·m (26 lb ft).
Tighten
Tighten the bolt to 25 N·m (18 lb ft).
Tighten
Tighten the nut to 25 N·m (18 lb ft).
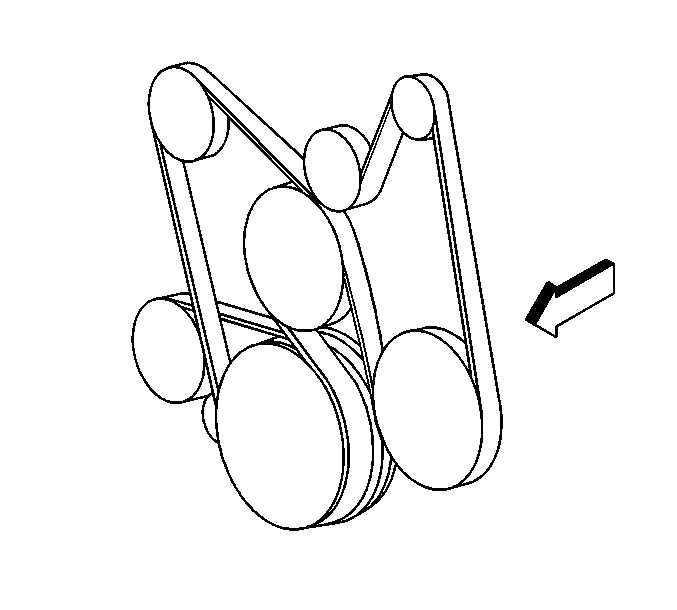
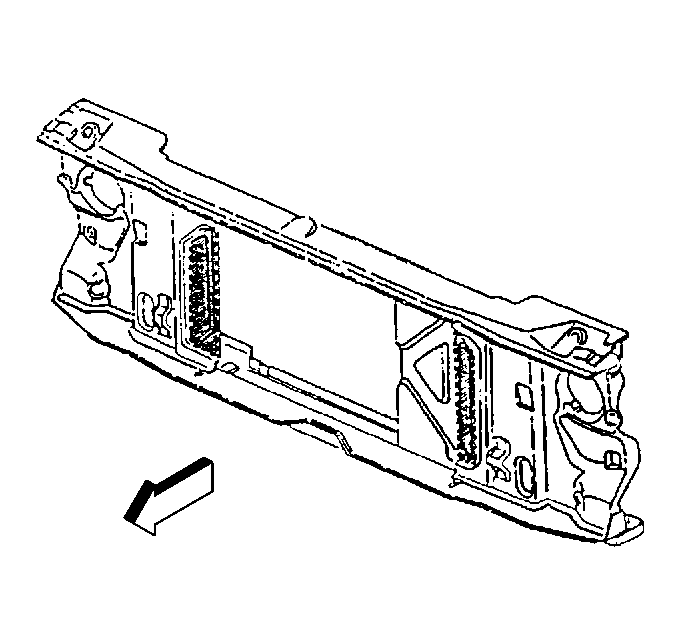
Tighten
| • | Tighten the core support bolts to 25 N·m (18 lb ft). |
| • | Tighten the core support nuts to 57 N·m (42 lb ft). |
Tighten
Tighten the bolt to 12 N·m (106 lb in).
Tighten
Tighten the bolt to 10 N·m (89 lb in).
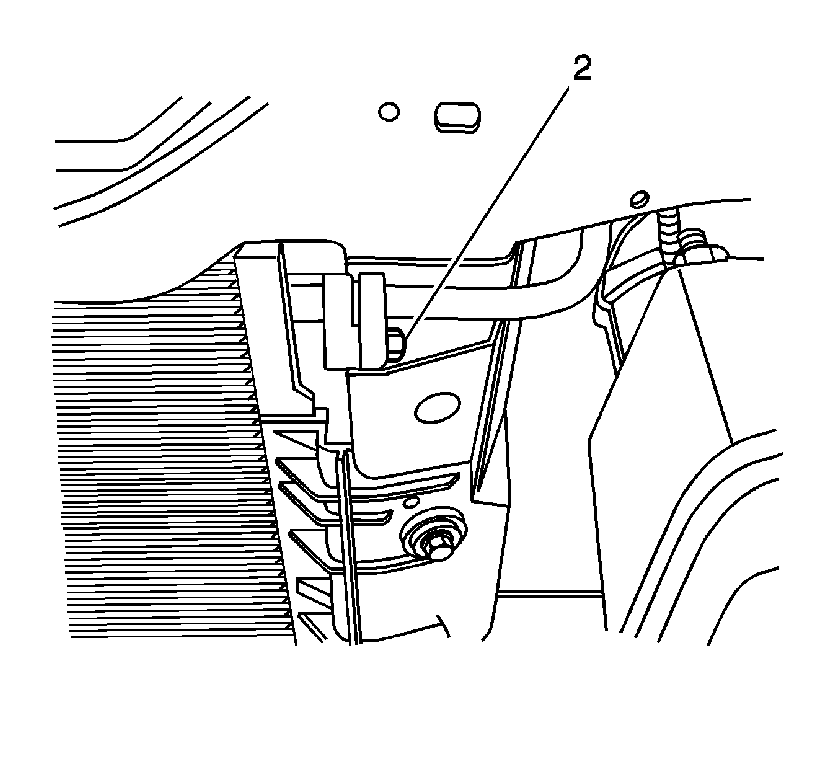
Tighten
Tighten the remaining nuts to 16 N·m (12 lb ft).
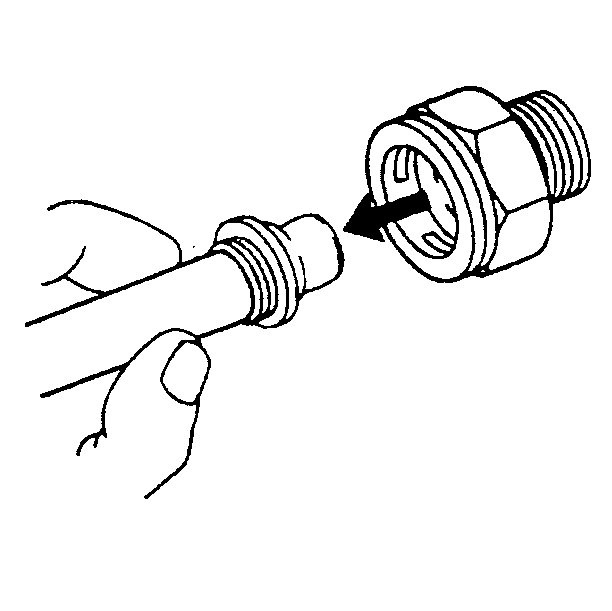
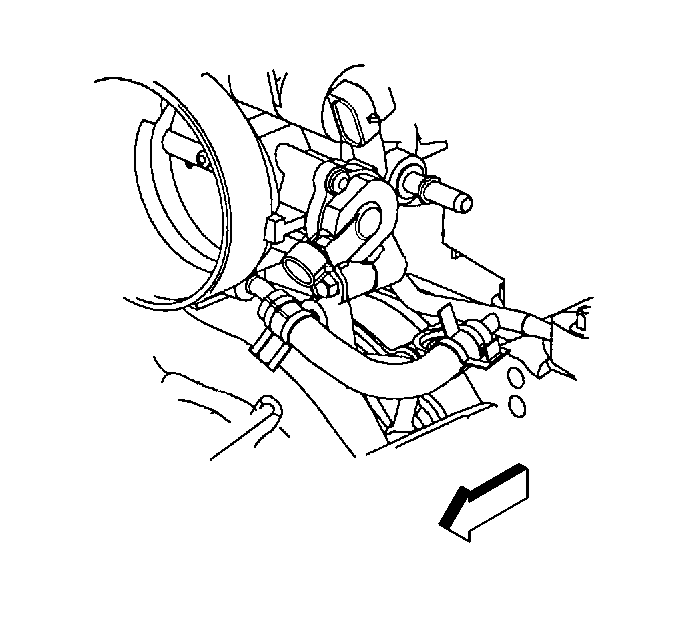
Caution: In order to avoid possible injury or vehicle damage, always replace the accelerator control cable with a NEW cable whenever you remove the engine from the vehicle.
In order to avoid cruise control cable damage, position the cable out of the way while you remove or install the engine. Do not pry or lean against the cruise control cable and do not kink the cable. You must replace a damaged cable.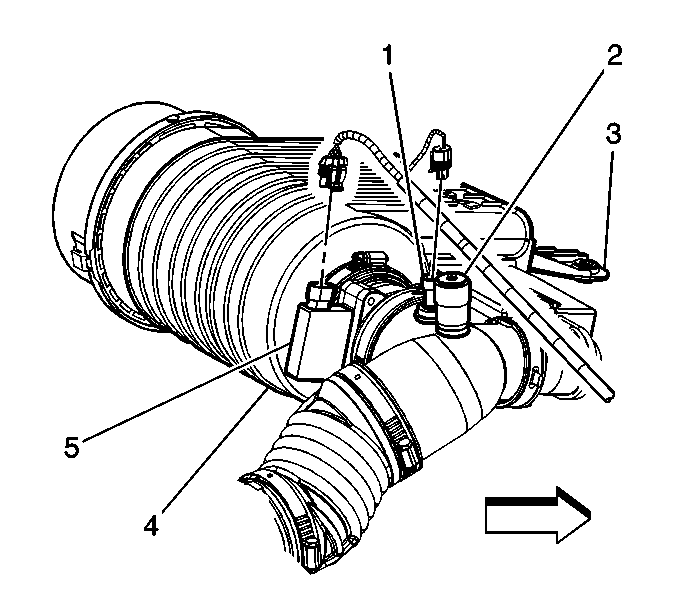
Tighten
Tighten the bolts to 25 N·m (18 lb ft).
Important: After an overhaul, the engine should be tested. Use the following procedure after the engine is installed in the vehicle.
| 54.1. | Disable the ignition system. |
| 54.2. | Crank the engine several times. Listen for any unusual noises or evidence that parts are binding. |
| 54.3. | Enable the ignition system. |
| 54.4. | Start the engine and listen for unusual noises. |
| 54.5. | Check the vehicle oil pressure gage or light and confirm that the engine has acceptable oil pressure. |
| 54.6. | Run the engine speed at about 1000 RPM until the engine has reached normal operating temperature. |
| 54.7. | Listen for sticking lifter and other unusual noises. |
| 54.8. | Inspect for fuel, oil and/or coolant leaks while the engine is running. |
| 54.9. | Perform a final inspection for the proper engine oil and coolant levels. |
