Exhaust Muffler Replacement 4.3L /4.8L /5.3L /6.0L
Removal Procedure
Caution: Always wear protective goggles and gloves when removing exhaust parts as falling rust and sharp edges from worn exhaust components could result in serious personal injury.
Caution: In order to avoid being burned, do not service the exhaust system while it is still hot. Service the system when it is cool.
Important: The muffler is serviced as one complete unit with an exhaust pipe and tail pipe. Some variations of vehicles may have an aftermarket tail pipe added. When the vehicle is raised on the hoist it must be raised by the frame to allow the rear axle to be lowered.
- Raise the vehicle. Refer to Lifting and Jacking the Vehicle.
- If equipped with 4.3L engine with a single catalytic converter pipe, remove the nuts retaining the catalytic converter pipe from the muffler flange.
- If equipped with a 4.8L/5.3L/6.0L engine with dual catalytic converter pipes, loosen the clamp for the right catalytic converter.
- Remove the nuts retaining the left catalytic converter to the muffler flange.
- Remove the muffler assembly hanger pins from the exhaust hanger insulators. Due to the weight of the exhaust system it may take 2 people.
- Remove the muffler assembly by lifting over the rear axle and remove towards the front of the vehicle.
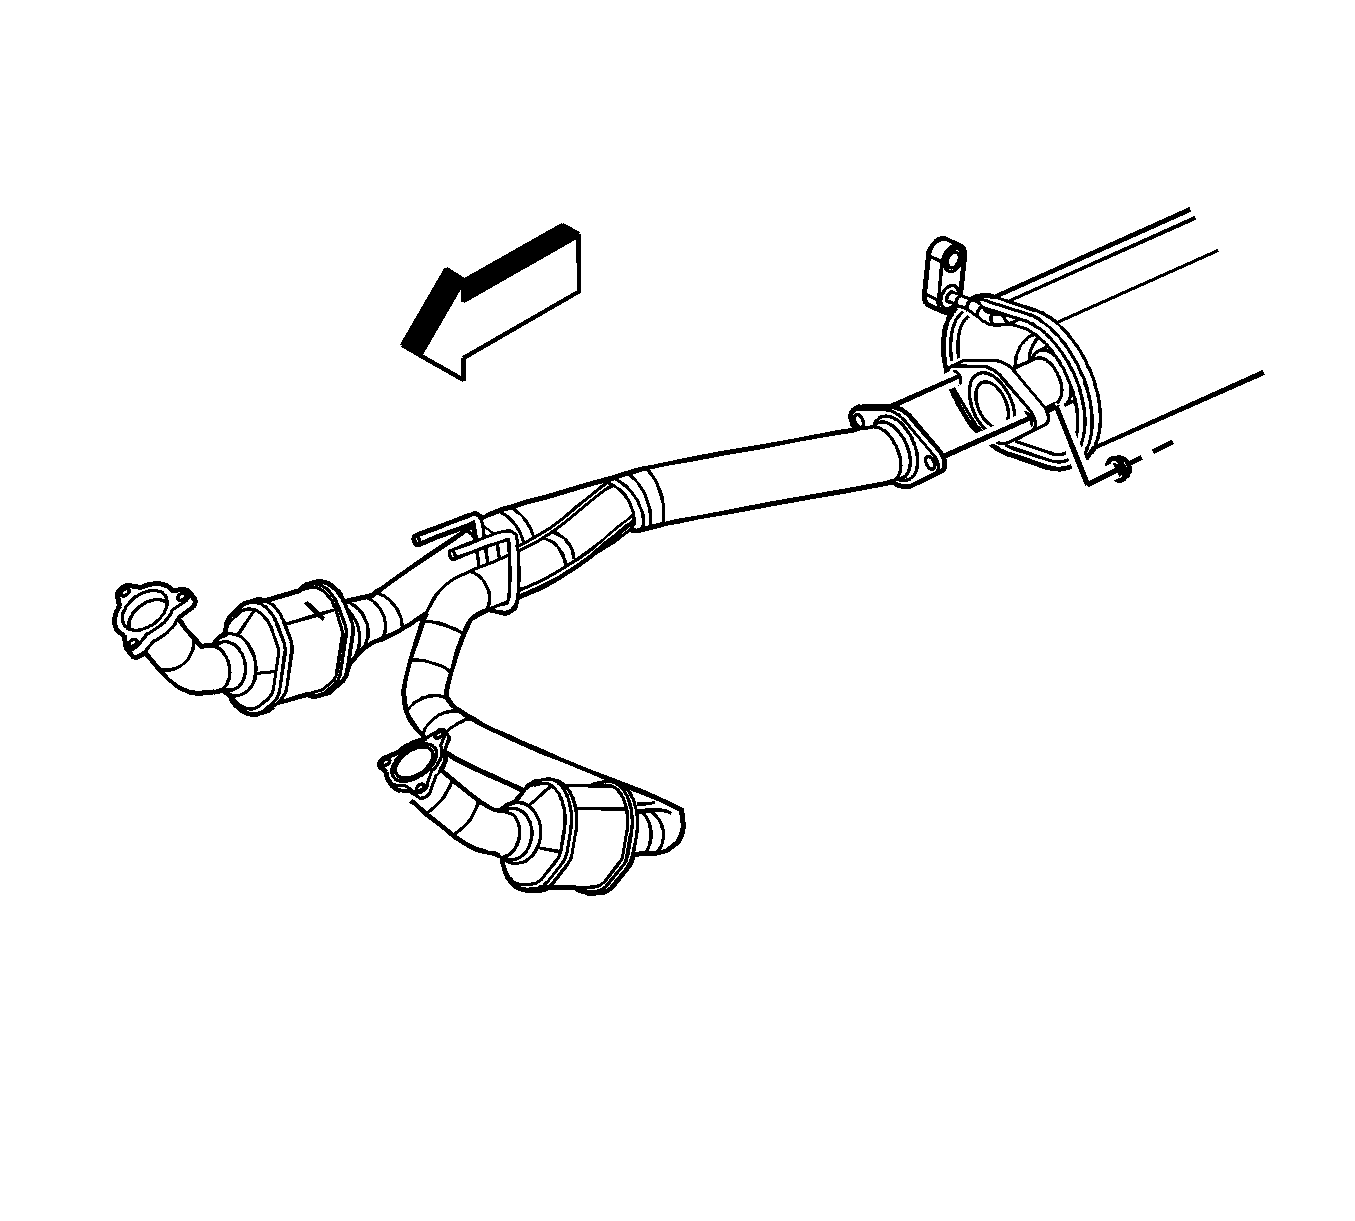
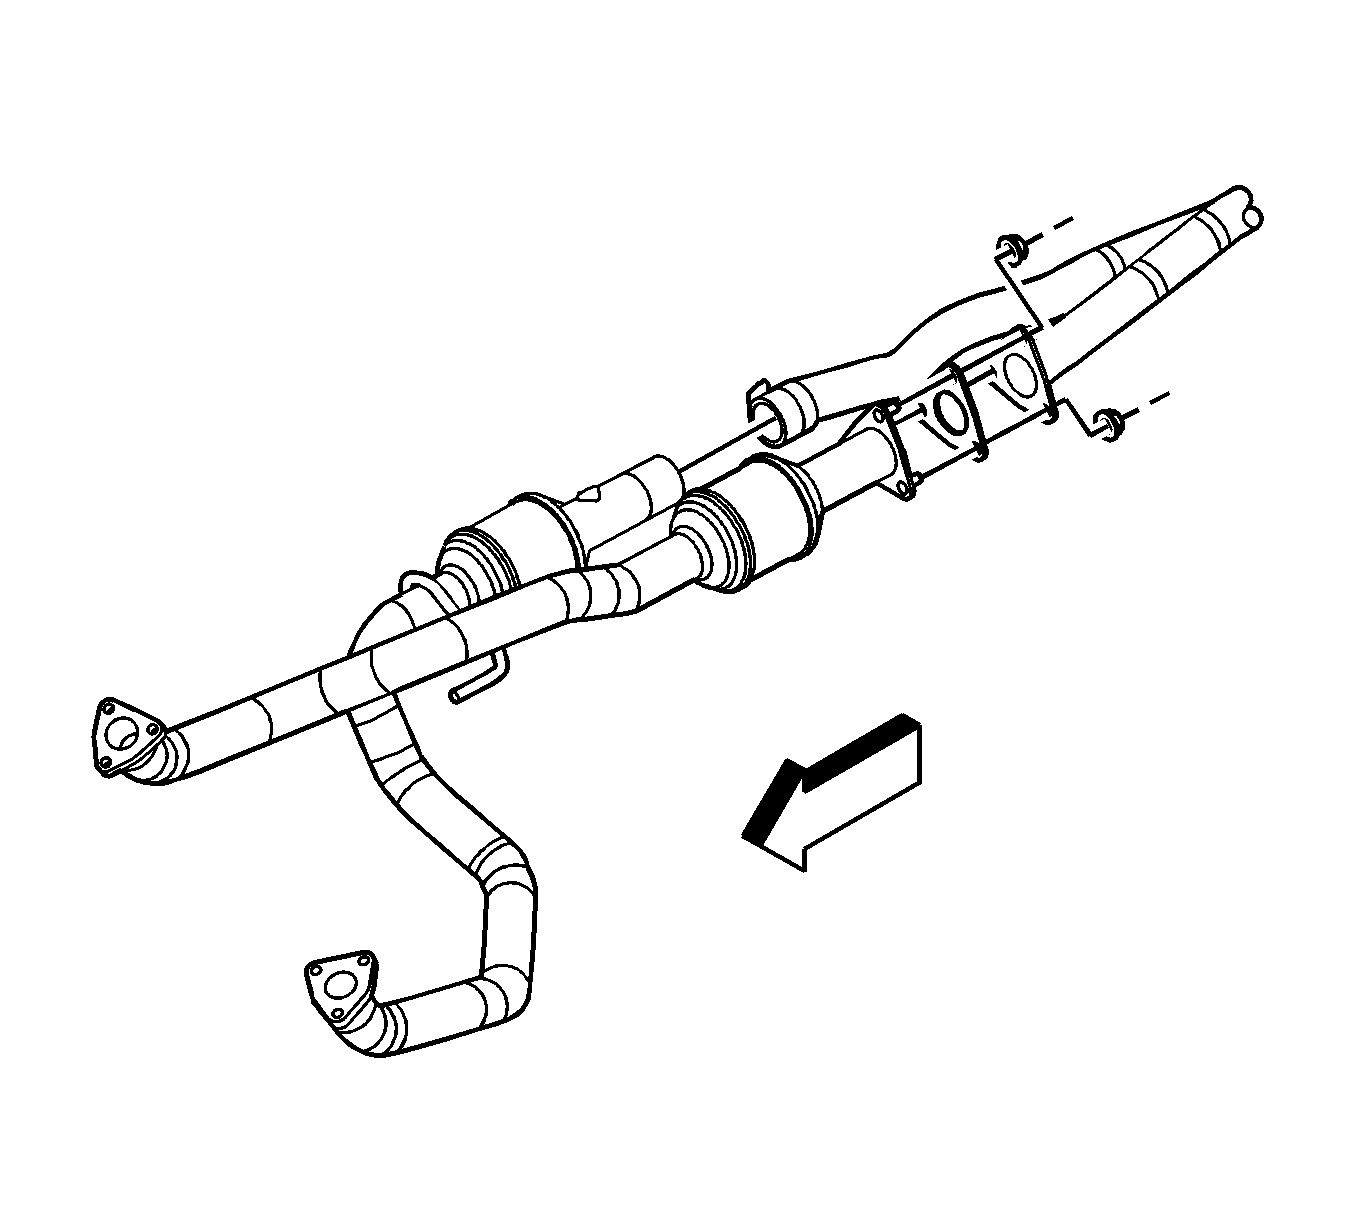
Important: Depending on the wheel base of the vehicle and the length of the exhaust system the following procedures are required in order to remove the muffler assembly from the vehicle.
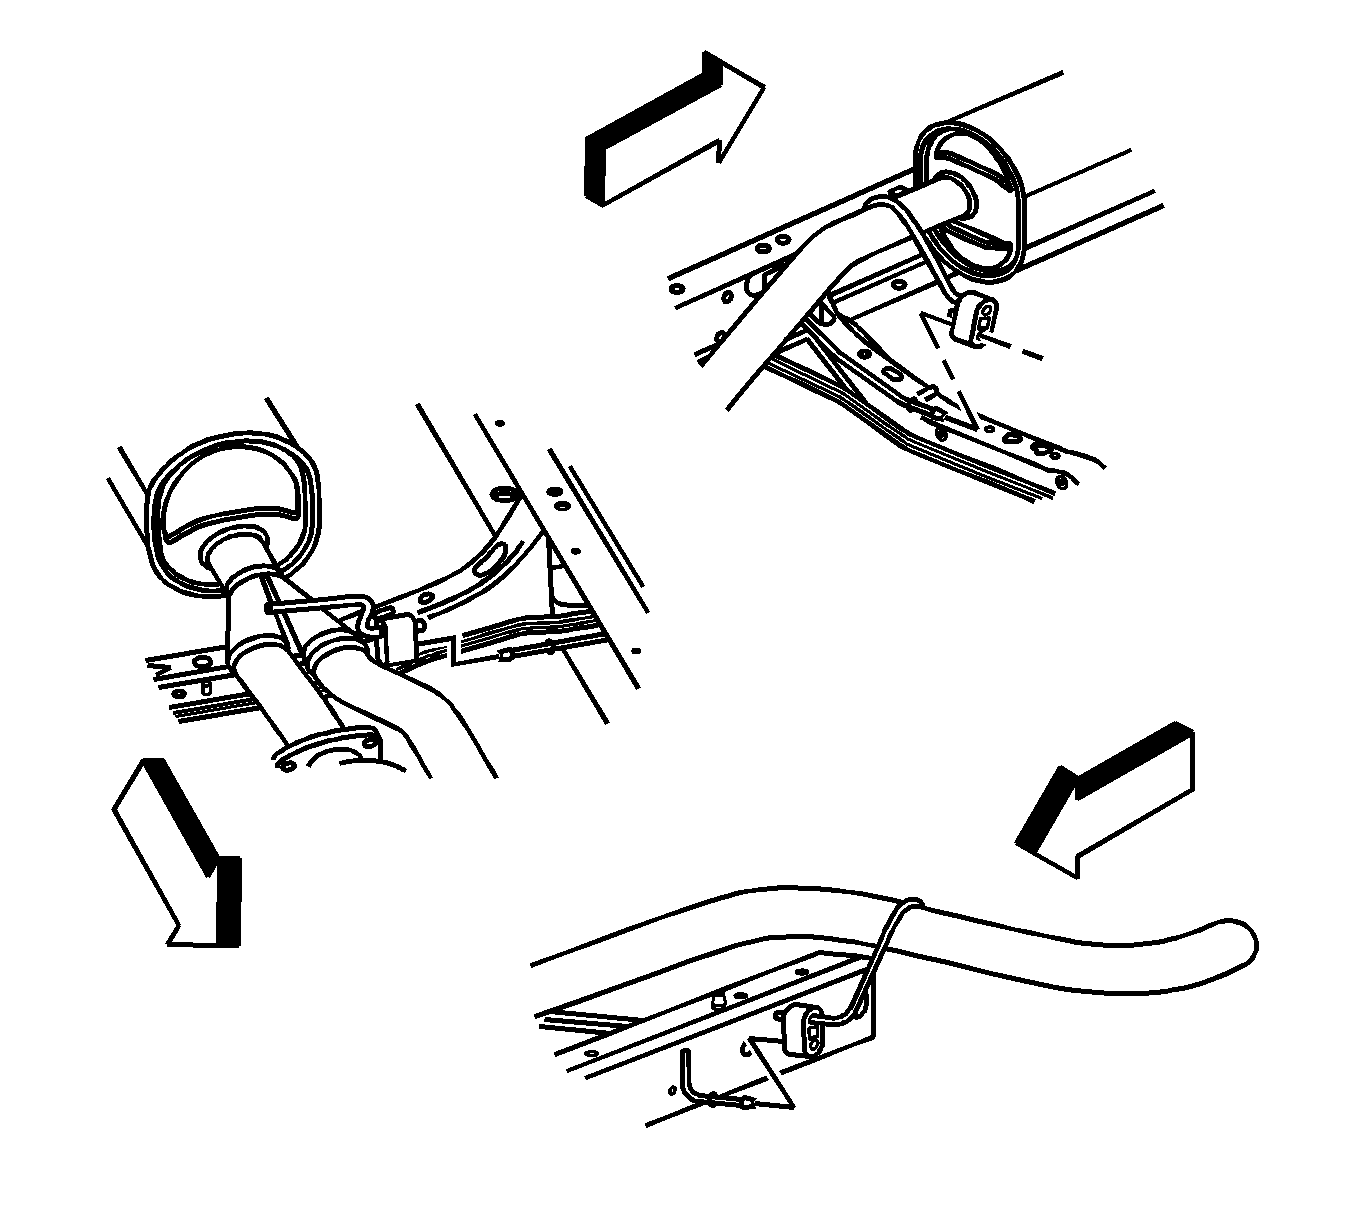
Installation Procedure
- Install the muffler assembly from the front of the vehicle by lifting over the rear axle. Due to the weight of the exhaust system it may take 2 people.
- Install the muffler assembly hanger pins to the exhaust hanger insulators.
- If equipped with a 4.3L engine, install the retaining nuts and new gasket to the front of the muffler.
- If equipped with a 4.8L/4.3L/6.0L engine, install the right catalytic converter in the muffler.
- Install a new gasket and the nuts retaining the left catalytic converter to the muffler flange.
- Lower the vehicle.

Notice: Refer to Fastener Notice in the Preface section.

Tighten
Tighten the catalytic converter to muffler retaining nuts to 48 N·m (35 lb ft).

Tighten
Tighten the clamp nut to 54 N·m (40 lb ft).
Tighten
| • | Verify that the exhaust system is properly aligned and tighten the right catalytic converter clamp to 54 N·m (40 lb ft). |
| • | Tighten the catalytic converter to the muffler flange nuts to 48 N·m (35 lb ft). |
Exhaust Muffler Replacement 6.6L
Removal Procedure
- Raise and suitably support the vehicle. Refer to Lifting and Jacking the Vehicle.
- Remove the spare tire, if necessary.
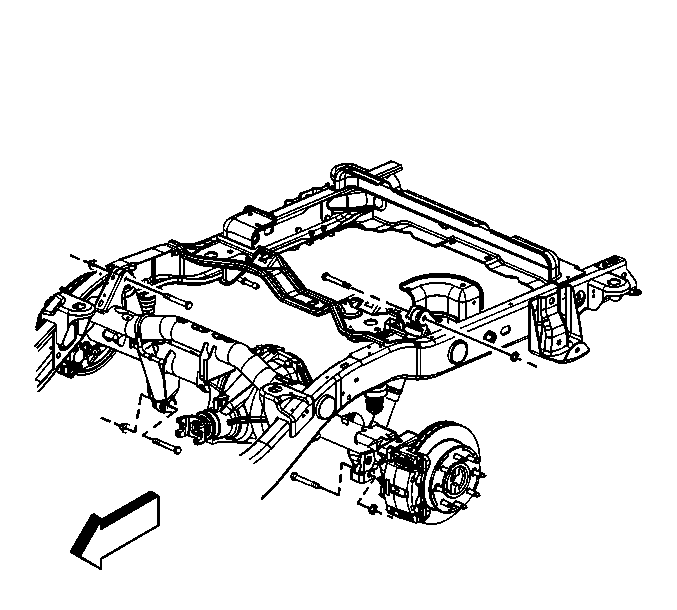
- Install adjustable jack stands under the rear axle, if necessary.
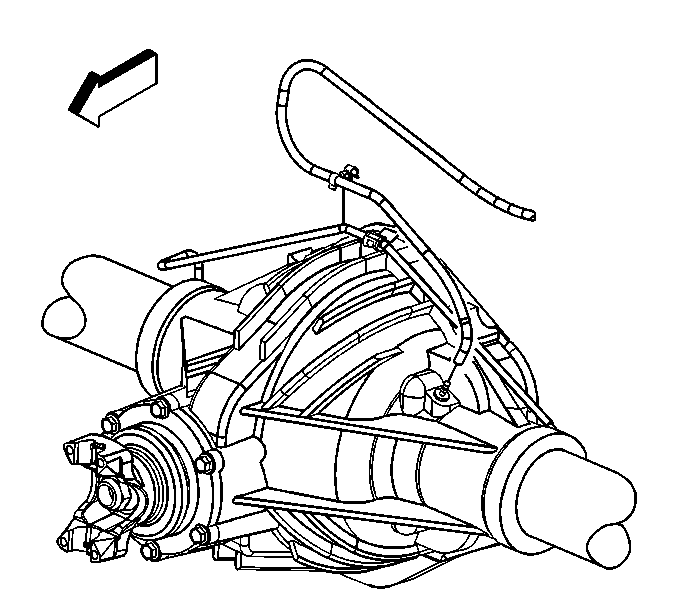
- If equipped with a 8.6 or 9.5 inch ring gear, remove the rear axle vent hose from the rear axle, if necessary.
- Remove the vent hose swivel clip from the rear brake crossover pipe, if necessary.
- If equipped with a 10.5 inch ring gear, remove the rear axle vent hose from the rear axle, if necessary.
- Remove the vent hose swivel clip from the rear brake crossover pipe, if necessary.
- Remove the rear shock absorbers lower bolts and nuts, if necessary.
- Lower the rear axle using the adjustable jack stands, if necessary.
- Loosen the exhaust pipe clamp.
- With the aid of an assistant, support the exhaust muffler.
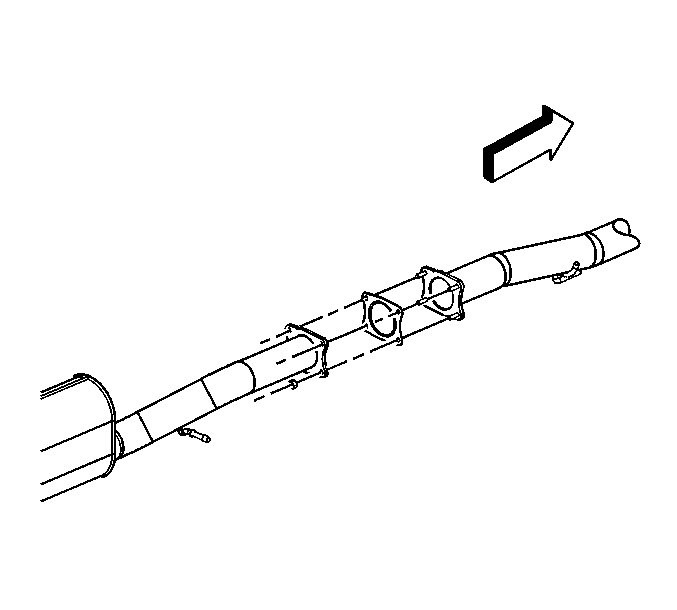
- Remove the exhaust muffler nuts.
- With the aid of an assistant, support the exhaust muffler.
- With the aid of an assistant, slide the muffler rearward in order to remove the muffler from the catalytic converter.
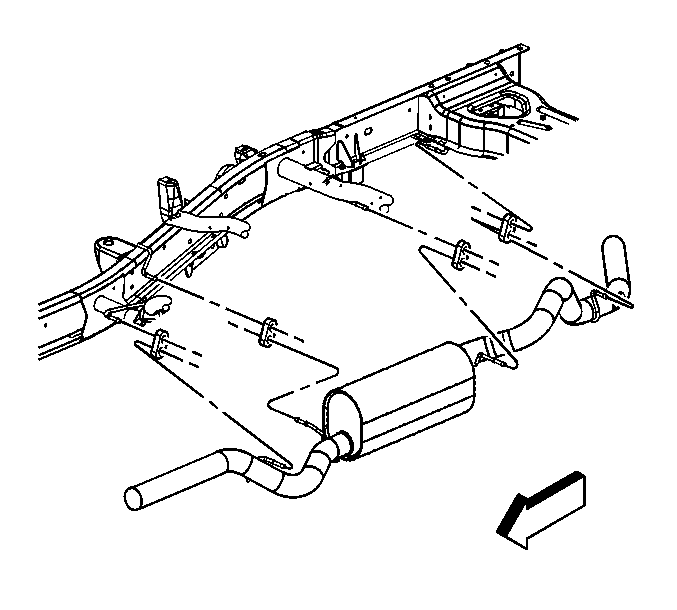
- Remove the insulators from the muffler hangers.
- Remove the exhaust manifold pipe gasket, if necessary.
- Remove the insulators from the frame hangers.
- With the aid of an assistant, slide the muffler rearward in order to remove the muffler from the exhaust muffler pipe.
- Remove the exhaust muffler gasket, if necessary.
- Remove the insulators from the muffler hangers.
- If the muffler is NOT being replaced as an assembly, the band clamp MUST be replaced. Perform the following:
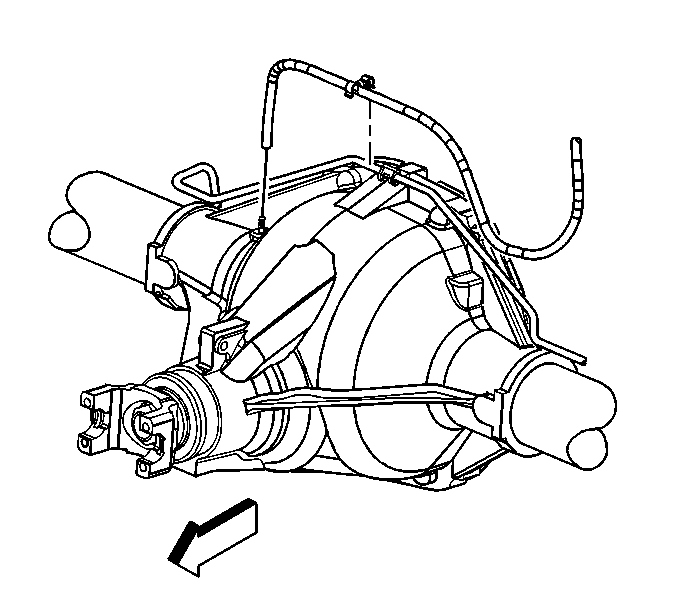
| 21.1. | Mark the position of the band clamp on the intermediate exhaust pipe. |
| 21.2. | Remove the band clamp from the exhaust pipe by grinding the weld. |
| 21.3. | Install a NEW band clamp onto the exhaust pipe. |
Installation Procedure
- Install the insulators to the muffler hangers.
- Install a new exhaust muffler gasket.
- With the aid of an assistant, slide the muffler forward in order to install the muffler to the exhaust muffler pipe.
- Install the insulators to the frame hangers.
- Install a new exhaust manifold pipe gasket.
- With the aid of an assistant, slide the muffler forward in order to install the muffler to the catalytic converter.
- Install the insulators to the frame hangers.
- Install the exhaust muffler nuts.
- Install the exhaust muffler nuts.
- Tighten the exhaust pipe clamp bolt.
- Raise the rear axle using the adjustable jack stands, if necessary.
- Install the rear shock absorbers lower bolts and nuts, if necessary.
- If equipped with a 10.5 inch ring gear, install the rear axle vent hose to the rear axle, if necessary.
- Connect the vent hose swivel clip to the rear brake crossover pipe, if necessary.
- If equipped with a 8.6 or 9.5 inch ring gear, install the rear axle vent hose to the rear axle, if necessary.
- Connect the vent hose swivel clip to the rear brake crossover pipe, if necessary.
- Remove the adjustable jack stands from under the rear axle, if necessary.
- Install the spare tire, if necessary.
- Lower the vehicle.

Important: Apply lubricant to the insulators to aid in installation.
Notice: Refer to Fastener Notice in the Preface section.

Tighten
Tighten the nuts to 40 N·m (30 lb ft).
Tighten
| • | Tighten the nuts to 40 N·m (30 lb ft). |
| • | Tighten the clamp to 44 N·m (33 lb ft). |

Tighten
Tighten the bolts to 95 N·m (70 lb ft).


