Important: Some 4.3L engines produced in late 2006 came equipped with powdered metal connecting rods. The powdered metal connecting rods are fractured at the connecting rod/rod bearing cap mating area, as apposed to forged connecting
rods/rod bearing caps that are machined. With a powdered metal connecting rod, the piston, pin, and connecting rod are to be serviced as an assembly.
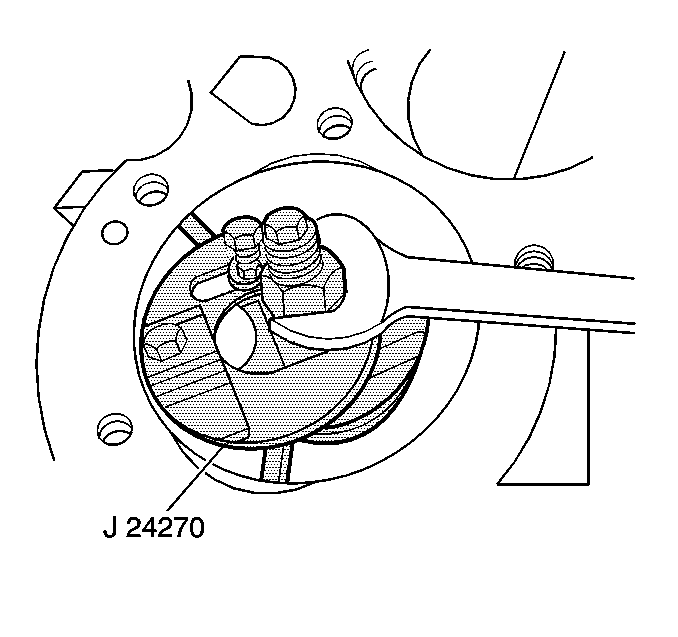
- Use the
J 24270 in order to remove the cylinder ring ridge.
| 1.1. | Turn the crankshaft until the piston is at the bottom of the stroke. |
| 1.2. | Place a cloth on top of the piston. |
| 1.3. | Use the
J 24270 to remove all of the cylinder ring ridge. |
| 1.4. | Turn the crankshaft so the piston is at the top of the stroke. |
| 1.6. | Remove the cutting debris. |
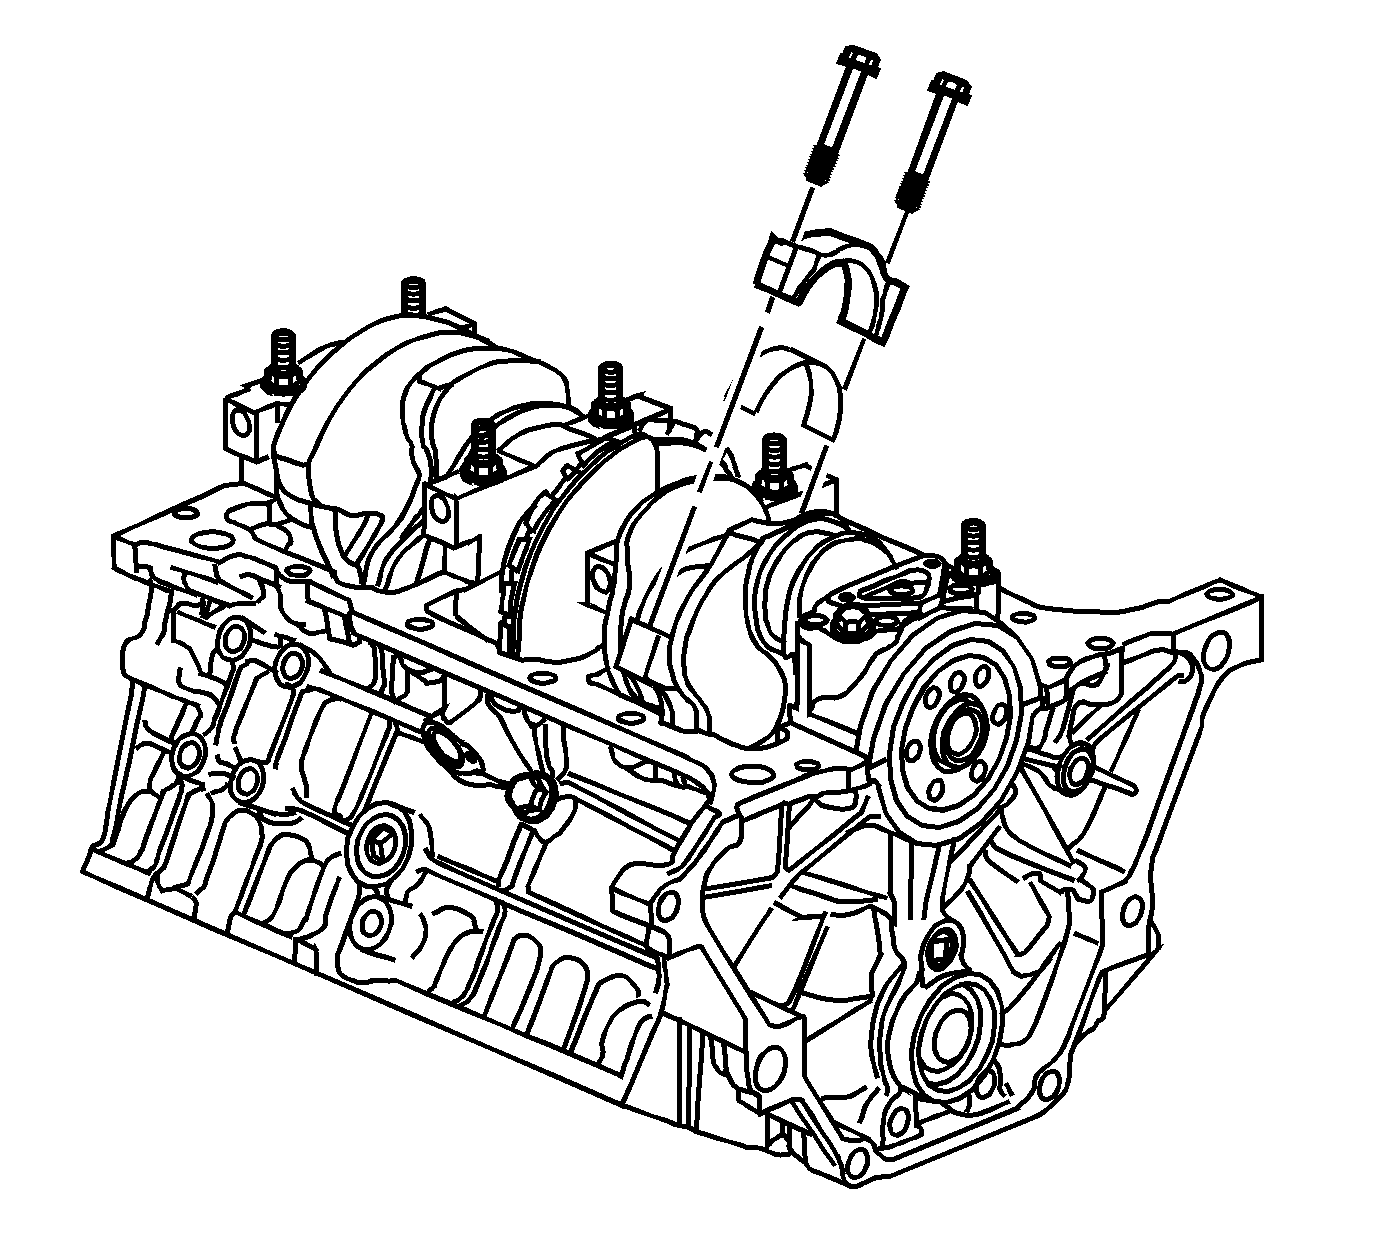
Important: The connecting rods and rod bearing caps are NOT interchangeable. Using a paint stick or etching tool, place match marks or numbers on the connecting rods and the connecting rod bearing caps prior to removal to ensure
that they are assembled in their original position and direction, with the connecting rod/rod bearing cap mating surfaces properly oriented and aligned.
- If equipped with powdered metal connecting rods, remove the connecting rod bolts, cap and bearing.
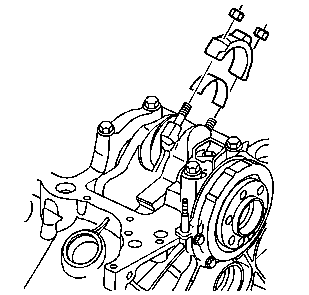
- If equipped with forged connecting rods, remove the connecting rod nuts, cap and bearing.
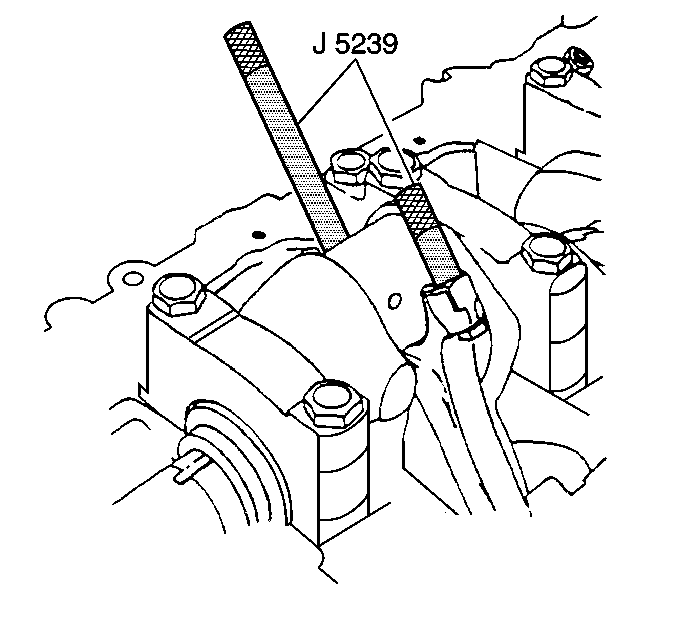
Important: Use care when removing the piston from the cylinder so as not to damage the crankshaft journals or cylinder bore.
- If equipped with forged connecting rods, use the
J 5239 in order to protect the crankshaft journals.
- Remove the connecting rod and the piston out of the top of the engine block.
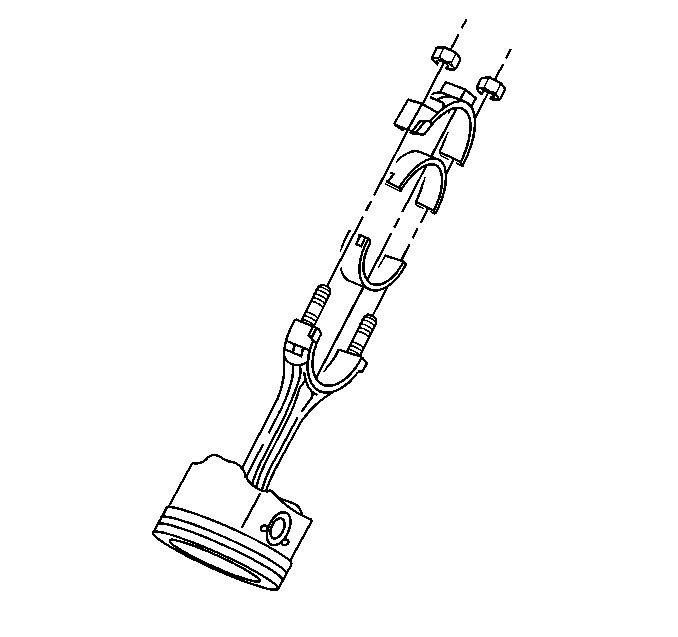
Important: Always assemble the connecting rod caps to the matching connecting rods.
- Remove the connecting rod bearings.
| • | Keep the connecting rod bearings with the original connecting rod and connecting rod cap. |
| • | Wipe the oil from the connecting rod bearings. |
| • | Wipe the oil from the crankpins. |


