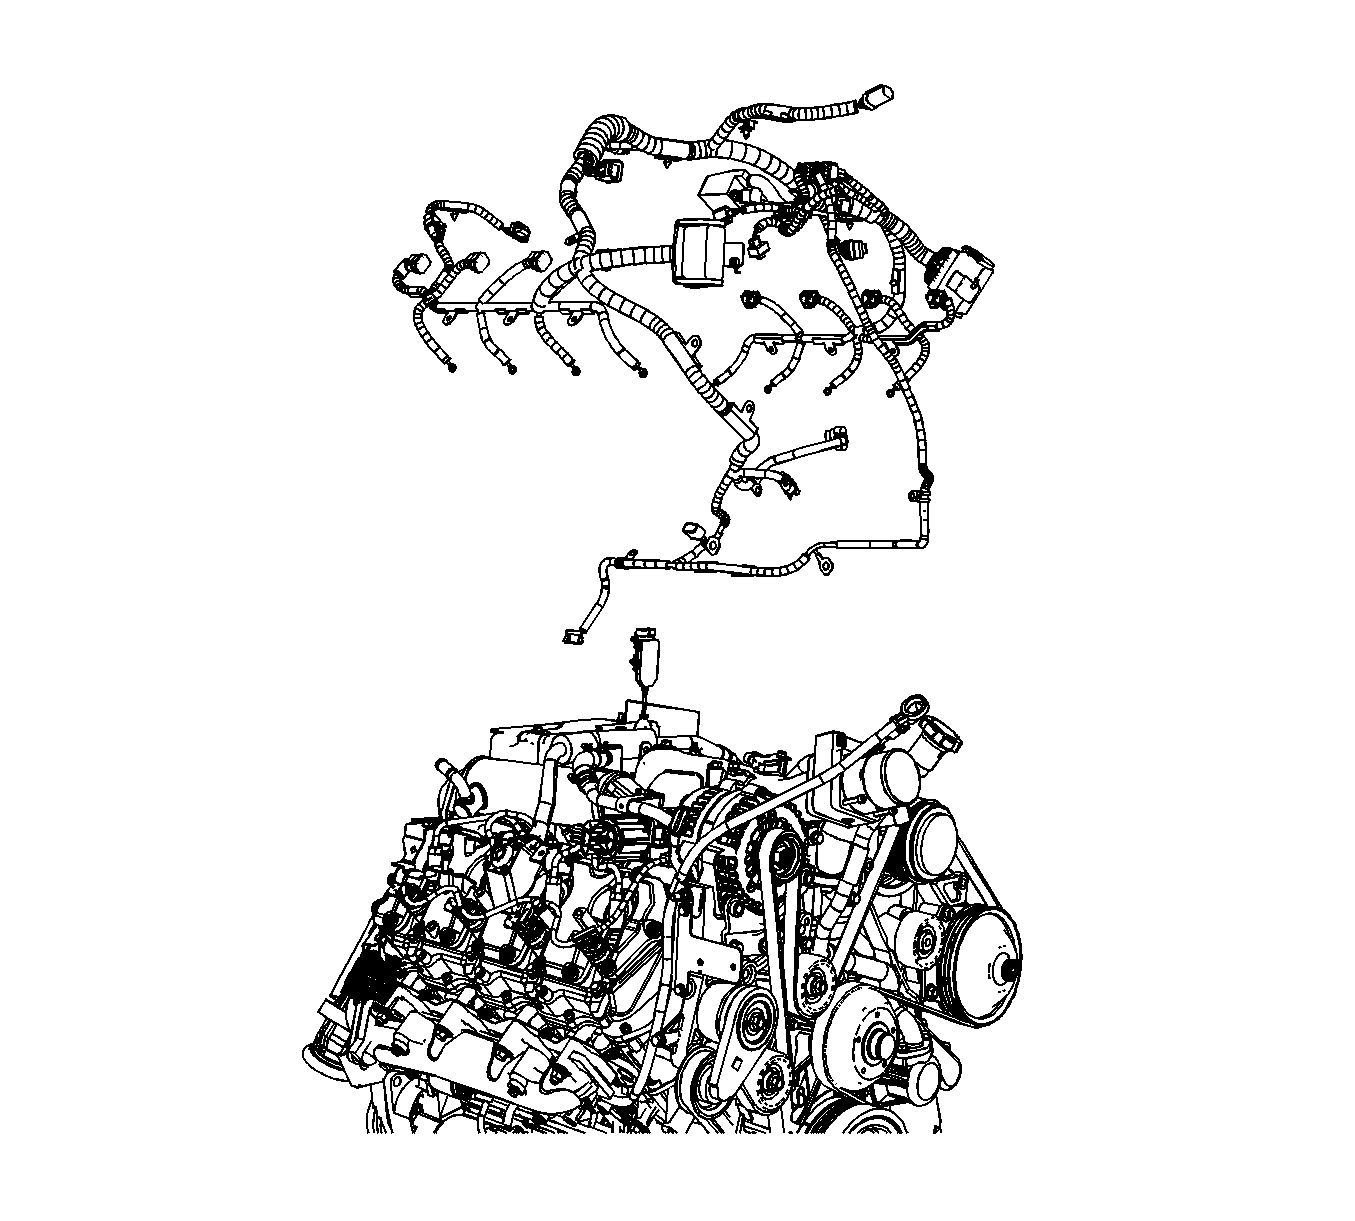
Removal Procedure
- Disconnect the negative battery cable. Refer to Battery Negative Cable Disconnection and Connection .
- Remove the exhaust gas recirculation (EGR) cooler tube. Refer to Exhaust Gas Recirculation Valve Cooler Replacement .
- Remove the thermostat housing crossover. Refer to Thermostat Housing Crossover Replacement .
- Remove the turbocharger vane position sensor. Refer to Turbocharger Vane Position Sensor Replacement .
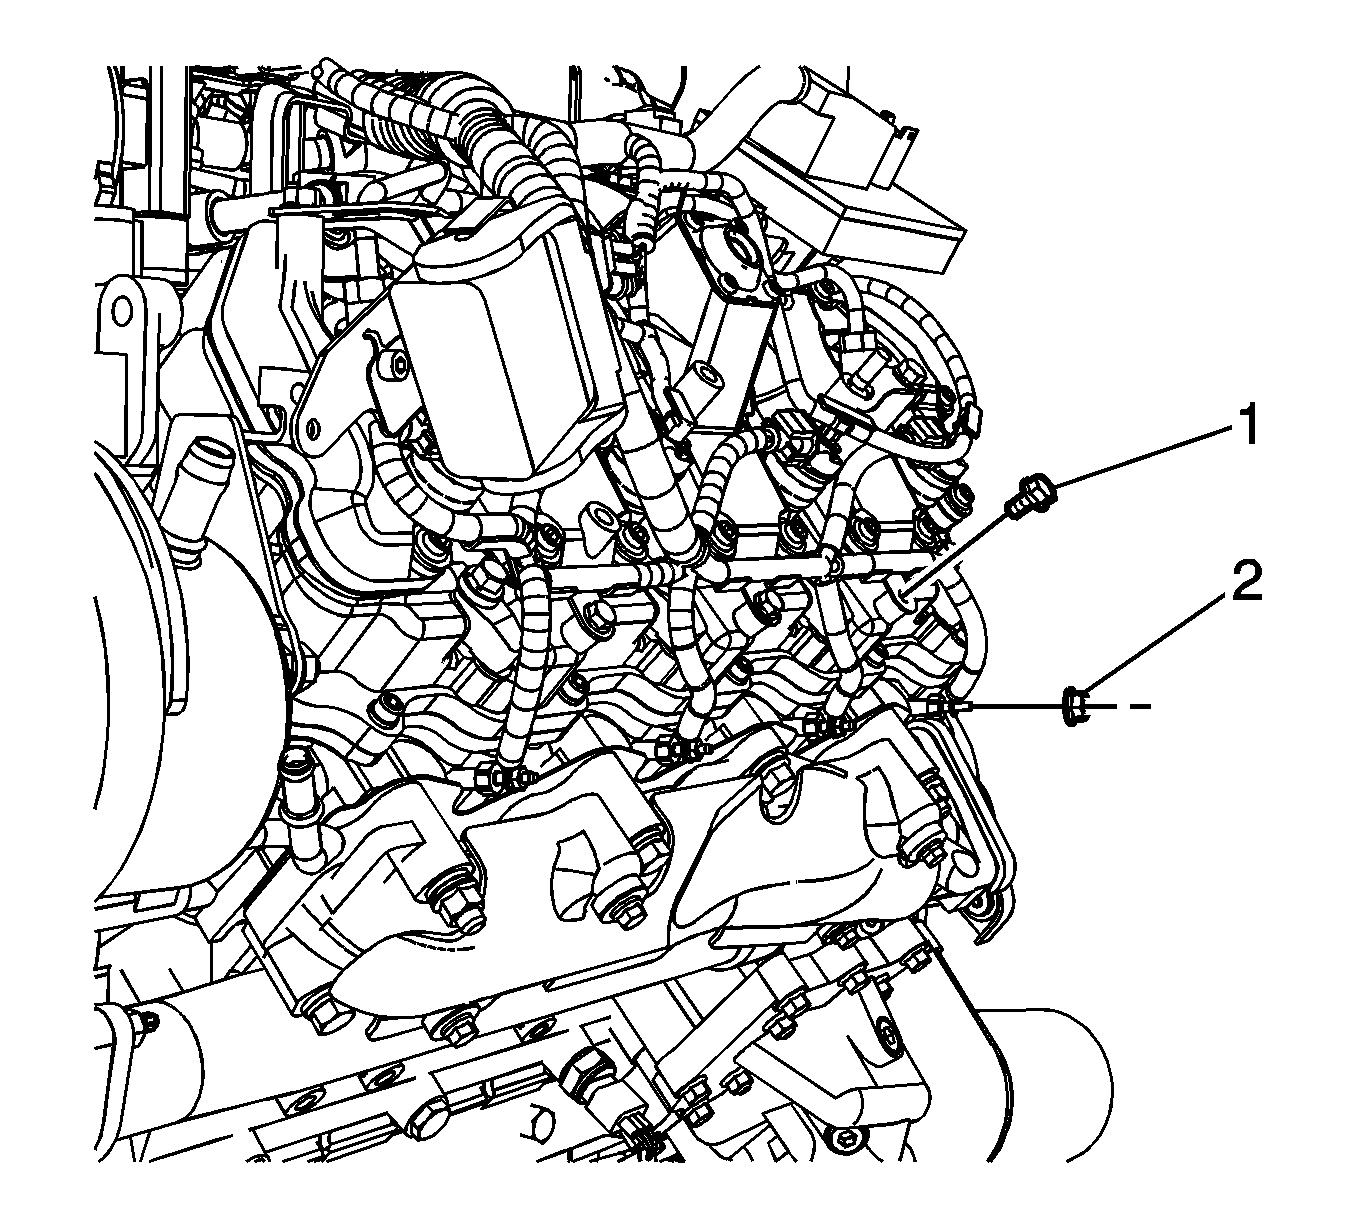
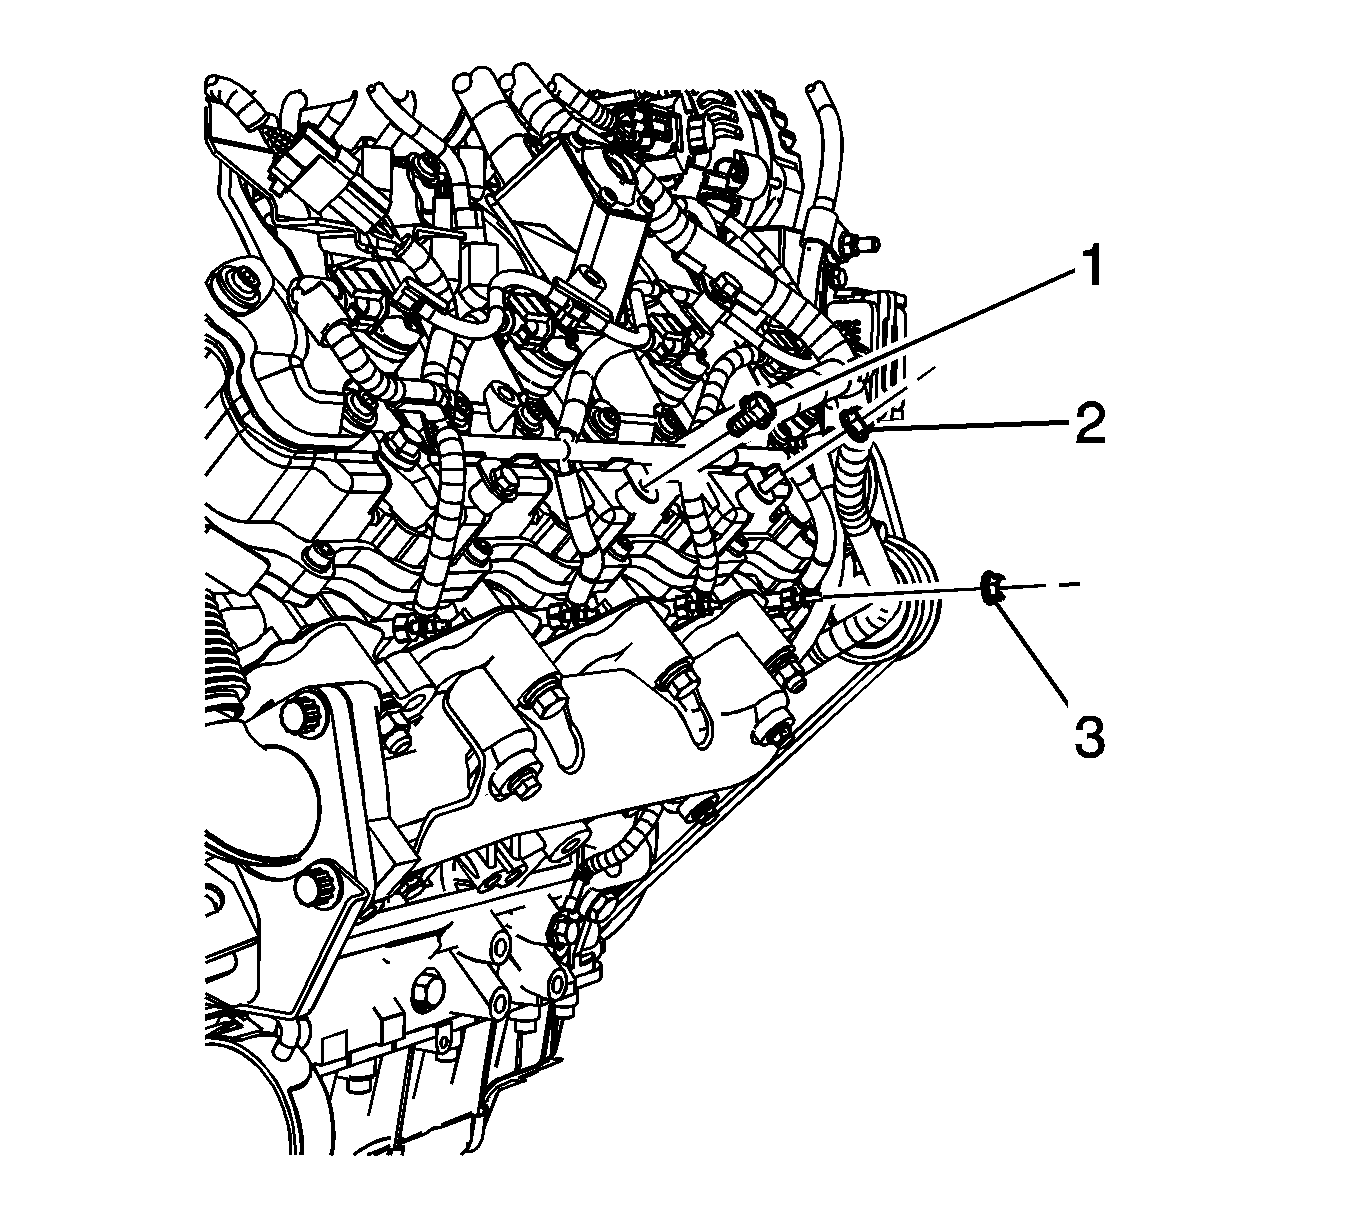
- Remove the left engine wiring harness bracket bolts (1).
- Remove the left glow plug nuts (2).
- Remove the engine wiring harness electrical connectors from the left fuel injectors.
- Disconnect the engine wiring harness electrical connector from the glow plug control module.
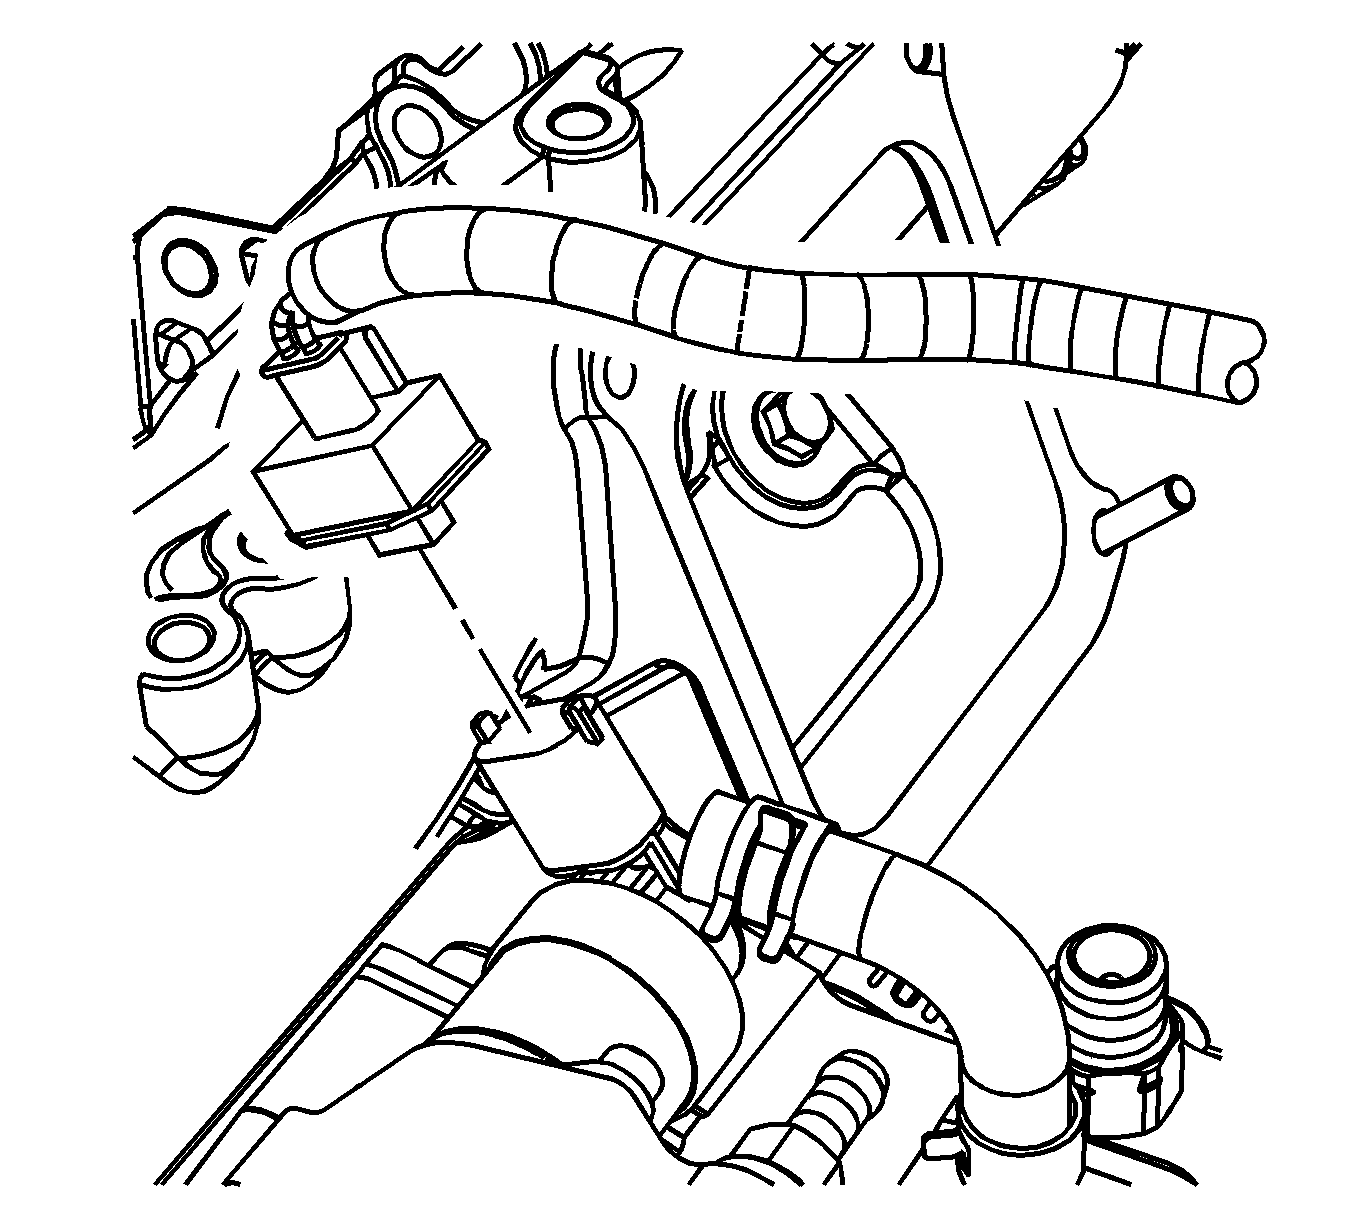
- Disconnect the engine wiring harness electrical connector from the intake air temperature (IAT) sensor.
- Disconnect the left side engine wiring harness main electrical connector.
- Remove the left side engine wiring harness main connector bolt from the bracket.
- Disconnect the engine wiring harness electrical connector from the fuel temperature sensor.
- Raise and support the vehicle. Refer to Lifting and Jacking the Vehicle .
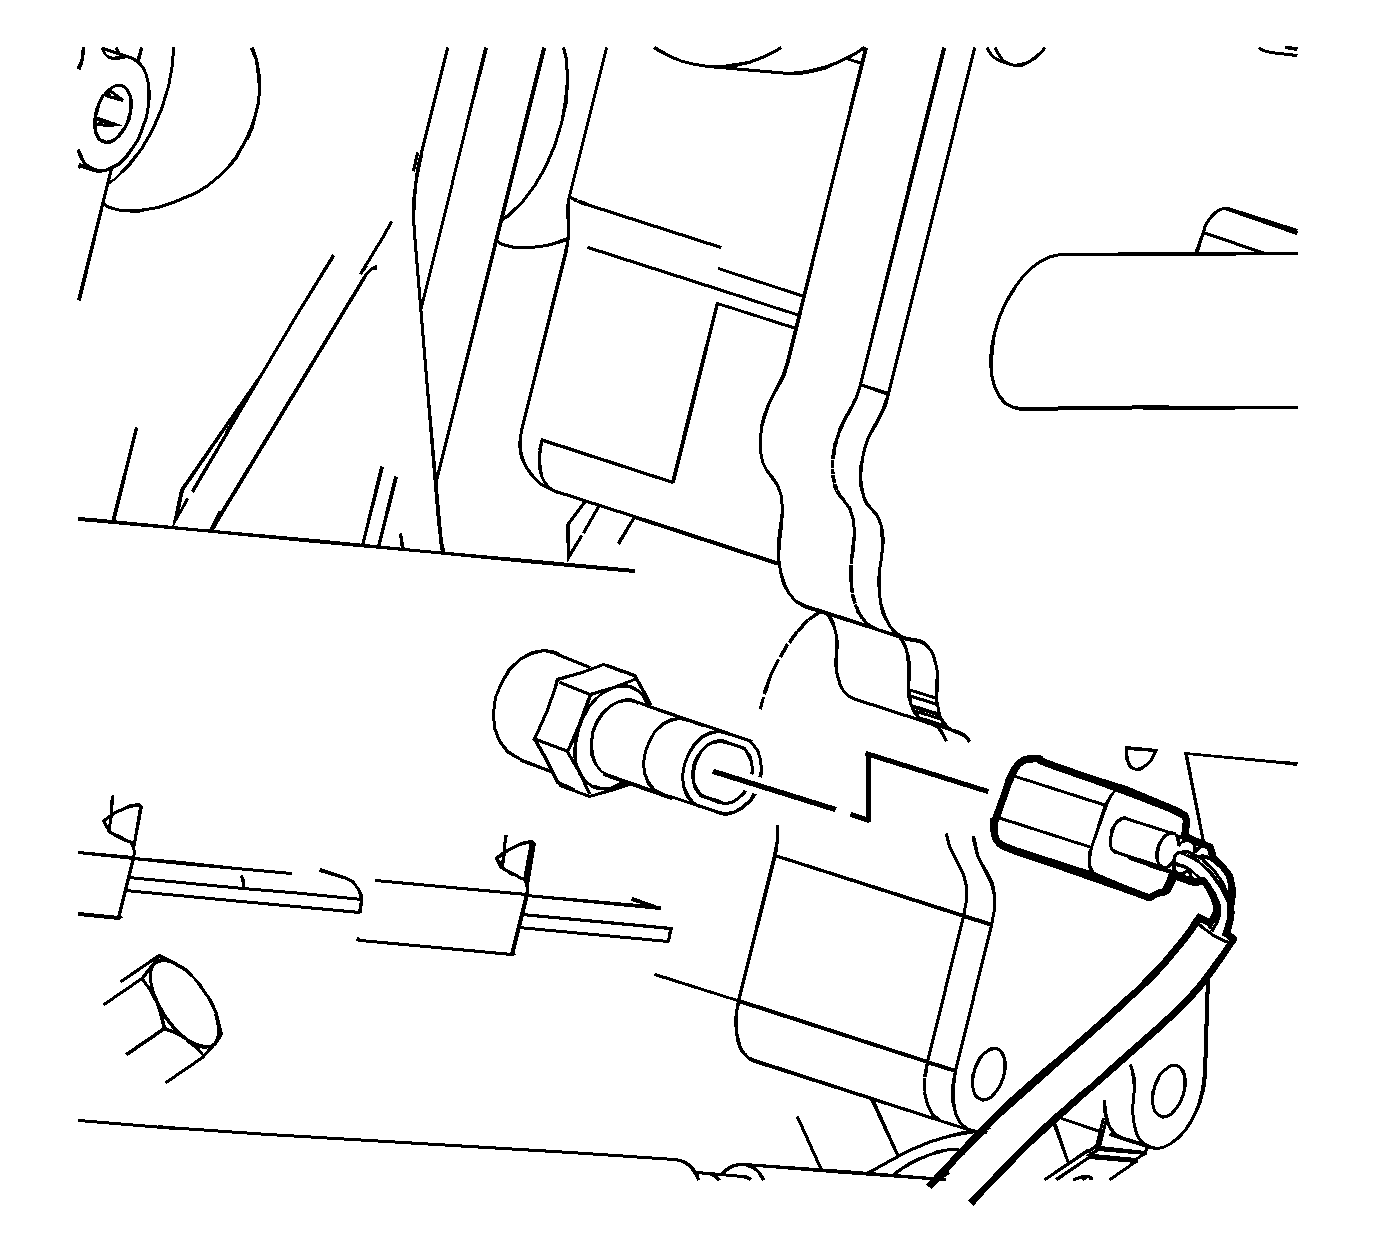
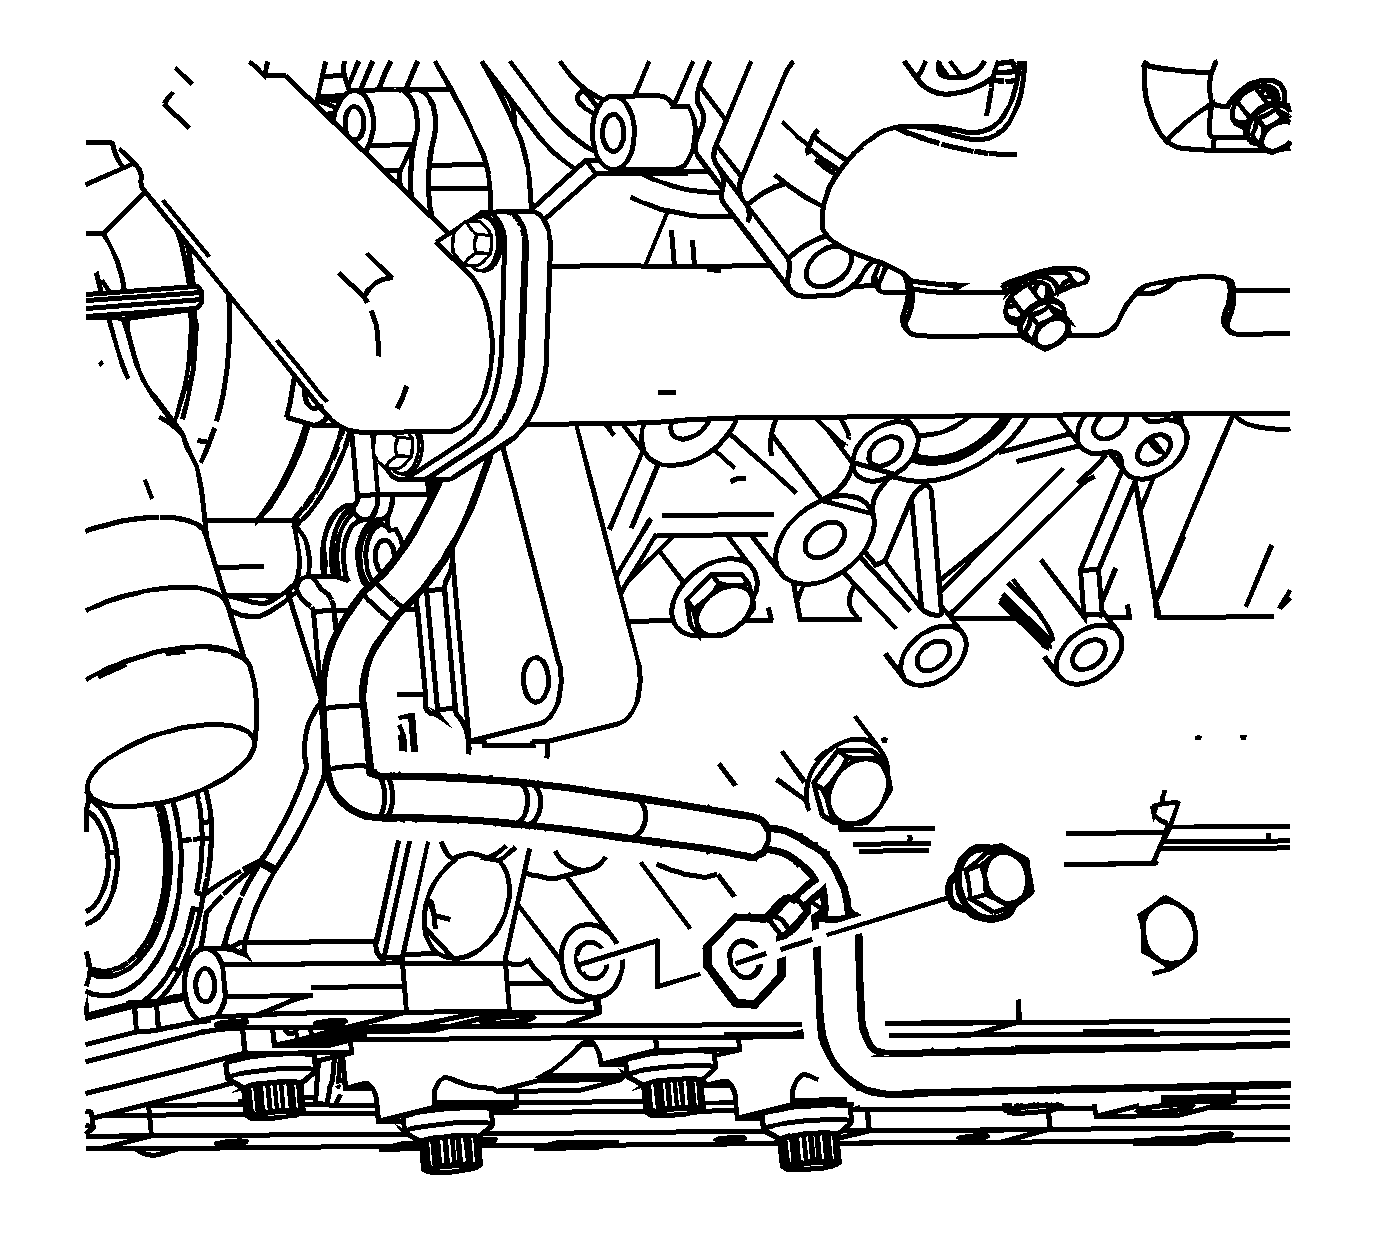
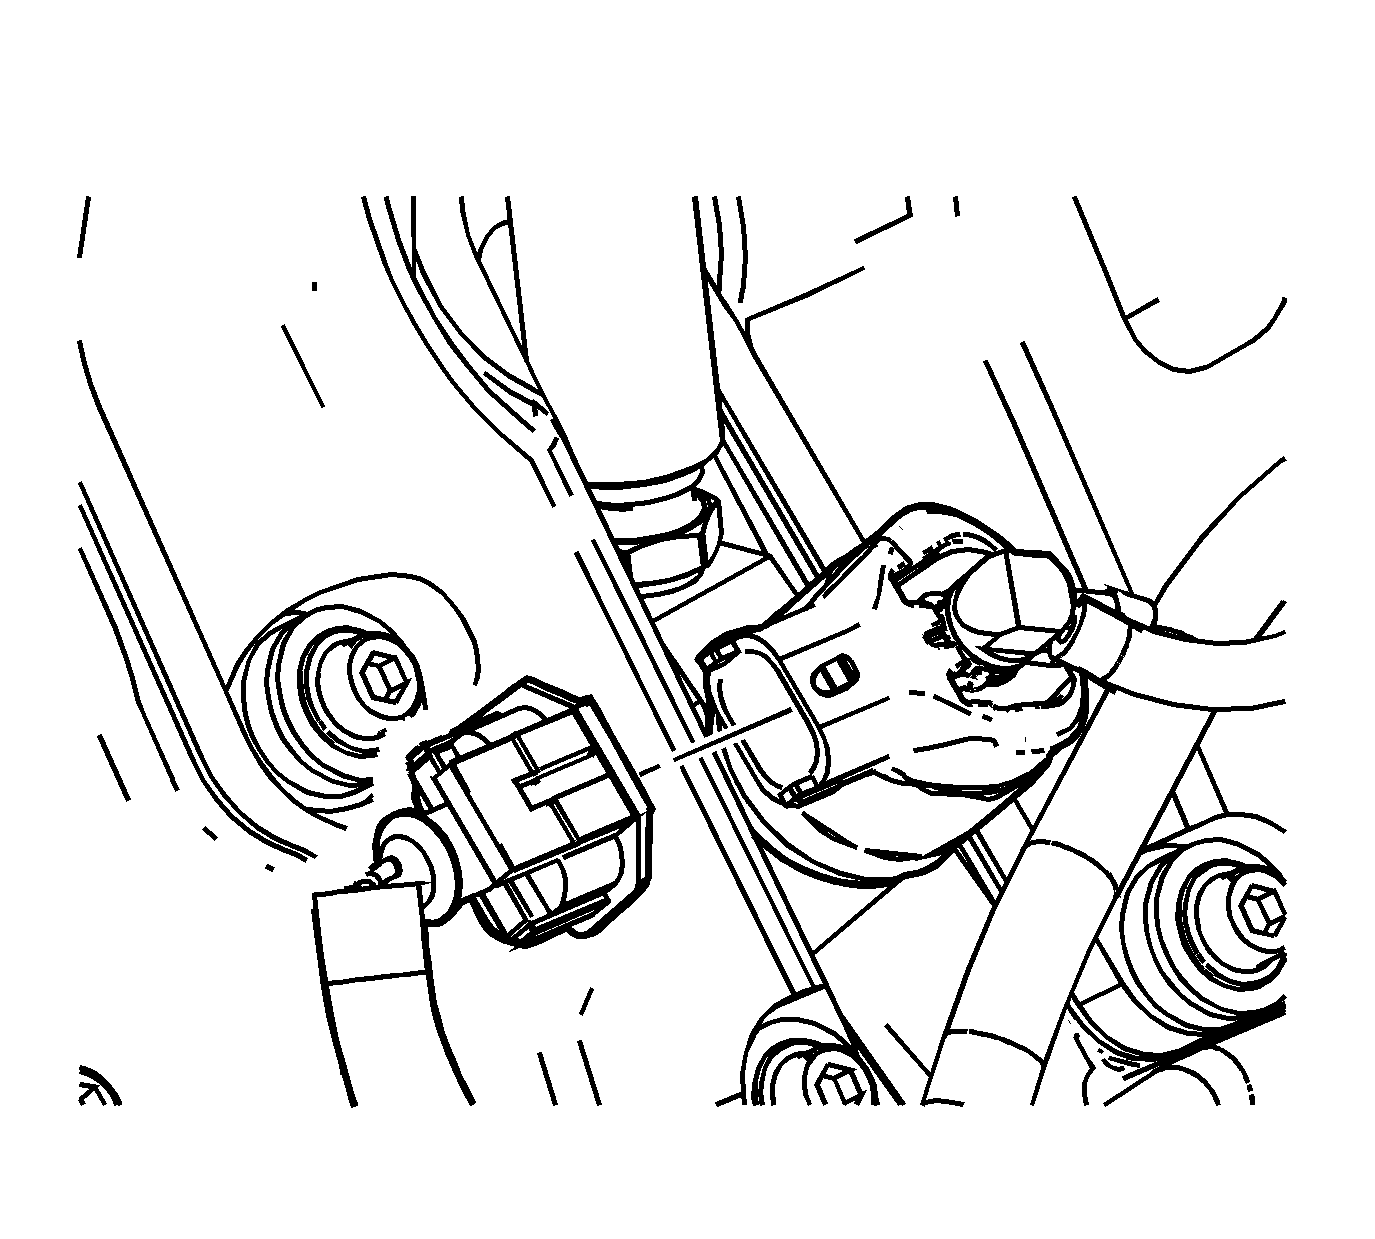
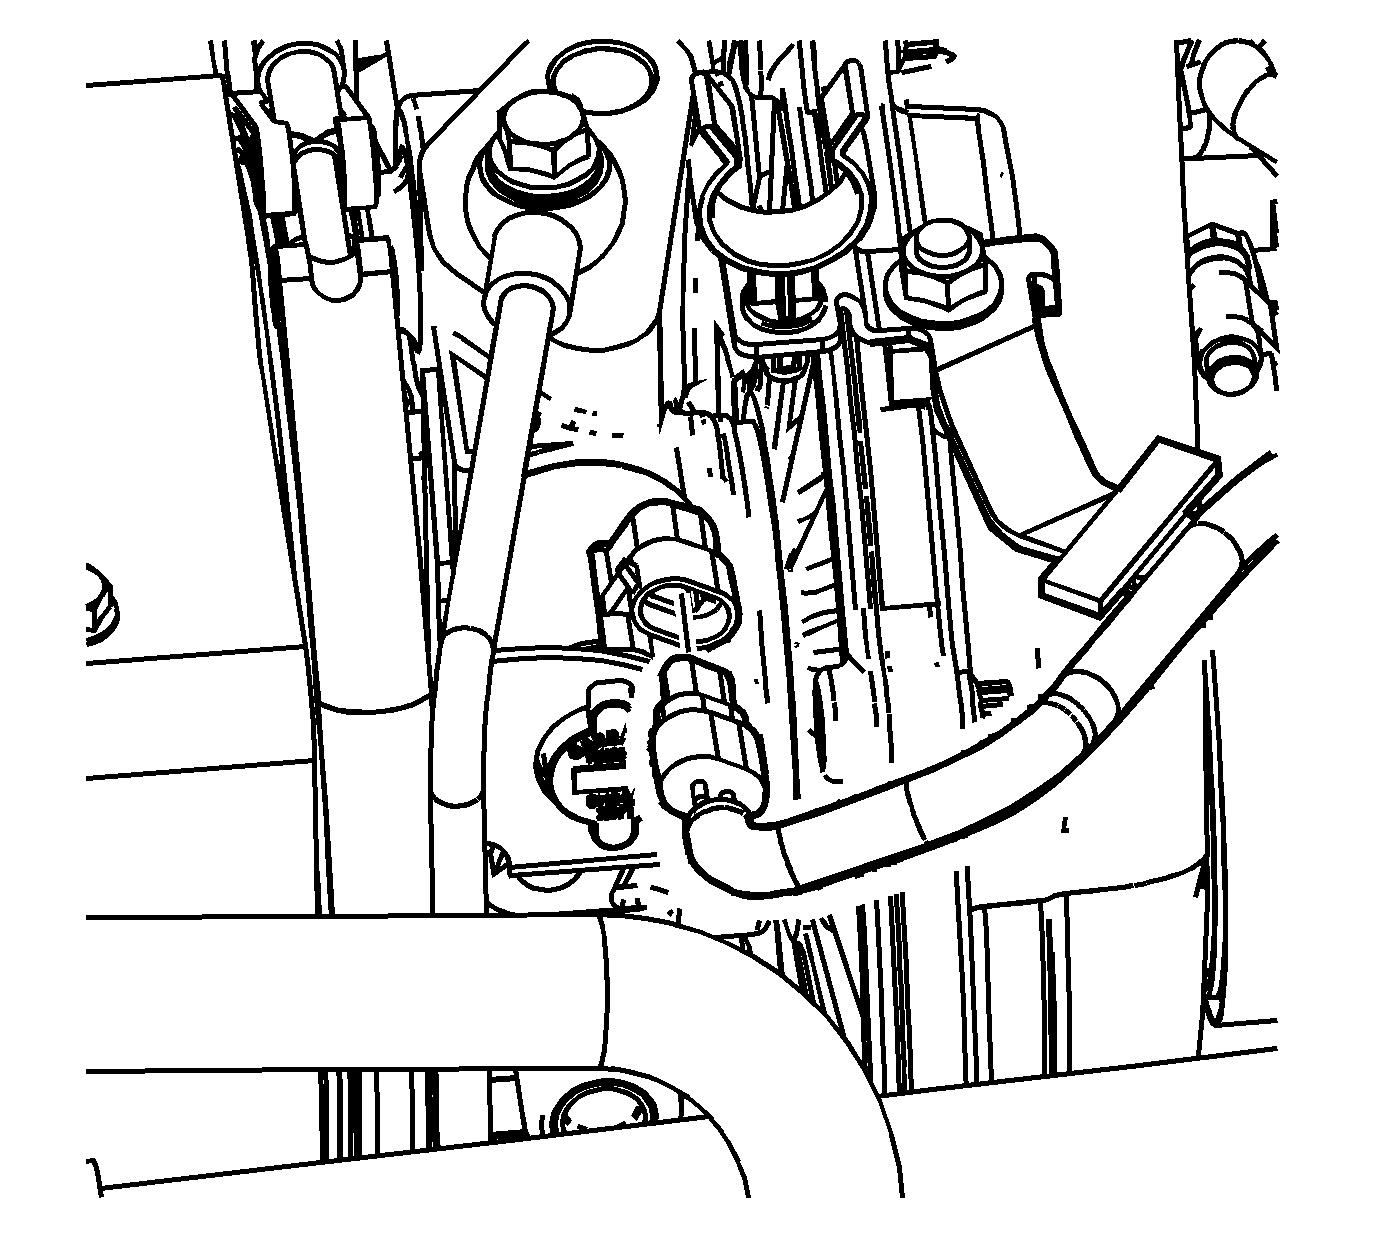
- Disconnect the engine wiring harness electrical connector (2) from the oil pressure sensor.
- Disconnect the engine wiring harness electrical connector from the oil level sensor.
- Remove the engine wiring harness left side ground bolt.
- Remove the engine wiring harness from the clip secured behind one of the front cover bolts.
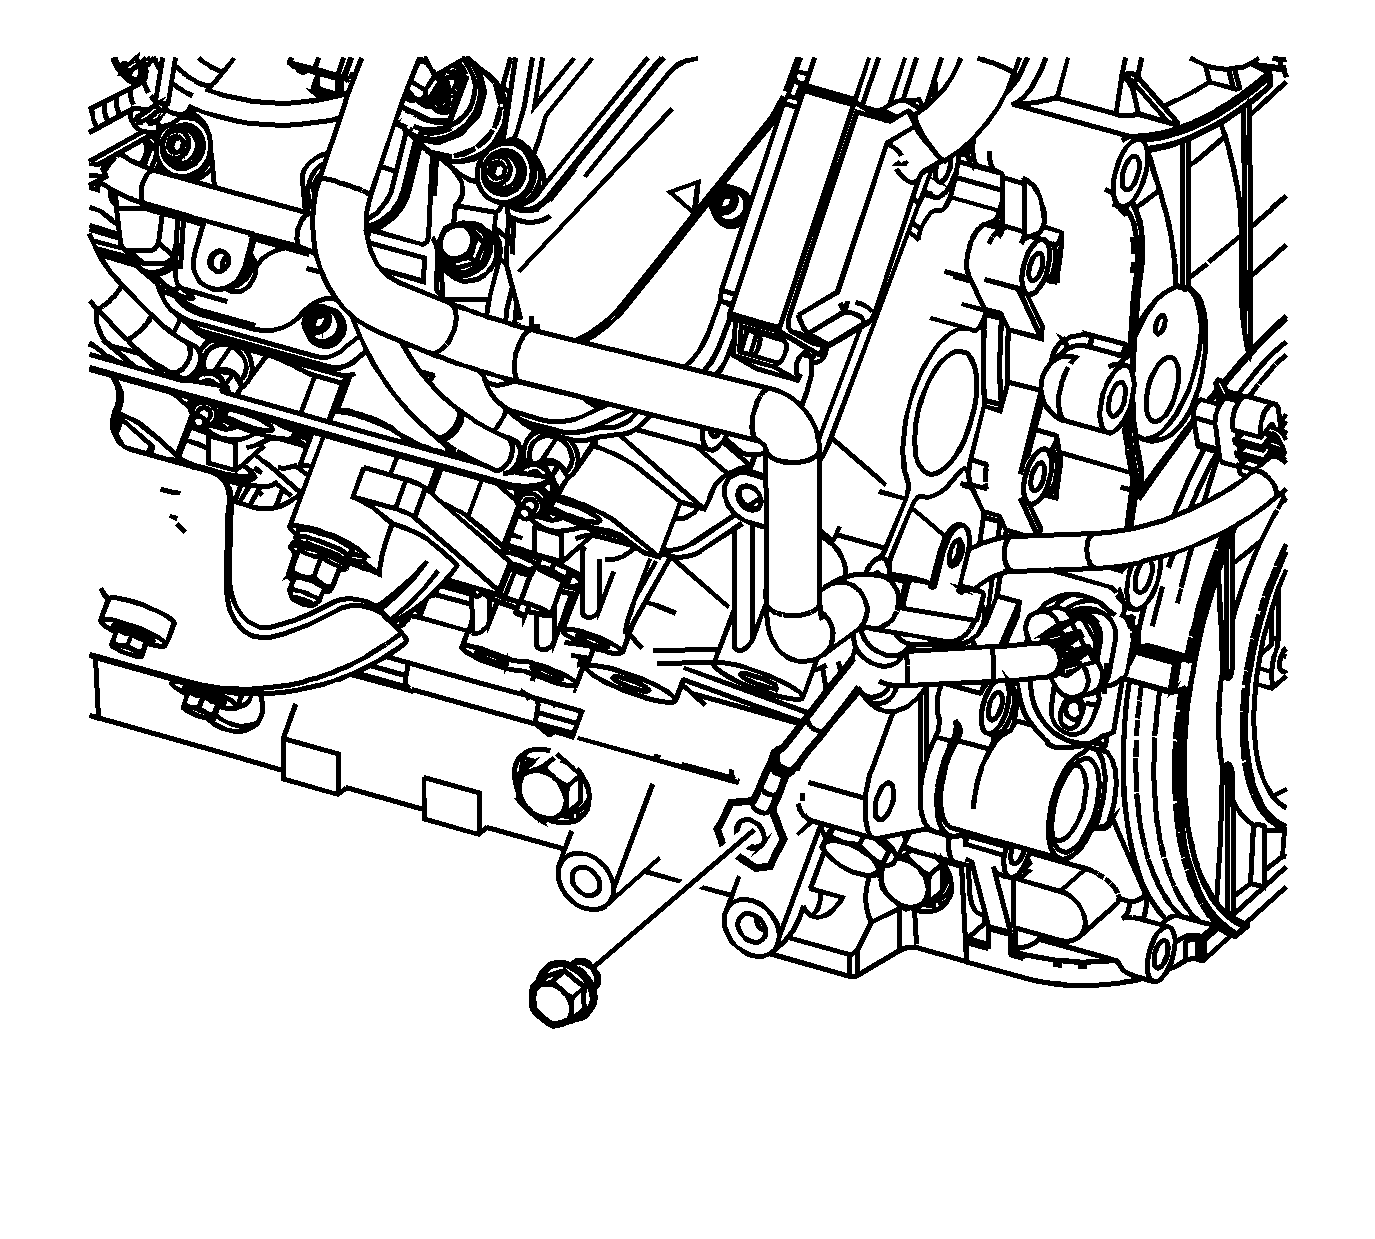
- Remove the engine wiring right side ground bolt.
- Lower the vehicle.
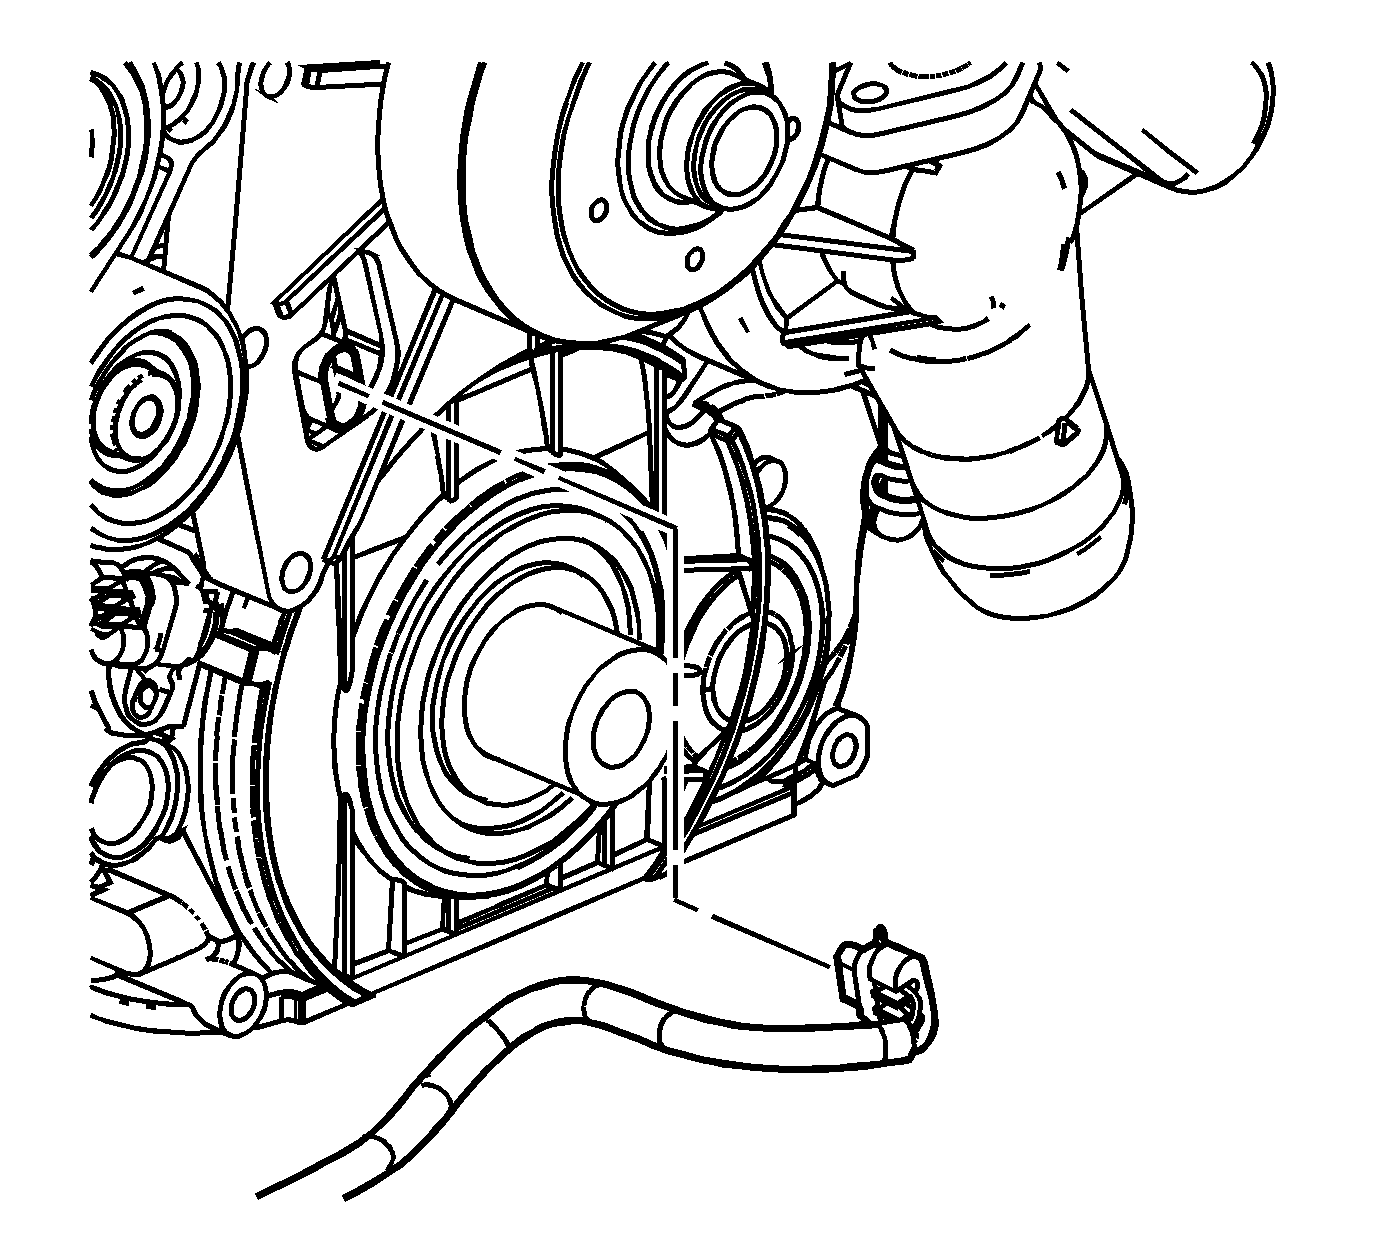
- Disconnect the engine wiring harness electrical connector from the camshaft position (CMP) sensor.
- Remove the engine wiring harness from behind the clip attached to the engine block.
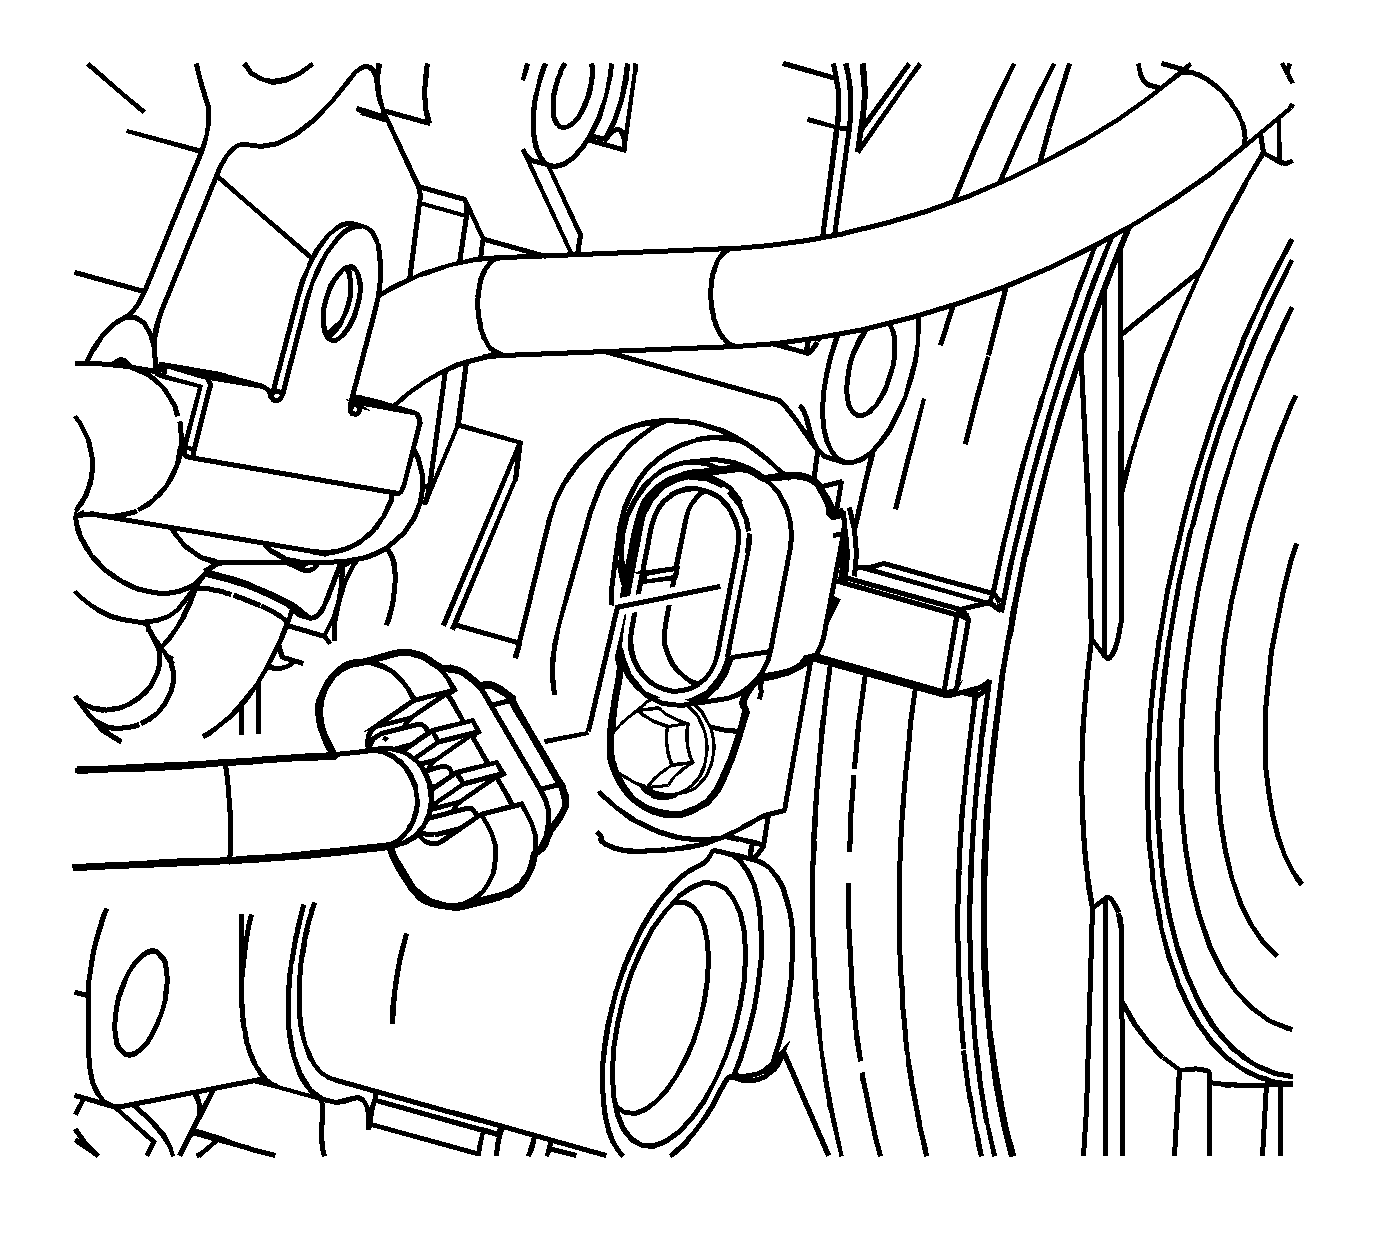
- Disconnect the engine wiring harness electrical connector from the crankshaft position (CKP) sensor.
- Remove the right engine wiring harness bracket bolts (1) and nut (2).
- Remove the glow plug nuts (3).
- Disconnect the engine wiring harness electrical connector from the fuel pressure regulator.
- Disconnect the right side main engine wiring harness electrical connector.
- Remove the right side main engine wiring harness connector bolt.
- Disconnect the engine wiring harness electrical connectors from the right side fuel injectors.
- Disconnect the engine wiring harness electrical connector from the turbocharger vane control solenoid valve.
- Disconnect the engine wiring harness electrical connector (1) from the fuel rail pressure sensor.
- Remove the fuel rail pressure sensor wiring harness clip from the bracket.
- Remove the engine wiring harness.

Notice: Label all the injector electrical connectors before the connectors are removed in order to prevent reconnecting to the wrong injector. Failure to properly connect the injectors in the correct sequence will cause severe engine damage.
Notice: Label all the injector electrical connectors before the connectors are removed in order to prevent reconnecting to the wrong injector. Failure to properly connect the injectors in the correct sequence will cause severe engine damage.

Installation Procedure
- Install the engine wiring harness.
- Connect the engine wiring harness electrical connector (1) to the fuel rail pressure sensor.
- Install the fuel rail pressure sensor wiring harness clip to the bracket.
- Connect the engine wiring harness electrical connector to the turbocharger vane control solenoid valve.
- Connect the engine wiring harness electrical connectors to the right side fuel injectors.
- Connect the engine wiring harness electrical connector to the fuel pressure regulator.
- Position the right side main engine wiring harness connector to the bracket and install the connector bolt.
- Connect the right side main engine wiring harness electrical connector.
- Install the engine wiring harness to the glow plugs and install the glow plug nuts (3).
- Position the right engine wiring harness bracket and install the bracket bolts (1) and nut (2).
- Connect the engine wiring harness electrical connector to the CKP sensor.
- Connect the engine wiring harness electrical connector to the CMP sensor.
- Install the engine wiring harness behind the clip attached to the engine block.
- Raise and support the vehicle.
- Position the engine wiring right side ground and install the bolt.
- Position the engine wiring harness left side ground and install the bolt.
- Install the engine wiring harness behind the clip secured to the front cover.
- Lower the vehicle.
- Connect the engine wiring harness electrical connector (2) to the oil pressure sensor.
- Connect the engine wiring harness electrical connector to the oil level sensor.
- Connect the engine wiring harness electrical connector to the fuel temperature sensor.
- Connect the engine wiring harness electrical connector to the glow plug control module.
- Connect the engine wiring harness electrical connector to the IAT sensor.
- Position the left side engine wiring harness main electrical connector to the bracket and install the connector bolt.
- Install the engine wiring harness electrical connectors to the left fuel injectors.
- Install the engine wiring harness to the left glow plugs and install the glow plug nuts (2).
- Position the left engine wiring harness bracket and install the bracket bolts (1).
- Install the turbocharger vane position sensor. Refer to Turbocharger Vane Position Sensor Replacement .
- Install the thermostat housing crossover. Refer to Thermostat Housing Crossover Replacement .
- Install the EGR cooler tube. Refer to Exhaust Gas Recirculation Valve Cooler Replacement .
- Connect the negative battery cable. Refer to Battery Negative Cable Disconnection and Connection .
Notice: Label all the injector electrical connectors before the connectors are removed in order to prevent reconnecting to the wrong injector. Failure to properly connect the injectors in the correct sequence will cause severe engine damage.
Notice: Refer to Fastener Notice in the Preface section.
Tighten
Tighten the bolt to 10 N·m (89 lb in).
Tighten
Tighten the nuts to 1.7 N·m (15 lb in).
Tighten
Tighten the bolts and nut to 10 N·m (89 lb in).
Tighten
Tighten the bolt to 41 N·m (30 lb ft).
Tighten
Tighten the bolt to 40 N·m (29 lb ft).
Tighten
Tighten the bolt to 10 N·m (89 lb in).
Notice: Label all the injector electrical connectors before the connectors are removed in order to prevent reconnecting to the wrong injector. Failure to properly connect the injectors in the correct sequence will cause severe engine damage.
Tighten
Tighten the nuts to 1.7 N·m (15 lb in).
Tighten
Tighten the bolts to 10 N·m (89 lb ft).
