For 1990-2009 cars only
Battery Tray Replacement Primary
Removal Procedure
- Remove the coolant recovery reservoir bolt and reposition the reservoir.
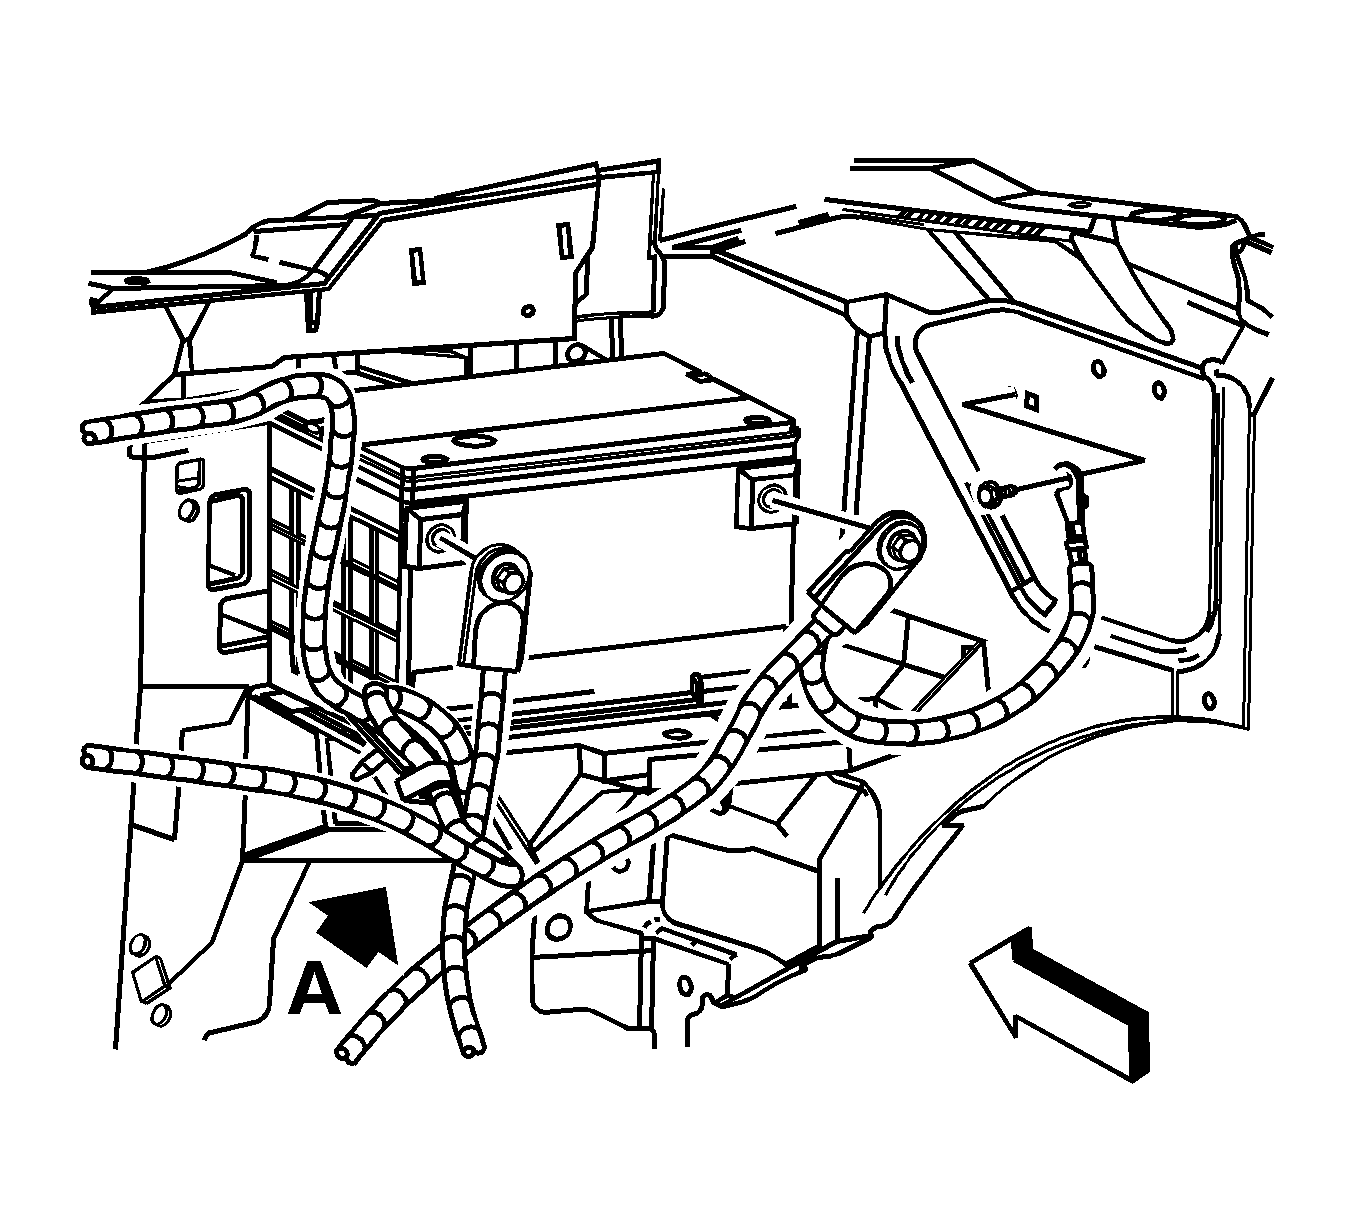
- Disconnect the battery negative cable from the battery negative terminal. Refer to Battery Negative Cable Disconnection and Connection .
- Disconnect the battery positive cable from the battery positive terminal. Refer to Battery Positive Cable Replacement .
- Remove the battery limiter from the vehicle if equipped.
- Remove the fender brace.
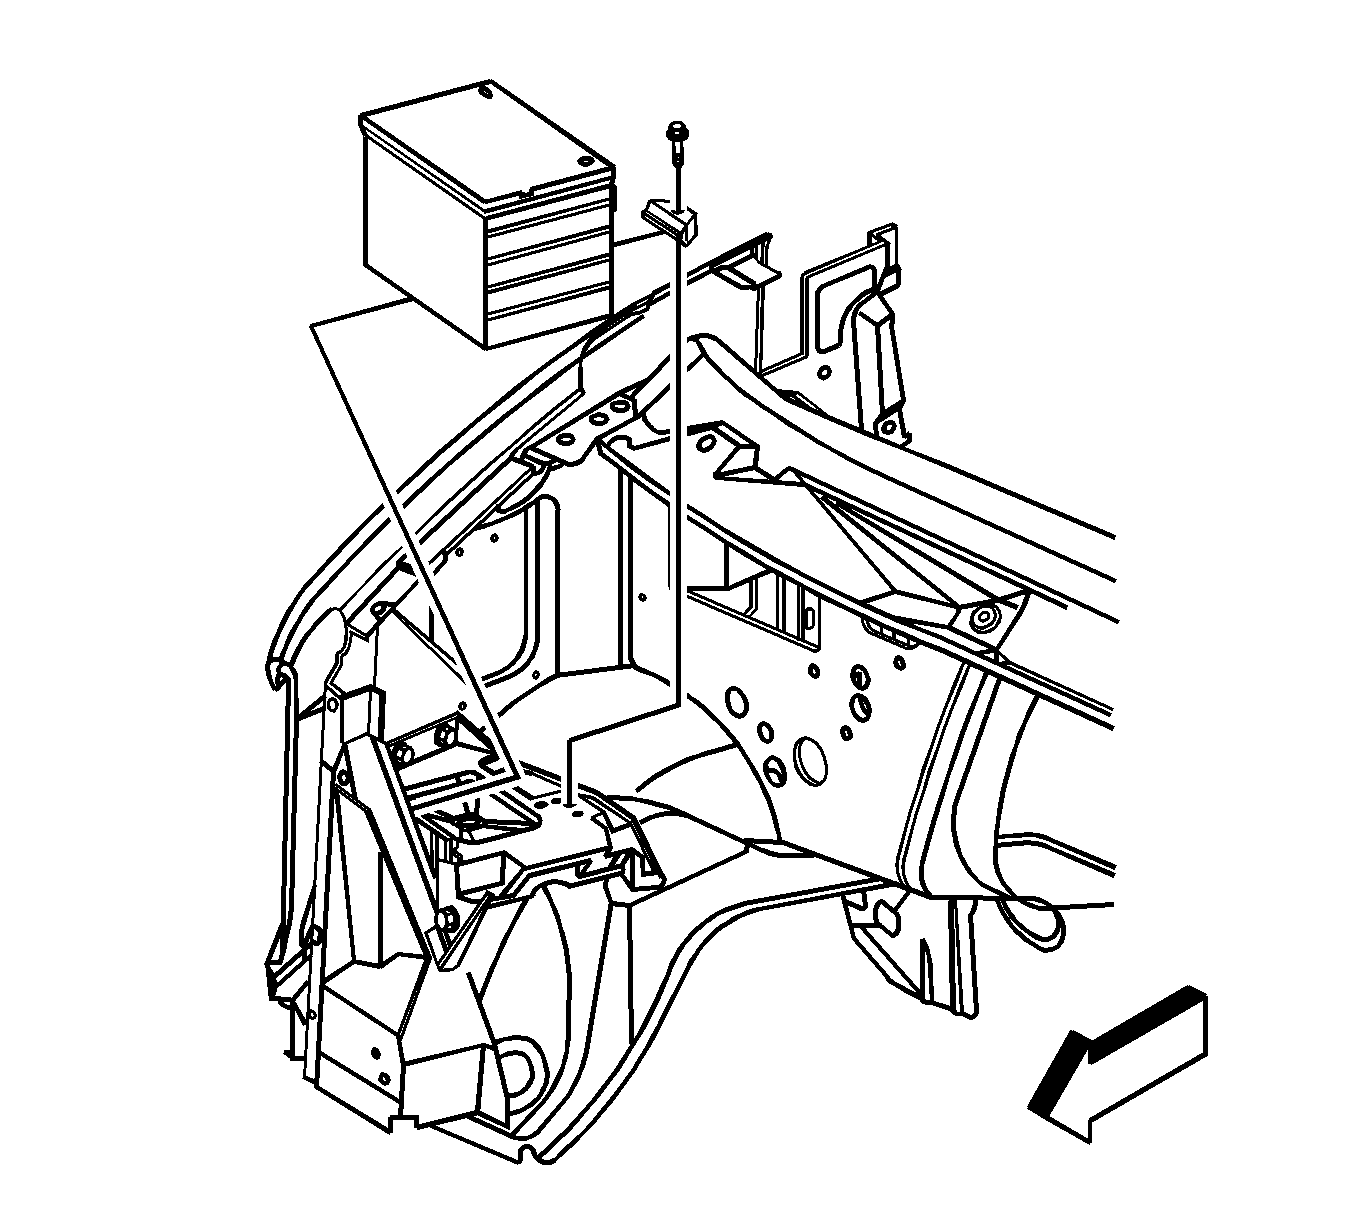
- Remove the battery hold-down bolt and retainer.
- Remove the battery.
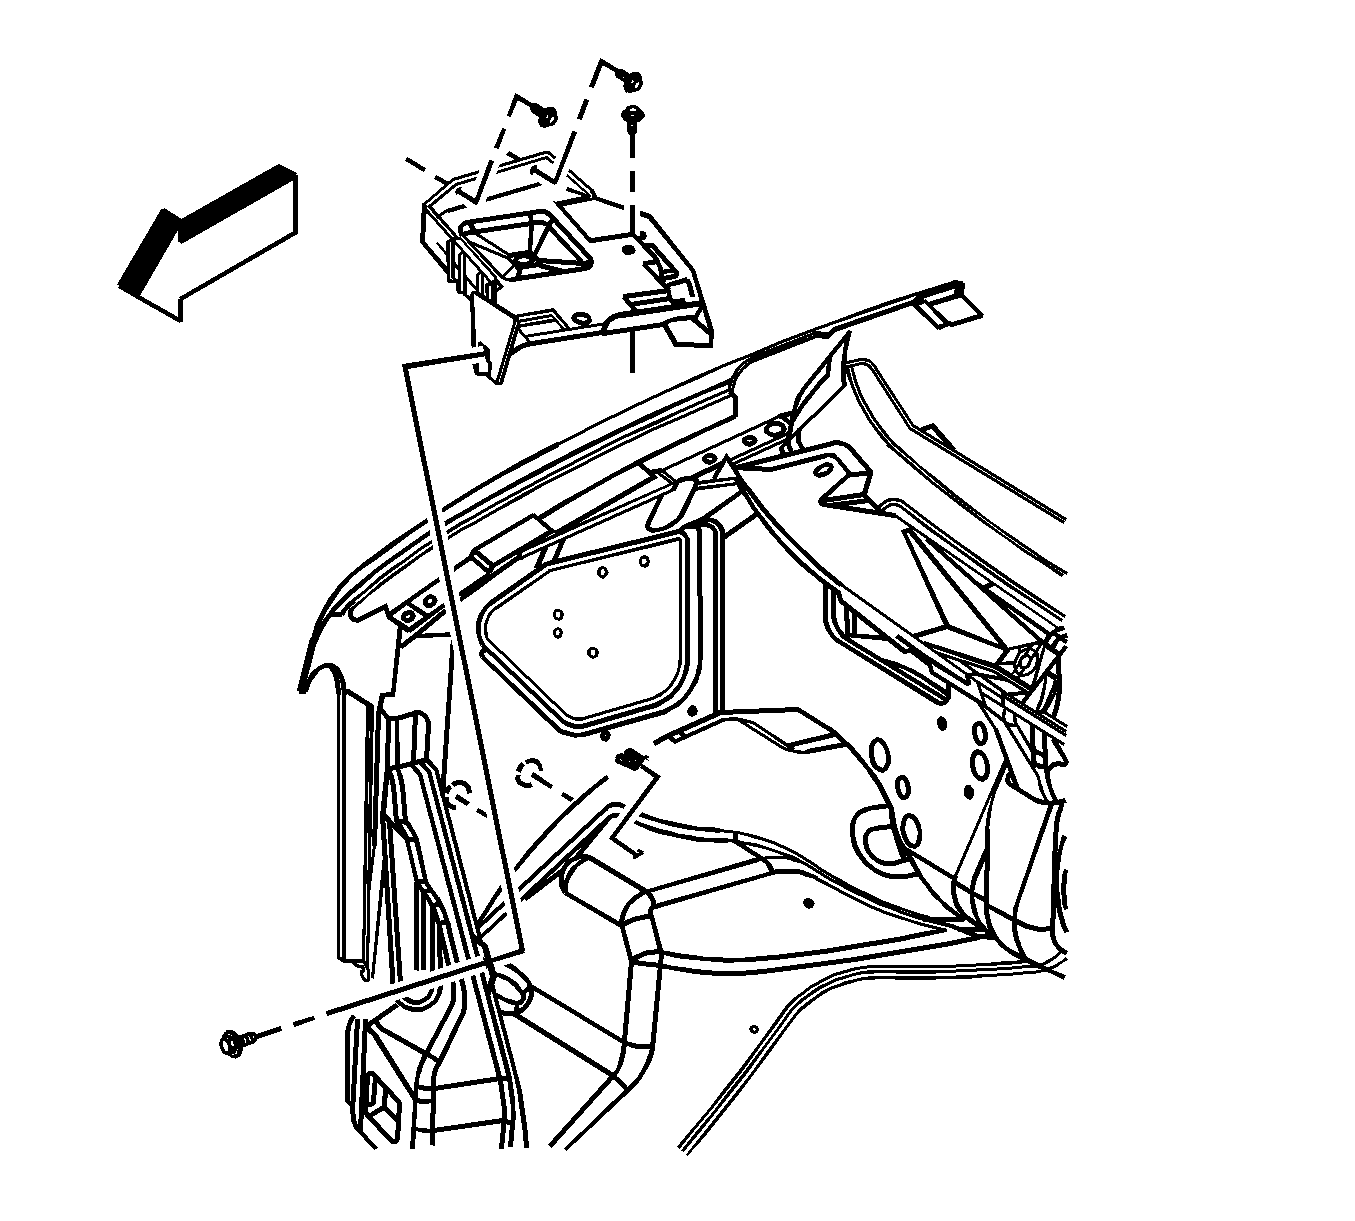
- Remove the battery tray bolts.
- Disconnect the vacuum hoses.
- Disconnect the vacuum pump electrical connector.
- Remove the battery tray from the vehicle.
Installation Procedure
- Install the battery tray to the vehicle.
- Connect the vacuum pump hoses and electrical connector.
- Install the battery tray bolts.
- Install the battery.
- Install the battery hold-down retainer and bolt.
- Install the fender brace.
- Install the battery limiter to the vehicle if equipped.
- Install the positive battery cable to the battery.
- Install the battery negative cable to the battery. Refer to Battery Negative Cable Disconnection and Connection .
- Install the coolant recovery reservoir.

Notice: Refer to Fastener Notice in the Preface section.
Tighten
Tighten the battery tray bolts to 9 N·m (80 lb in).

Tighten
Tighten the battery hold-down retainer bolt to 18 N·m (12 lb ft).

Tighten
Tighten the terminal bolt to 17 N·m (13 lb ft).
Tighten
Tighten the terminal bolt to 17 N·m (13 lb ft).
Tighten
Tighten the bolt to 11 N·m (97 lb in).
Battery Tray Replacement Secondary
Removal Procedure
- Disconnect the battery negative cable from the battery negative terminal. Refer to Battery Negative Cable Disconnection and Connection .
- Raise the vehicle. Refer to Lifting and Jacking the Vehicle .
- Disconnect the auxiliary battery positive and negative cables. Refer to Battery Positive Cable Replacement and Battery Negative Cable Replacement .
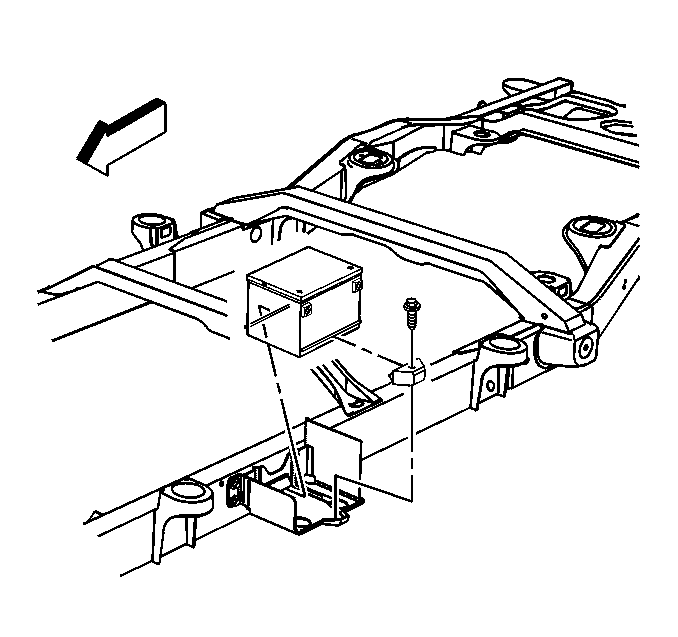
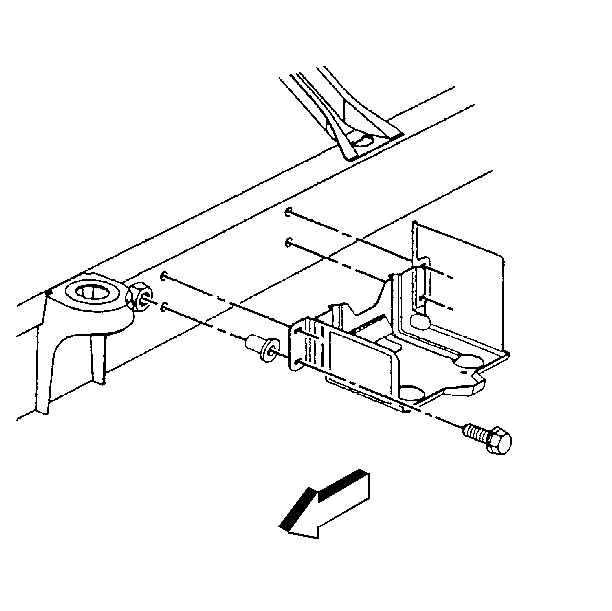
- Remove the auxiliary battery hold-down retainer bolt.
- Remove the auxiliary battery from the auxiliary battery tray.
- Remove the auxiliary battery hold-down tray bolts.
- Remove the auxiliary battery tray from the vehicle.
Installation Procedure
- Install the auxiliary battery tray to the vehicle.
- Install the auxiliary battery tray bolts to the battery tray.
- Install the auxiliary battery to the auxiliary battery tray.
- Install the auxiliary battery hold-down retainer bolt.
- Connect the auxiliary battery positive and negative cables. Refer to Battery Positive Cable Replacement and Battery Negative Cable Replacement .
- Lower the vehicle.
- Install the front battery negative cable. Refer to Battery Negative Cable Disconnection and Connection .

Notice: Refer to Fastener Notice in the Preface section.
Tighten
Tighten the auxiliary battery tray bolts to 25 N·m (18 lb ft).

Tighten
Tighten the bolt to 25 N·m (18 lb ft).
