For 1990-2009 cars only
Removal Procedure
- Remove the valve rocker arm cover. Refer to Valve Rocker Arm Cover Replacement - Left Side or Valve Rocker Arm Cover Replacement - Right Side .
- Remove the valve rocker arms.
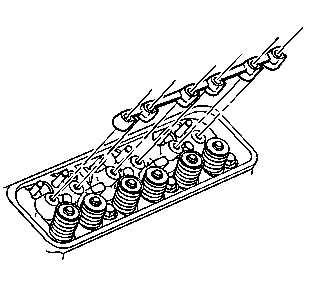
- Remove the valve rocker arm supports.
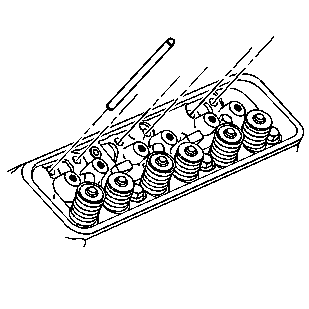
- Remove the valve pushrods.
- Clean and inspect the valve rocker arm and the valve pushrod. Refer to Valve Rocker Arm and Push Rod Cleaning and Inspection .
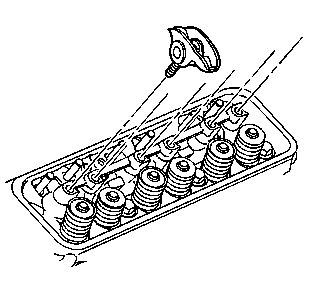
Important: Mark, sort, and organize all the components for assembly.
Installation Procedure
- Install the valve pushrods.
- Install the valve rocker arm supports.
- Apply prelube to the following valve rocker arm contact surfaces:
- Refer to Adhesives, Fluids, Lubricants, and Sealers for the correct part number.
- Install the valve rocker arm assemblies as follows:
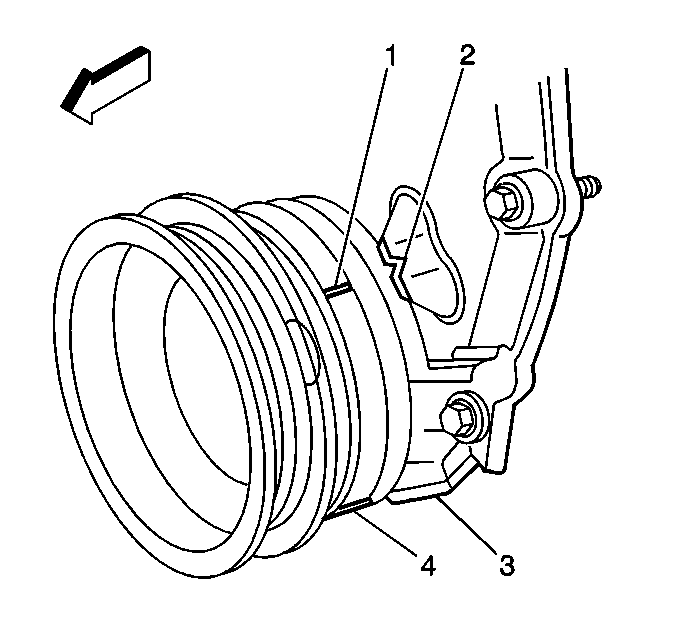
- Rotate the crankshaft balancer to position the crankshaft balancer alignment mark (1) 57-63 degrees clockwise or counterclockwise from the engine front cover alignment tab (2).
- Tighten the valve rocker arm bolts.
- Install the valve rocker arm cover. Refer to Valve Rocker Arm Cover Replacement - Left Side or Valve Rocker Arm Cover Replacement - Right Side .

Important: Be sure to keep parts in order. Parts must be reinstalled into the original location and position.
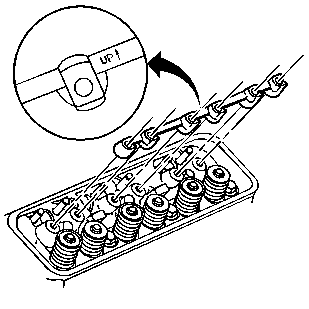
Important: Be sure that the arrow on the valve rocker arm support is in the up position.
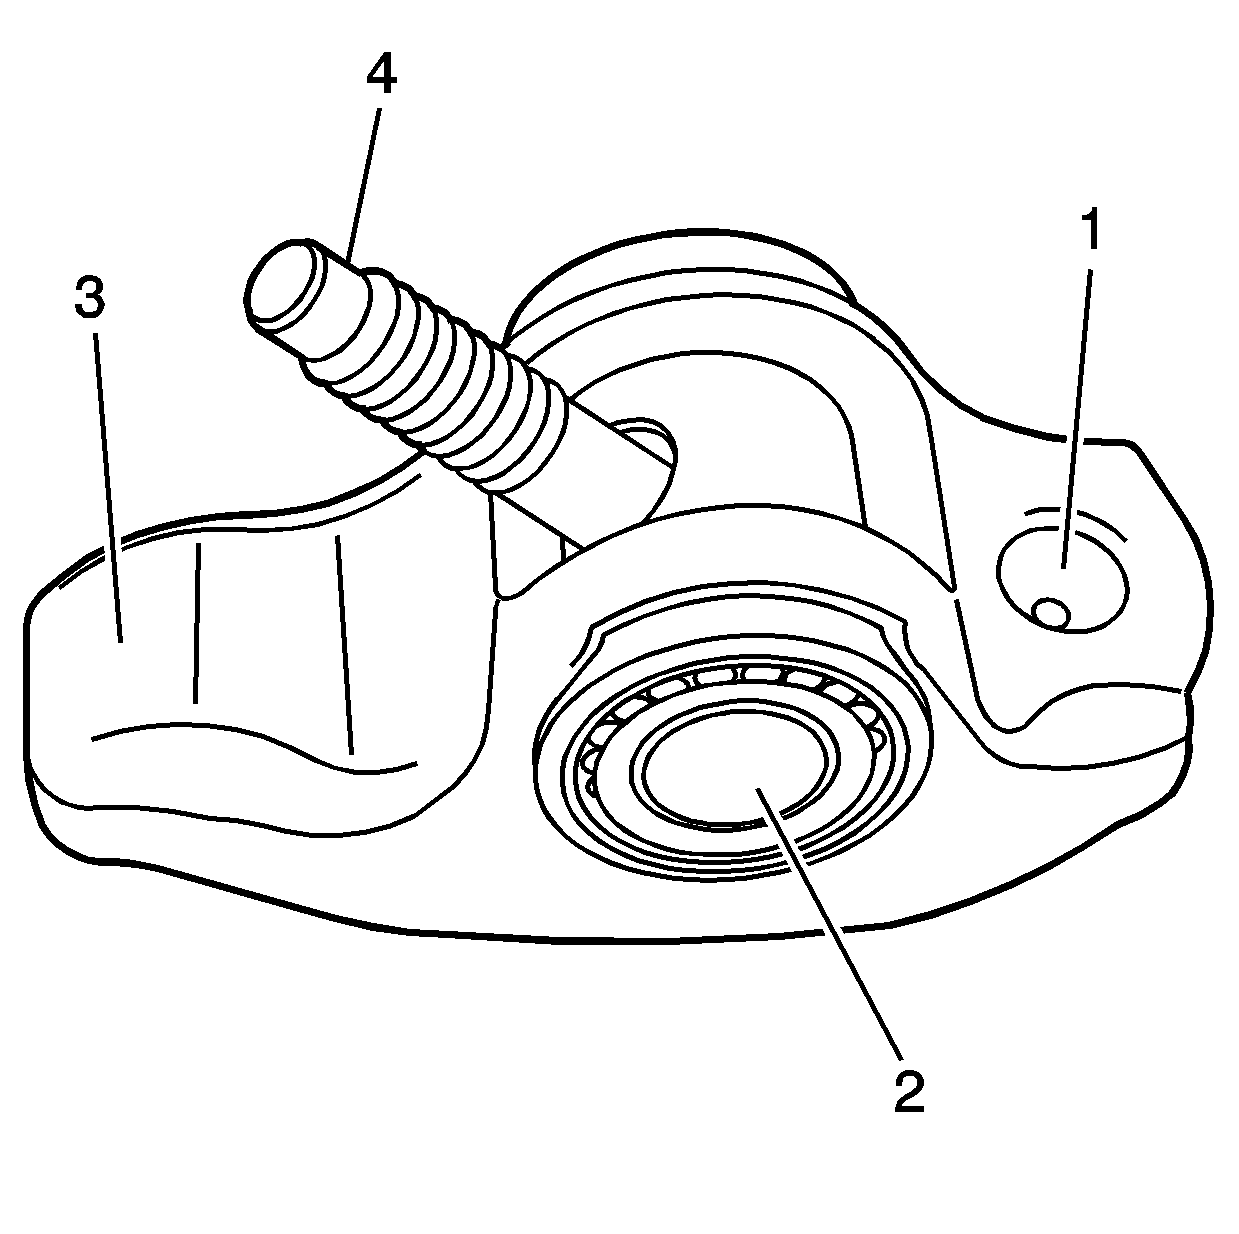
| • | Valve pushrod socket (1) |
| • | Roller pivot (2) |
| • | Valve stem tip (3) |
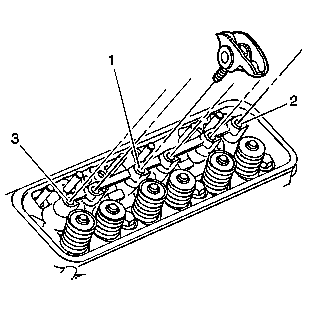
| 5.1. | Finger start the bolt at location (1) |
| 5.2. | Finger start the bolt at location (2) |
| 5.3. | Finger start the bolt at location (3) |
| 5.4. | Finger start the remaining valve rocker arm bolts |
Notice: Refer to Fastener Notice in the Preface section.
Important: Once the valve rocker arm assemblies are installed and properly torqued, no additional valve lash adjustment is required.
Tighten
Tighten the valve rocker arm bolts to 30 N·m (22 lb ft).
