Removal Procedure
Notice: Broken engine mountings can cause misalignment of certain drive-train components. Misalignment of drive-train components causes eventual destruction of the drive-train components.
If one engine mount breaks, the rest of the engine mounts will have increased stress put on them. This could cause the rest of the engine mounts to break.- Raise and support the vehicle . Refer to Lifting and Jacking the Vehicle .
- Disconnect the transmission oil cooler lines at the transmission. Refer to Transmission Fluid Cooler Hose/Pipe Quick-Connect Fitting Disconnection and Connection .
- Reposition the transmission oil cooler lines.
- Remove the starter. Refer to Starter Motor Replacement .
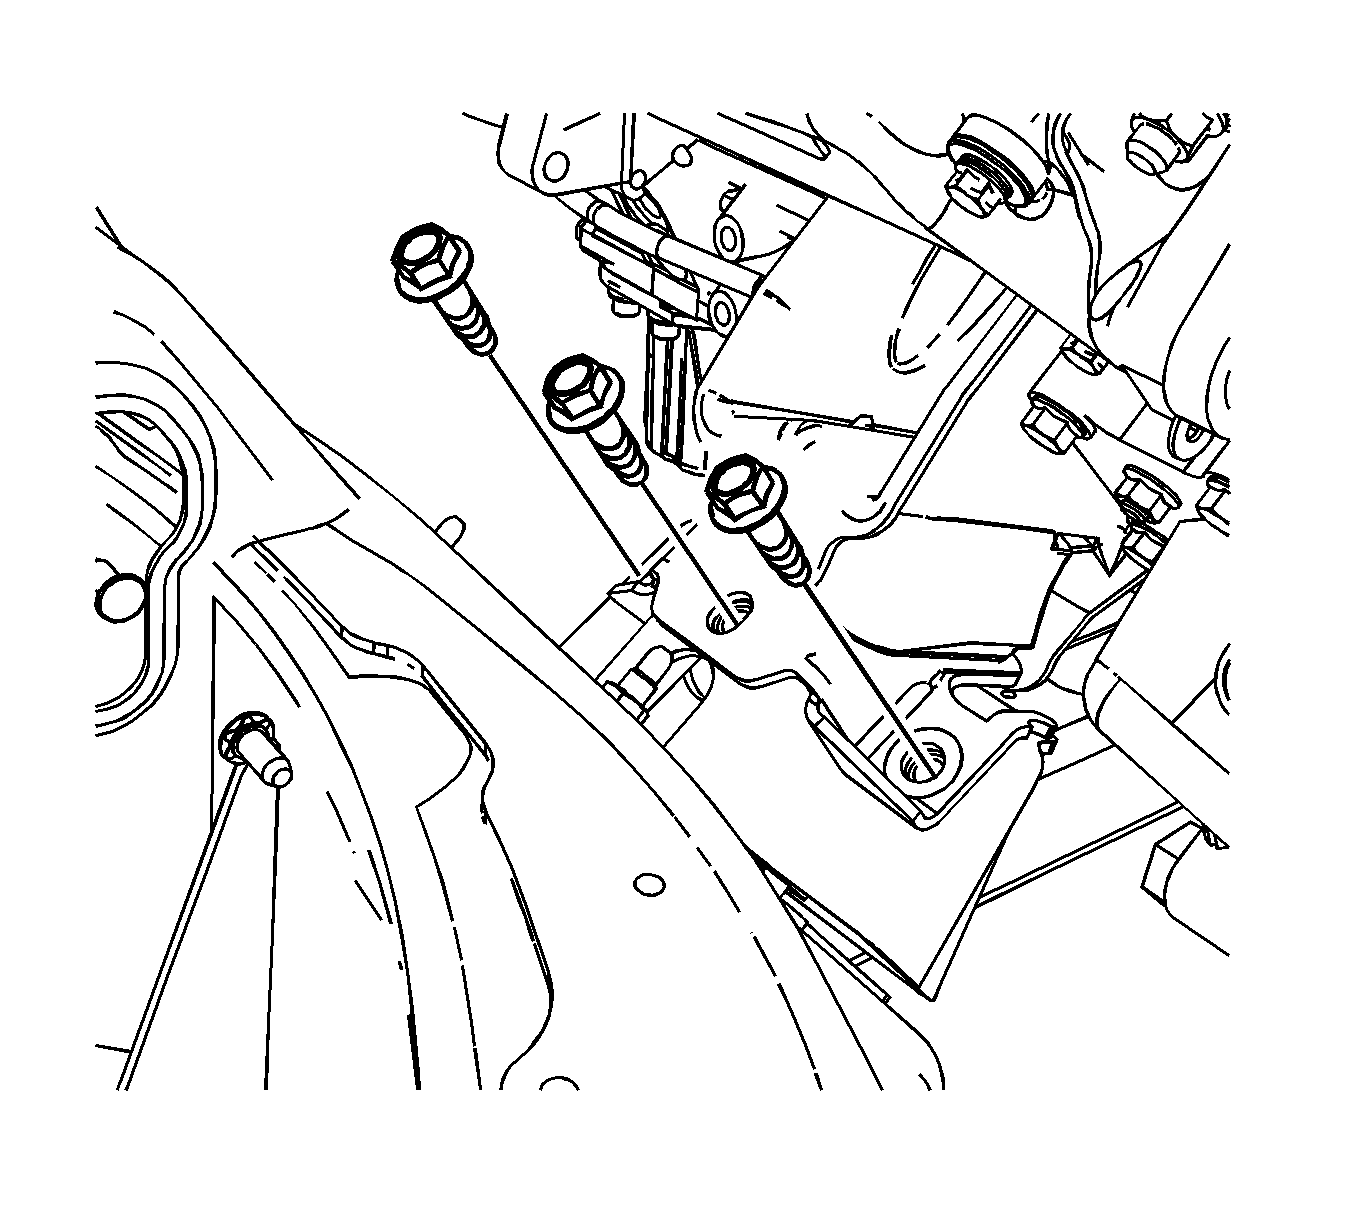
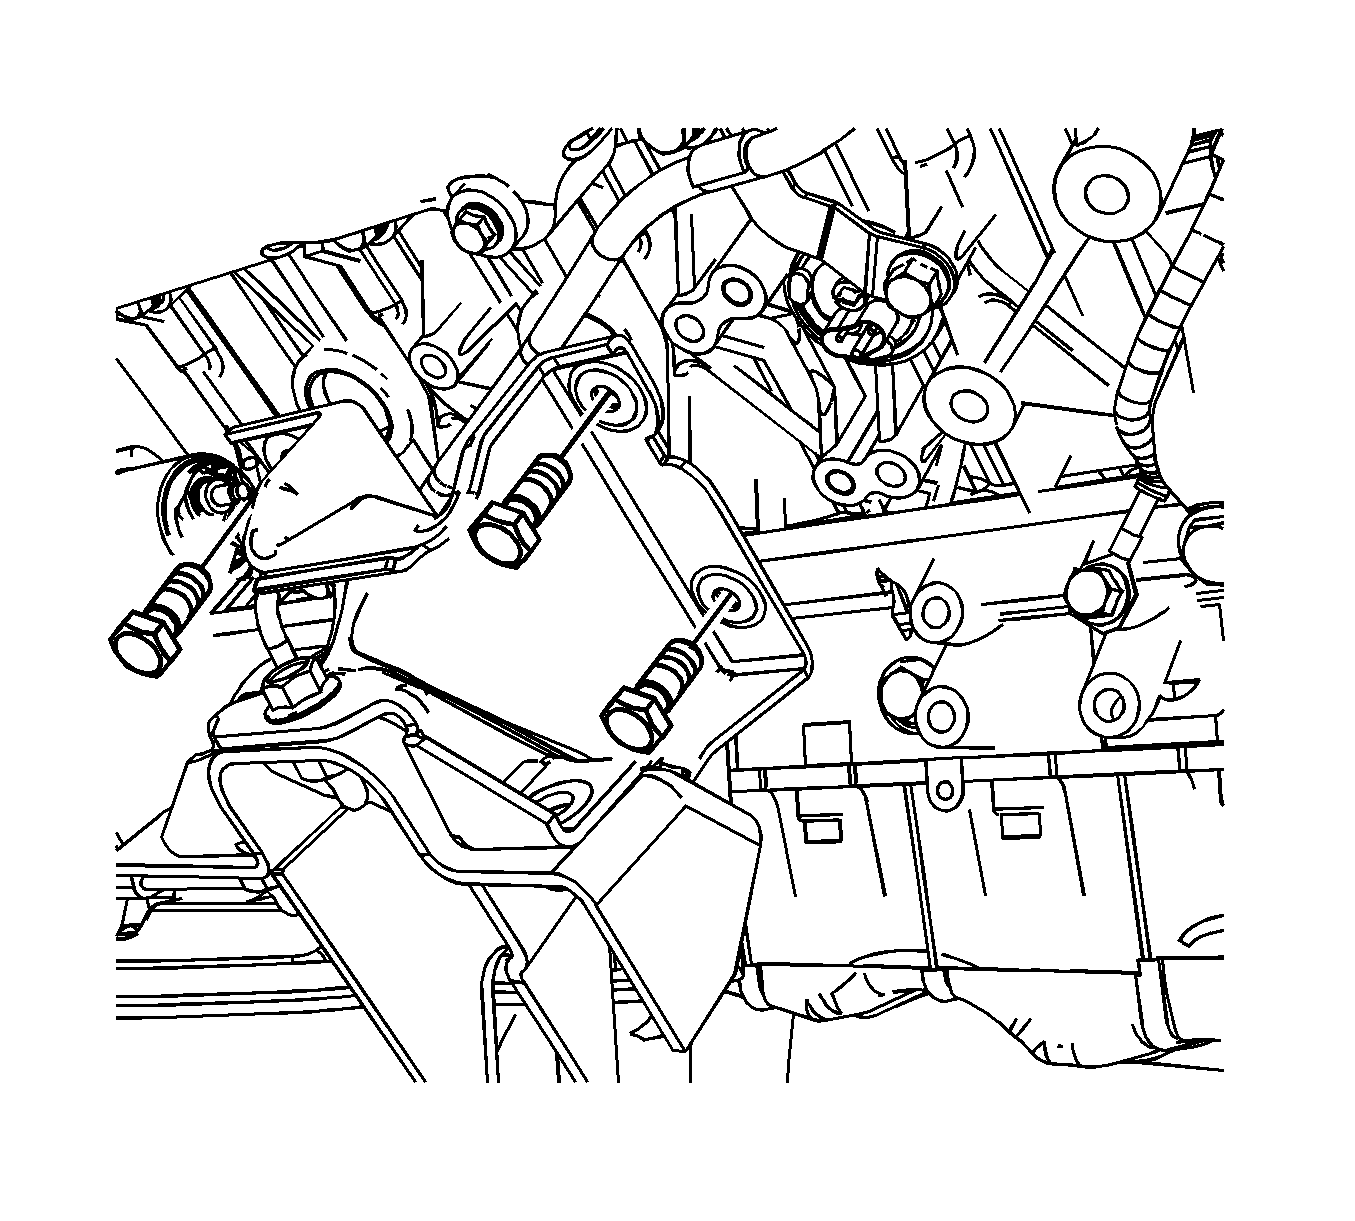
- Remove the engine mount to engine mount bracket bolts.
- Place a suitable adjustable jack on the lower engine boss, raise the engine. Only raise the engine enough to separate the engine mount to engine mount bracket.
- Remove the engine mount to engine bolts.
- Remove the engine mount.
- Remove the engine mount bracket bolts, if necessary.
- Remove the engine mount bracket, if necessary.

Notice: When raising or supporting the engine for any reason, do not use a jack under the oil pan, any sheet metal, or the crankshaft pulley. Lifting the engine in an unapproved manner may cause component damage.
Important: When raising the engine only raise enough to separate the engine mount from the engine mount bracket. Raising any further the fan shroud or the exhaust pipe will require removal.

Installation Procedure
- Position the engine mount bracket to the frame, if necessary.
- Install the engine mount bracket bolts, if necessary.
- Position the engine mount to the engine.
- Install the engine mount to engine mount bolts.
- Install the engine mount to engine bolts.
- Using the adjustable jack lower the engine until the mount rests on the bracket.
- Install the engine mount to engine mount bracket bolts.
- Install the starter. Refer to Starter Motor Replacement .
- Position the transmission oil cooler lines.
- Connect the transmission oil cooler lines at the transmission. Refer to Transmission Fluid Cooler Hose/Pipe Quick-Connect Fitting Disconnection and Connection .
- Lower the vehicle.

Notice: Refer to Fastener Notice in the Preface section.
Tighten
Tighten the bolts to 58 N·m (43 lb ft).
Tighten
Tighten the bolts to 58 N·m (43 lb ft).

Tighten
Tighten the bolts to 65 N·m (48 lb ft).
