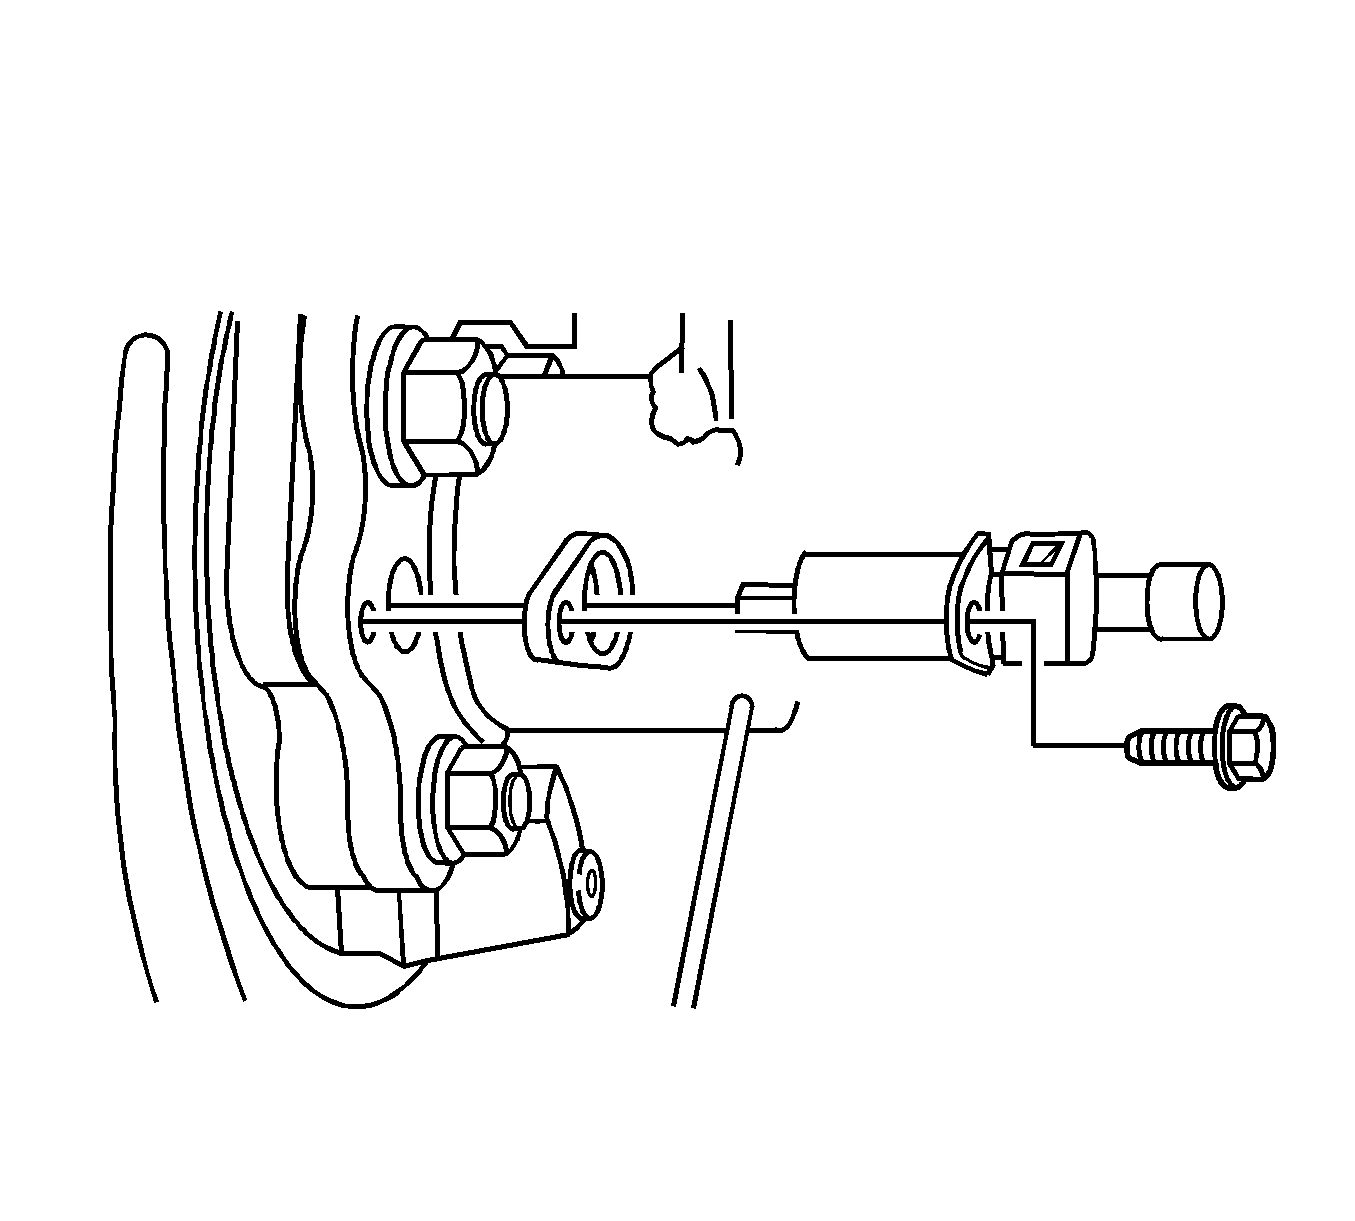
Rear Wheel Speed Sensor Replacement 10.5 Axle
Removal Procedure
Caution: Refer to Brake Dust Caution in the Preface section.

- Raise the vehicle. Refer to
Lifting and Jacking the Vehicle
.
- For the left rear sensor, remove the leaf spring anchor plate. Refer to
Leaf Spring Replacement
.
- Disconnect the electrical connector.
- Remove the wheel speed sensor retaining bolt.
- Remove the wheel speed sensor and spacer block.
Installation Procedure

- Install the spacer block and the wheel speed sensor.
Notice: Refer to Fastener Notice in the Preface section.
- Install the wheel speed sensor retaining bolt.
Tighten
Tighten the bolt to 14 N·m (124 lb in).
- Connect the electrical connector.
- For the left rear sensor, install the leaf spring anchor plate. Refer to
Leaf Spring Replacement
.
- Lower the vehicle.
- Perform a low speed test to ensure the wheel speed sensor is functioning properly:
| 6.1. | Start the engine and allow it to idle. |
| 6.2. | Check to see if the ABS indicator or the traction assist indicator remains illuminated. |
| 6.3. | If the ABS indicator or the traction assist indicator remains illuminated, DO NOT proceed to drive the vehicle until it is diagnosed and repaired. Check the wheel speed sensor electrical connector to ensure it is not damaged and is installed properly.
If the lamp remains illuminated, refer to
Symptoms - Antilock Brake System
. |
| 6.4. | Select a smooth, dry, clean, and level road or large lot that is as free of traffic and obstacles as possible. |
| 6.5. | Drive the vehicle and maintain a speed of at least 16 km/h (10 mph) for at least 5 seconds. |
| 6.6. | Stop the vehicle and check to see if the ABS indicator or the traction assist indicator is illuminated. |


