For 1990-2009 cars only
Removal Procedure
Caution: Do not attempt to repair or alter the head impact energy-absorbing material glued to the headliner or to the garnish trims. If the material is damaged, replace the headliner and/or the garnish trim. Failure to do so could result in personal injury.
- Remove the rear passenger seats. Refer to Rear Bench Seat Replacement .
- Remove the front headliner. Refer to Headlining Front Trim Panel Replacement .
- Remove the coat hooks. Refer to Coat Hook Replacement .
- Remove the left rear upper garnish molding. Refer to Body Side Front Garnish Molding Replacement - Left Side .
- Remove the rear door garnish molding. Refer to Rear Door Upper Garnish Molding Replacement .
- Remove the rear corner garnish molding. Refer to Body Rear Corner Garnish Molding Replacement .
- Remove the upper seat belt anchor bolts.
- Disconnect the electrical connectors.
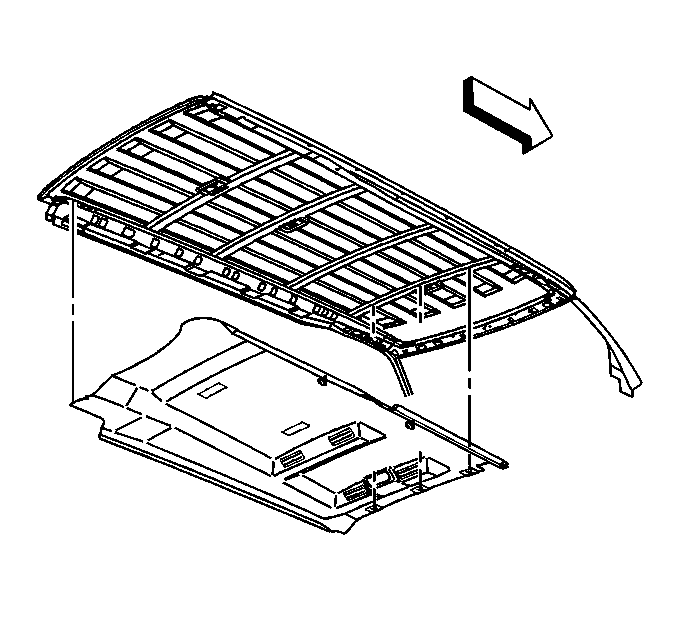
- Remove the headliner from the vehicle through the rear doors.

Refer to the following:
Installation Procedure
- Install the headliner to the vehicle.
- Connect the electrical connectors.
- Install the coat hooks. Refer to Coat Hook Replacement .
- Install the left rear upper garnish molding. Refer to Body Side Front Garnish Molding Replacement - Left Side .
- Install the rear door garnish molding. Refer to Rear Door Upper Garnish Molding Replacement .
- Install the rear corner garnish molding. Refer to Body Rear Corner Garnish Molding Replacement .
- Install the upper seat belt anchor bolts.
- Install the front headliner. Refer to Headlining Front Trim Panel Replacement .
- Install the rear passenger seats. Refer to Rear Bench Seat Replacement .

Refer to the following:
