For 1990-2009 cars only
Engine Front Crossmember Replacement RWD
Removal Procedure
- Raise and support the vehicle. Refer to Lifting and Jacking the Vehicle.
- Disconnect the electrical wiring harness connectors from the engine crossmember.
- Remove the engine crossmember mounting bolts.
- Remove the engine crossmember.
Installation Procedure
- Install the engine crossmember.
- Install the engine crossmember mounting bolts and tighten to 120 N·m (89 lb ft).
- Connect the electrical wiring harness connectors to the engine crossmember.
- Lower the vehicle.
Caution: Refer to Fastener Caution in the Preface section.
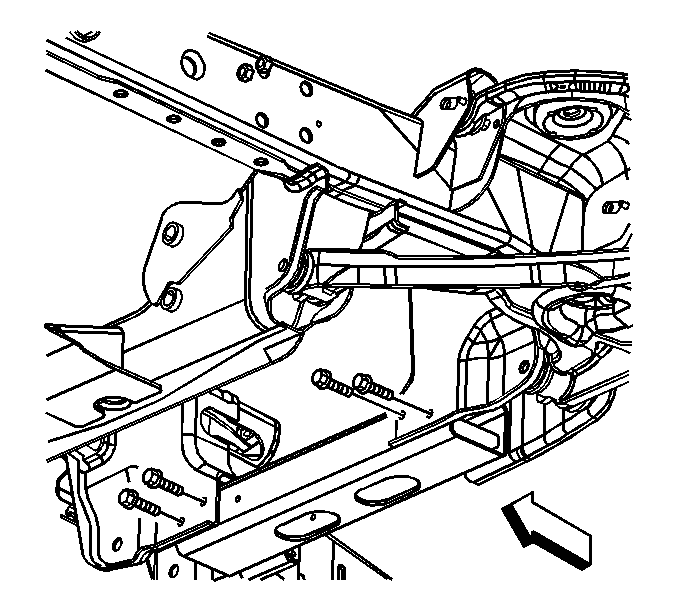
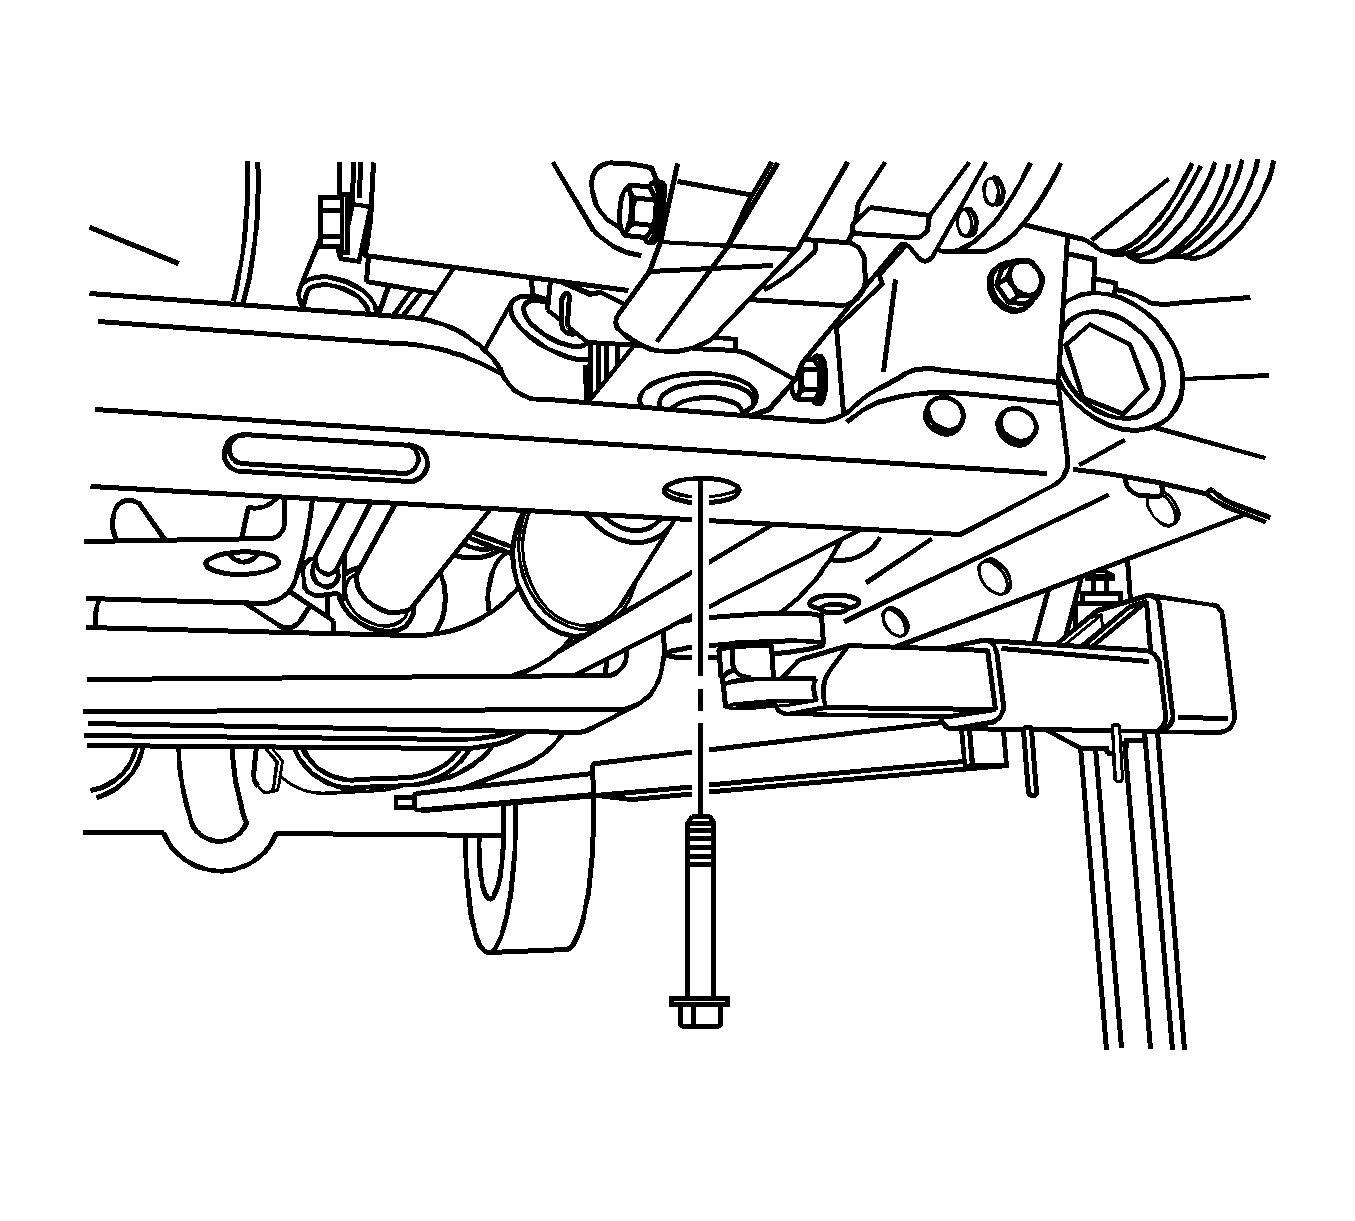
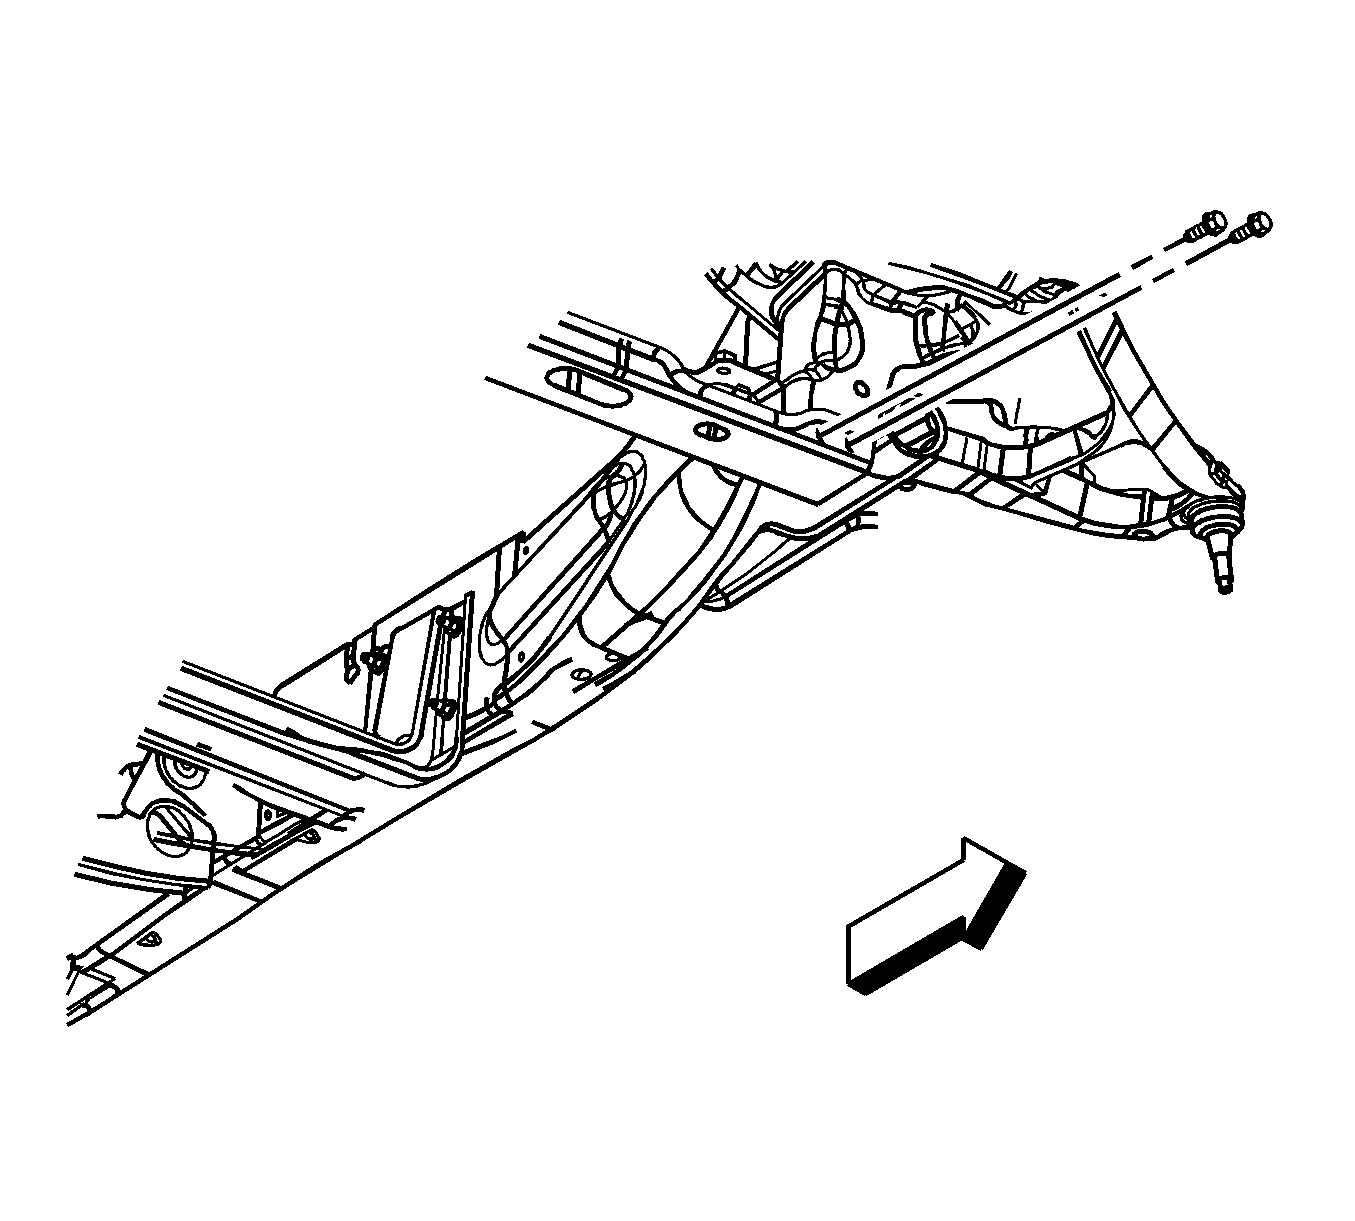
Engine Front Crossmember Replacement 4WD
Removal Procedure
- Raise and support the vehicle. Refer to Lifting and Jacking the Vehicle.
- Support lower control arms with safety stands.
- Unload the torsion bars. Refer to Torsion Bar and Support Assembly Replacement.
- Remove the right side differential carrier lower mounting bracket bolt and nut.
- Remove the left side differential carrier lower mounting bracket bolt.
- Remove the engine crossmember bolt from the left lower control arm bracket.
- Remove the engine crossmember lower mounting bolts and nuts.
- Remove the engine crossmember upper mounting bolts.
- Disconnect the electrical wiring harness connectors from the engine crossmember.
- Remove the lower control arm nuts and washers.
- Remove the lower control arm bolts until bolts are flush with the frame.
- Remove the engine crossmember.
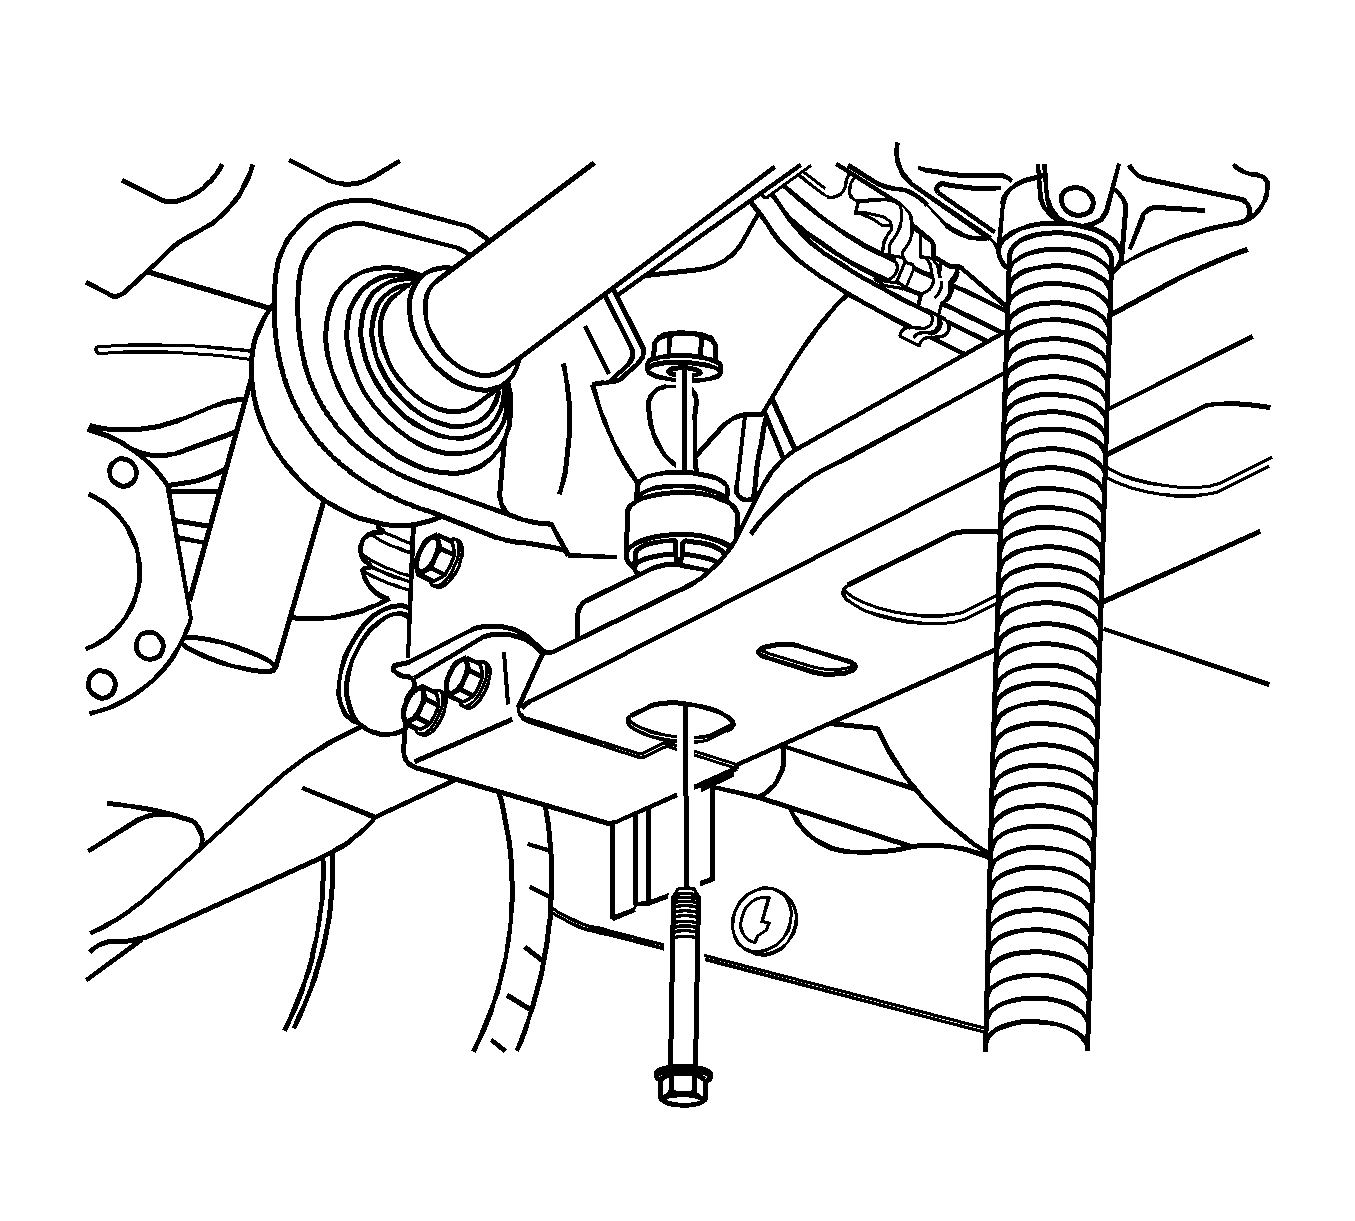


Installation Procedure
- Install the engine crossmember.
- Install the lower control arm bolts to the through the engine crossmember and frame.
- Install the lower control arm nuts and washers and tighten the lower control arm to frame mounting nuts.
- Connect the electrical wiring harness connectors to the engine crossmember.
- Install the engine crossmember upper mounting bolts. Do not tighten.
- Install the engine crossmember lower mounting bolts and nuts and tighten to 65 N·m (48 lb ft).
- Install the engine crossmember bolt to the left side lower control arm bracket and tighten to 25 N·m (18 lb ft).
- Install the left side differential carrier lower mounting bracket bolt and tighten to 85 N·m (63 lb ft).
- Install the right side differential carrier lower mounting bracket bolt and nut and tighten to 85 N·m (63 lb ft).
- Load the torsion bars. Refer to Torsion Bar and Support Assembly Replacement.
- Remove the supports from the lower control arms.
- Lower the vehicle.
Caution: Refer to Fastener Caution in the Preface section.
| • | Without 14050/12300GVW, tighten to 155 N·m (114 lb ft). |
| • | With 14050/12300GVW, tighten to 120 N·m (89 lb ft) plus 175 degrees. |
| • | With diesel engine, tighten to 120 N·m (89 lb ft) plus 175 degrees. |
