For 1990-2009 cars only
Starter Replacement 4.8L/5.3L/6.0L
Removal Procedure
Warning: Refer to Battery Disconnect Warning in the Preface section.
- Disconnect the negative battery cable. Refer to Battery Negative Cable Disconnection and Connection.
- Raise and suitably support the vehicle. Refer to Lifting and Jacking the Vehicle.
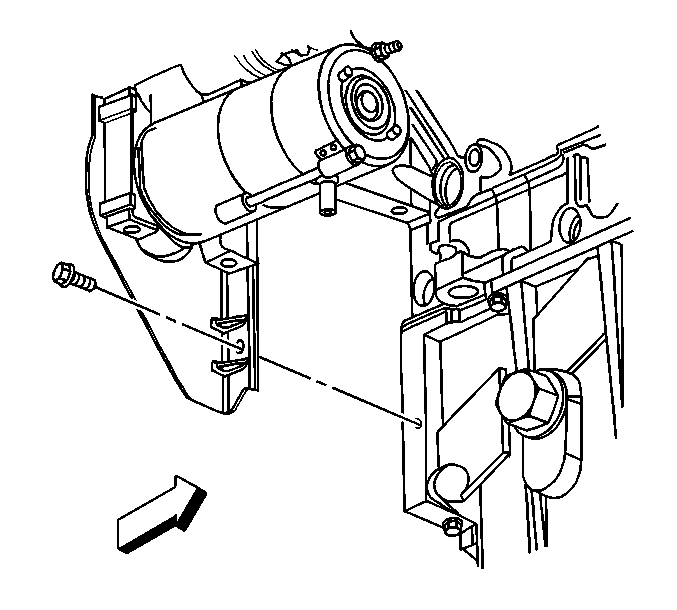
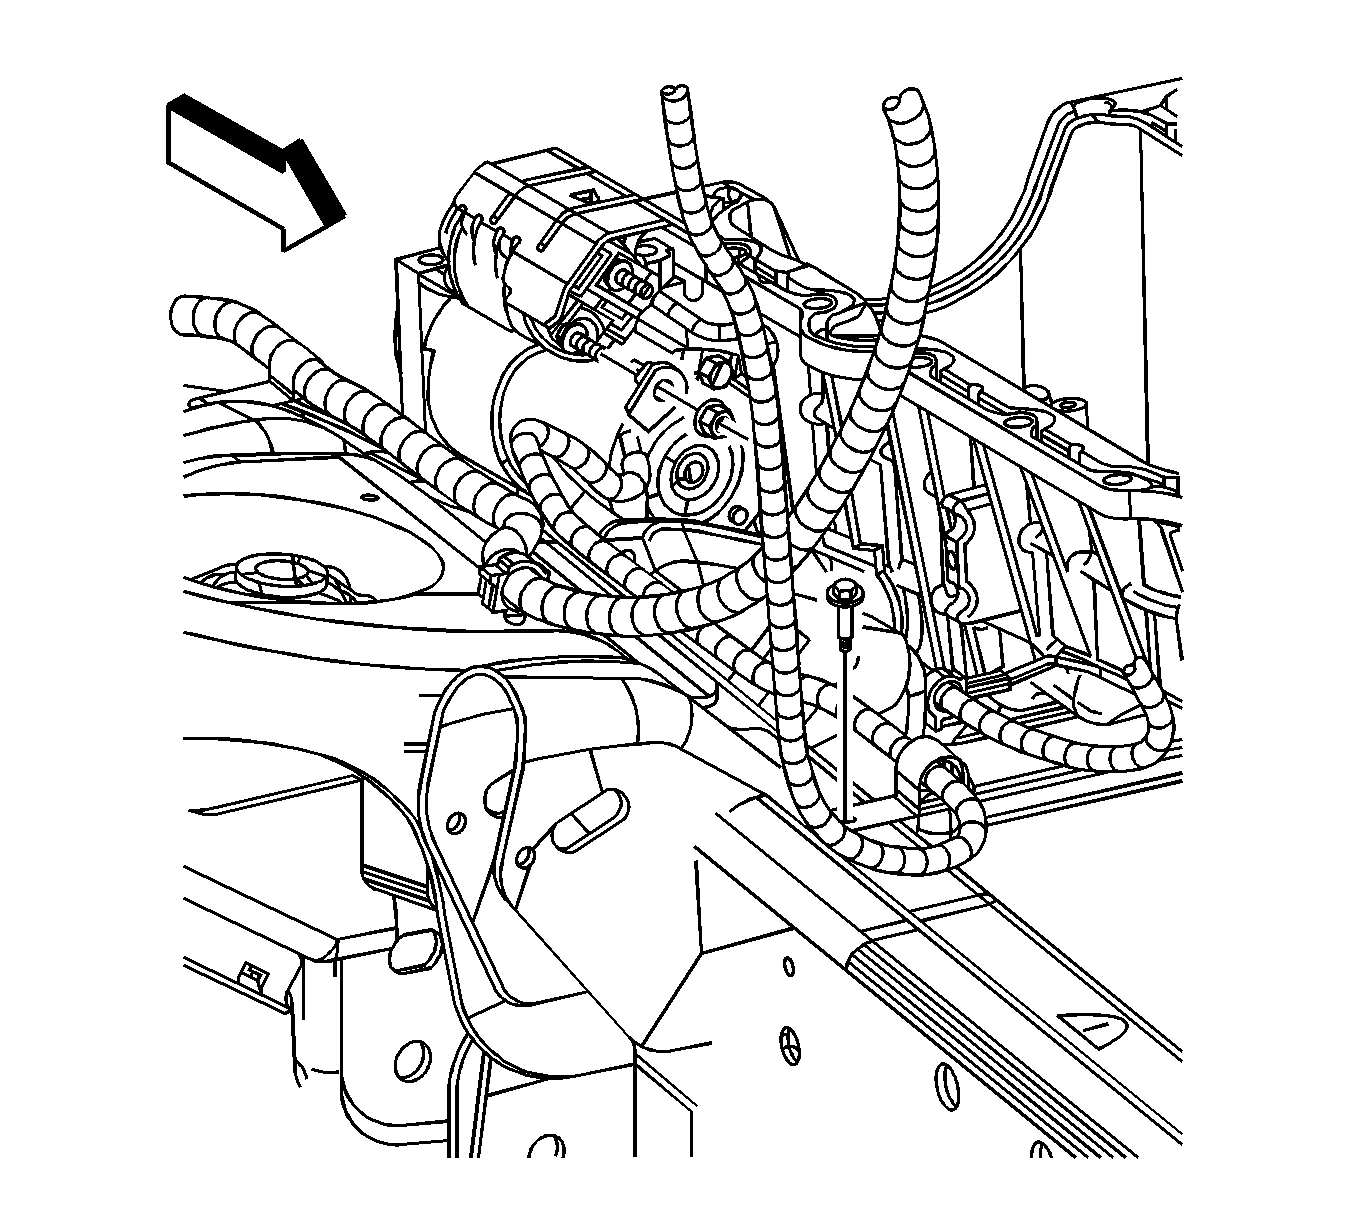
- Remove the right transmission cover bolt, if equipped.
- Disconnect the oil level sensor electrical connector.
- Remove the starter bolts.
- Slide the starter forward until the starter clears the transmission.
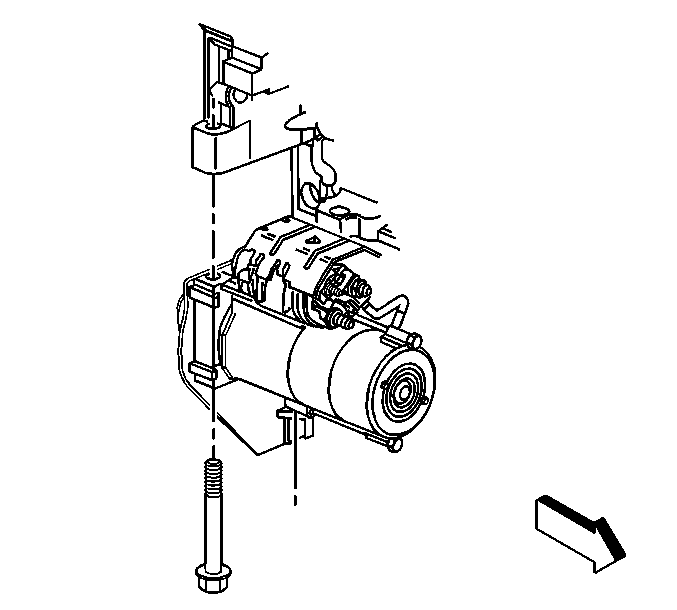
- Remove the starter solenoid nut.
- Remove the starter lead from the solenoid stud.
- Remove the starter lead nut.
- Remove the positive cable from the starter stud.
- Place the starter on a workbench.
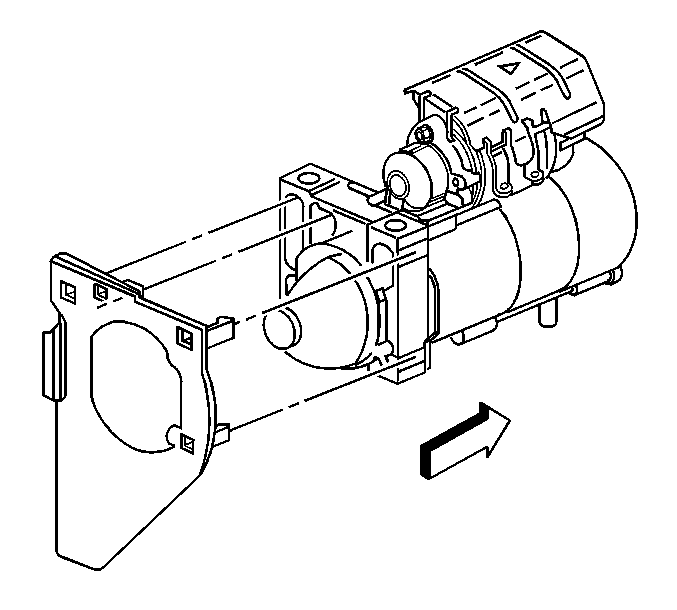
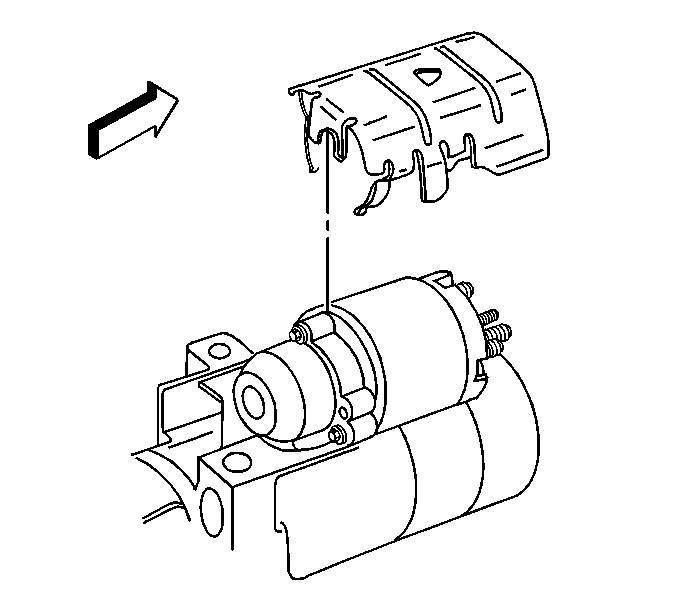
- Unsnap the transmission cover from the starter, if equipped.
- If necessary, remove the starter shield.
Installation Procedure
- If necessary, install the starter shield.
- Snap the transmission cover to the starter, if equipped.
- Install the positive cable to the starter stud.
- Install the starter lead nut and tighten to 10 N·m (89 lb in)..
- Install the starter solenoid lead to the solenoid stud.
- Install the starter solenoid nut and tighten to 3.4 N·m (30 lb in).
- Slide the starter rearward.
- Install the starter bolts and tighten to 50 N·m (37 lb ft).
- Install the right transmission cover bolt, if equipped and tighten to 9 N·m (80 lb in).
- Connect the oil level sensor electrical connector.
- Lower the vehicle.
- Connect the negative battery cable. Refer to Battery Negative Cable Disconnection and Connection.
Caution: Refer to Fastener Caution in the Preface section.
Starter Replacement 6.6L
Removal Procedure
Warning: Refer to Battery Disconnect Warning in the Preface section.
- Disconnect the negative battery cable. Refer to Battery Negative Cable Disconnection and Connection.
- Raise and suitably support the vehicle. Refer to Lifting and Jacking the Vehicle.
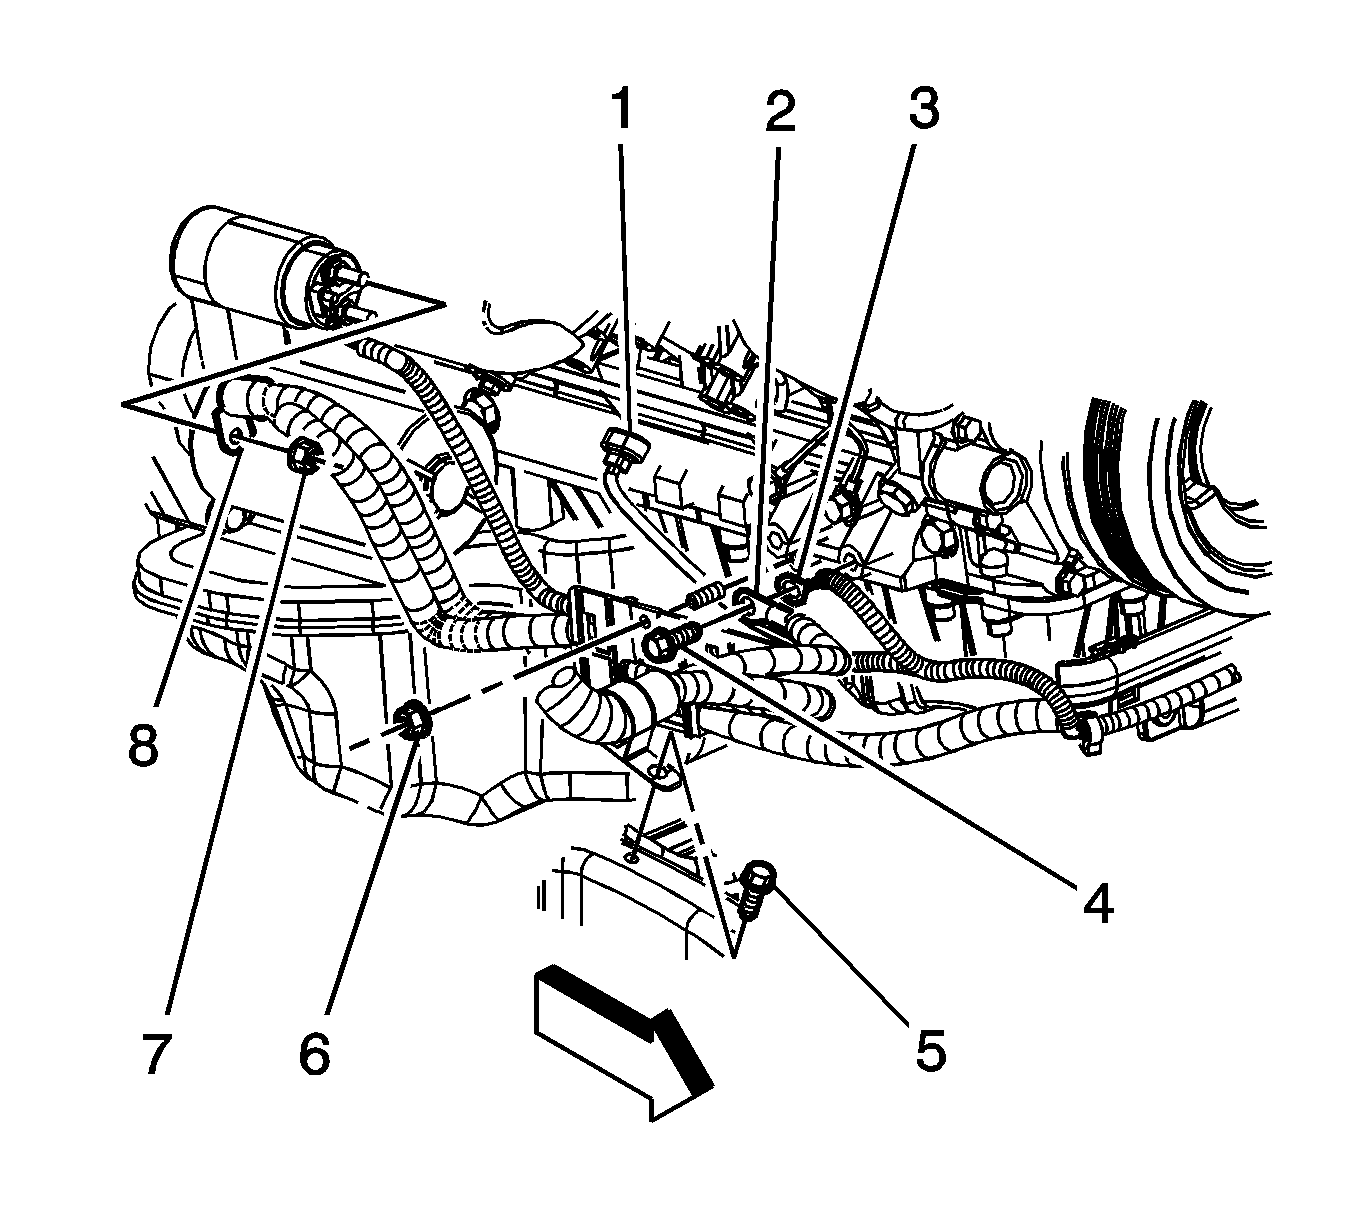
- Remove the engine wiring harness nut (4).
- Remove the engine wiring harness lead (1) from the starter.
- Remove the positive battery cable nut (7).
- Remove the positive battery cable lead (8) from the starter.
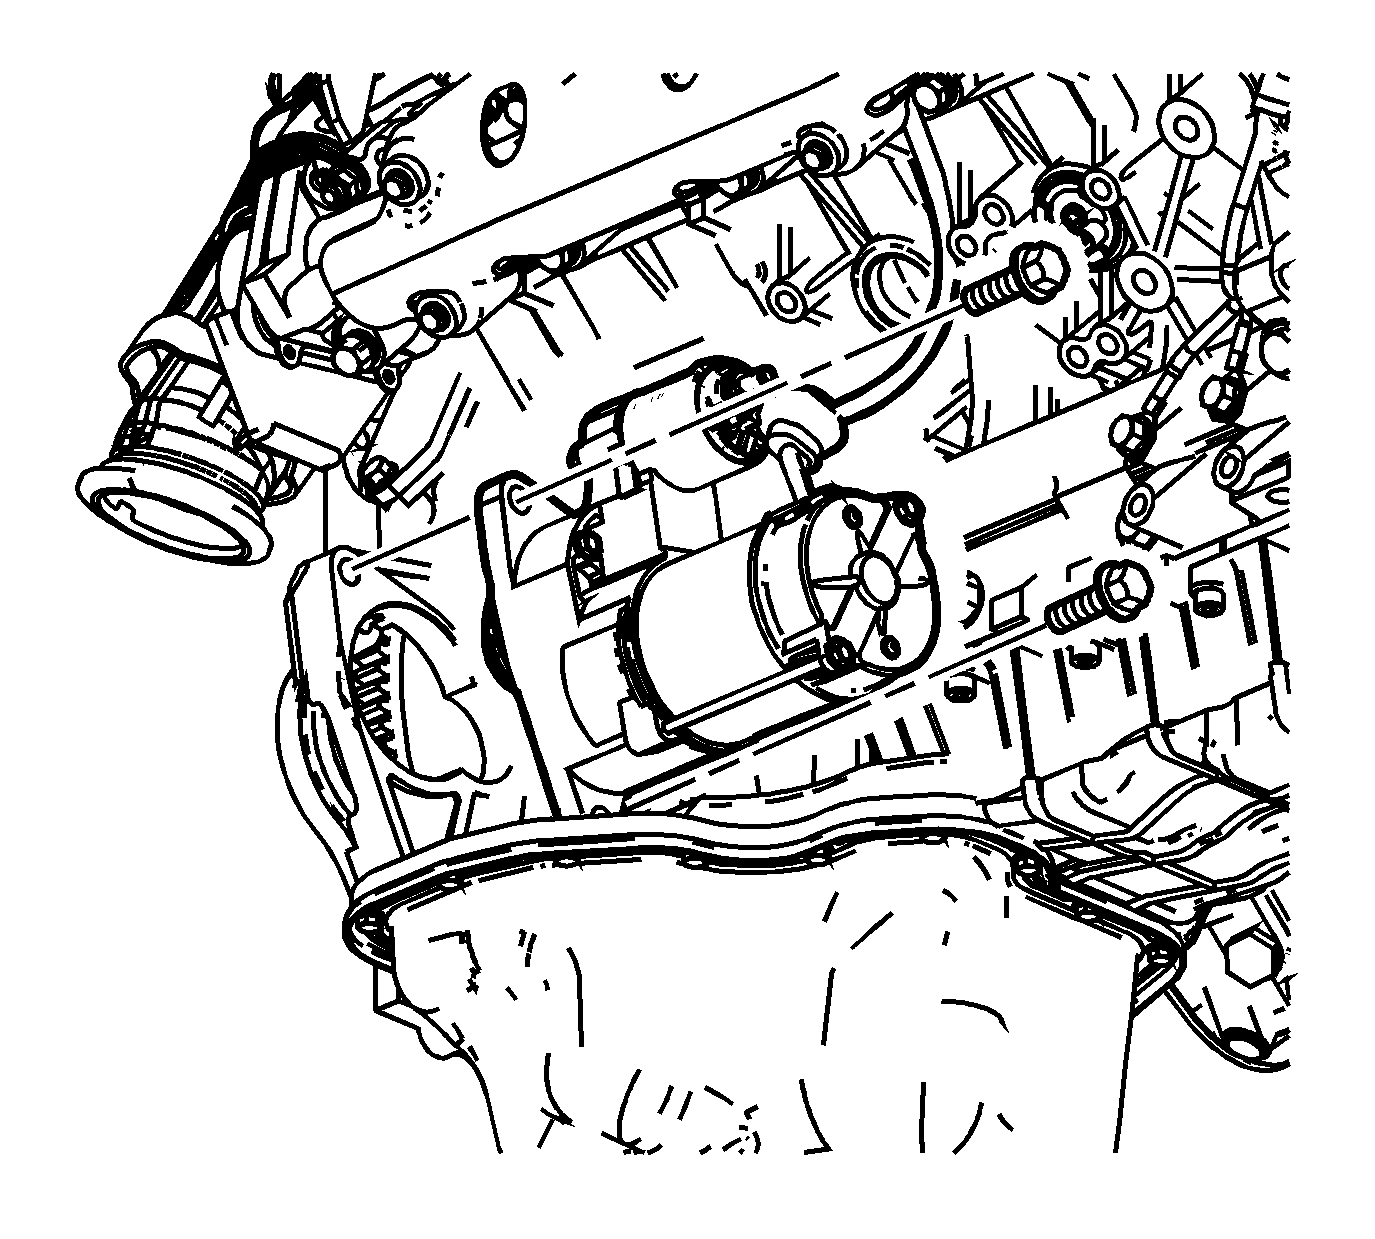
- Remove the starter motor bolts.
- Remove the starter motor.

Installation Procedure
- Install the starter motor.
- Install the starter motor bolts and tighten to 78 N·m (58 lb ft).
- Install the positive battery cable lead (8) to the starter.
- Install the positive battery cable nut (7) and tighten to 9 N·m (80 lb in).
- Install the engine wiring harness lead (1) to the starter.
- Install the engine wiring harness nut (4) and tighten to 3.4 N·m (30 lb in).
- Lower the vehicle.
- Connect the negative battery cable. Refer to Battery Negative Cable Disconnection and Connection.
Warning: Refer to Fastener Caution in the Preface section.
Starter Replacement V6
Callout | Component Name | ||||||||||
|---|---|---|---|---|---|---|---|---|---|---|---|
Preliminary Procedures
| |||||||||||
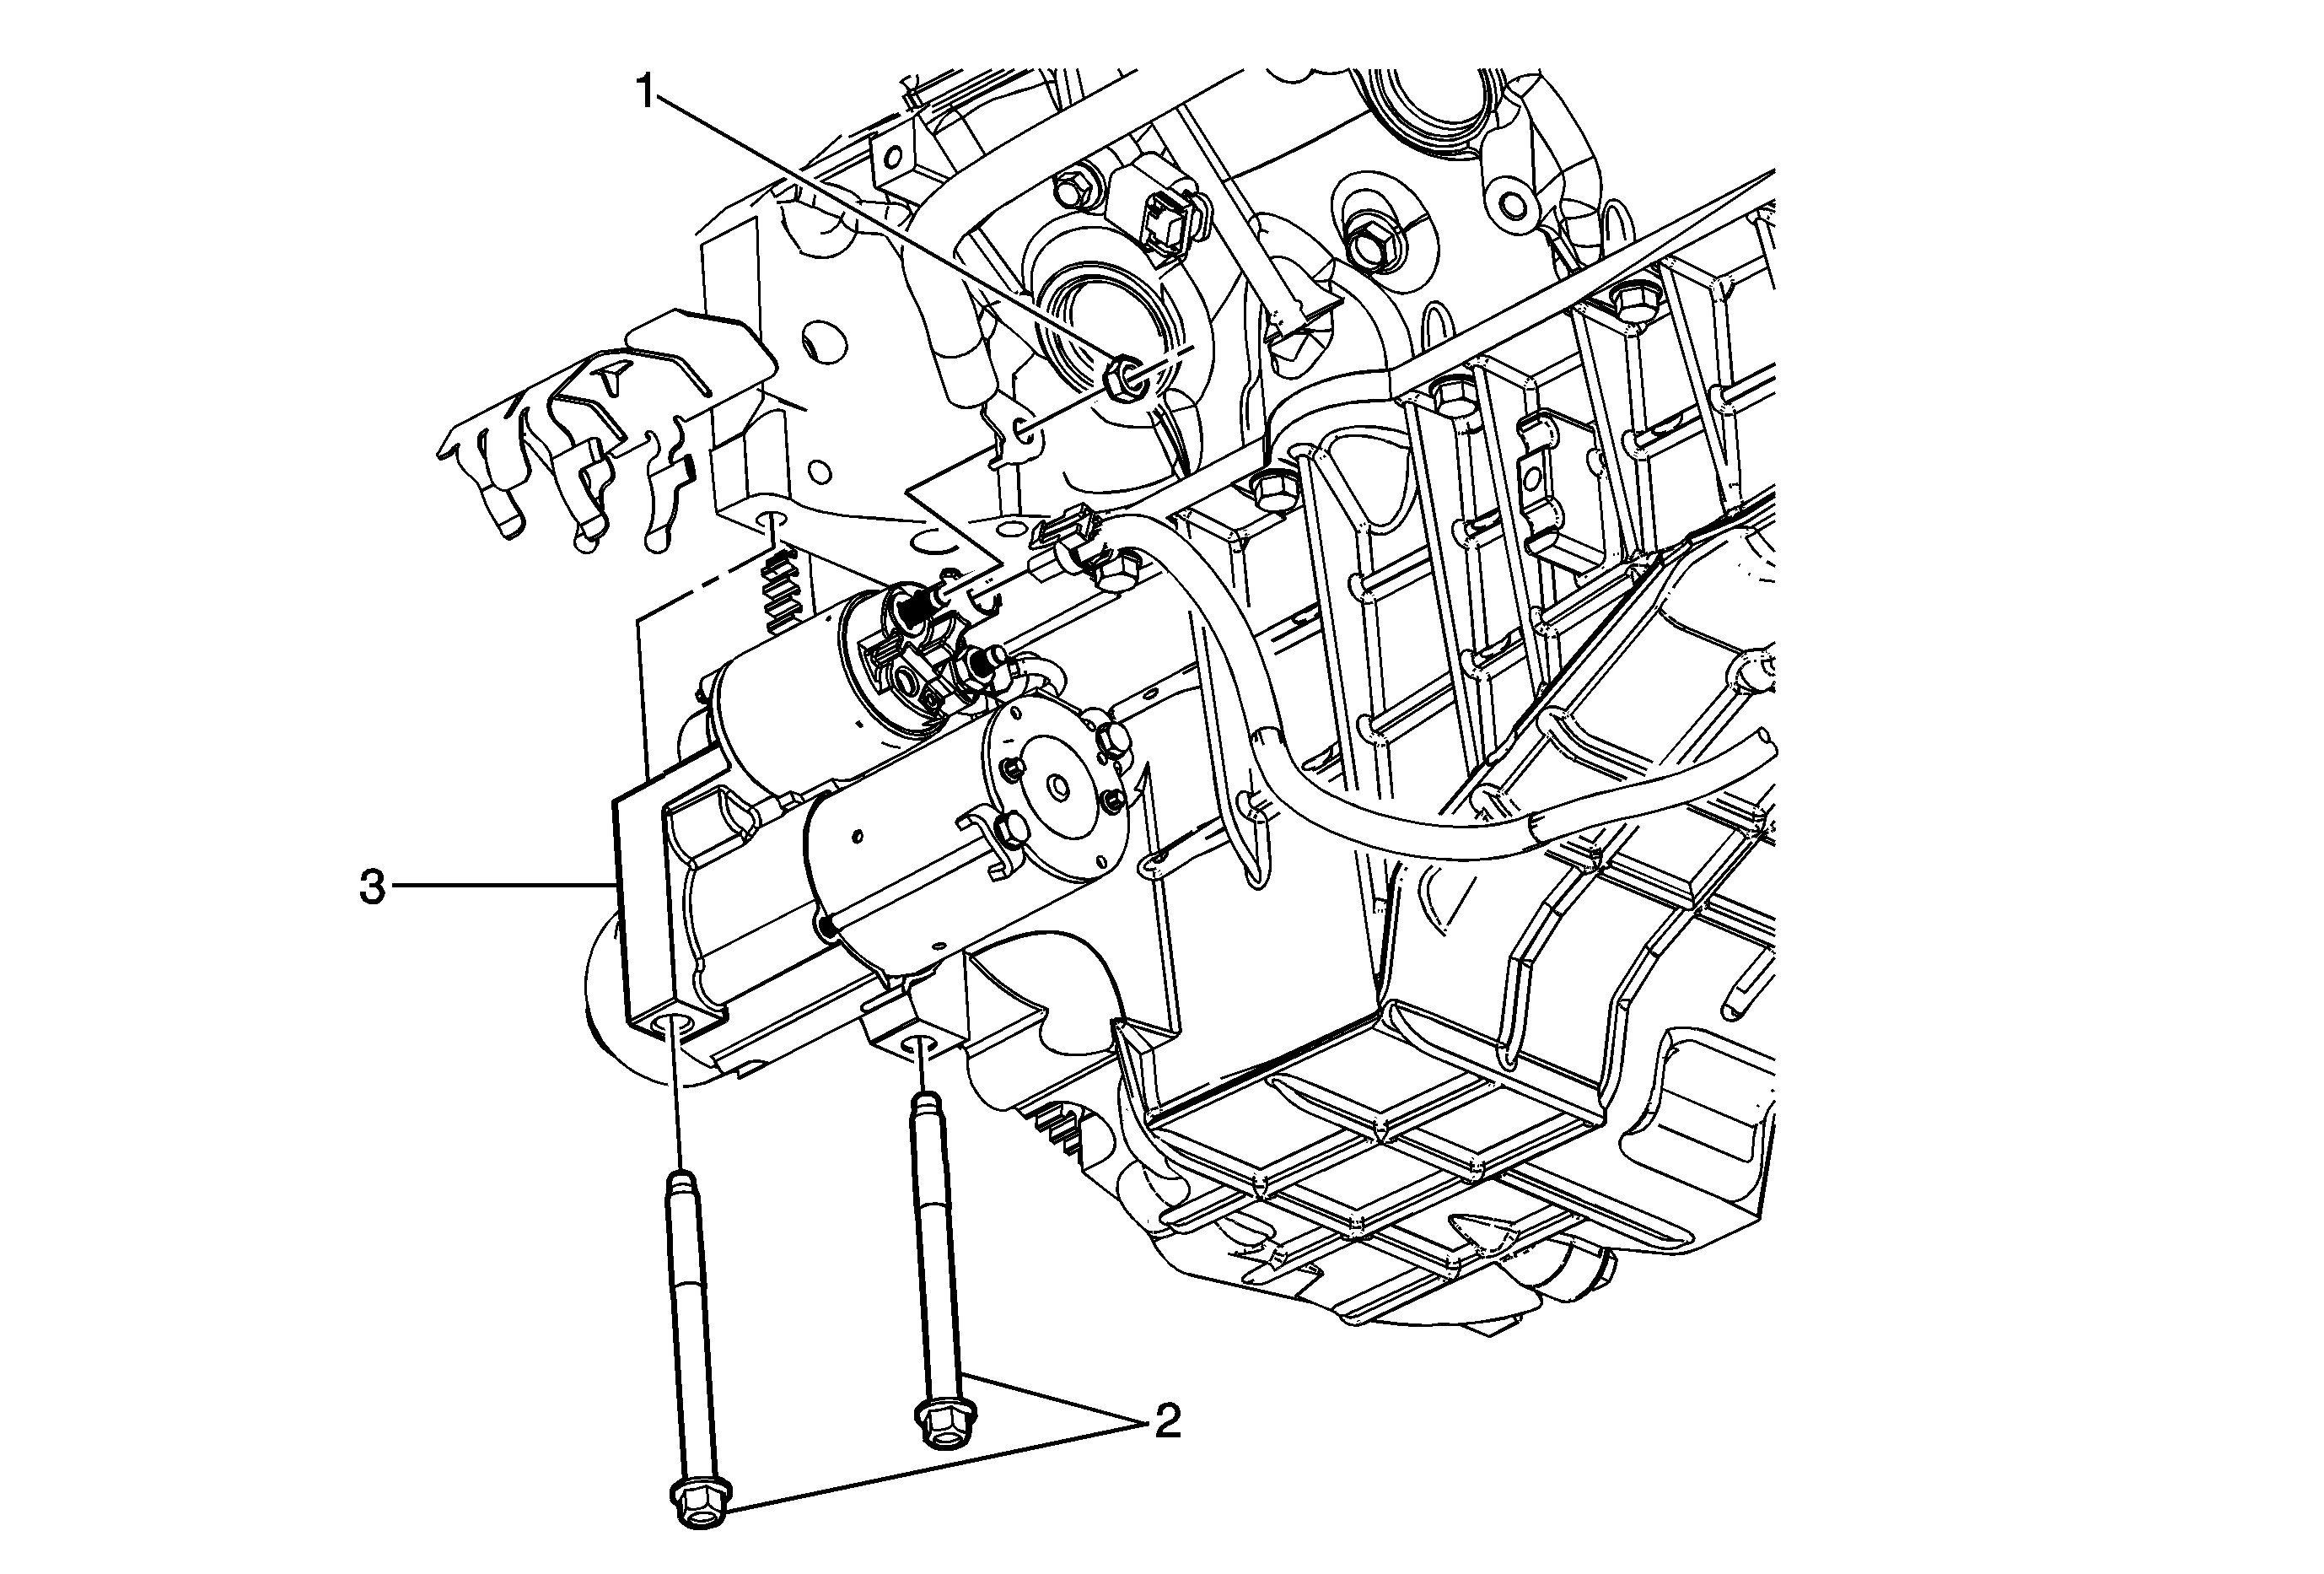
1 | Battery Terminal Nut Caution: Refer to Fastener Caution in the Preface section. Tighten | ||||||||||
2 | Starter Bolt (Qty: 2) Tighten | ||||||||||
3 | Starter Procedure
| ||||||||||
