For 1990-2009 cars only
Removal Procedure
- Raise the vehicle. Refer to Lifting and Jacking the Vehicle.
- Place a jack or utility stands, such as GMTG 123-B67313, at the rear end of the vehicle.
- Drain the fluid from the differential carrier assembly. Refer to Front Axle Lubricant Replacement.
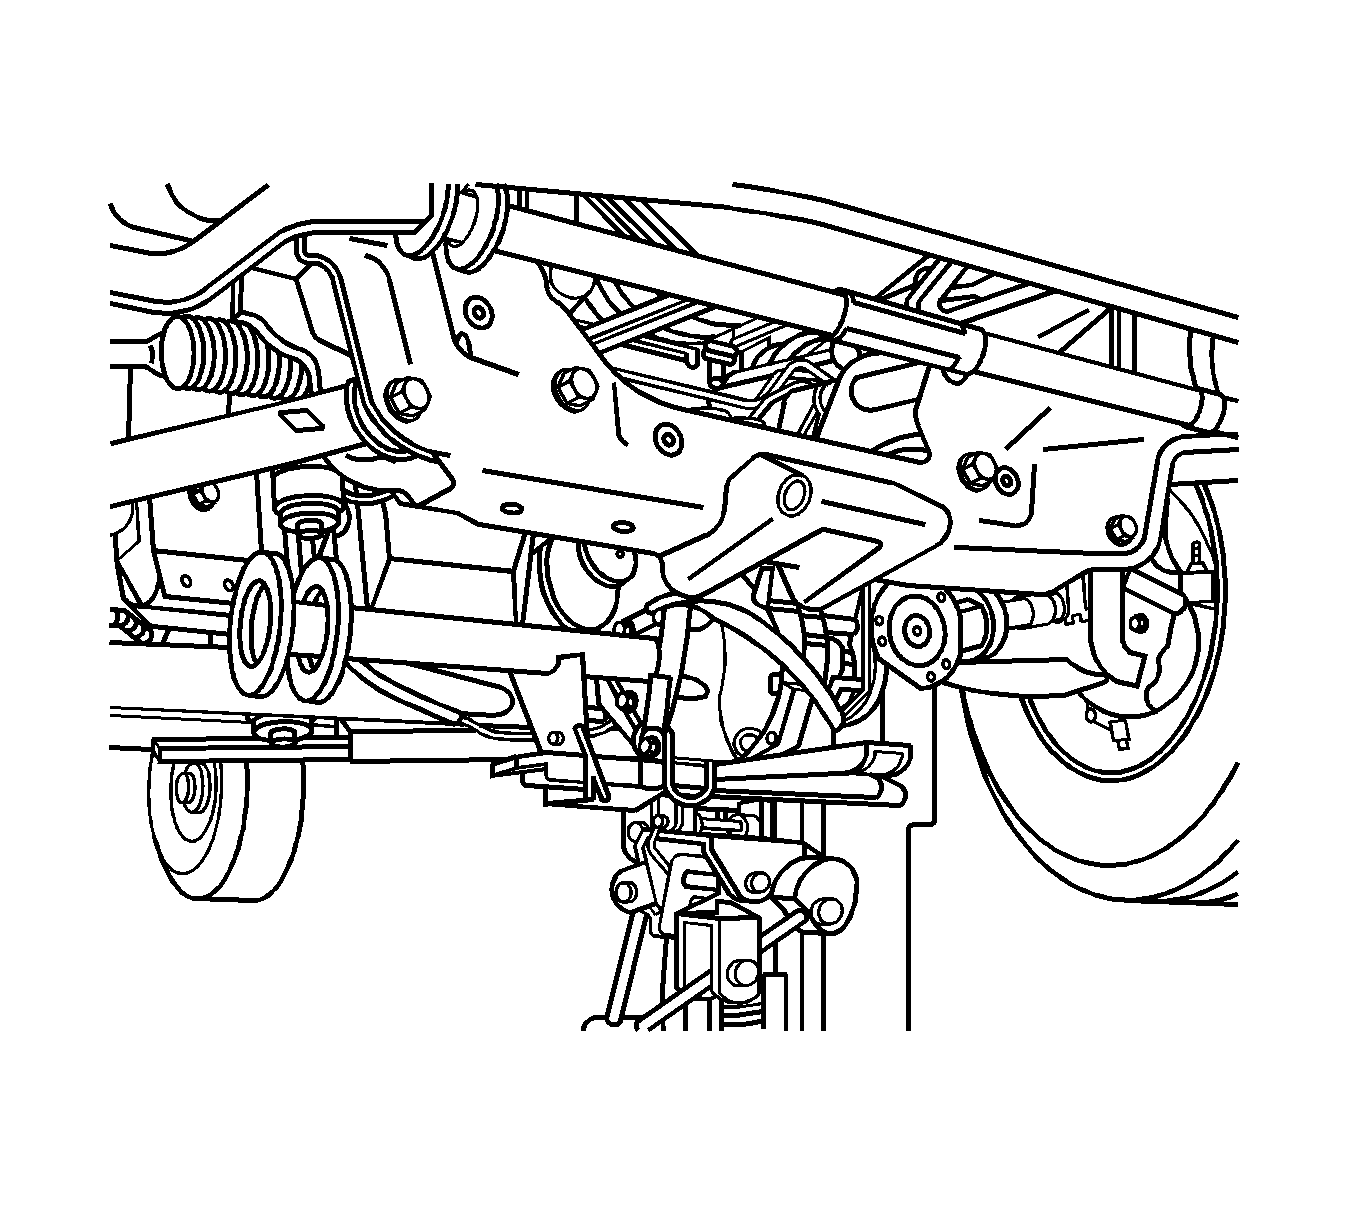
- Disconnect the propeller shaft from the differential carrier assembly. Refer to Front Propeller Shaft Replacement.
- Remove the engine protection shield. Refer to Engine Protection Shield Replacement.
- Remove the front engine crossmember. Refer to Engine Front Crossmember Replacement.
- Place a transmission jack under the differential carrier assembly.
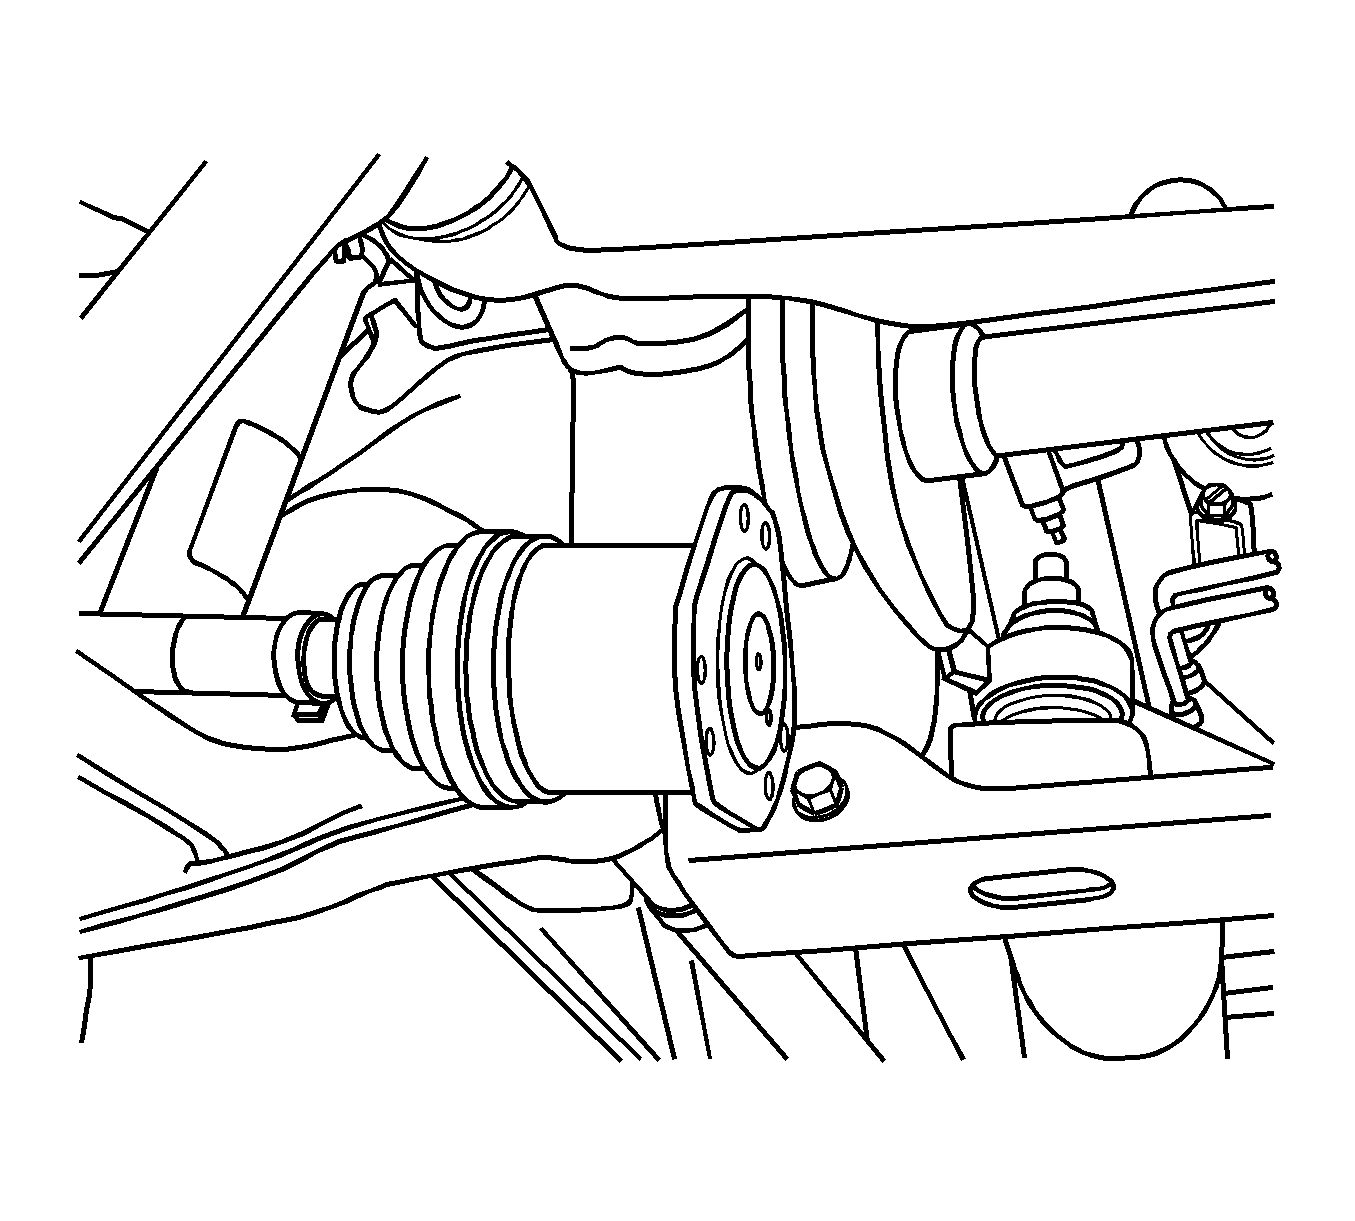
- Place an alignment mark between the wheel drive shafts and the inner shaft flanges.
- Remove the wheel drive shaft to inner shaft bolts.
- Disconnect the left side wheel drive shaft from the inner shaft.
- Disconnect the right side wheel drive shaft from the inner shaft.
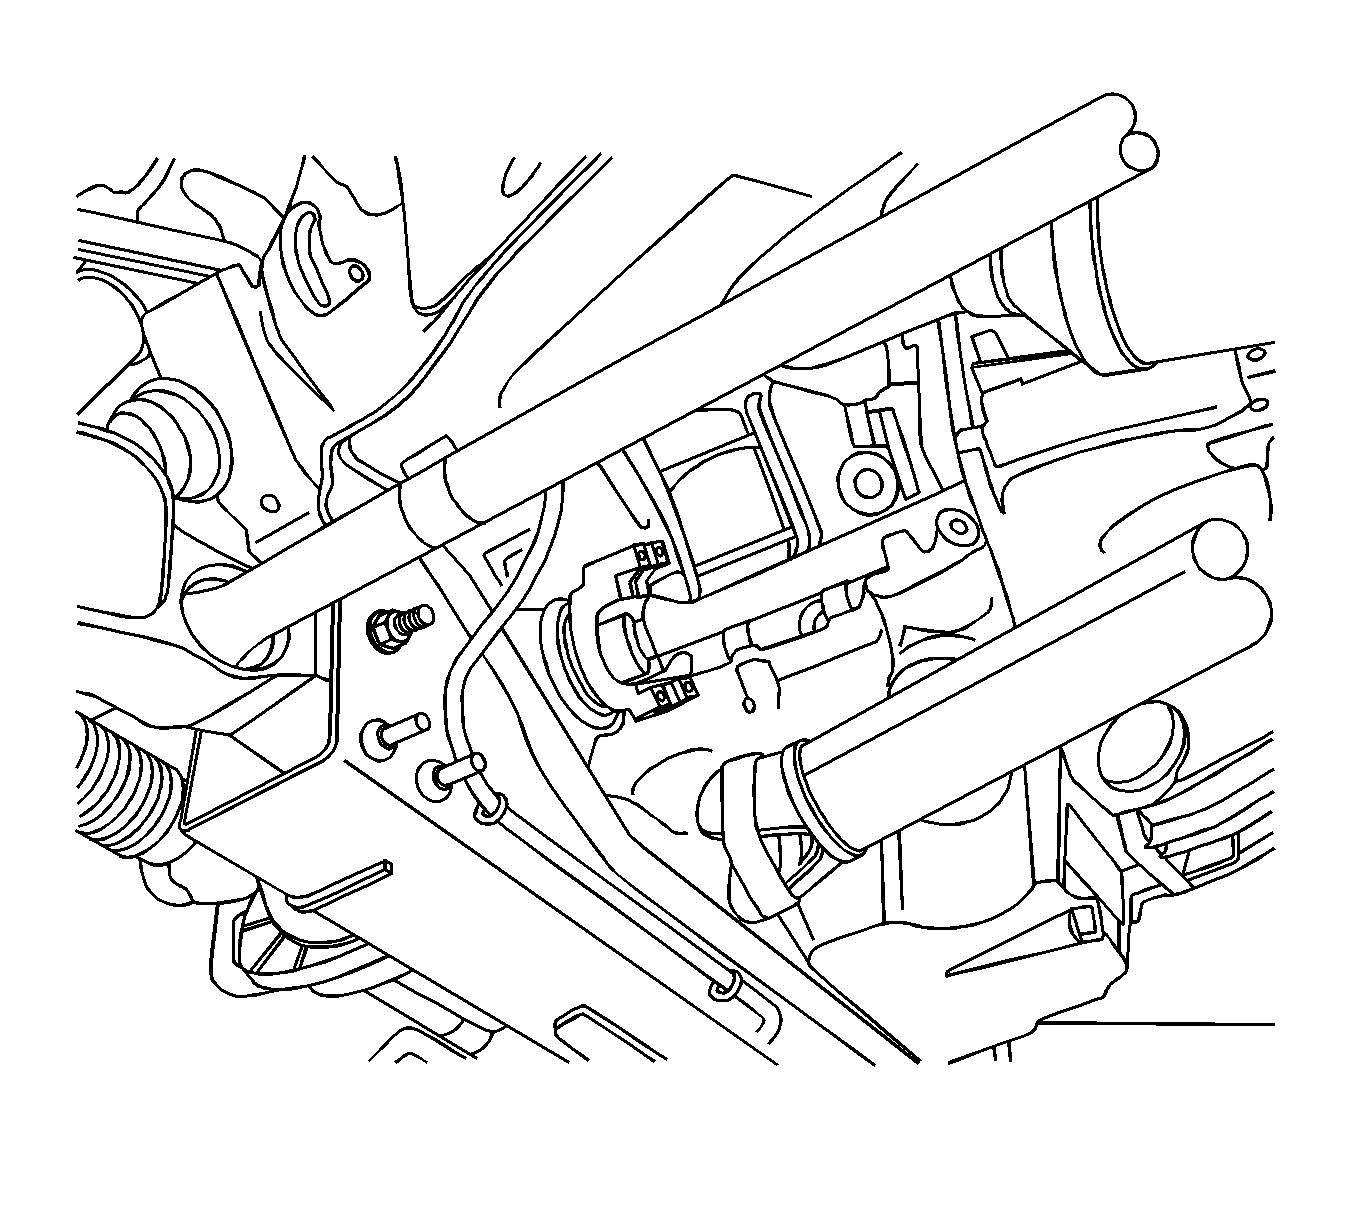
- Disconnect the differential carrier assembly vent hose from the differential carrier assembly.
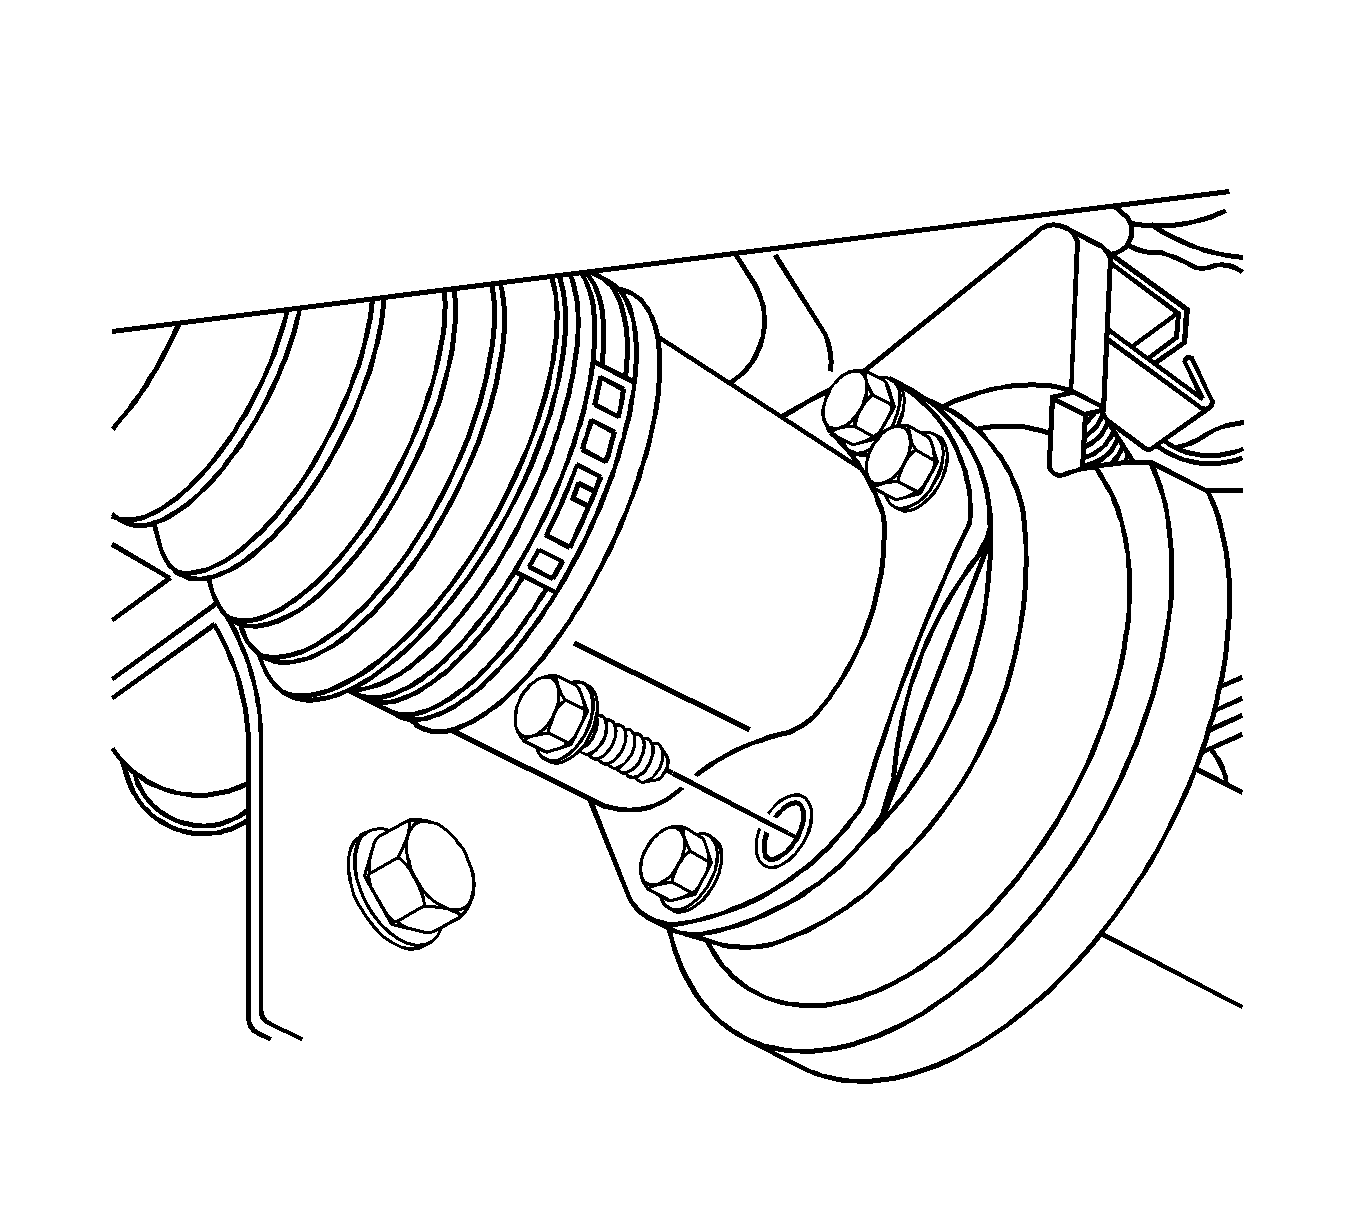
- Remove the upper inner shaft housing mounting bolt.
- Remove the upper differential carrier assembly mounting bolt.
- Remove the differential carrier assembly.
Support the propeller shaft as necessary.

Secure and support the differential carrier assembly to the transmission jack.

Installation Procedure
- Install the differential carrier assembly to the vehicle.
- Connect the vent hose to the differential carrier assembly.
- Install the differential carrier assembly upper mounting bolt and the nut.
- Install the inner shaft upper mounting bolt and the nut.
- Install the front engine crossmember. Refer to Engine Front Crossmember Replacement.
- Tighten the upper differential carrier assembly and inner shaft housing mounting bolts and tighten to 85 N·m (63 lb ft).
- Connect the left side wheel drive shaft to the inner shaft flange.
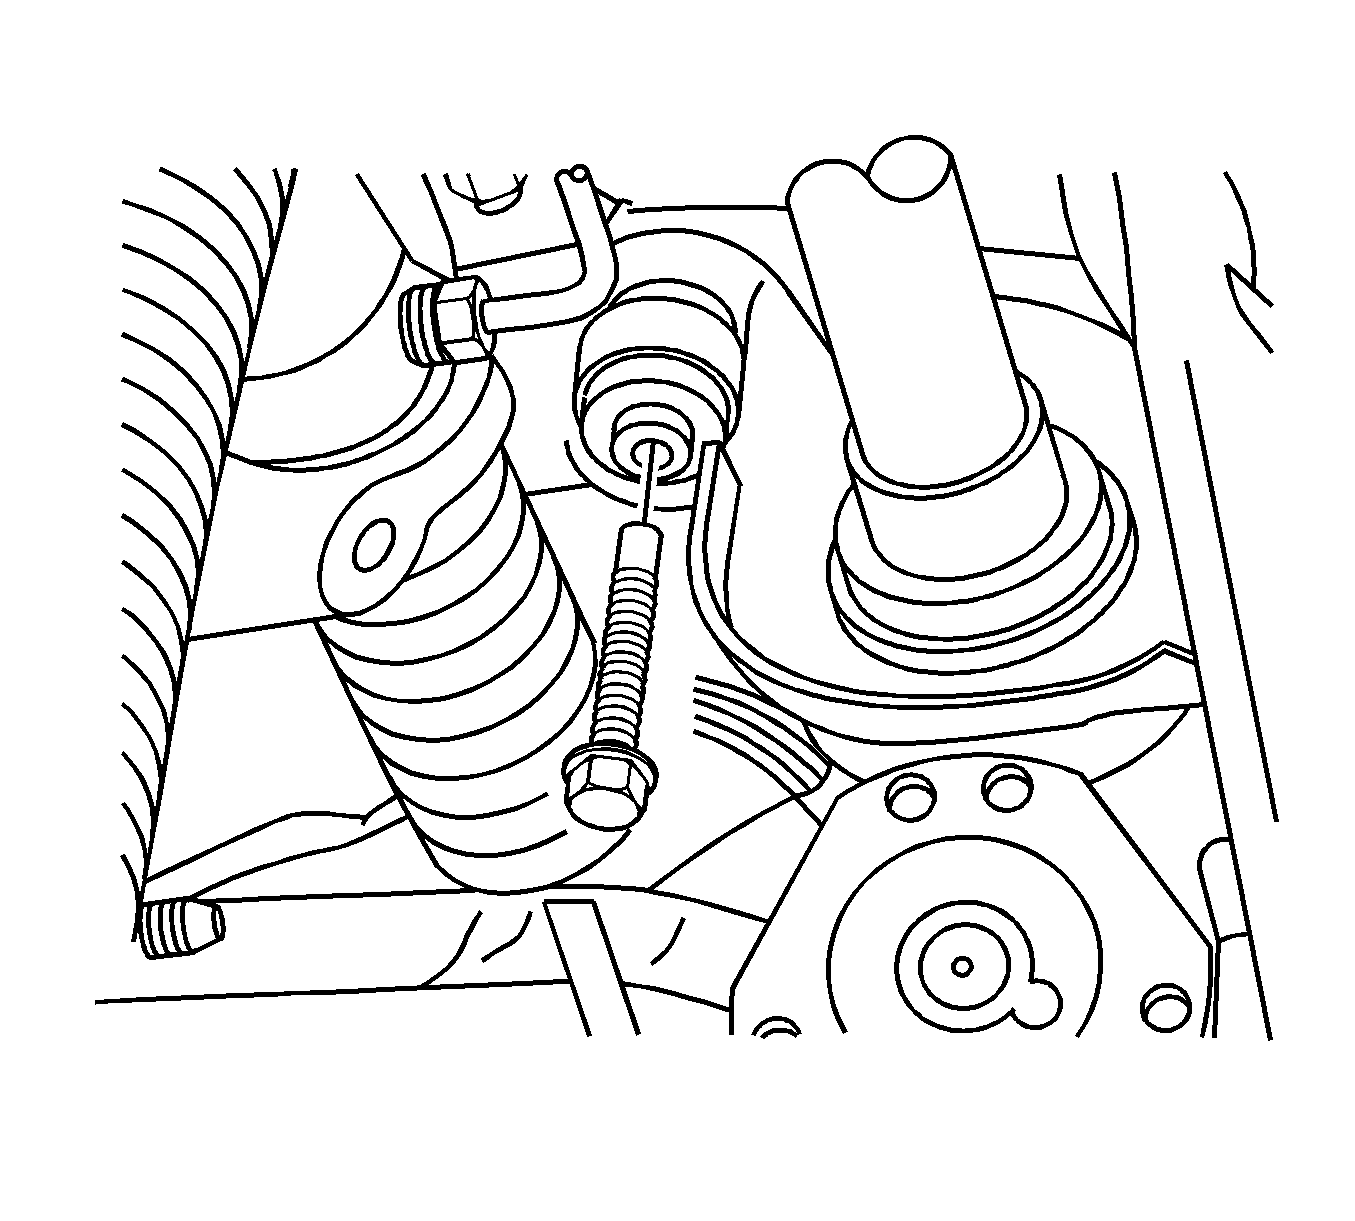
- Perform the following procedure before installing the wheel drive shaft to inner shaft bolts:
- Install the left side wheel drive shaft to inner shaft bolts and tighten to 50 N·m (37 lb ft).
- Connect the right side wheel drive shaft to the inner shaft flange.
- Perform the following procedure before installing the wheel drive shaft to inner shaft bolts:
- Install the right side wheel drive shaft to inner shaft bolts and tighten to 50 N·m (37 lb ft).
- Install the engine protection shield. Refer to Engine Protection Shield Replacement.
- Connect the propeller shaft to the differential carrier assembly. Refer to Front Propeller Shaft Replacement.
- Fill the differential carrier assembly with the proper lubricant. Refer to Front Axle Lubricant Replacement.
- Remove the jack or utility stands.
- Lower the vehicle.
- Inspect the vehicle's Z height and adjust, if necessary. Refer to Trim Height Inspection.
Do not tighten the bolt to specification at this time.
Do not tighten the bolt to specification at this time.
Caution: Refer to Fastener Caution in the Preface section.
Align the marks made during removal.
| 8.1. | Remove all traces of the original adhesive patch. |
| 8.2. | Clean the threads of the bolt with denatured alcohol or equivalent and allow to dry. |
| 8.3. | Apply threadlocker GM P/N 12345382 (Canadian P/N 10953489) to the threads of the bolts. |
Align the marks made during removal.
| 11.1. | Remove all traces of the original adhesive patch. |
| 11.2. | Clean the threads of the bolt with denatured alcohol or equivalent and allow to dry. |
| 11.3. | Apply threadlocker GM P/N 12345382 (Canadian P/N 10953489) to the threads of the bolts. |
