For 1990-2009 cars only
Removal Procedure
- Remove the fuse labeled HVAC CTRL (BATT).
- Remove the knee bolster reinforcement. Refer to Driver Knee Bolster Reinforcement Replacement .
- Remove the instrument panel (I/P) tie bar. Refer to Instrument Panel Tie Bar Replacement .
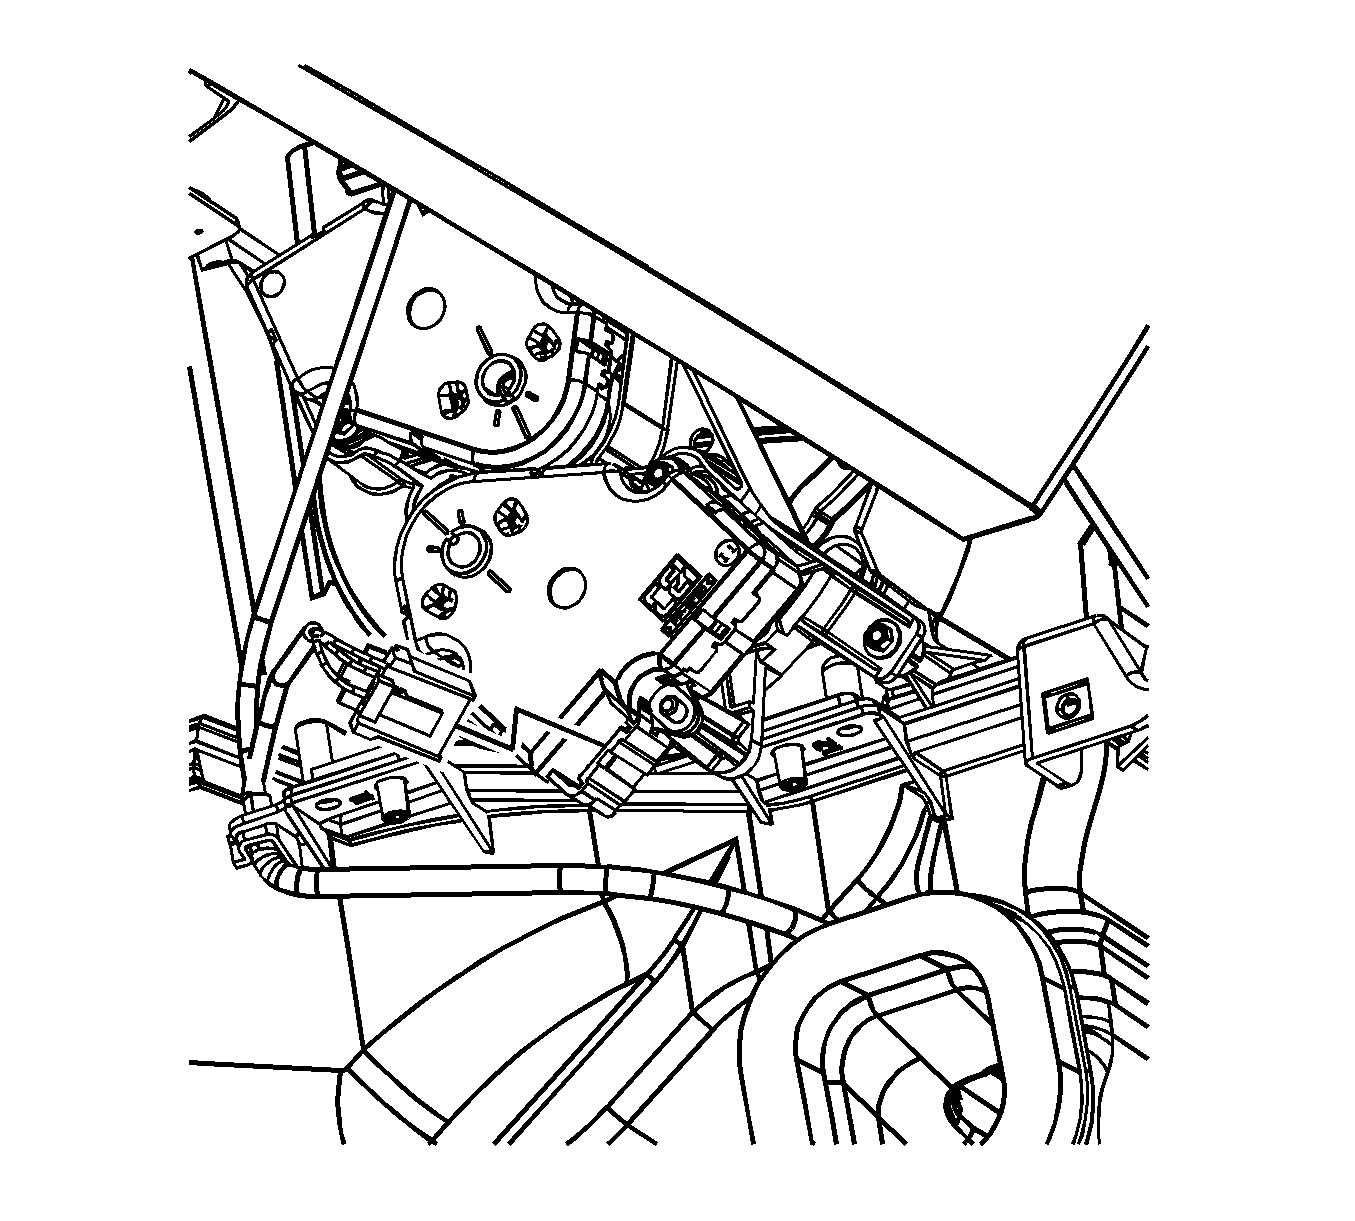
- Disconnect the air temperature actuator electrical connector.
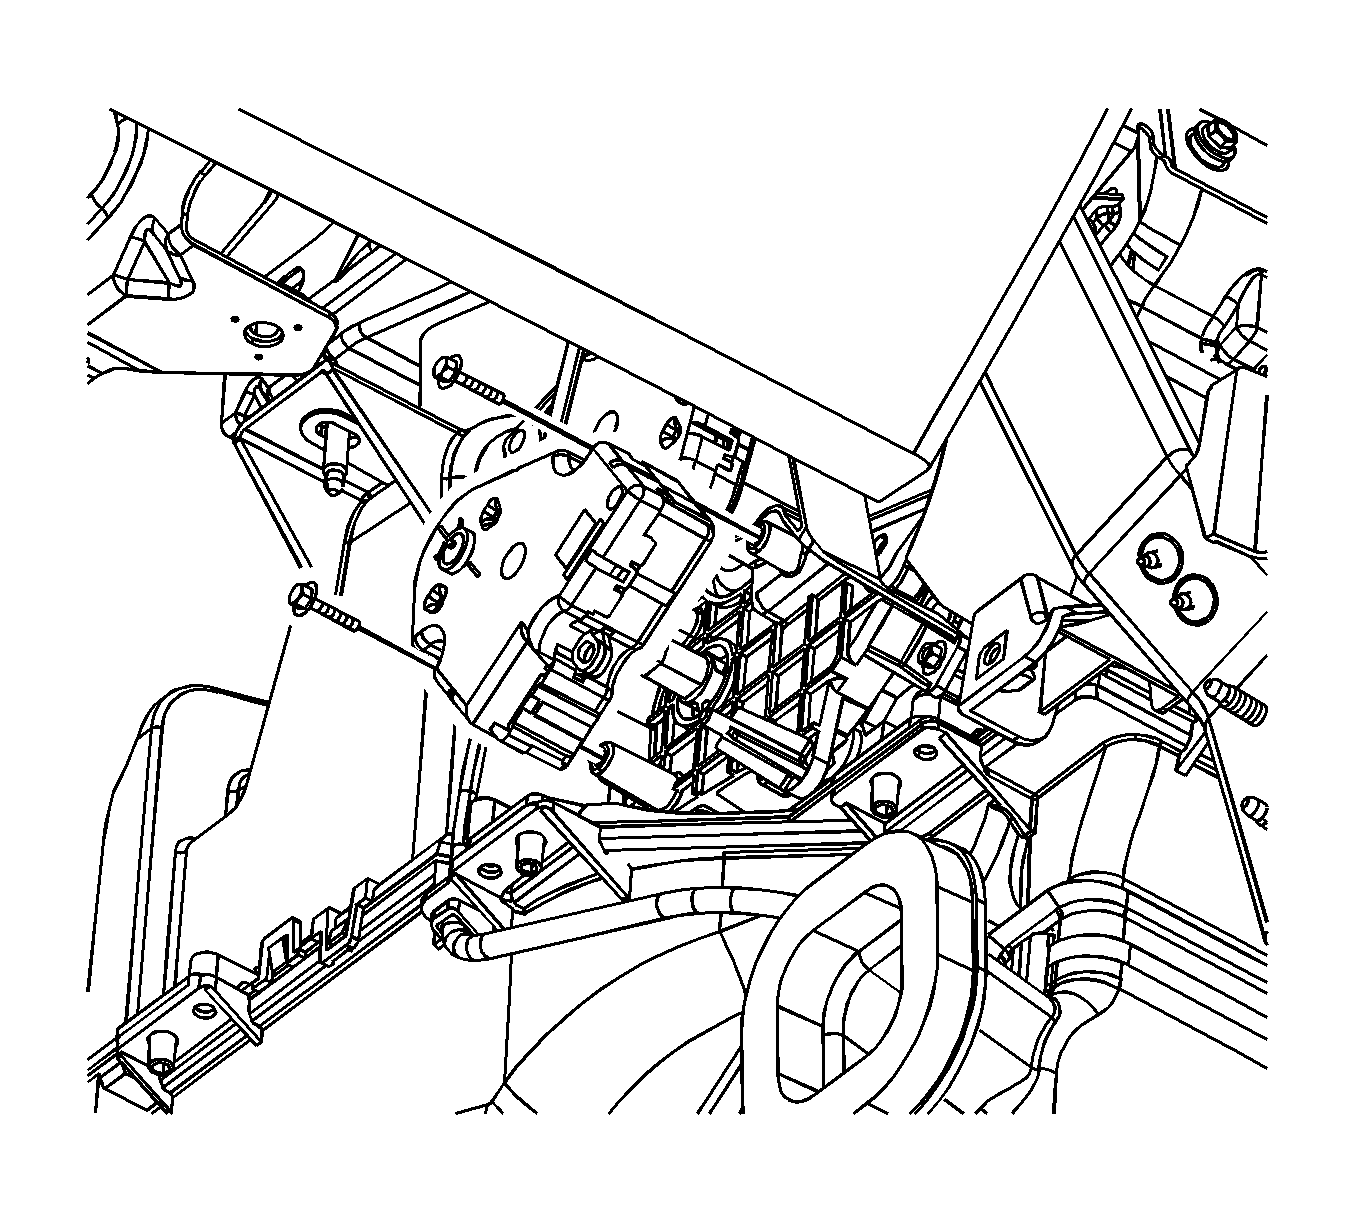
- Remove the air temperature actuator screws.
- Remove the air temperature actuator.


Installation Procedure
- Install the air temperature actuator.
- Install the air temperature actuator screws.
- Install the air temperature actuator electrical connector.
- Install the I/P tie bar. Refer to Instrument Panel Tie Bar Replacement .
- Install the knee bolster reinforcement. Refer to Driver Knee Bolster Reinforcement Replacement .
- Install the fuse labeled HVAC CTRL (BATT).
- Start the engine and let run for one minute.

Important: The key should be in the OFF position when connecting the electrical connectors to ensure proper calibration.
Notice: Refer to Fastener Notice in the Preface section.
Tighten
Tighten the screws to 2.2 N·m (19 lb in).

Important: Do not adjust any controls on the HVAC control assembly while the HVAC control assembly and actuators are calibrating. If interrupted improper HVAC performance will result.
