GM Service Manual Online
For 1990-2009 cars only

Cooling Fan and Shroud Replacement LNF
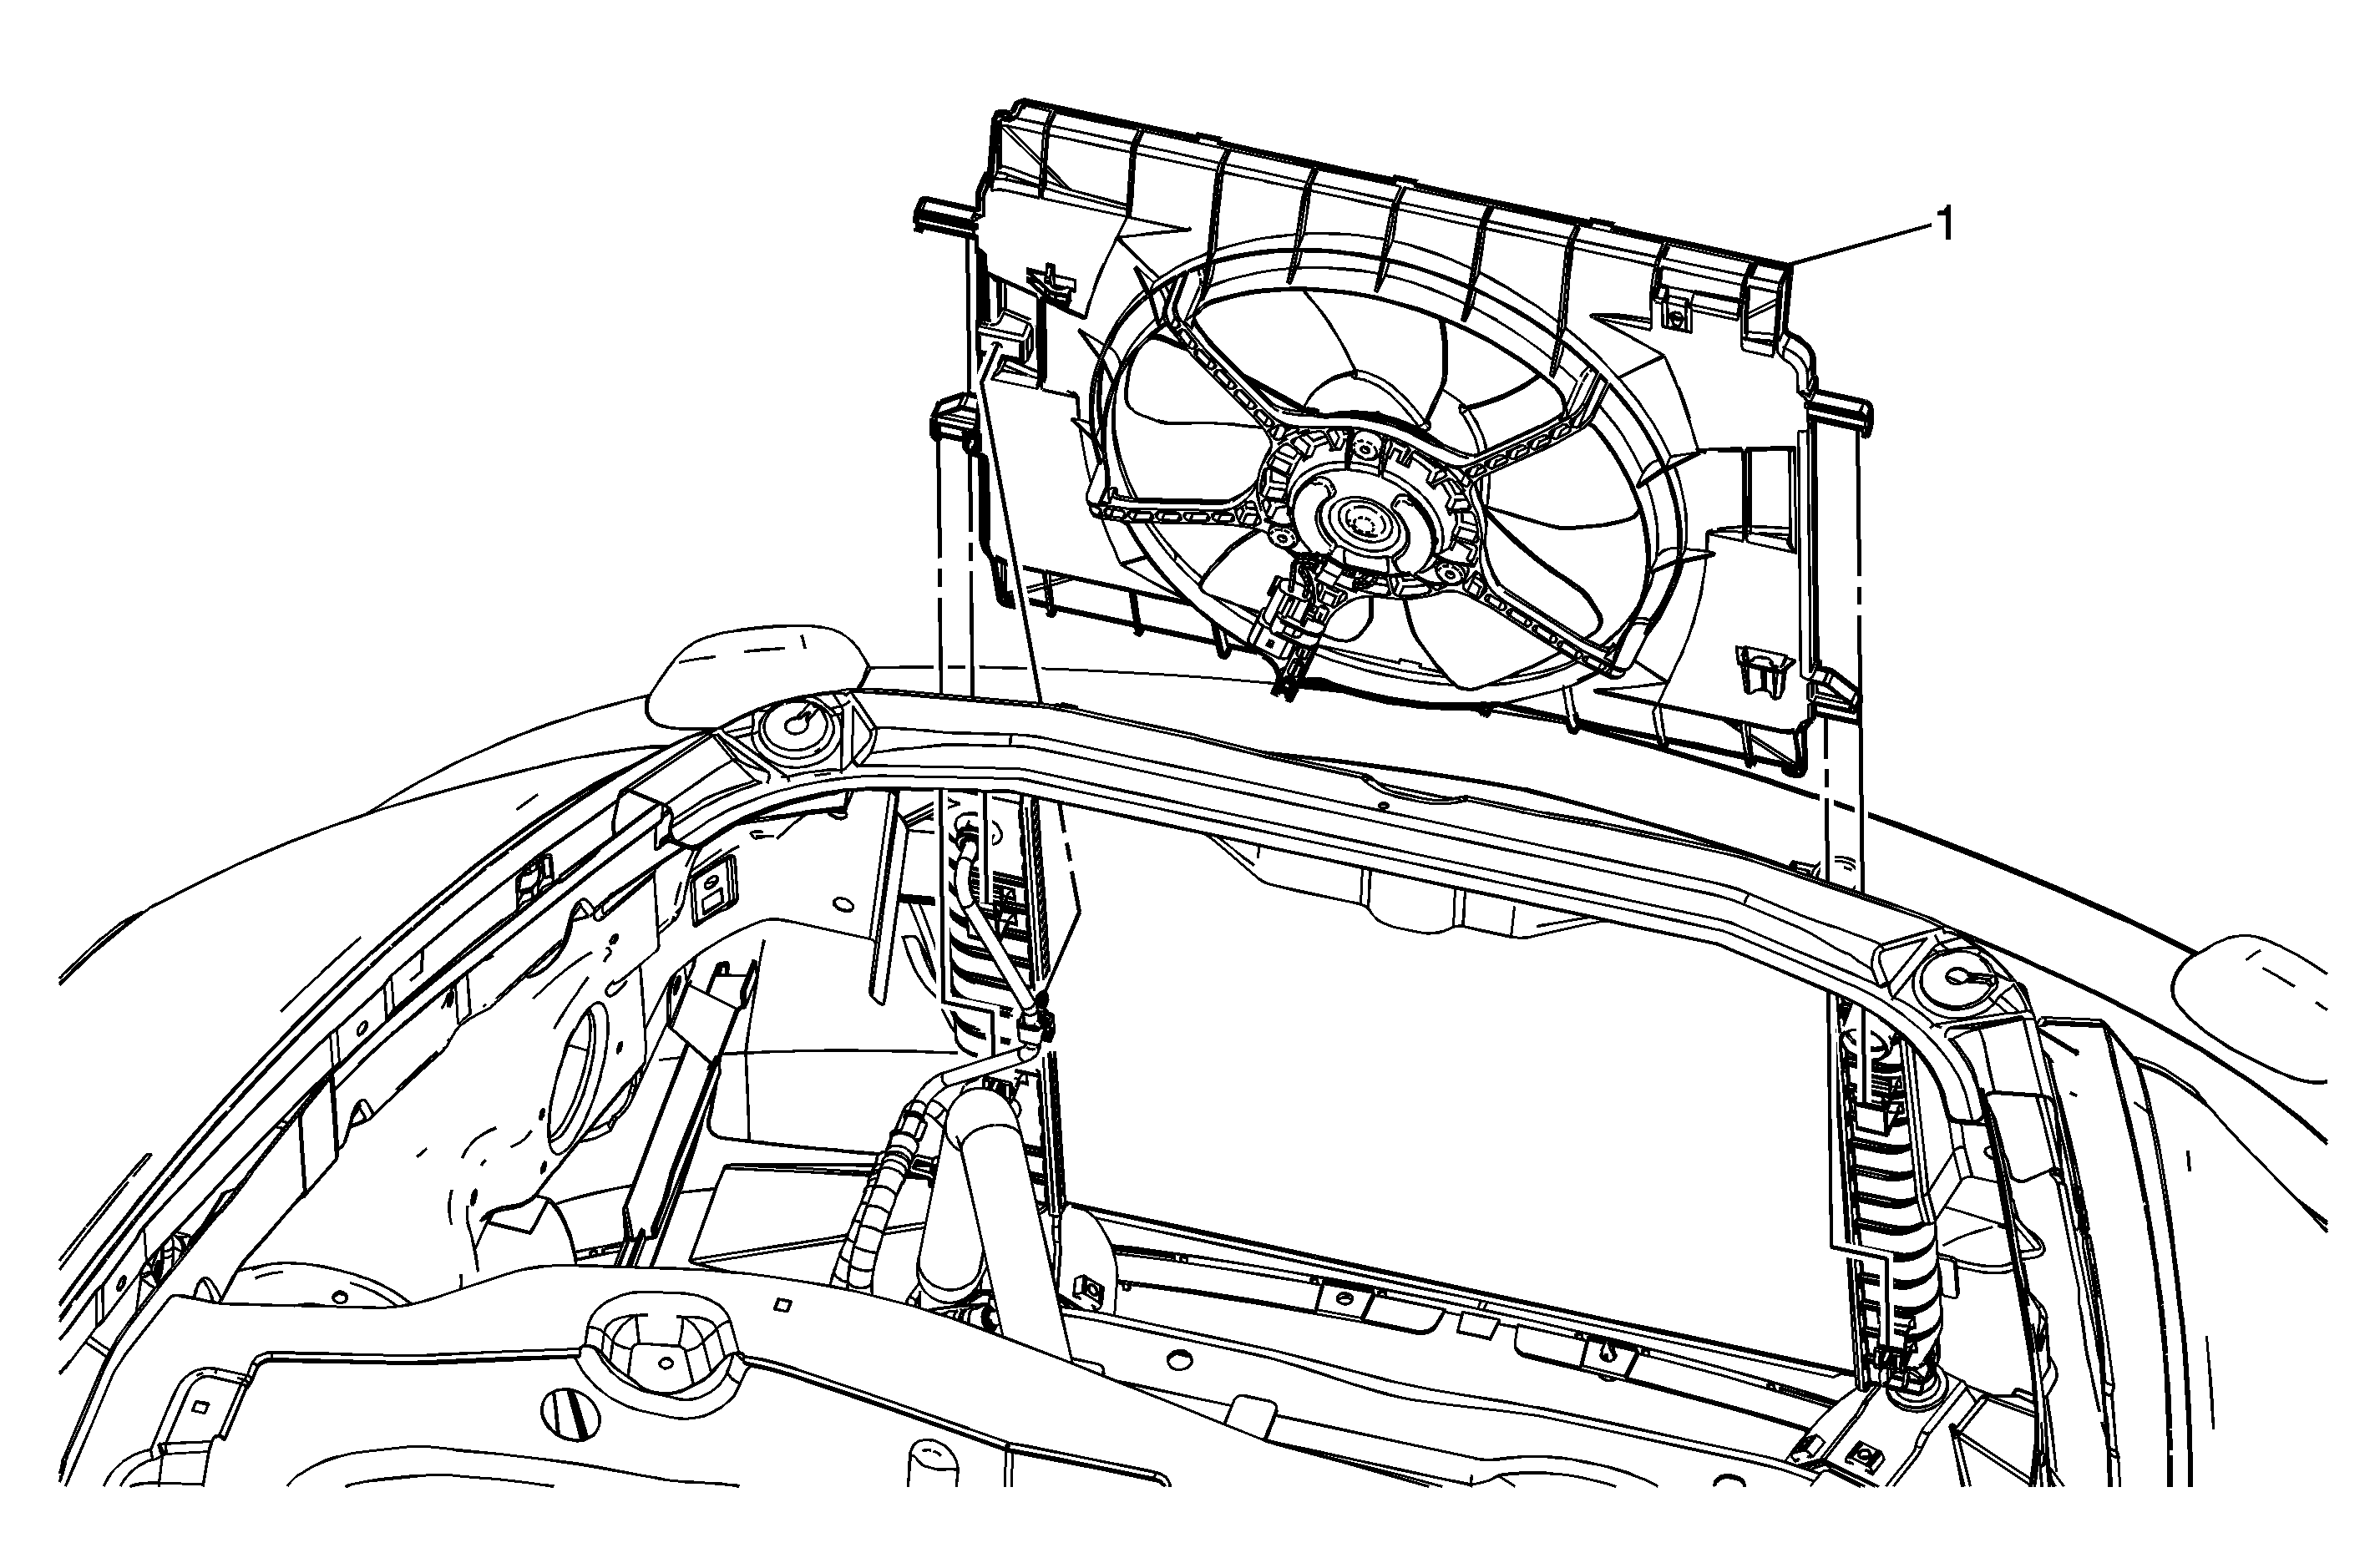

Object Number: 1617131  Size: MF

Callout

Component Name

Preliminary Procedure

  1. Remove the charge air cooler inlet pipe. Refer to Charge Air Cooler Inlet Pipe Replacement
  2. Remove the coolant recovery reservoir. Refer to Coolant Recovery Reservoir Replacement .
  3. Remove the hood latch from the tie bar and set aside. Refer to Hood Primary and Secondary Latch Replacement .
  4. Remove the radiator inlet hose from the radiator. Refer to Radiator Inlet Hose Replacement .
  5. Remove the upper radiator air baffle. Refer to Radiator Air Upper Baffle and Deflector Replacement .
  6. Remove the radiator support brackets. Refer to Radiator Support Bracket Replacement .

1

Engine Cooling Fan and Shroud.

Procedure

  1. Disconnect the cooling fan motor electrical connector.
  2. Remove the transmission line connector from the fan shroud.
  3. Lift the radiator out of the support bracket and pull toward the front of the vehicle.
  4. Lift up on the fan shroud assembly to release from the radiator.

Cooling Fan and Shroud Replacement LE5, L61


Object Number: 1617131  Size: MF

Callout

Component Name

Preliminary Procedure

  1. Remove the air cleaner assembly. Refer to Air Cleaner Assembly Replacement or the 2.2L or 2.4L engine or Air Cleaner Assembly Replacement for the 2.0L engine.
  2. Remove the coolant recovery reservoir. Refer to Coolant Recovery Reservoir Replacement.
  3. Remove the hood latch from the tie bar and set aside. Refer to Hood Primary and Secondary Latch Replacement.
  4. Remove the radiator inlet hose from the radiator. Refer to Radiator Inlet Hose Replacement.
  5. Remove the upper radiator air baffle. Refer to Radiator Air Upper Baffle and Deflector Replacement.
  6. Remove the radiator support brackets. Refer to Radiator Support Bracket Replacement.

1

Engine Cooling Fan Assembly - with Shroud

Procedure

  1. Disconnect the cooling fan motor electrical connector.
  2. Remove the transmission line connector from the fan shroud.
  3. Lift the radiator out of the support bracket and pull toward the front of the vehicle.
  4. Lift up on the fan shroud assembly to release from the radiator.