Special Tools
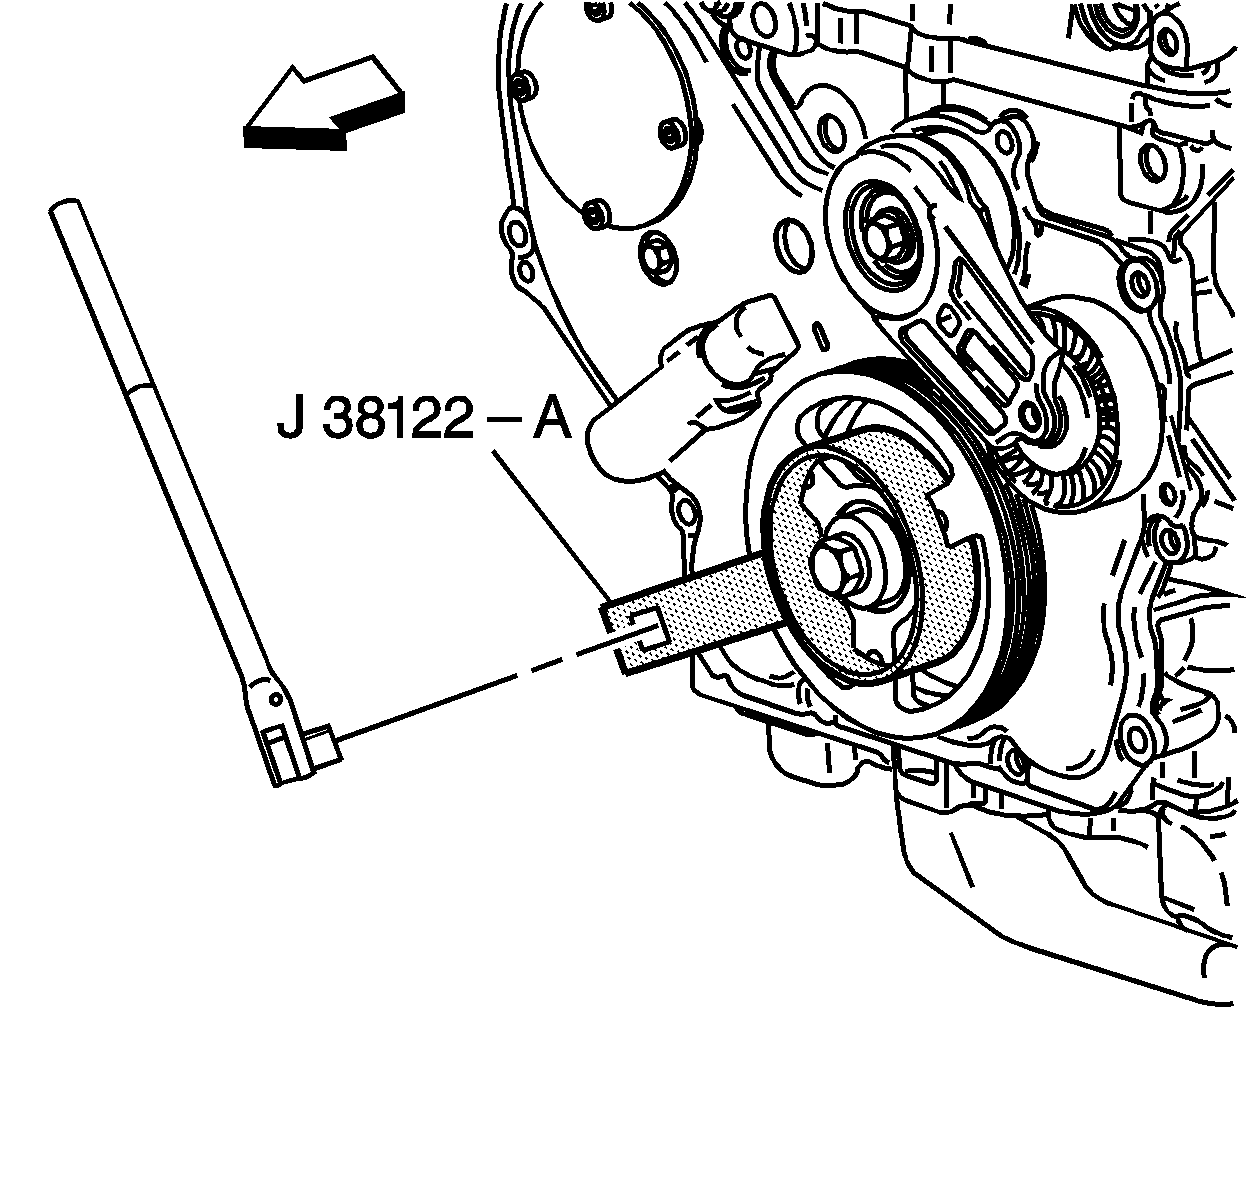
| • | J 38122-A Crankshaft Balancer Holder |
| • | J 45059 Angle Meter |
Removal Procedure
- If equipped with a automatic transaxle, remove the transaxle. Refer to Transmission Replacement.
- If equipped with a manual transaxle, remove the clutch. Refer to Clutch Pressure and Driven Plate Replacement.
- Using the J 38122-A , hold the crankshaft balancer.
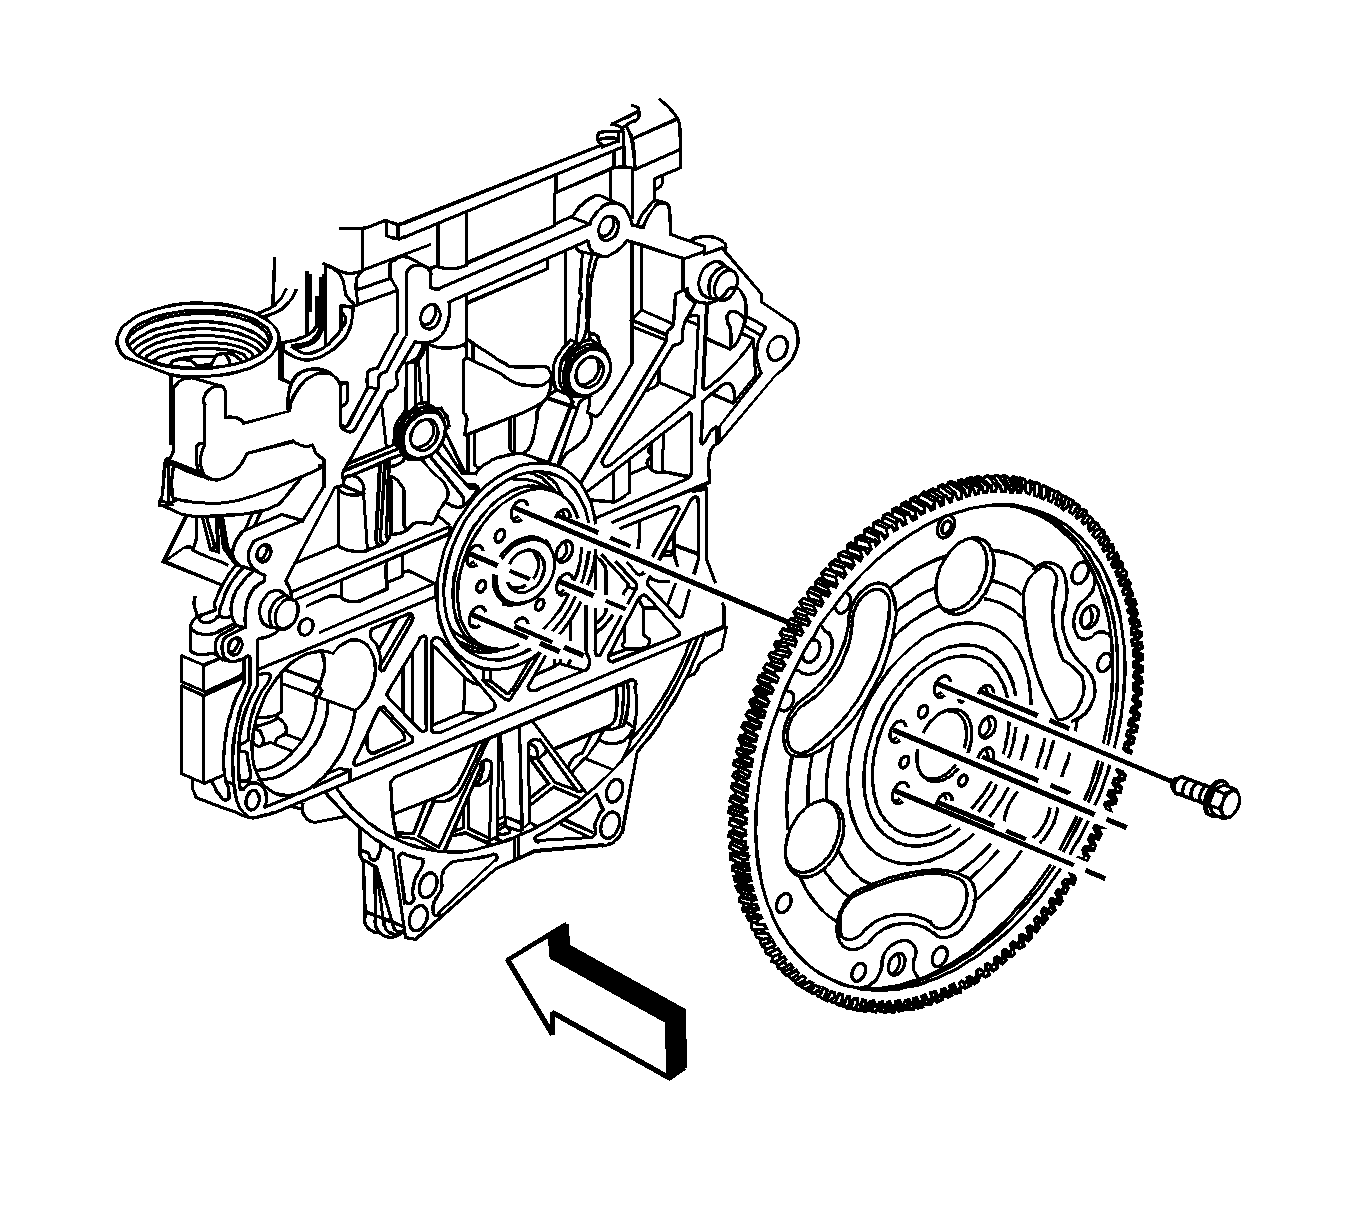
- Remove and discard the automatic transaxle flywheel bolts, if equipped.
- Remove the automatic transaxle flywheel, if equipped.
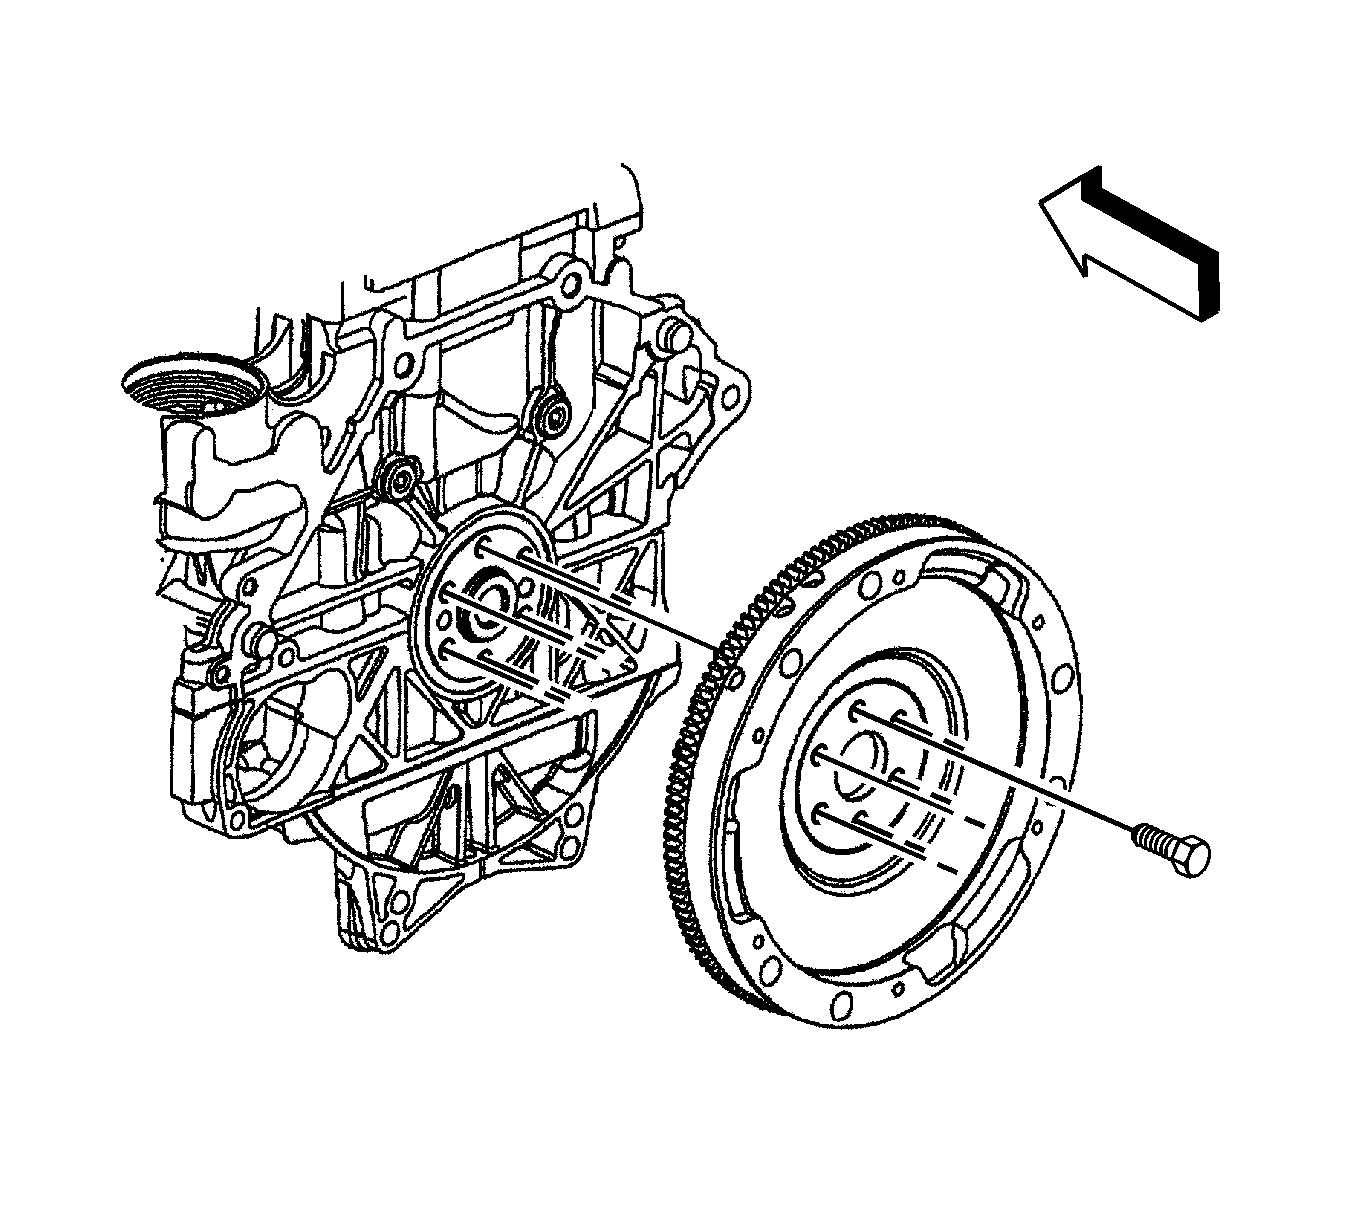
- Remove and discard the manual transaxle flywheel bolts, if equipped.
- Remove the manual transaxle flywheel, if equipped.
- Clean the thread adhesive from the flywheel bolt holes. Use a nylon bristle brush to clean the holes in the crankshaft.


Note: It may be necessary to remove the chamfer (bevel) from the edge of an 18 mm socket in order to get full engagement on the thin-headed flywheel bolts.
Note: Do not orientate the flywheel to the crankshaft. It is balanced separately from the engine.

Note: It may be necessary to remove the chamfer (bevel) from the edge of an 18 mm socket in order to get full engagement on the thin-headed flywheel bolts.
Note: Do not orientate the flywheel to the crankshaft. It is balanced separately from the engine.
Installation Procedure
- Install the manual transaxle flywheel, if equipped.
- Install the NEW manual transaxle flywheel bolts, if equipped.
- Install the automatic transaxle flywheel, if equipped.
- Install the NEW automatic transaxle flywheel bolts, if equipped.
- Remove the J 38122-A .
- If equipped with a manual transaxle, install the clutch. Refer to Clutch Pressure and Driven Plate Replacement.
- If equipped with a automatic transaxle, install the transaxle. Refer to Transmission Replacement.

Caution: Refer to Fastener Caution in the Preface section.
Tighten
Tighten the bolts to 53 N·m (39 lb ft) plus an additional 25 degrees using the
J 45059 .

Tighten
Tighten the bolts to 53 N·m (39 lb ft) plus an additional 25 degrees using the
J 45059 .
