For 1990-2009 cars only
Removal Procedure
- Apply the parking brake.
- Shift the transmission to 4th gear.
- Remove the console. Refer to Front Floor Console Replacement.
- Lift up the cable retainers.
- Disconnect cable ends from the shift control assembly, noting the location for assembly.
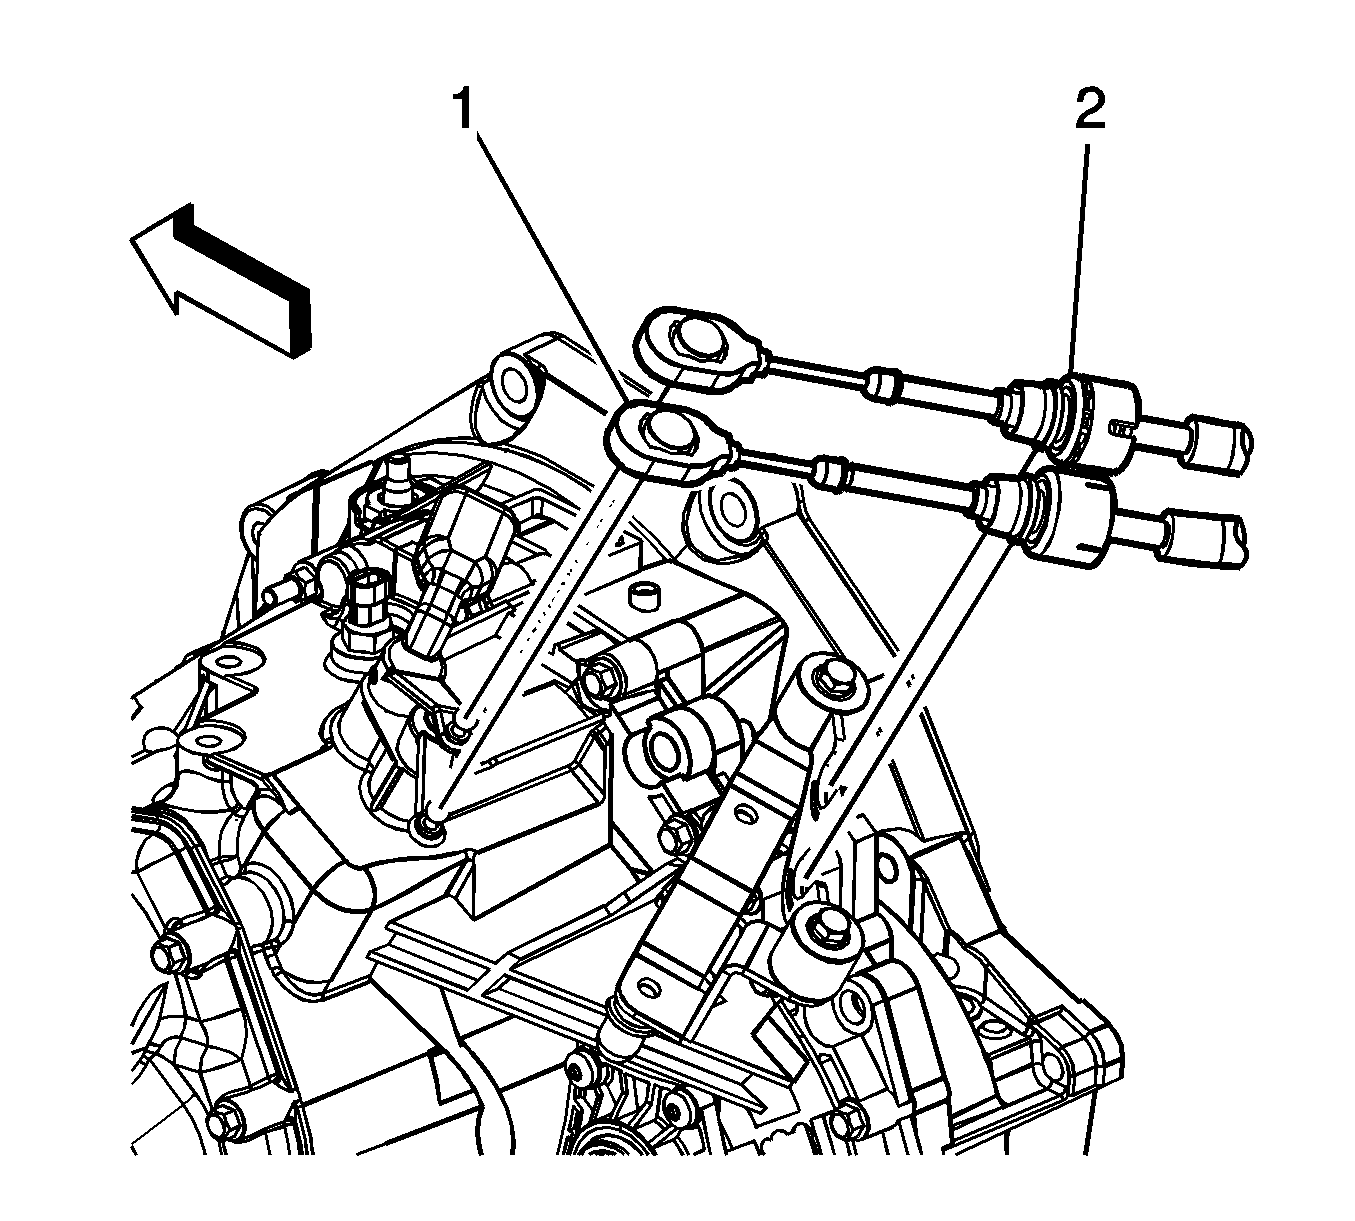
- Disconnect the cable ends (1) from the transmission shift levers, noting the location for assembly.
- Remove the shift cable (2) from the transmission cable bracket.
- Raise and support the vehicle. Refer to Lifting and Jacking the Vehicle.
- Remove the shift cable attachment nut from the underbody.
- Lower the vehicle.
- Remove the left instrument panel insulator. Refer to Instrument Panel Insulator Replacement.
- Position the drivers side front carpet aside. Refer to Floor Panel Carpet Replacement.
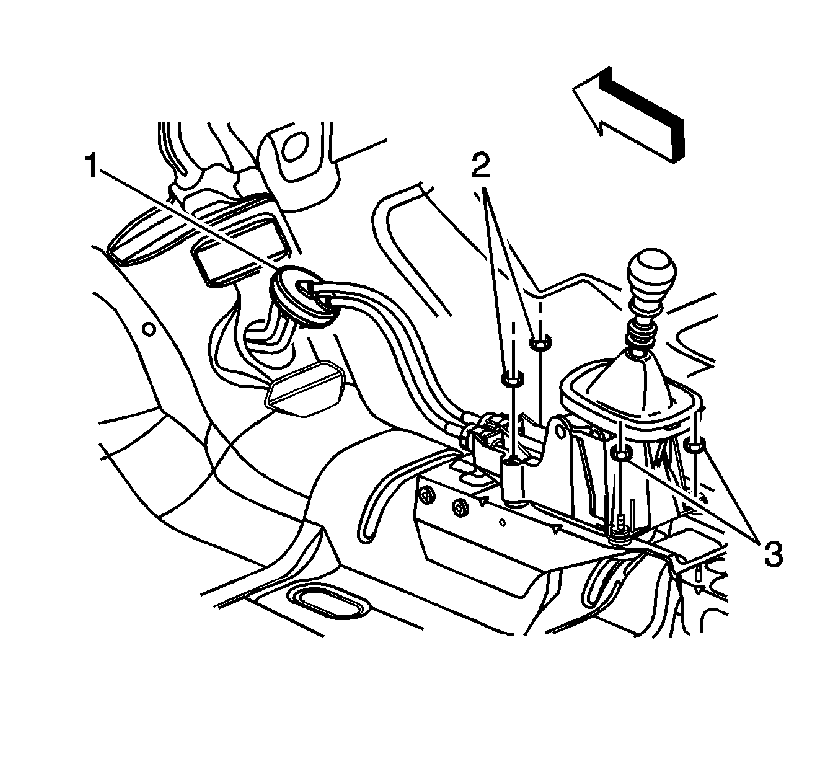
- Separate the grommet (1) from the floor pan.
- Remove the cable from the vehicle by pulling the cables through the drivers floor opening.
Installation Procedure
- Feed the cable assembly through the drivers floor opening.
- Install the grommet (1) flush with the floor opening.
- Install the drivers side front carpet. Refer to Floor Panel Carpet Replacement.
- Install the left instrument panel insulator. Refer to Instrument Panel Insulator Replacement.
- Raise the vehicle.
- Install the shift cable attachment nut to the underbody.
- Lower the vehicle.
- Install the shift cables (2) to the transmission cable bracket.
- Connect the shift cable ends (1) to the transmission shift levers as noted during disassembly.
- Connect the shift cable to the shift control assembly as noted during disassembly.
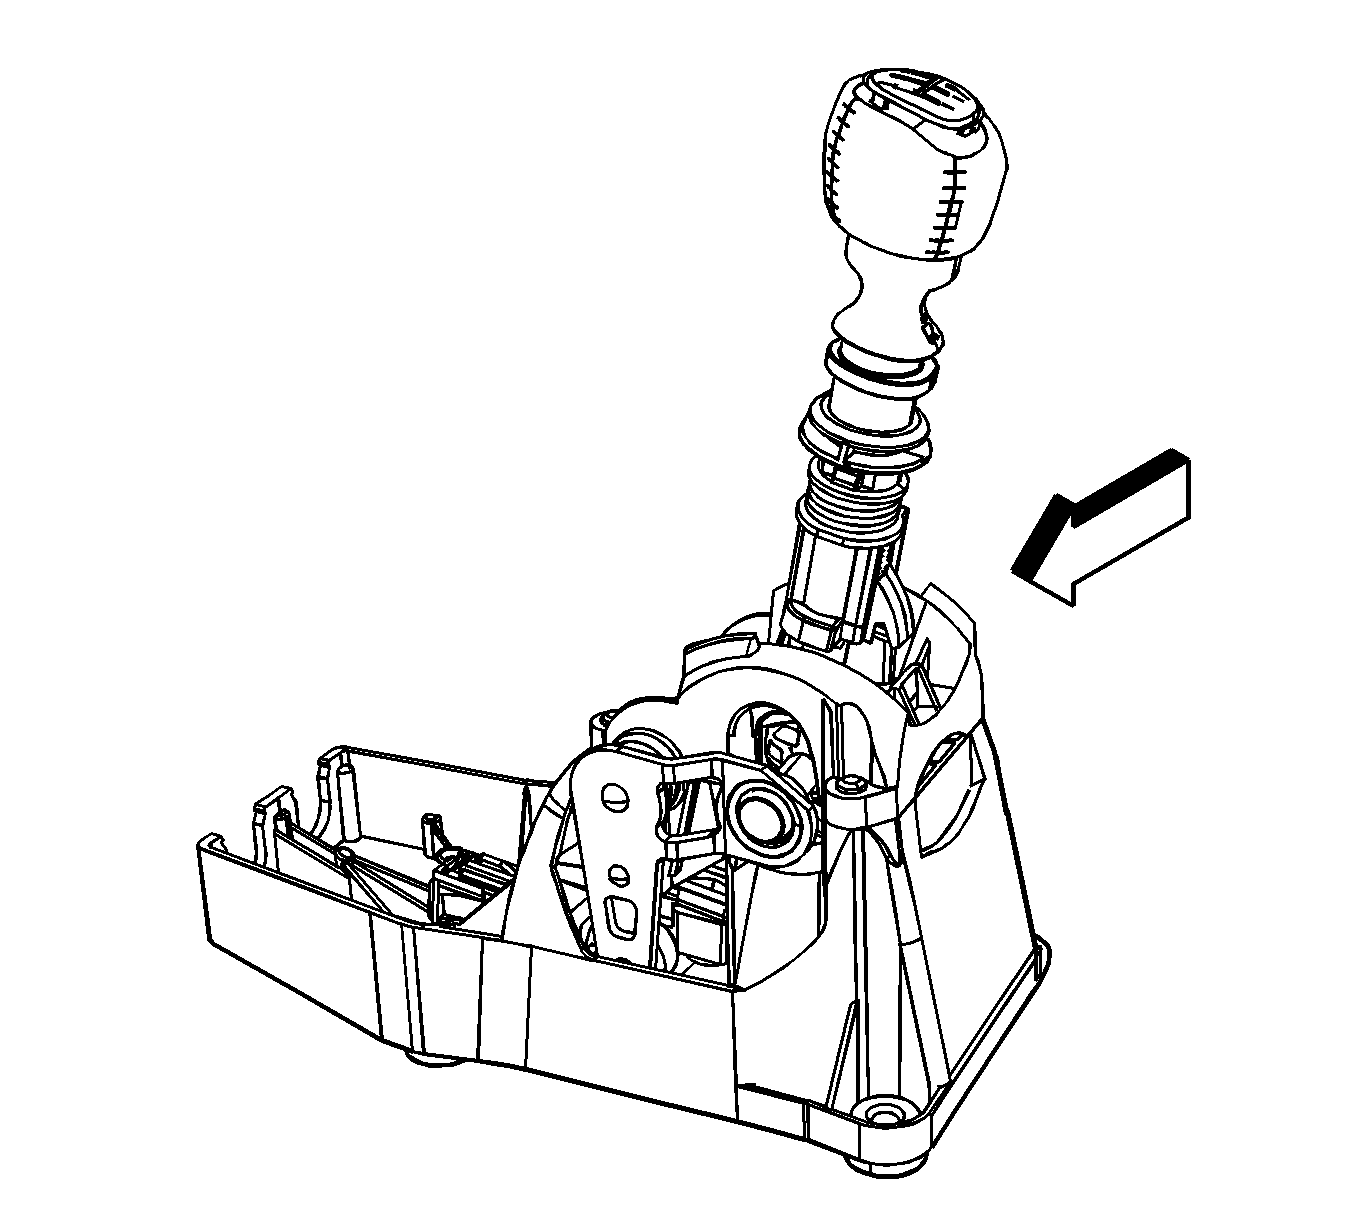
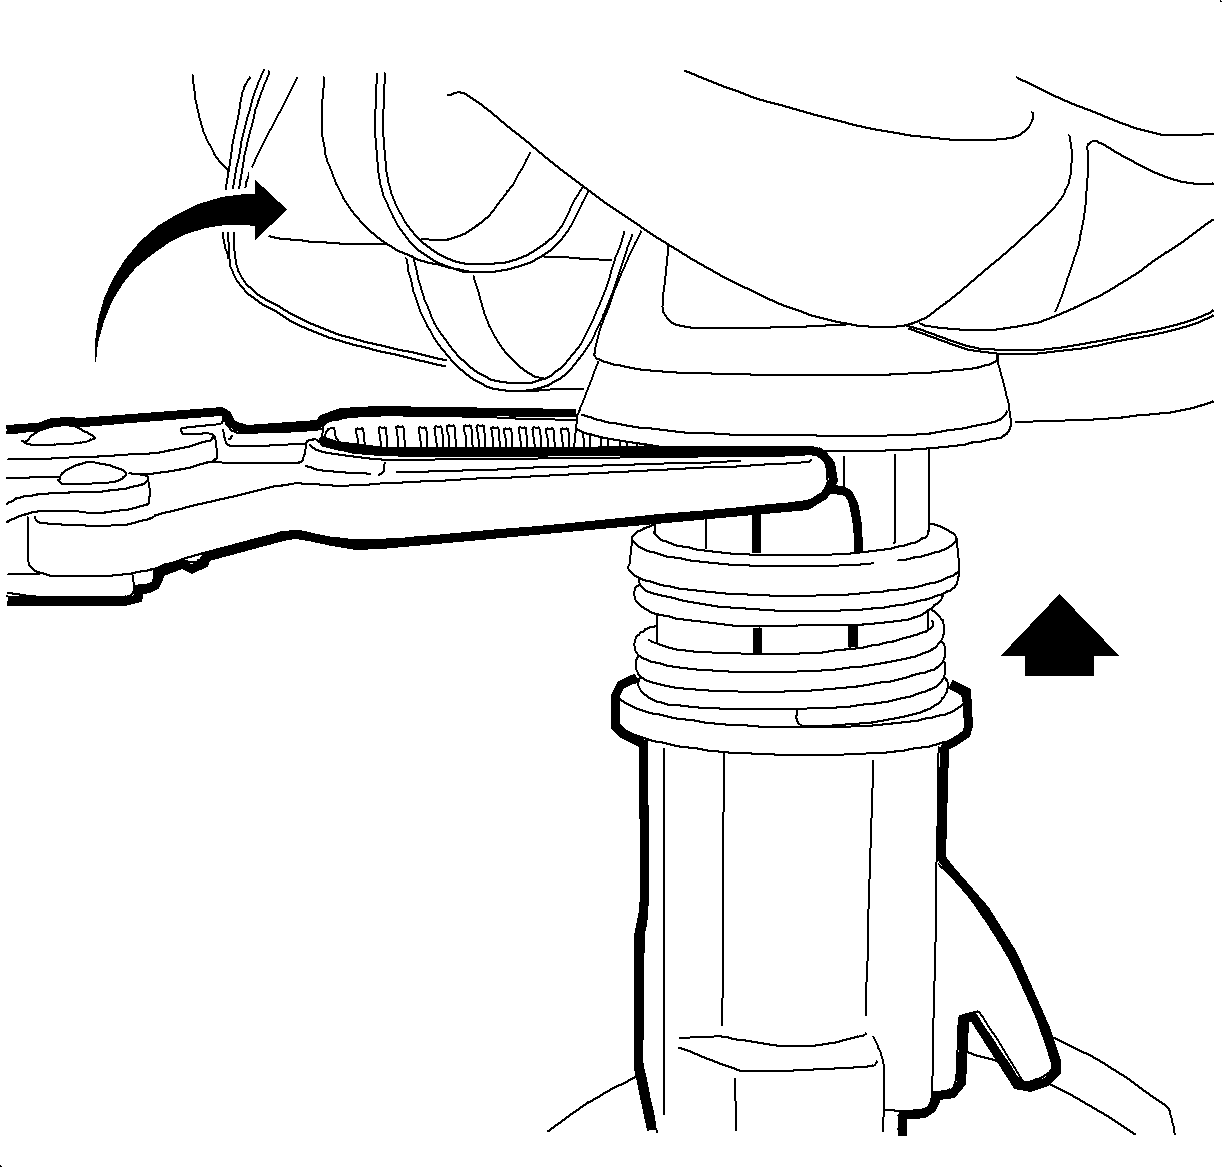
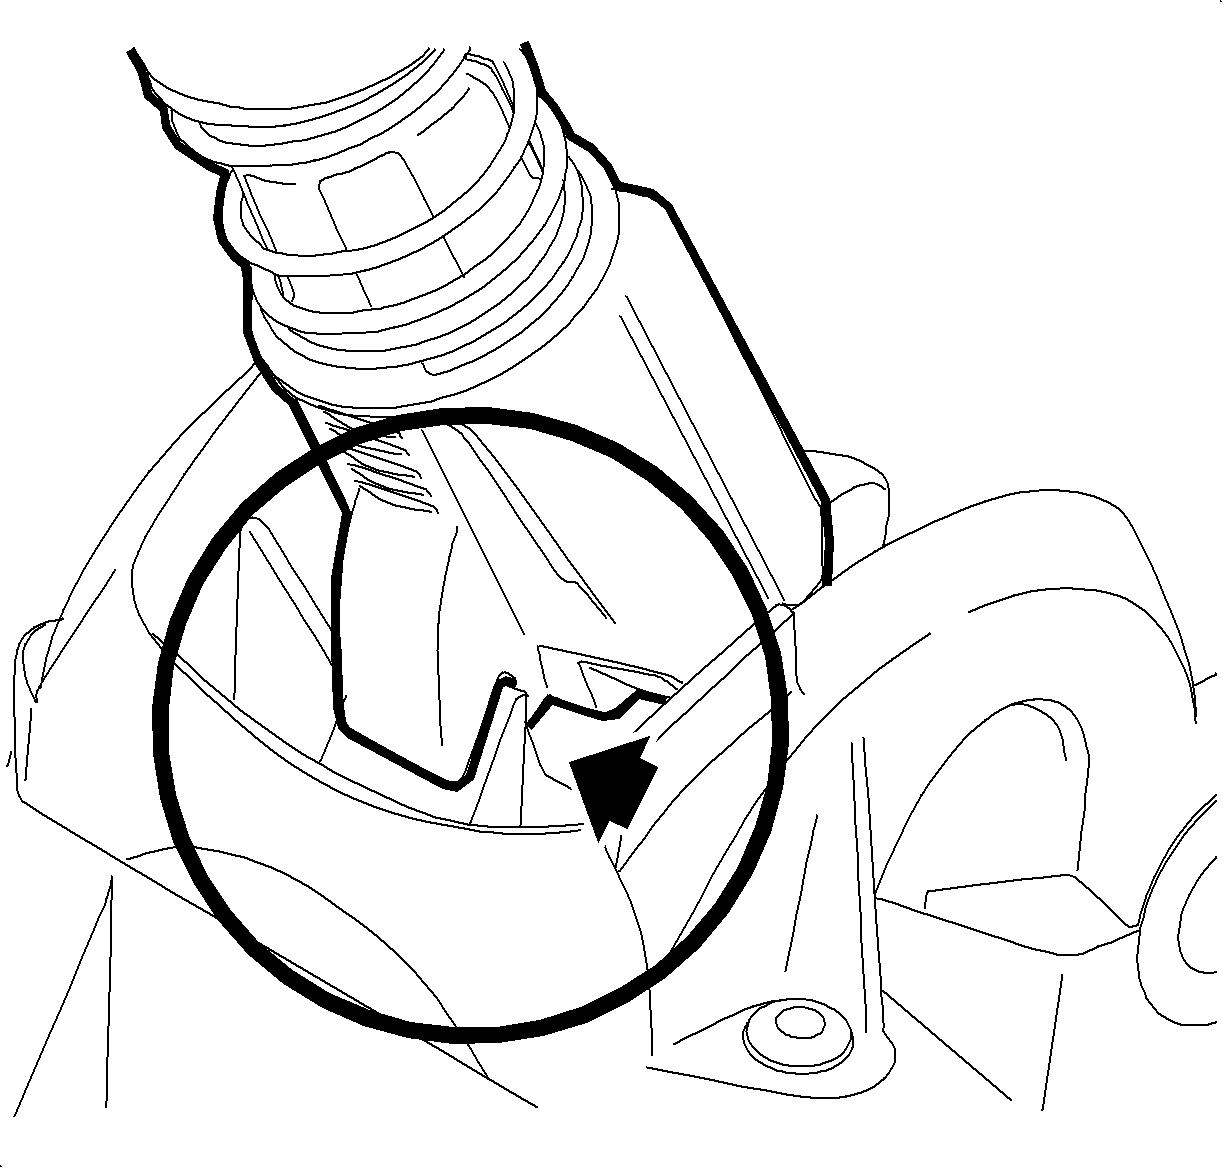
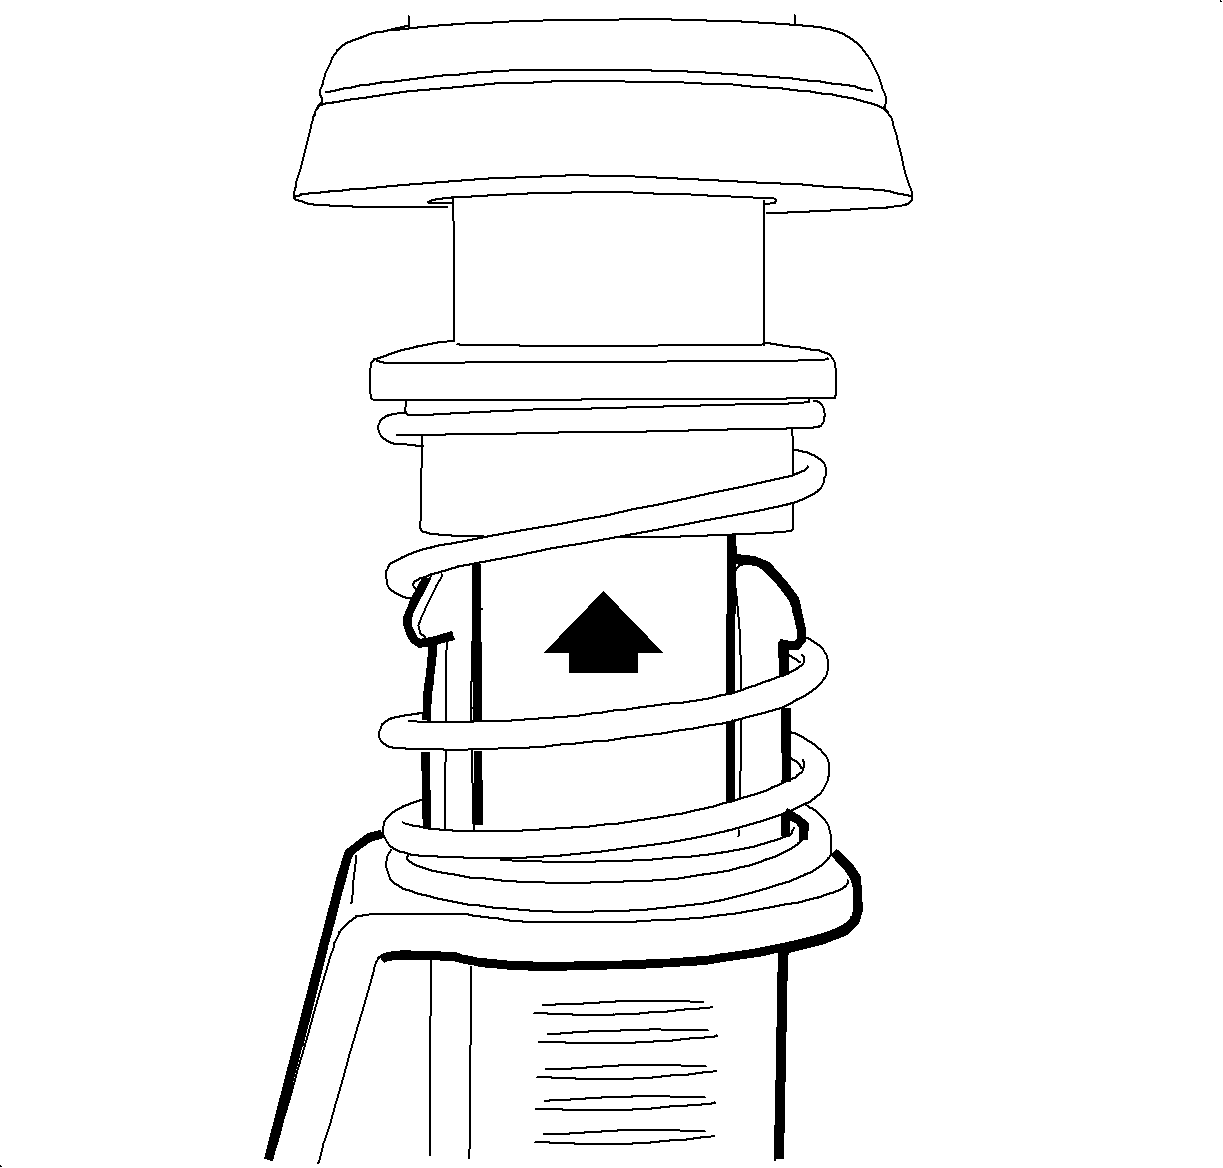
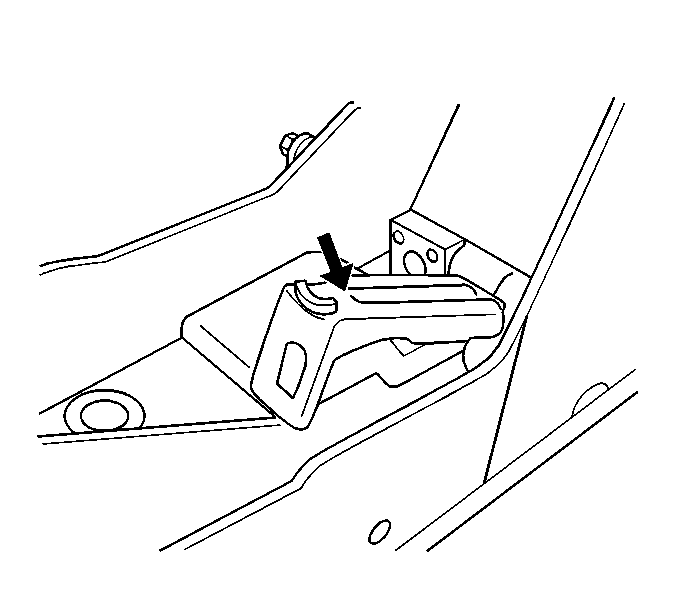
- Release the shift control assembly 4th gear locking tab. Pull up on the shifter ring, install locking pliers as shown and rotate the pliers upward to compress the tabs and release the 4th gear locking tab.
- Engage the 4th gear locking tab on the shift control assembly housing.
- Ensure that the transmission is in 4th gear.
- Press down on the cable retainers.
- Pull the shifter 4th gear lock clip to its original position.
- Install the console. Refer to Front Floor Console Replacement.

Caution: Refer to Fastener Caution in the Preface section.
Tighten
Tighten the nut to 10 N·m (89 lb in).

Note: Care must be taken when releasing the 4th gear locking tab. The shifter ring must be pulled upwards to allow 4th gear locking tab to fully release. Excessive clamping force may damage plastic shift control assembly components.
