For 1990-2009 cars only
Removal Procedure
Caution: Refer to Automatic Transmission Range Selector Cable Caution in the Preface section.
- Remove the air cleaner intake duct. Refer to Air Cleaner Inlet Duct Replacement in Engine Controls - 3.4L or Air Cleaner Inlet Duct Replacement in Engine Controls - 3.8L.
- Remove the automatic transaxle range selector cable from the wiring harness clip or strap.
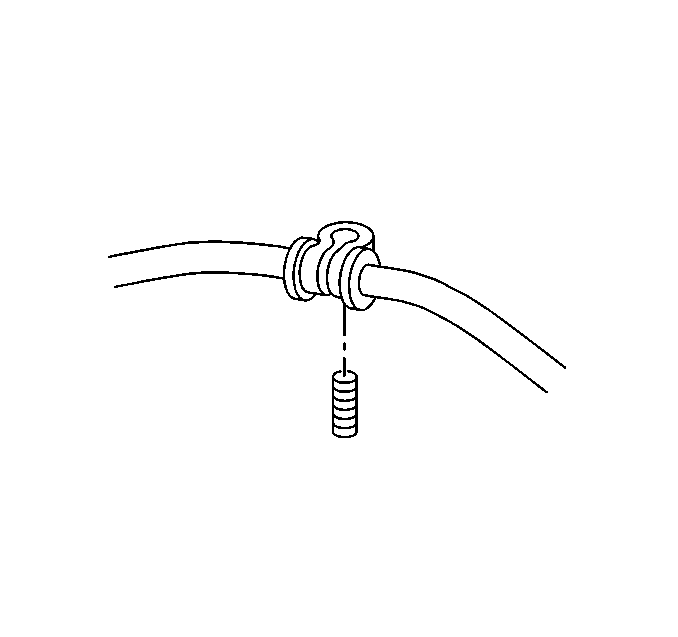
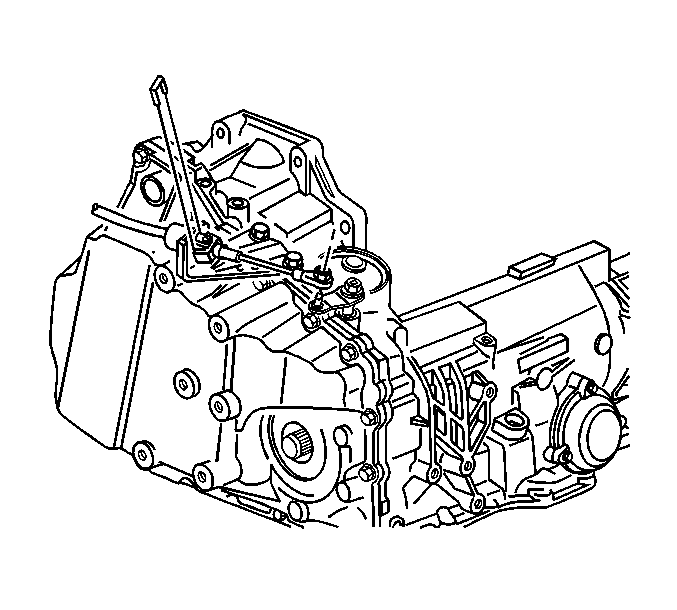
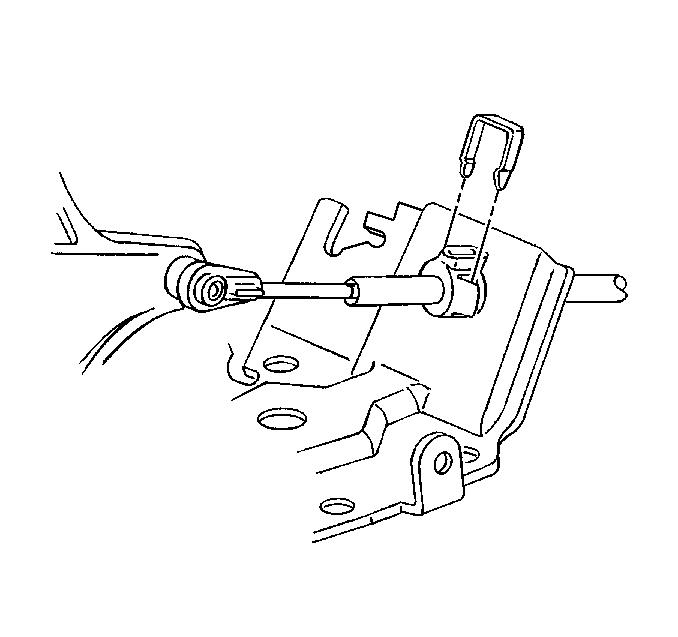
- Remove the automatic transaxle range selector cable retainer.
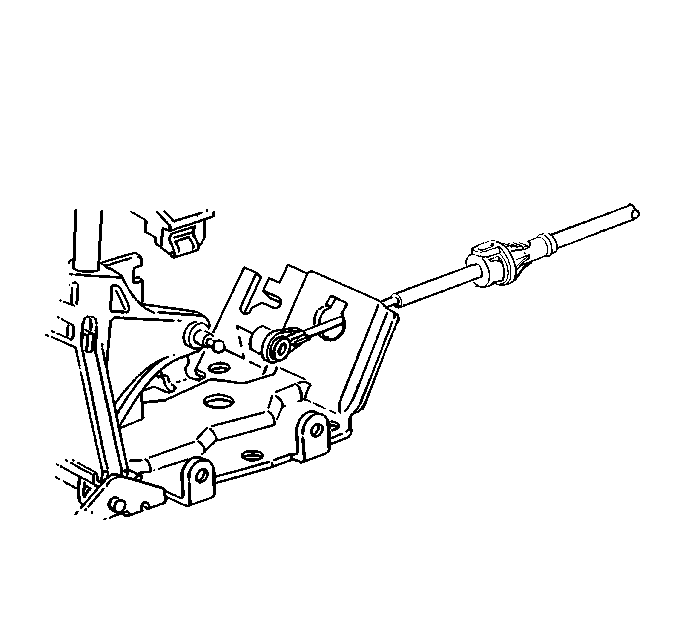
- Remove the automatic transaxle range selector cable from the automatic transaxle range selector lever.
- Remove the automatic transaxle range selector cable from the automatic transaxle range selector cable bracket.
- If equipped with a floor console, remove the front floor console. Refer to Front Floor Console Replacement in Instrument Panel, Gages and Console.
- Pull the carpet back to expose the automatic transaxle range selector cable. Refer to Front Floor Panel Carpet Replacement in Interior Trim.
- Remove the automatic transaxle range selector cable retainer from the console shift control.
- Remove the automatic transaxle range selector cable from the console shift control.
- Remove the automatic transaxle range selector cable from the console shift control bracket.
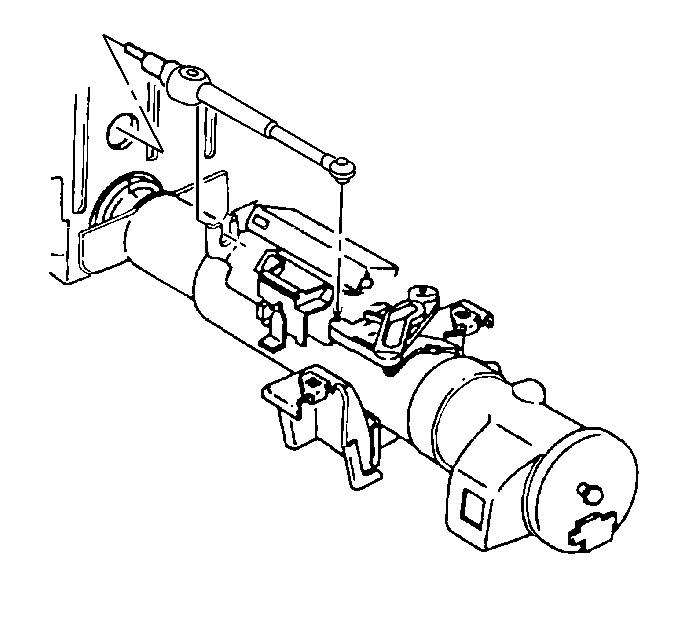
- If equipped with a steering column shift control, remove the left knee bolster bracket. Refer to Driver Knee Bolster Bracket Replacement in Instrument Panel, Gages and Console.
- Remove the automatic transmission range selector cable from the shift control lever.
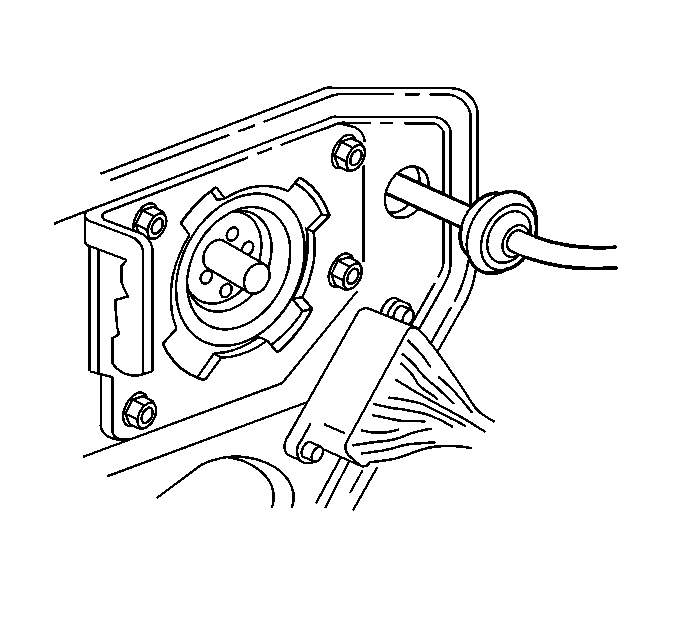
- Install a piece of mechanics wire to the end of the automatic transmission range selector cable.
- Remove the automatic transmission range selector cable through the hole in the cowl.
Installation Procedure
Caution: Refer to Automatic Transmission Range Selector Cable Caution in the Preface section.
- Install the automatic transmission range selector cable through the hole in the cowl.
- Remove the mechanics wire from the end of the automatic transmission range selector cable.
- If equipped with a steering column shift control, install the automatic transmission range selector cable to the shift control lever.
- Install the left knee bolster bracket. Refer to Driver Knee Bolster Bracket Replacement in Instrument Panel, Gages and Console.
- If equipped with a floor console shift control, install the automatic transaxle range selector cable to the console shift control bracket.
- Install the automatic transaxle range selector cable to the console shift control.
- Install the automatic transaxle range selector cable retainer to the console shift control.
- Install the carpet into position. Refer to Front Floor Panel Carpet Replacement in Interior Trim.
- Install the Front Floor Console. Refer to Front Floor Console Replacement in Instrument Panel, Gages and Console.
- Properly route and position the automatic transmission range selector cable.
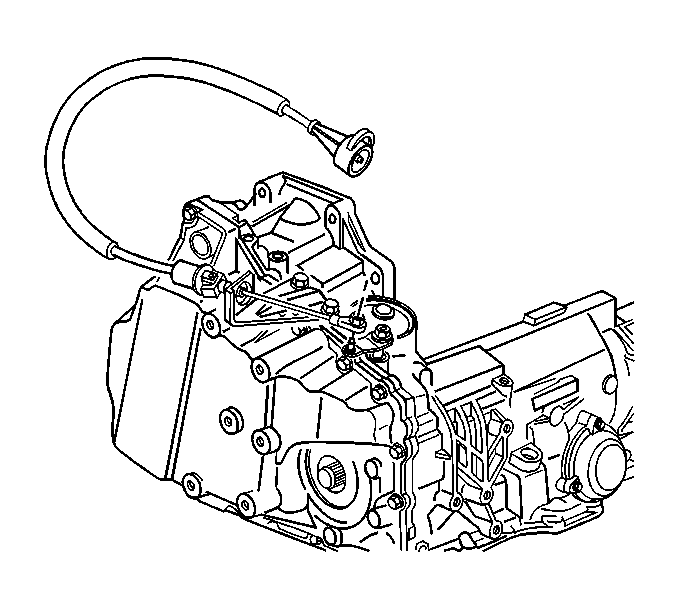
- Install the automatic transaxle range selector cable to the automatic transaxle range selector cable bracket.
- Install the automatic transaxle range selector cable to the automatic transaxle range selector lever.
- Install the automatic transaxle range selector cable retainer.
- Place the transaxle in the Neutral position.
- Place the shift control in the Neutral position.
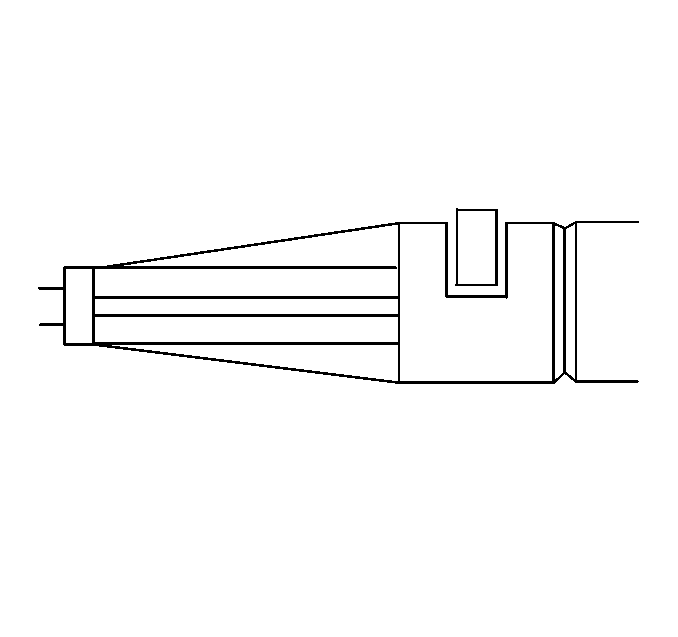
- Connect each cable section to the following before connecting the two cable sections.
- Depress the adjuster clip once. This mobilizes the adjuster housing toward the transaxle end fitting.
- Line up the end fittings so they slide together until you feel the parts cam together and lock.
- Depress the adjuster clip completely. This locks the cable into its adjusted service position.
- Pull the conduit in the opposite direction to assure full system adjustment of the shift cable.
- Ensure the conduit is fully engaged.
- The horseshoe clip with the tab is not flush when not fully engaged.
- Install the automatic transaxle range selector cable to the wiring harness clip or strap.
- Adjust the automatic transaxle range selector cable. Refer to Range Selector Lever Cable Adjustment .
- Install the air cleaner intake duct. Refer to Air Cleaner Inlet Duct Replacement in Engine Controls - 3.4L or Air Cleaner Inlet Duct Replacement in Engine Controls - 3.8L.


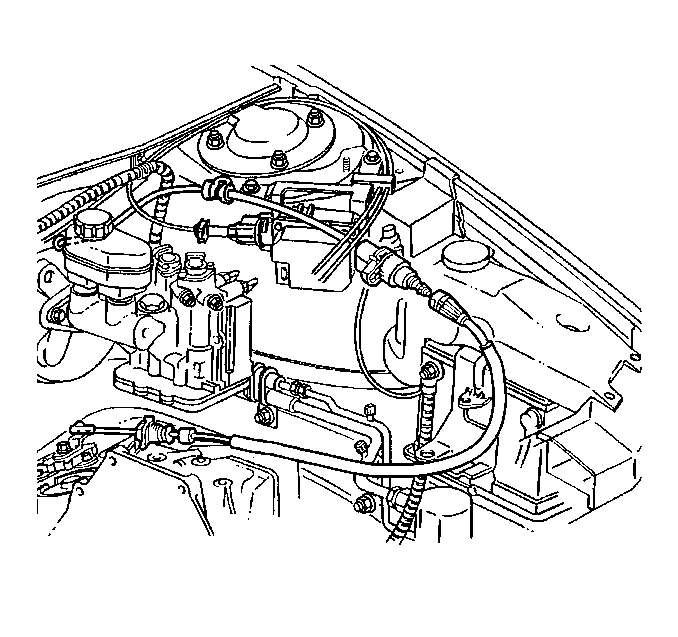


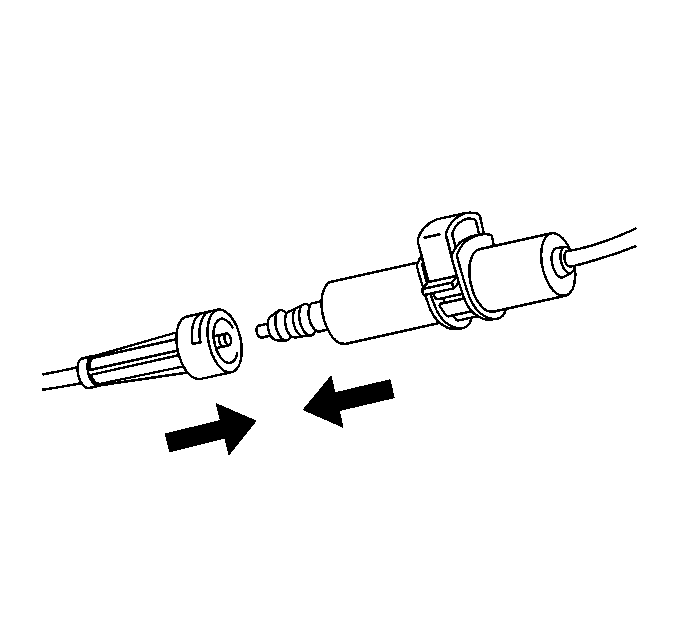
| • | Insert the metal end fitting of the shift control cable into the transaxle cable end. |
| • | Use the molded end fittings to push the metal end fitting of the shift control cable and the transaxle cable end together until the metal post snaps into place. |
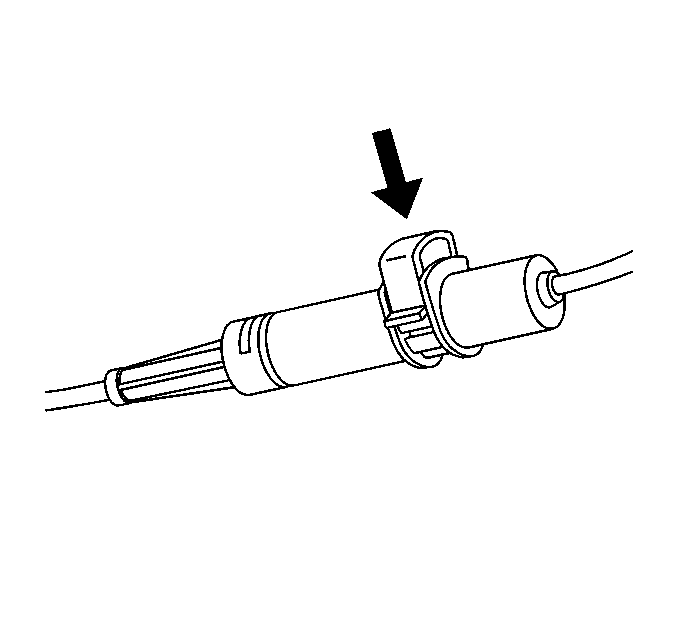
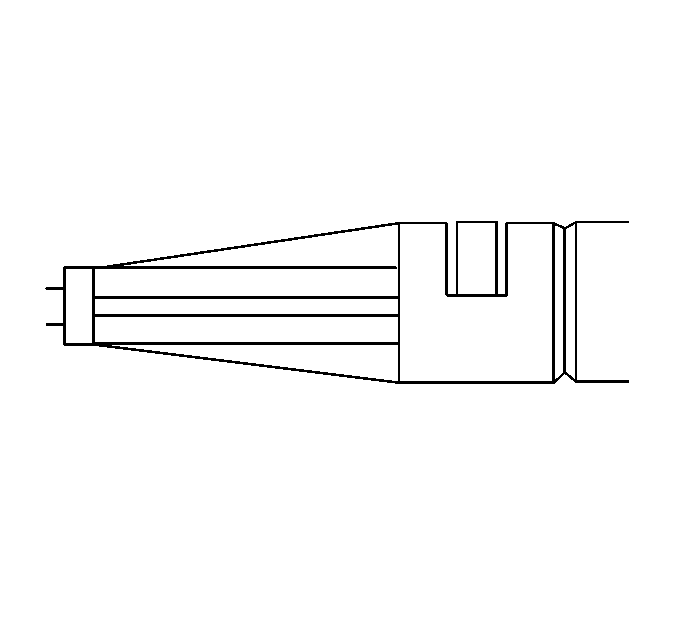
Important: The horseshoe clip with the tab is flush when fully engaged.
