Oil Pan Installation C, H
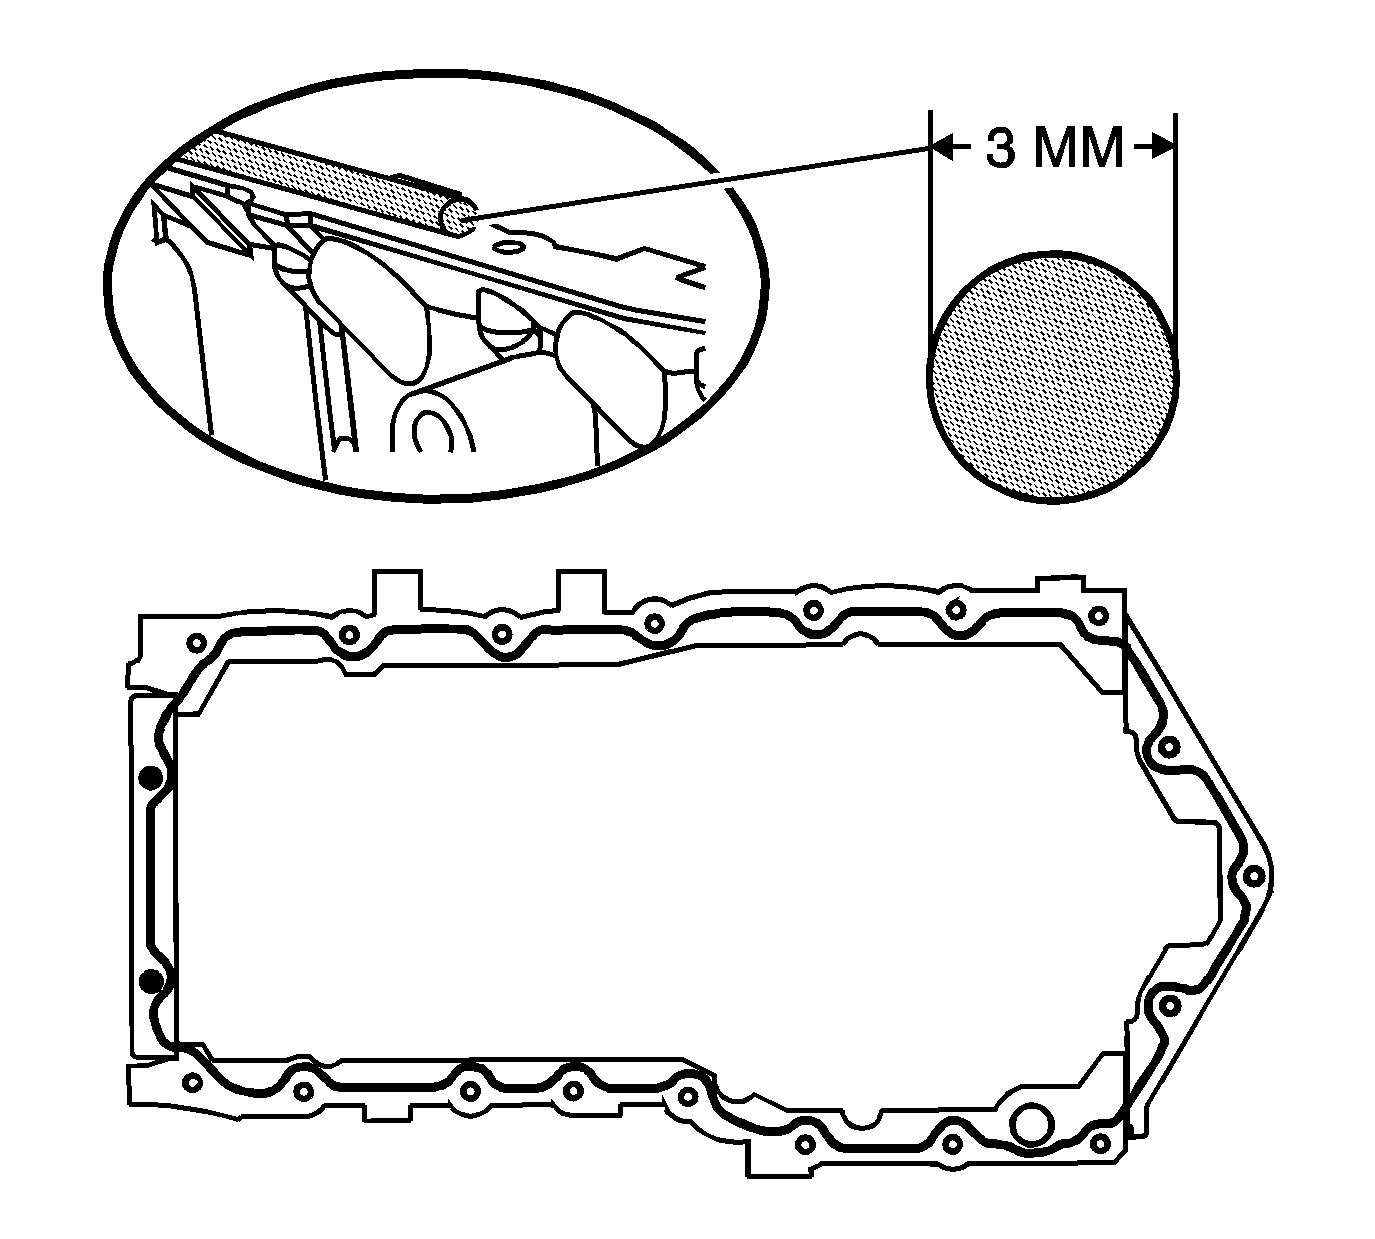
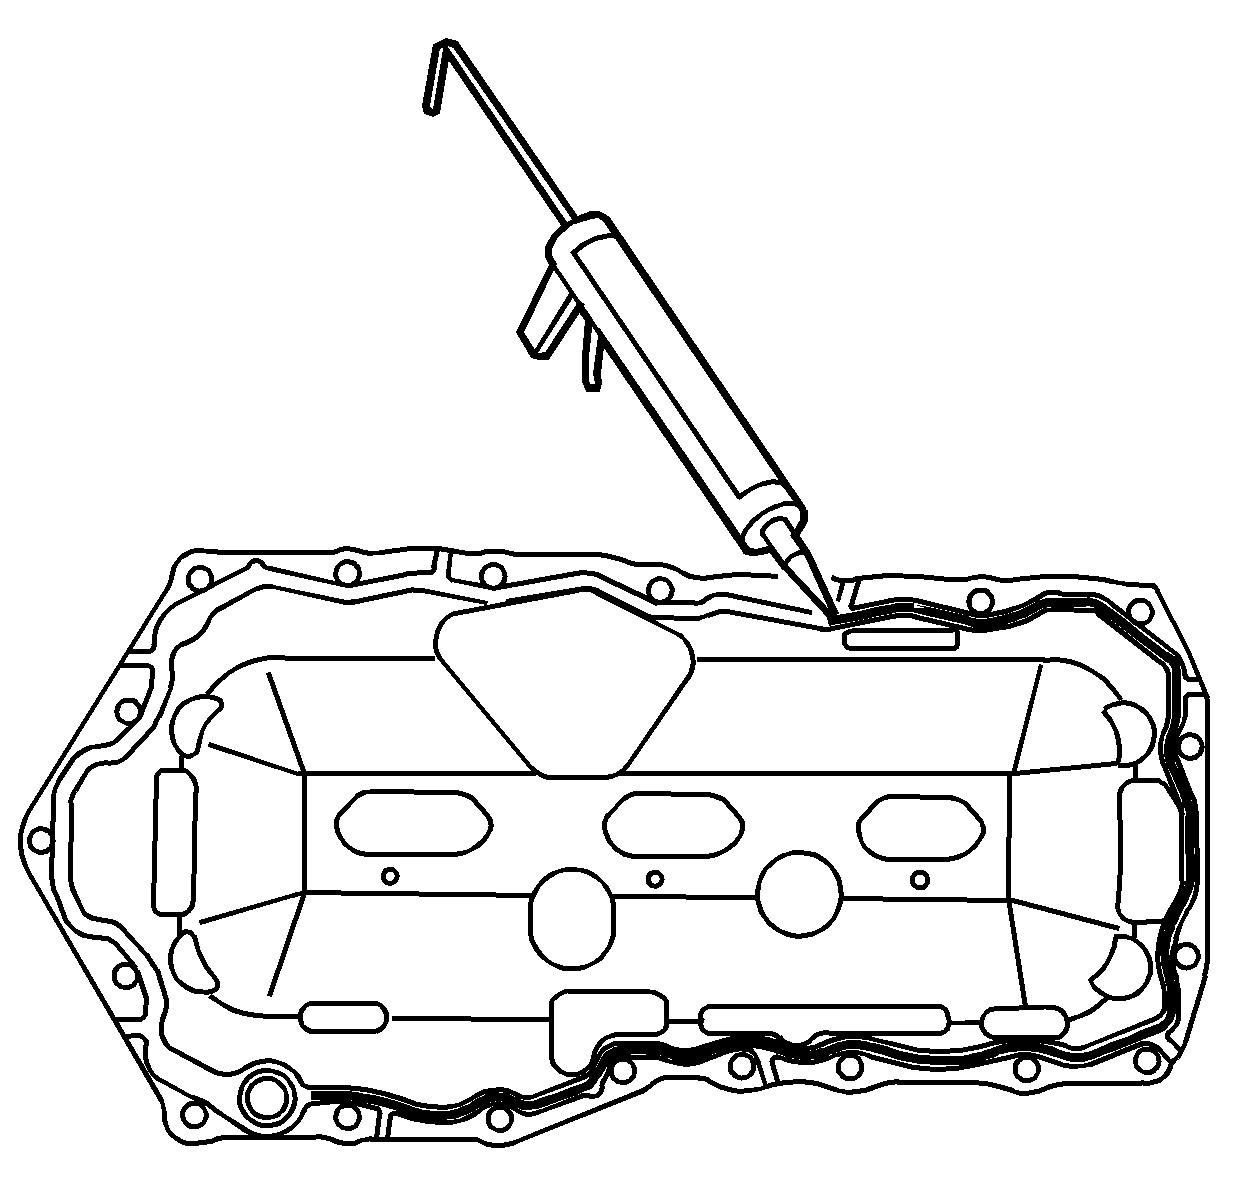
- Apply a continuous bead 3.0 mm (0.19 in) thick in diameter of RTV GM P/N 12378521 (Canadian P/N 88901148), or equivalent on the engine block in the pattern shown above.
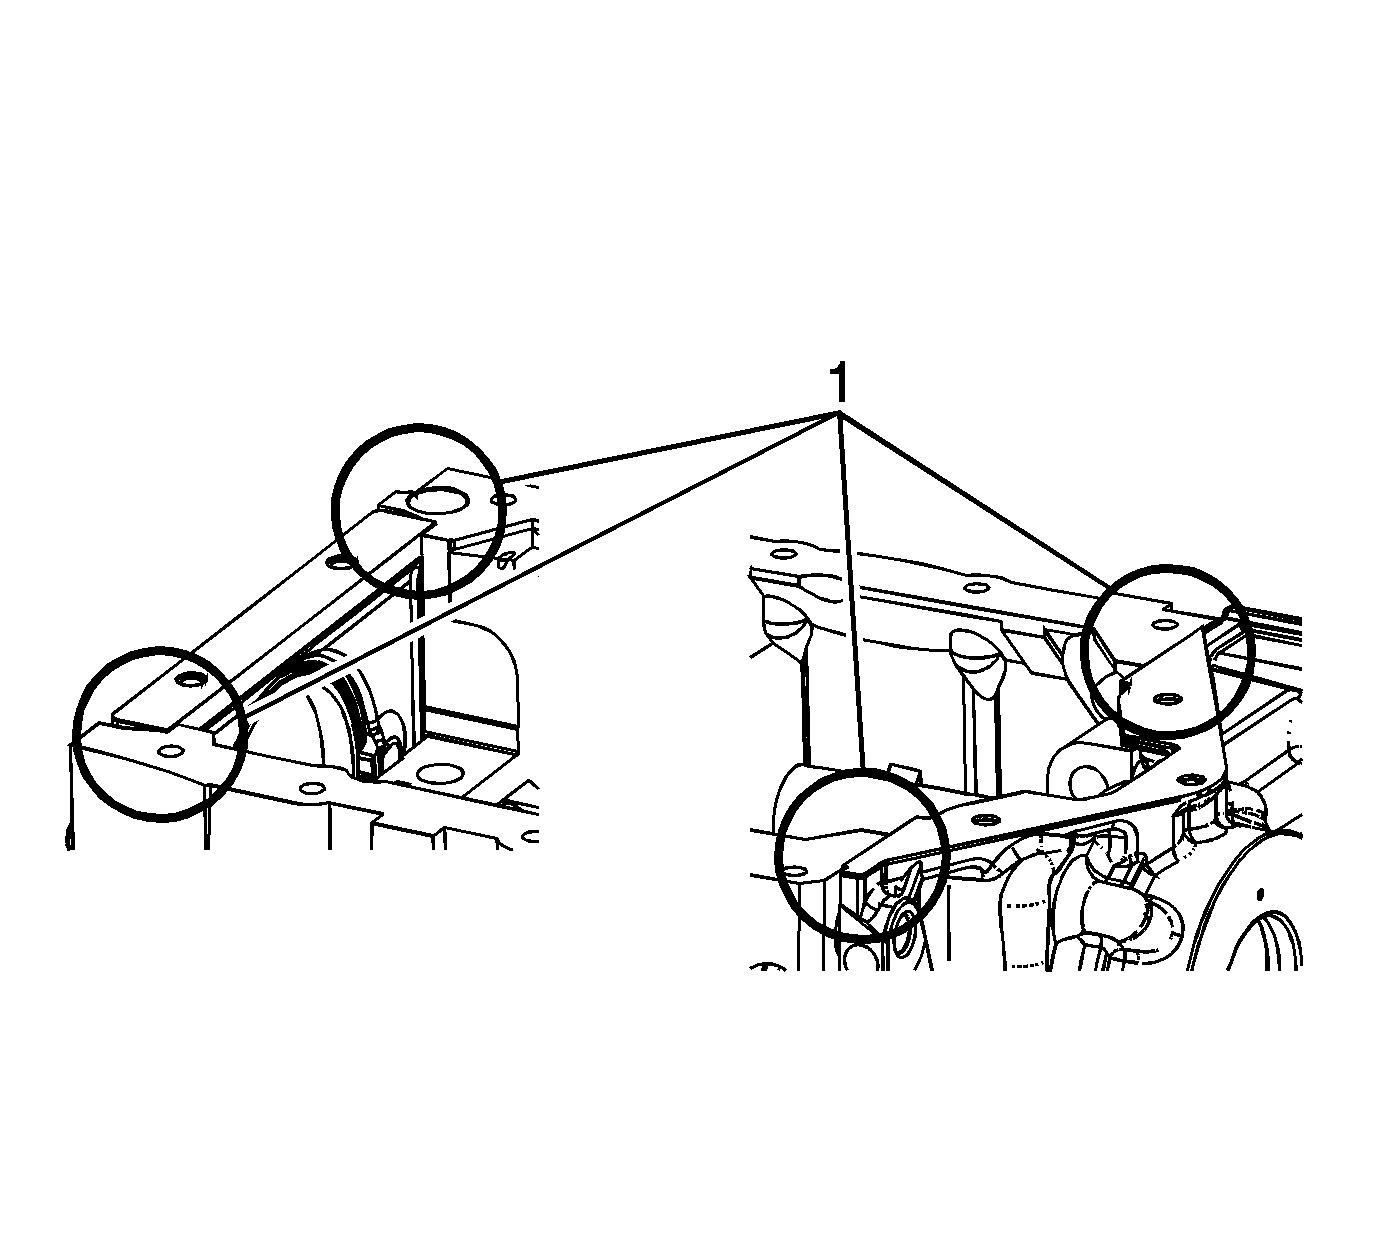
- Apply an additional drop of RTV GM P/N 12378521 (Canadian P/N 88901148), or equivalent to all four corners of the block where the front and rear covers meet (1).
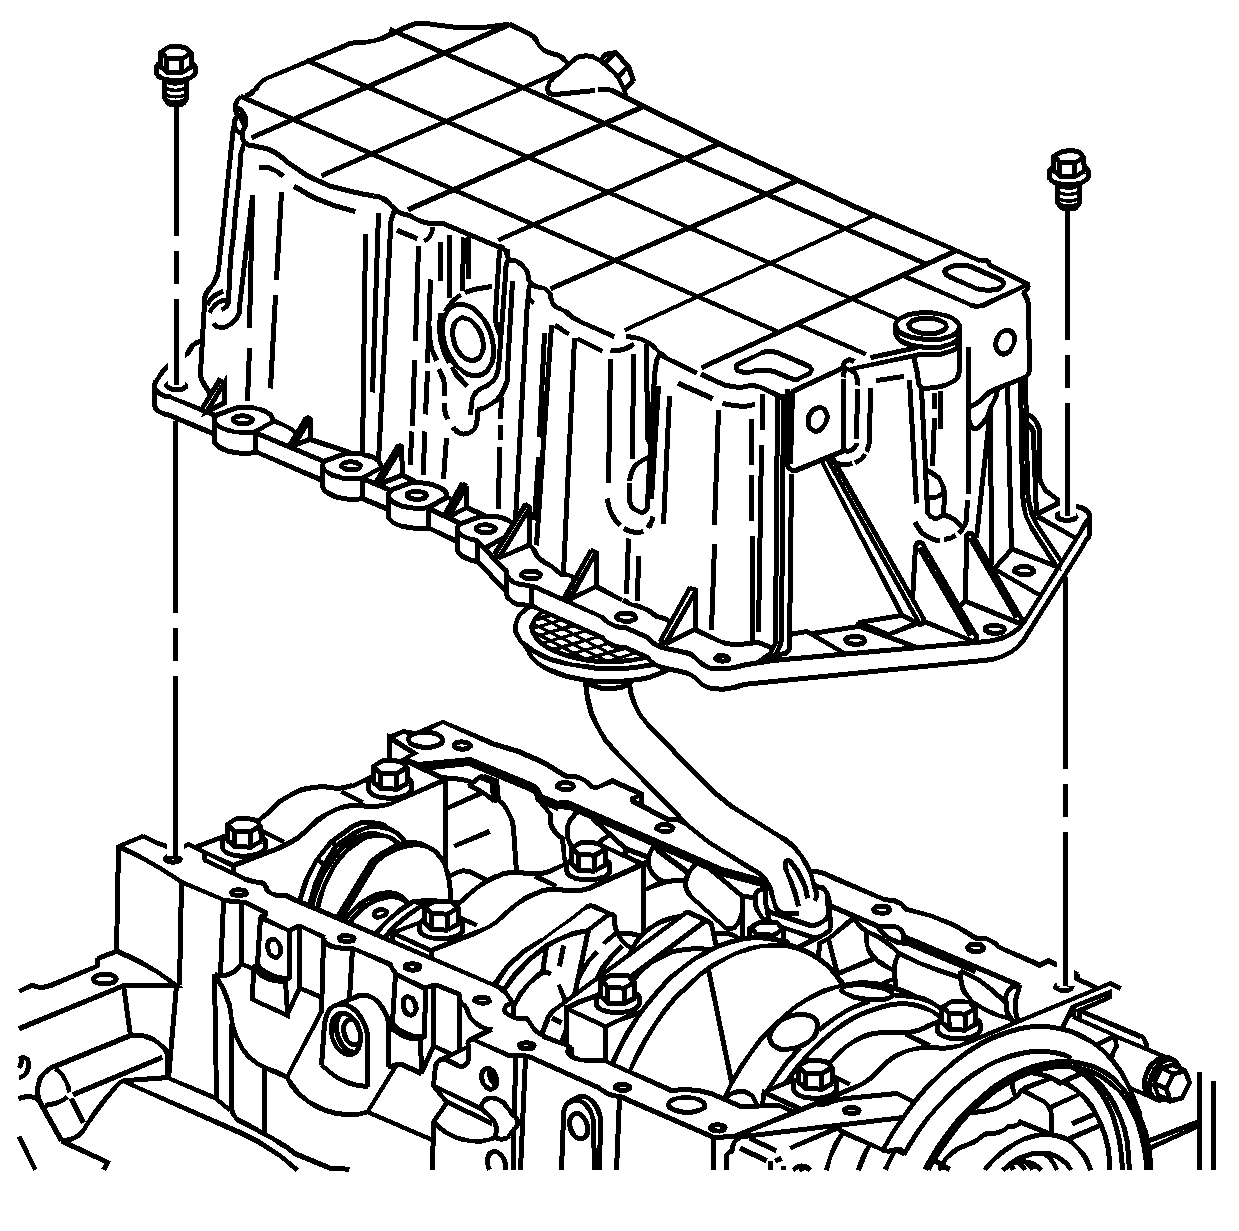
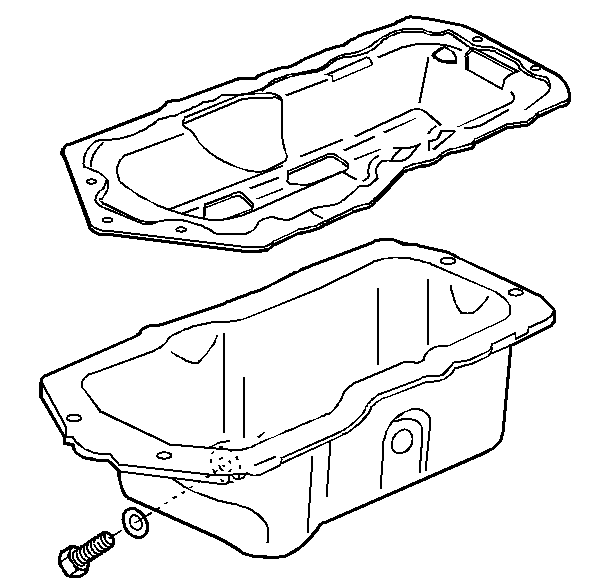
- Install the oil pan.
- Clean the oil pan bolts.
- Apply one drop of GM P/N United States 12345382, GM P/N Canada 10953489 to each bolt.
- Install the oil pan bolts.
- Install the oil level sensor.
Notice: Use the correct fastener in the correct location. Replacement fasteners must be the correct part number for that application. Fasteners requiring replacement or fasteners requiring the use of thread locking compound or sealant are identified in the service procedure. Do not use paints, lubricants, or corrosion inhibitors on fasteners or fastener joint surfaces unless specified. These coatings affect fastener torque and joint clamping force and may damage the fastener. Use the correct tightening sequence and specifications when installing fasteners in order to avoid damage to parts and systems.
Tighten
Tighten the bolts to 14 N·m (125 lb in).
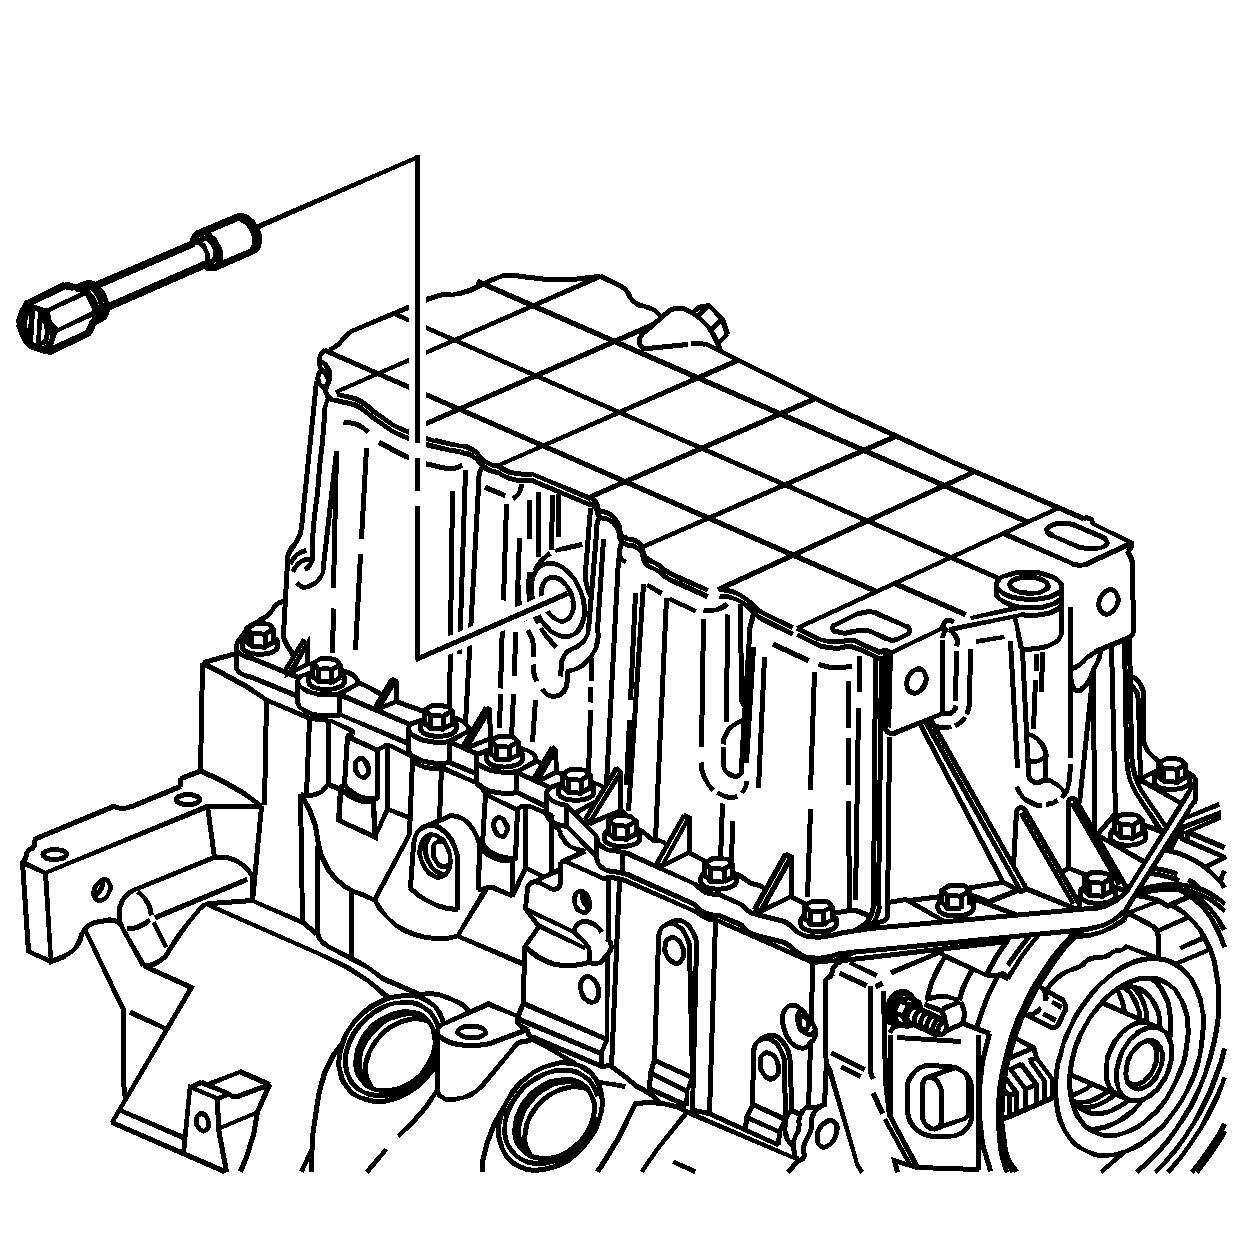
Notice: Install the oil level sensor, located in the oil pan, after the oil pan is installed. The sensor may be damaged if the oil level sensor is installed first.
Tighten
Tighten the oil level sensor to 20 N·m (15 lb ft).
Oil Pan Installation F, W
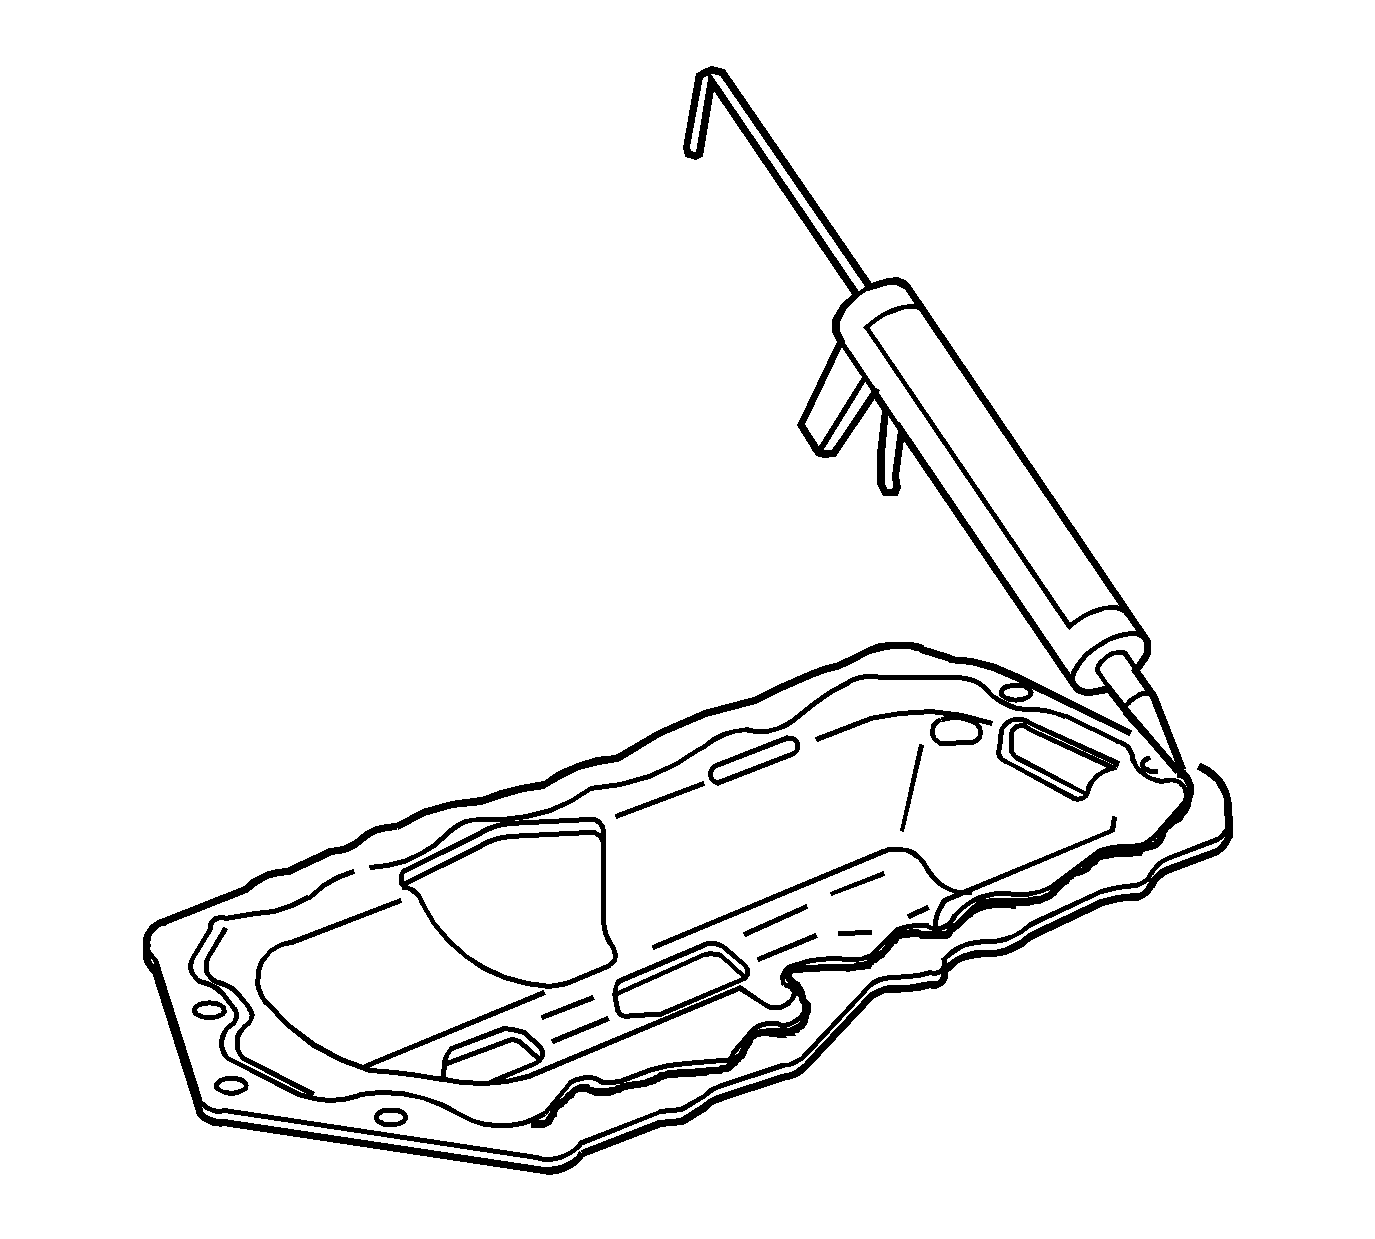
- Apply a continuous bead 6.35 mm (0.25 in) thick of RTV sealer GM P/N 12378521 (Canadian P/N 88901148) to the topside of the new gasket. Apply the RTV sealant directly over the gaskets sealing bead.
- Install the NEW oil pan gasket onto the engine.
- Apply a continuous bead 6.35 mm (0.25 in) thick of RTV sealer GM P/N 12378521 (Canadian P/N 88901148) to the bottom side of the new gasket. Apply the RTV sealant directly over the gaskets sealing bead.
- Install the oil pan.
- Clean the oil pan bolts of all debris.
- Apply one drop of GM P/N 12345382 (Canadian P/N 10953489) to each bolt.
- Install the oil pan bolts.
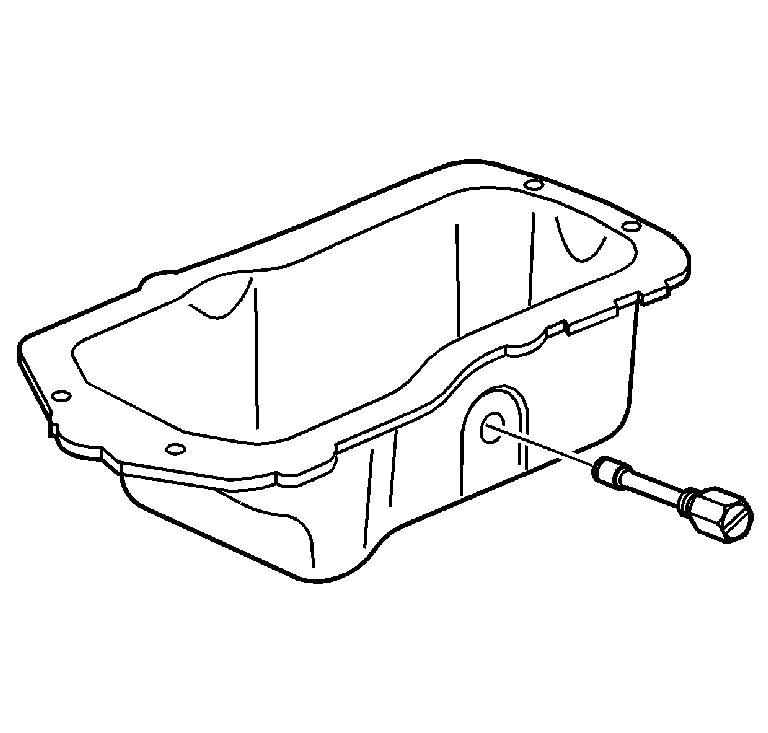
- Install the oil level sensor.
Tighten
Tighten the oil pan bolts to 14 N·m
(125 lb in).
Tighten
Tighten the oil level sensor to 20 N·m
(15 lb ft).
