- Remove the engine from the engine stand.
- Install the flywheel. Refer to
Engine Flywheel Replacement
.
- With the aid of an assistant install the engine to the vehicle.
Notice: Refer to Fastener Notice in the Preface section.
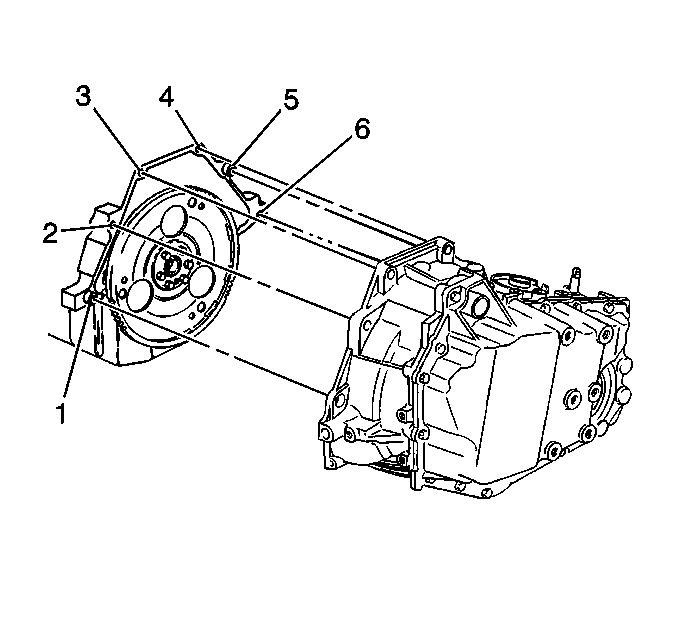
- Install the bolts (2,3,4,5) which secure the
upper transaxle to the engine.
Tighten
Tighten the bolts to 75 N·m (55 lb ft).
- Remove the engine lifting device.
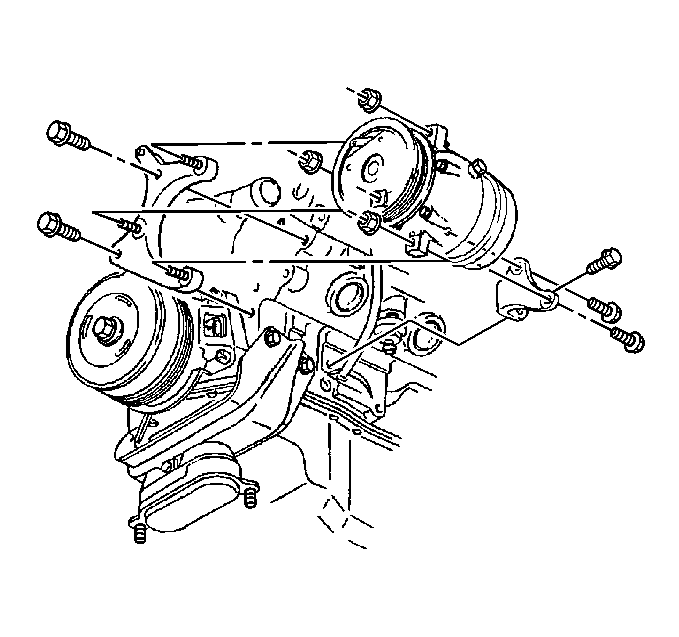
- Install the A/C compressor to the engine.
- Install the mounting nuts to the A/C compressor.
Tighten
Tighten the nuts to 30 N·m (22 lb ft).
- Install the heater hoses to the drive belt tensioner. Refer to
Heater Inlet Hose Replacement
and to
Heater Outlet Hose Replacement
in Heating, Ventilation and Air
Conditioning.
- Install the radiator outlet hose to the water pump. Refer to
Radiator Outlet Hose Replacement
in Engine Cooling.
- Install the radiator inlet hose to the engine. Refer to
Radiator Inlet Hose Replacement
in Engine Cooling.
- Reposition the engine wiring to the engine.
- Connect the upper engine electrical connectors to the following components:
| • | Manifold absolute pressure (MAP) sensor |
| • | Exhaust gas recirculation (EGR) valve |
| • | Idle air control (IAC) valve |
| • | Throttle position (T/P) sensor |
- Install the upper engine wiring harness to the retaining clips.
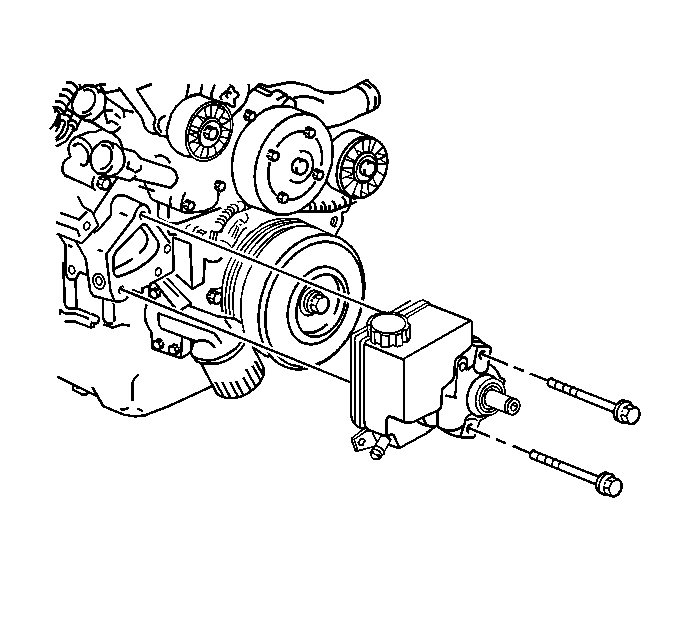
- Install the power steering pump.
- Install the power steering pump bolts.
Tighten
Tighten the bolts to 34 N·m (25 lb ft).
- Connect the A/C vacuum hose to the engine.
- Install the vacuum booster hose to the engine. Refer to
Vacuum Brake Booster Check Valve and/or Hose Replacement
in Hydraulic Brakes.
- Install the fan shroud. Refer to
Fan Shroud Replacement
in Engine
Cooling.
- Connect the positive battery cable.
Tighten
Tighten the positive terminal bolt to 15 N·m (11 lb ft).
- Install the engine mount brackets to the radiator support. Refer to
Engine Mount Strut Bracket Replacement - Upper Radiator Support
.
- Install the right and the left engine mount struts. Refer to
Engine Mount Strut Replacement - Right Side
and to
Engine Mount Strut Replacement - Left Side
.
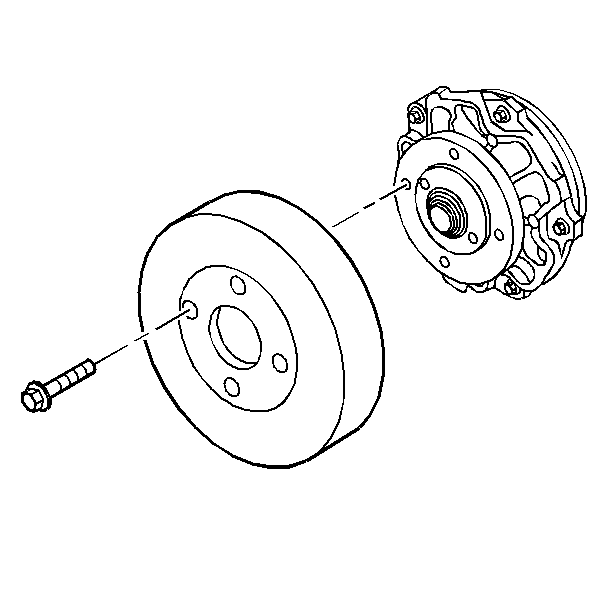
- Install the water pump pulley.
- Install the water pump pulley bolts.
Tighten
Tighten the bolts to 13 N·m (116 lb in).
- Install the drive belt. Refer to
Drive Belt Replacement
.
- Install the accelerator cable, the cruise control cable and the bracket
to the throttle body. Refer to
Accelerator Control Cable Bracket Replacement
in Engine Controls - 3.8L.
- Connect the fuel vapor line. Refer to
Plastic Collar Quick Connect Fitting Service
in Engine
Controls - 3.8L.
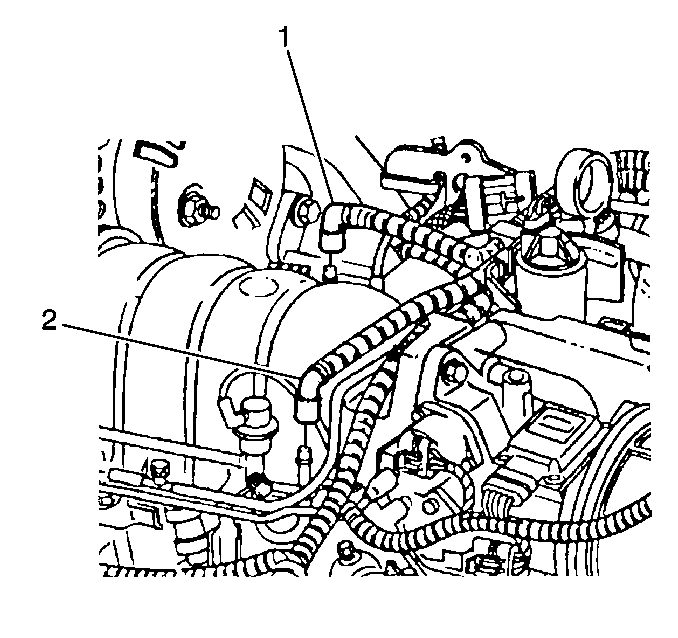
- Connect the fuel lines (1,2) to the fuel
rail. Refer to
Plastic Collar Quick Connect Fitting Service
in Engine Controls - 3.8L.
- Install the air cleaner assembly. Refer to
Air Cleaner Assembly Replacement
in Engine Controls - 3.8L.
- Raise the vehicle and remove the transaxle support.

- Install the bolt (6) and the stud (1)
which secure the lower transaxle to the engine.
Tighten
Tighten the bolt and the stud to 75 N·m (55 lb ft).
- Install the engine ground to the transaxle stud.
- Install the engine ground nut.
Tighten
Tighten the nut to 35 N·m (26 lb ft).
- Install the oil filter adapter housing. Refer to
Oil Filter Adapter and Bypass Valve Assembly Replacement
.
- Reposition and connect the electrical connectors to the following components:
| • | Heated oxygen sensor (H02S) |
| • | Engine oil level sensor |
| • | Engine oil pressure sensor |
| • | Vehicle speed sensor (VSS) |
- Install the engine oil level sensor harness retainer.
- Install the engine oil level sensor harness retainer bolt.
Tighten
Tighten the bolt to 10 N·m (89 lb in).
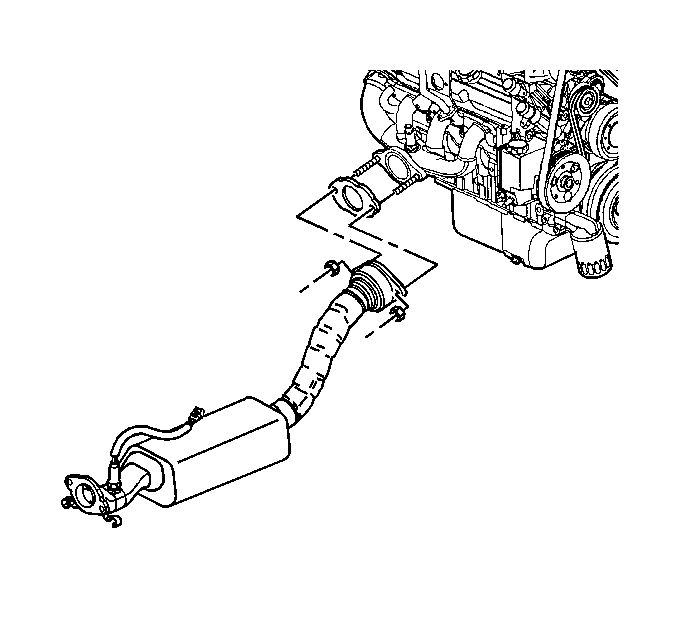
- Install the catalytic converter pipe to the
right exhaust manifold.
- Install the stud nuts to the right exhaust manifold.
Tighten
Tighten the nuts to 30 N·m (22 lb ft).
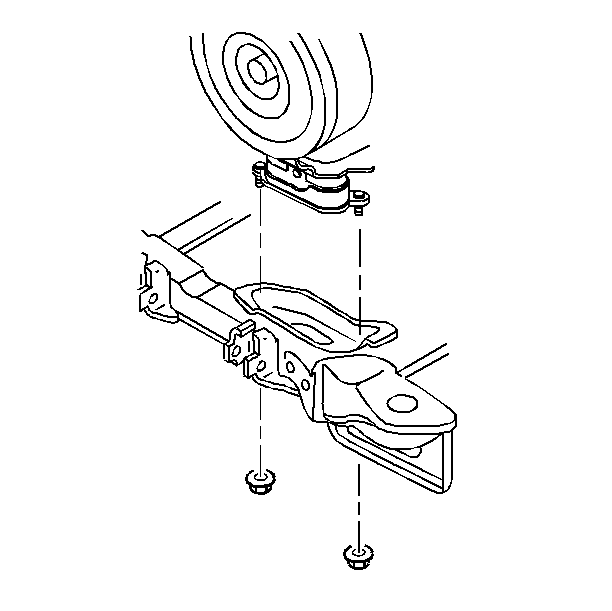
- Install the lower nuts to the engine mount.
Tighten
Tighten the nuts to 43 N·m (32 lb ft).
- Install the transaxle brace. Refer to
Transmission Brace Replacement
in Automatic
Transaxle - 4T65-E.
- Install the engine flywheel-to-torque converter bolts. Refer to
Flywheel to Torque Converter Bolt Replacement
in Automatic Transaxle - 4T65-E.
- Install the starter motor. Refer to
Starter Motor Replacement
in Engine
Electrical.
- Install the torque converter cover. Refer to
Torque Converter Cover Replacement
in Automatic Transaxle - 4T65-E.
- Lower the vehicle.
- Install the fuel injector sight shield. Refer to
Fuel Injector Sight Shield Replacement
.
- Install the hood. Refer to
Hood Replacement
in Body Front End.
- Connect the negative battery cable. Refer to
Battery Negative Cable Disconnection and Connection
in Engine Electrical.
- Fill the crankcase with engine oil. Refer to
Engine Oil and Oil Filter Replacement
.
- Fill the cooling system. Refer to
Cooling System Draining and Filling
in Engine
Cooling.
- Inspect for leaks.
- Perform the CKP system variation learn procedure. Refer to
Crankshaft Position System Variation Learn
in Engine Controls - 3.8L.


