For 1990-2009 cars only
Battery Replacement RPO LS4
Removal Procedure
- Disconnect the negative battery cable. Refer to Battery Negative Cable Disconnection and Connection .
- Remove the right front diagonal brace. Refer to Front Fender Upper Diagonal Brace Replacement .
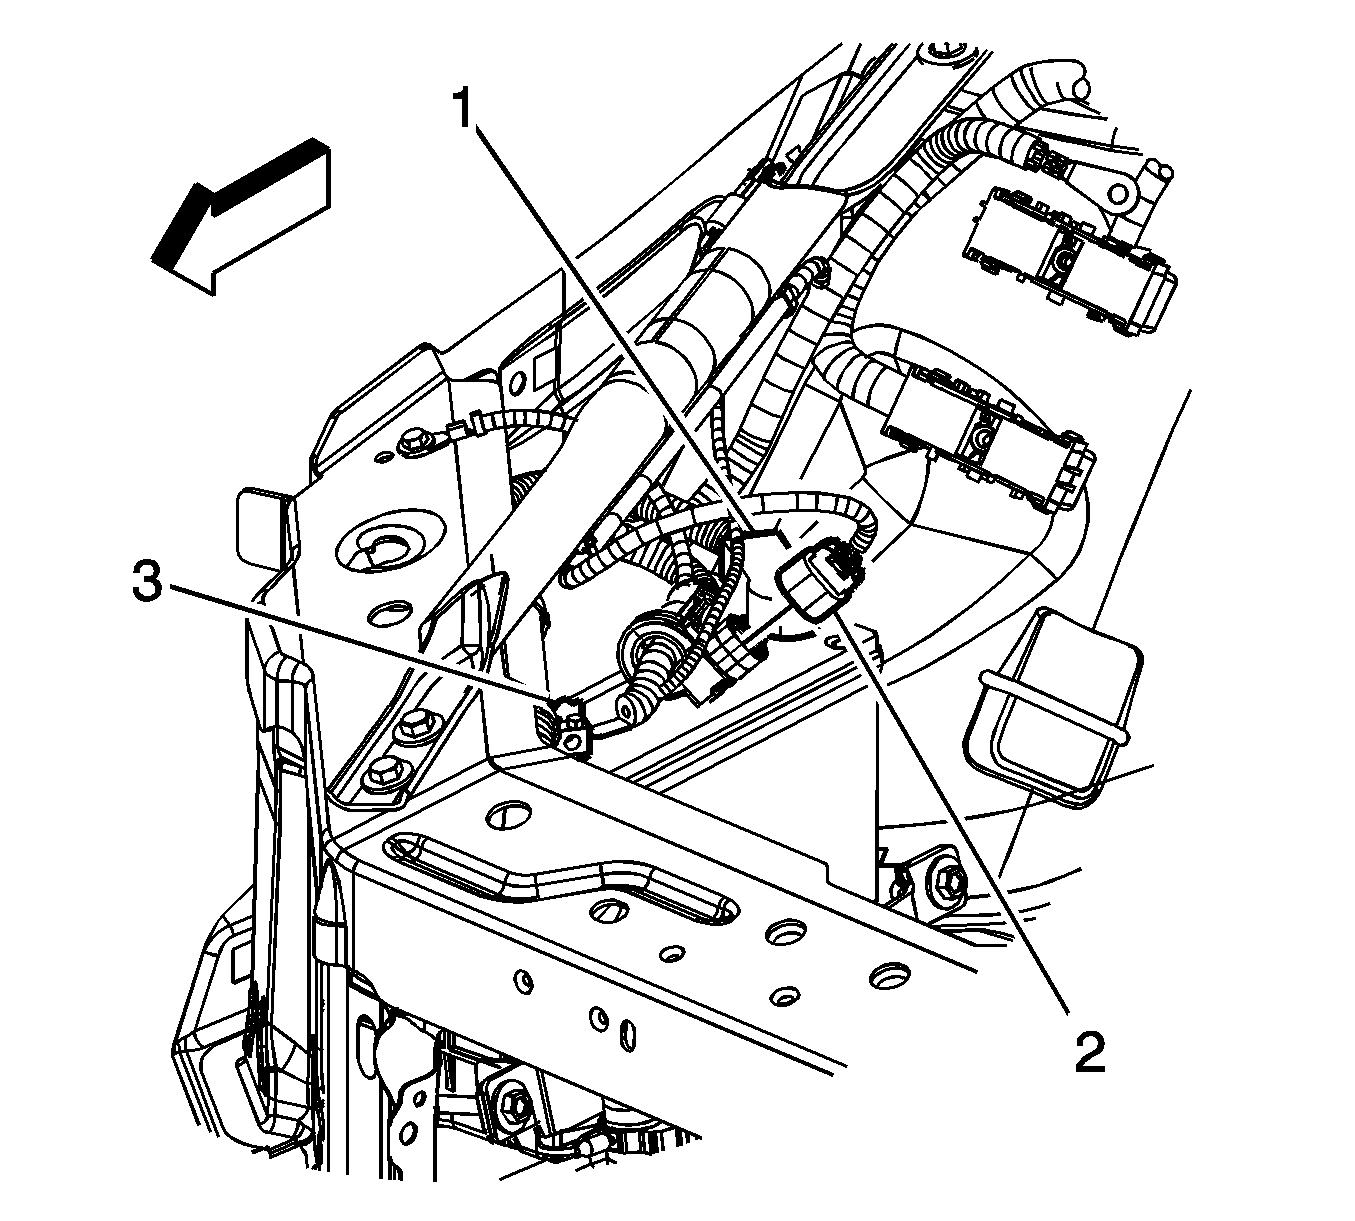
- Reposition the positive battery cable terminal cover (1).
- Loosen the positive battery cable terminal nut.
- Remove the positive battery cable terminal from the battery.
- Reposition the underhood accessory wiring junction block. Refer to Accessory Wiring Junction Block Replacement .
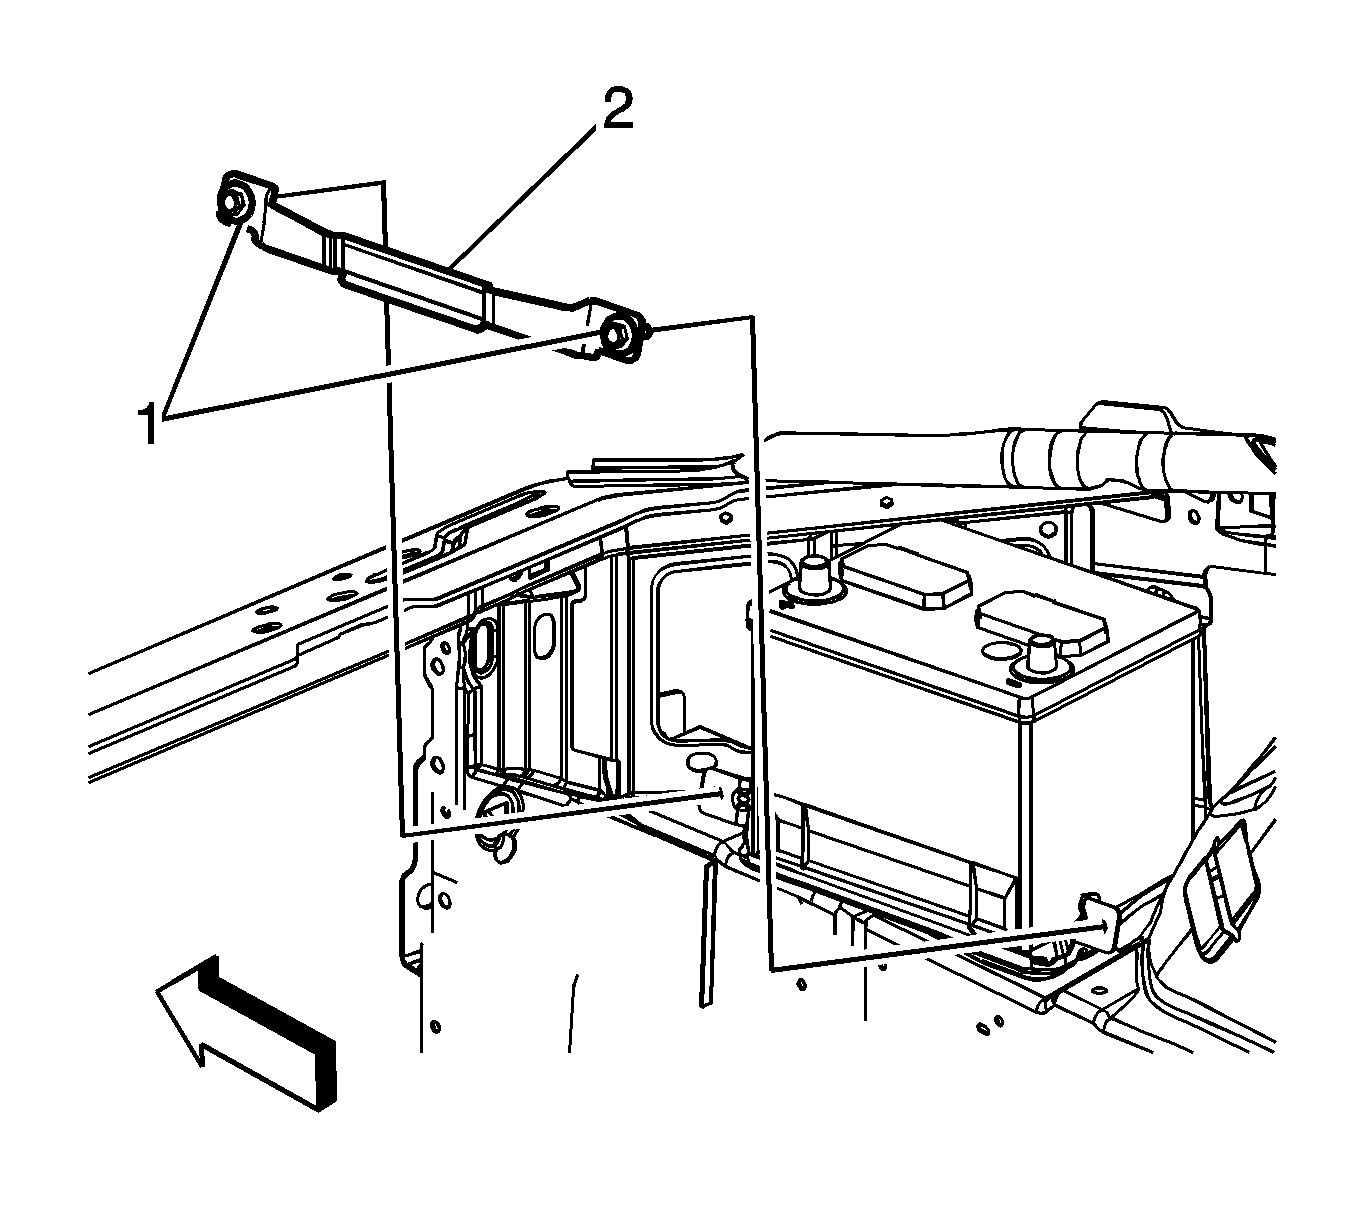
- Remove the battery retainer bolts (1) and retainer (2).
- With the aid of an assistant, remove the battery.
Installation Procedure
- With the aid of an assistant, install the battery.
- Install the underhood accessory wiring junction block. Refer to Accessory Wiring Junction Block Replacement .
- Install the battery retainer (2) and bolts (1).
- Install the positive battery cable terminal to the battery.
- Tighten the positive battery cable terminal nut.
- Position the positive battery cable terminal cover (2).
- Install the right front diagonal brace. Refer to Front Fender Upper Diagonal Brace Replacement .
- Connect the negative battery cable. Refer to Battery Negative Cable Disconnection and Connection .

Notice: Refer to Fastener Notice in the Preface section.
Tighten
Tighten the bolts to 18 N·m (13 lb ft).

Tighten
Tighten the nut to 15 N·m (11 lb ft).
Battery Replacement RPOs LZE/LZ4/LZ8
Removal Procedure
Important: Do not tip the battery more than 40 degrees during removal.
- Disconnect the negative battery cable. Refer to Battery Negative Cable Disconnection and Connection .
- Remove the right front diagonal brace. Refer to Front Fender Upper Diagonal Brace Replacement .
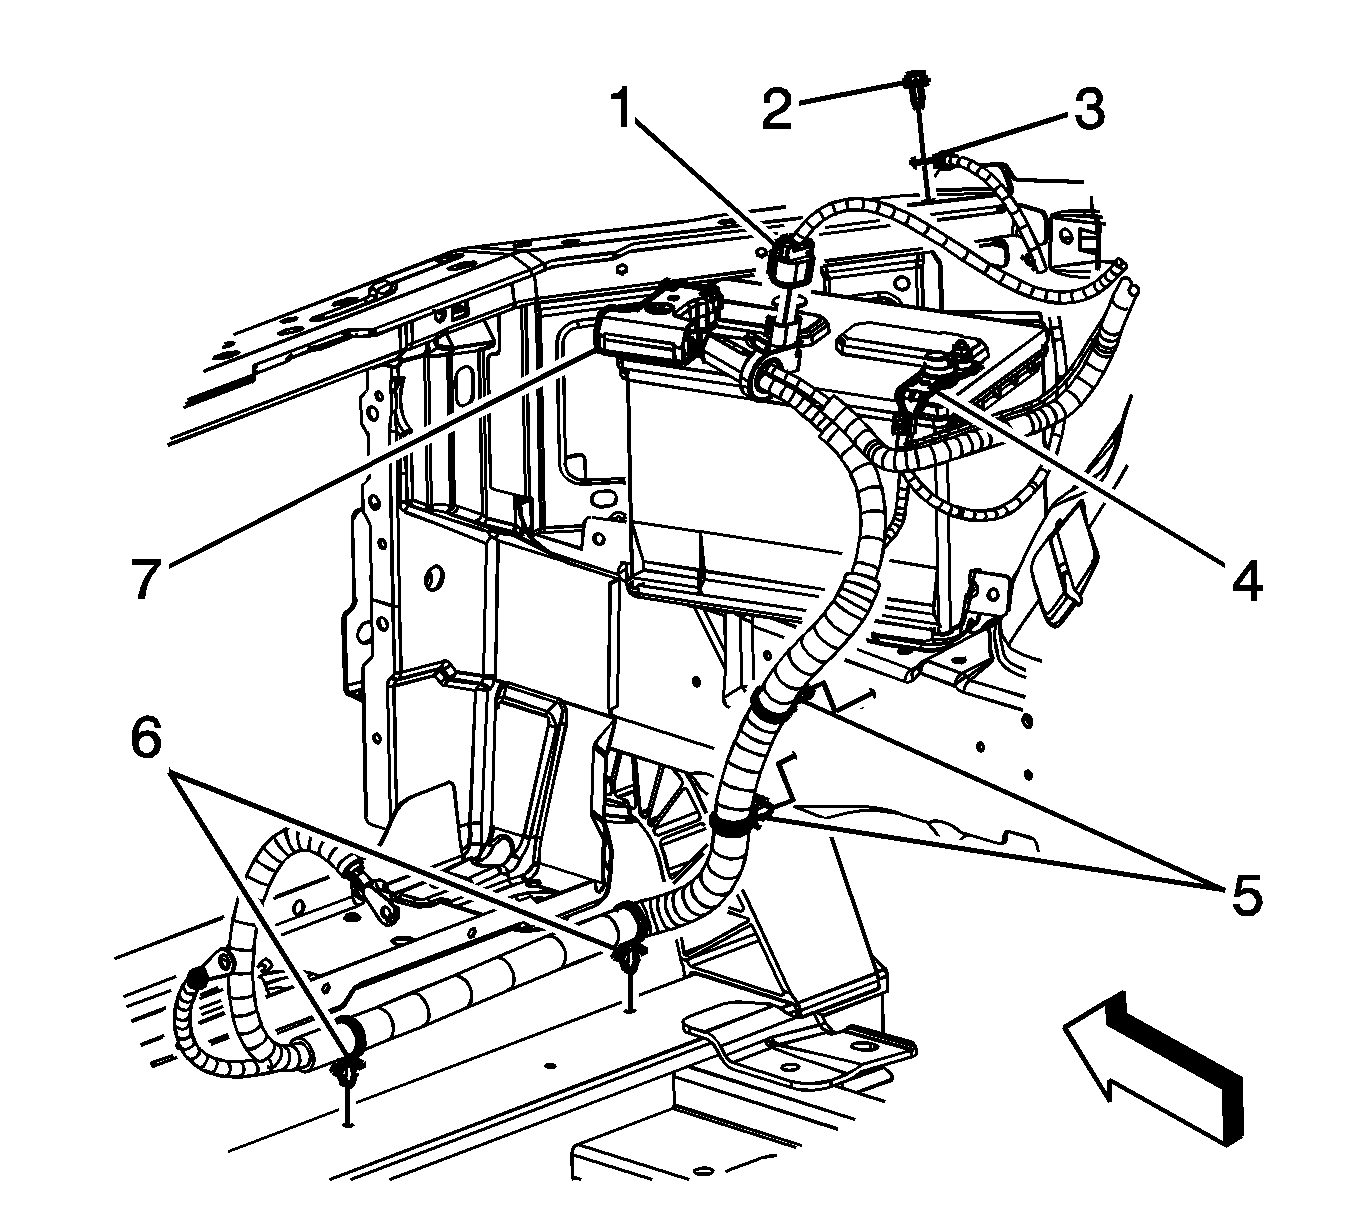
- Open the positive battery cable terminal cover (7).
- Loosen the positive battery cable terminal nut.
- Remove the positive battery cable terminal from the battery.
- Remove the battery insulator.
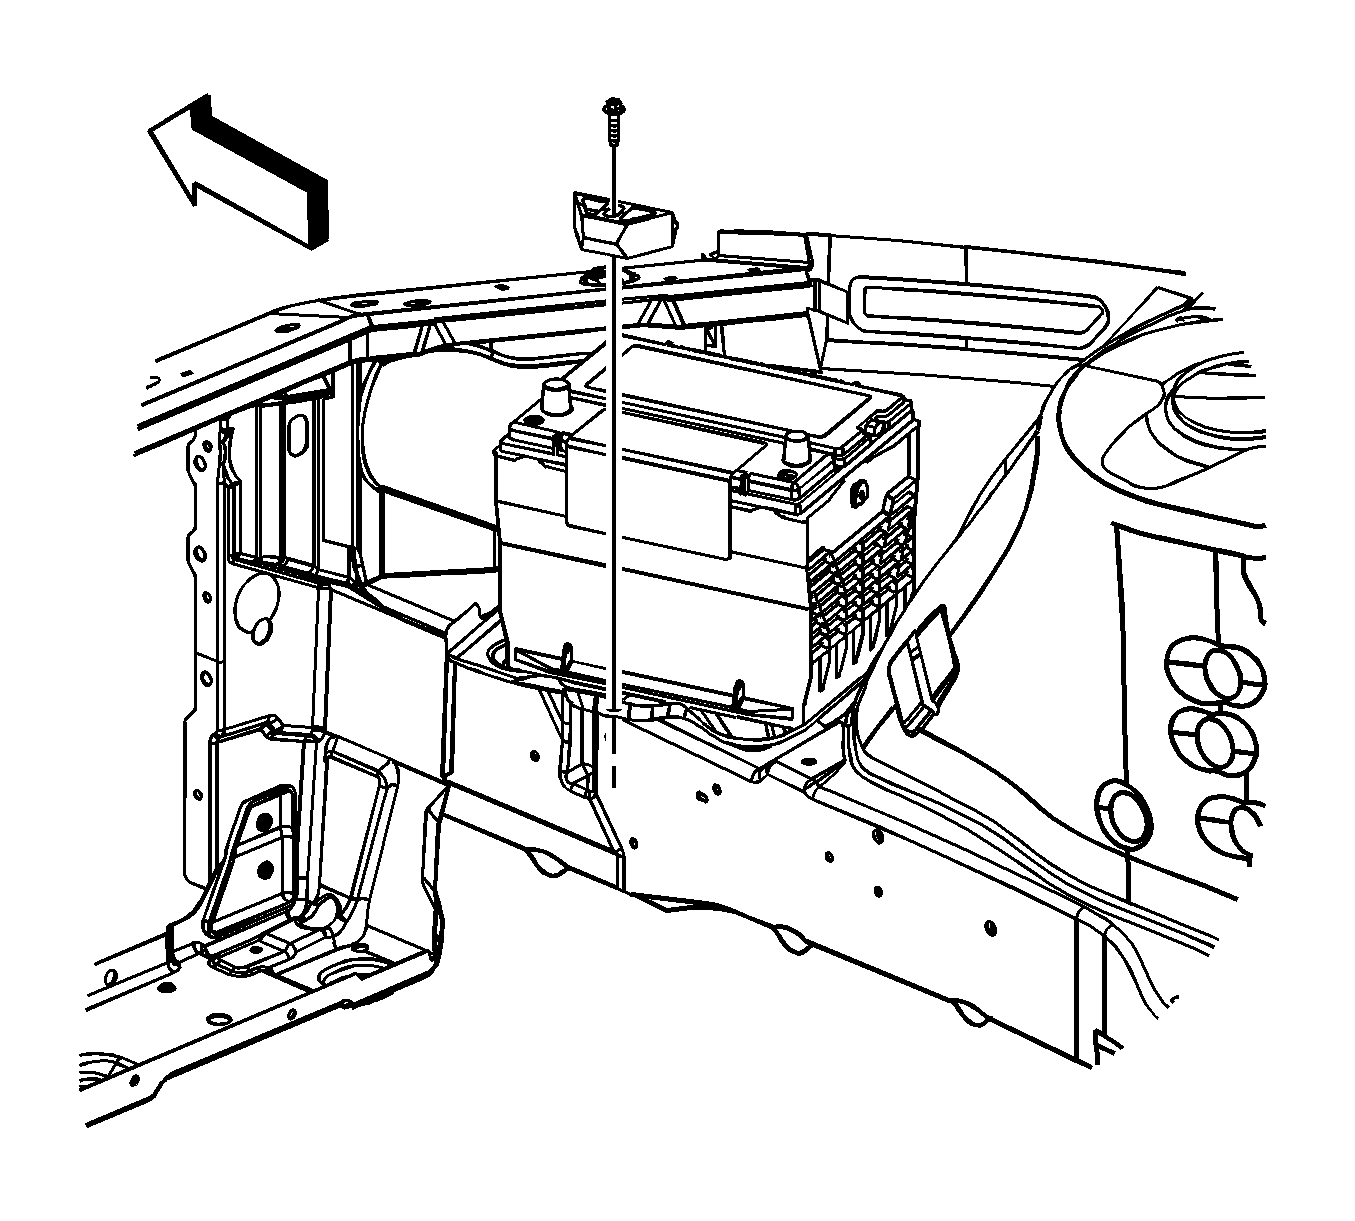
- Remove the battery hold down bolt and hold down.
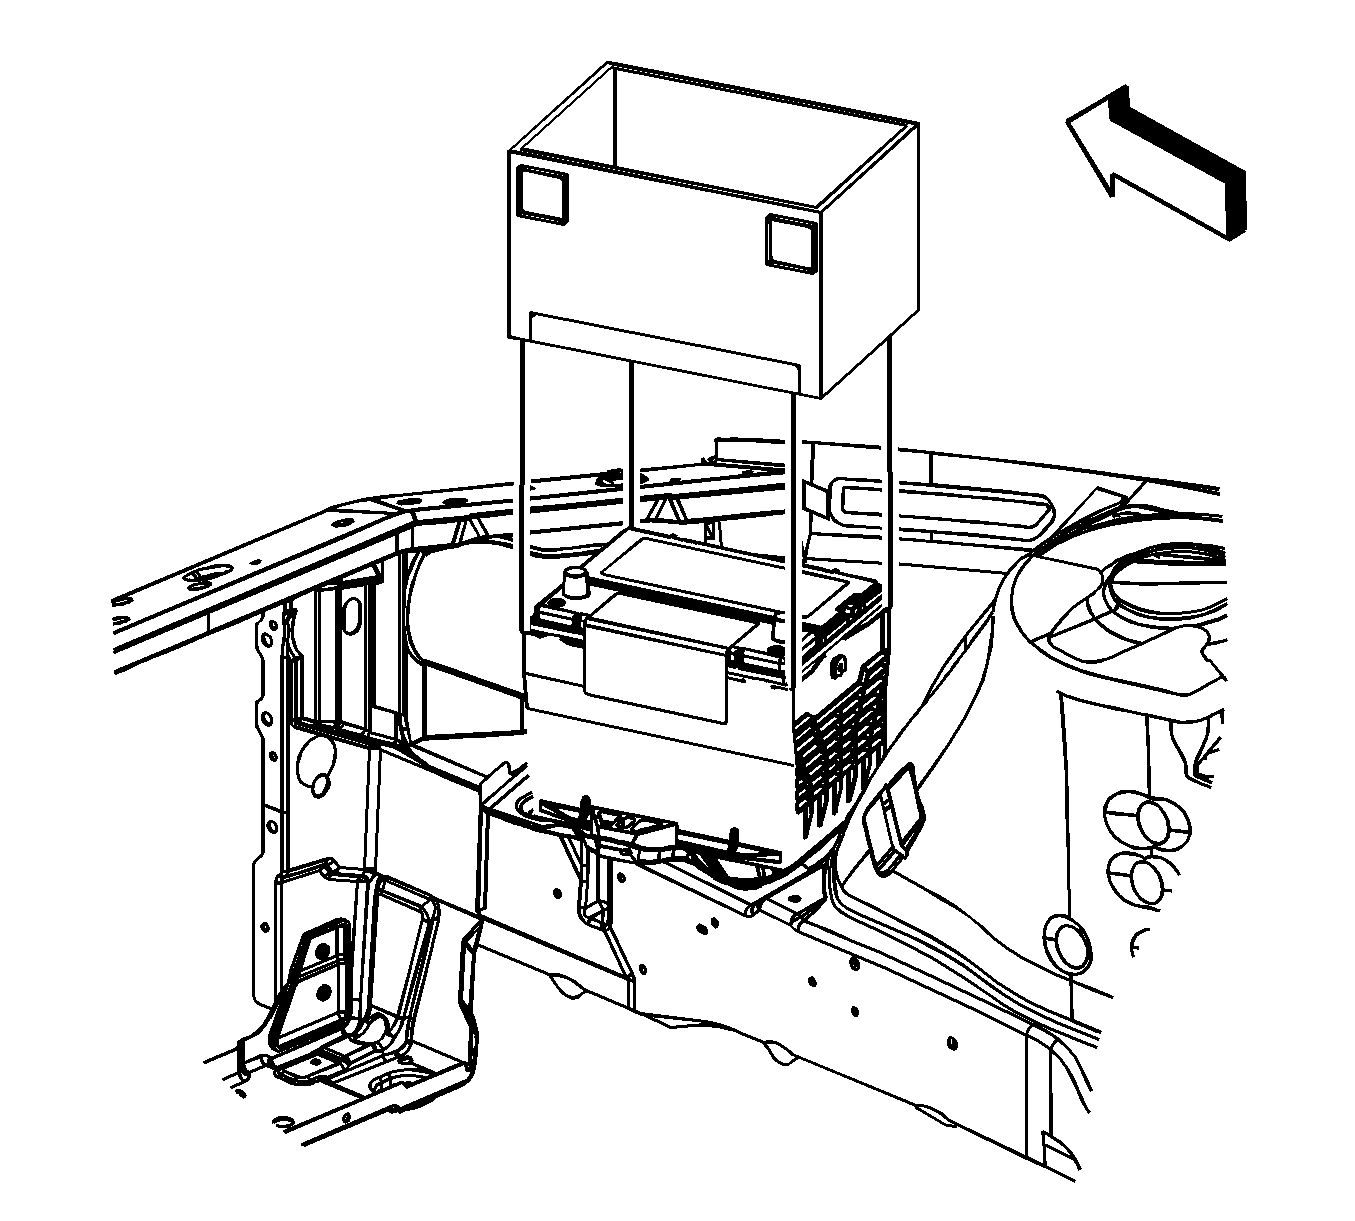
- Remove the battery.
Installation Procedure
Important: Do not tip the battery more than 40 degrees during installation.
- Install the battery.
- Install the battery hold down and bolt.
- Install the battery insulator.
- Install the positive battery cable terminal to the battery.
- Tighten the positive battery cable terminal nut.
- Snap closed the positive battery cable terminal cover (7).
- Install the right front diagonal brace. Refer to Front Fender Upper Diagonal Brace Replacement .
- Connect the negative battery cable. Refer to Battery Negative Cable Disconnection and Connection .

Notice: Refer to Fastener Notice in the Preface section.
Tighten
Tighten the bolt to 18 N·m (13 lb ft).


Tighten
Tighten the nut to 15 N·m (11 lb ft).
