Heater Pipes Replacement LS4
Tools Required
J 38185 Hose Clamp Pliers
Removal Procedure
- Remove the air cleaner assembly. Refer to Air Cleaner Assembly Replacement .
- Drain the cooling system. Refer to Cooling System Draining and Filling .
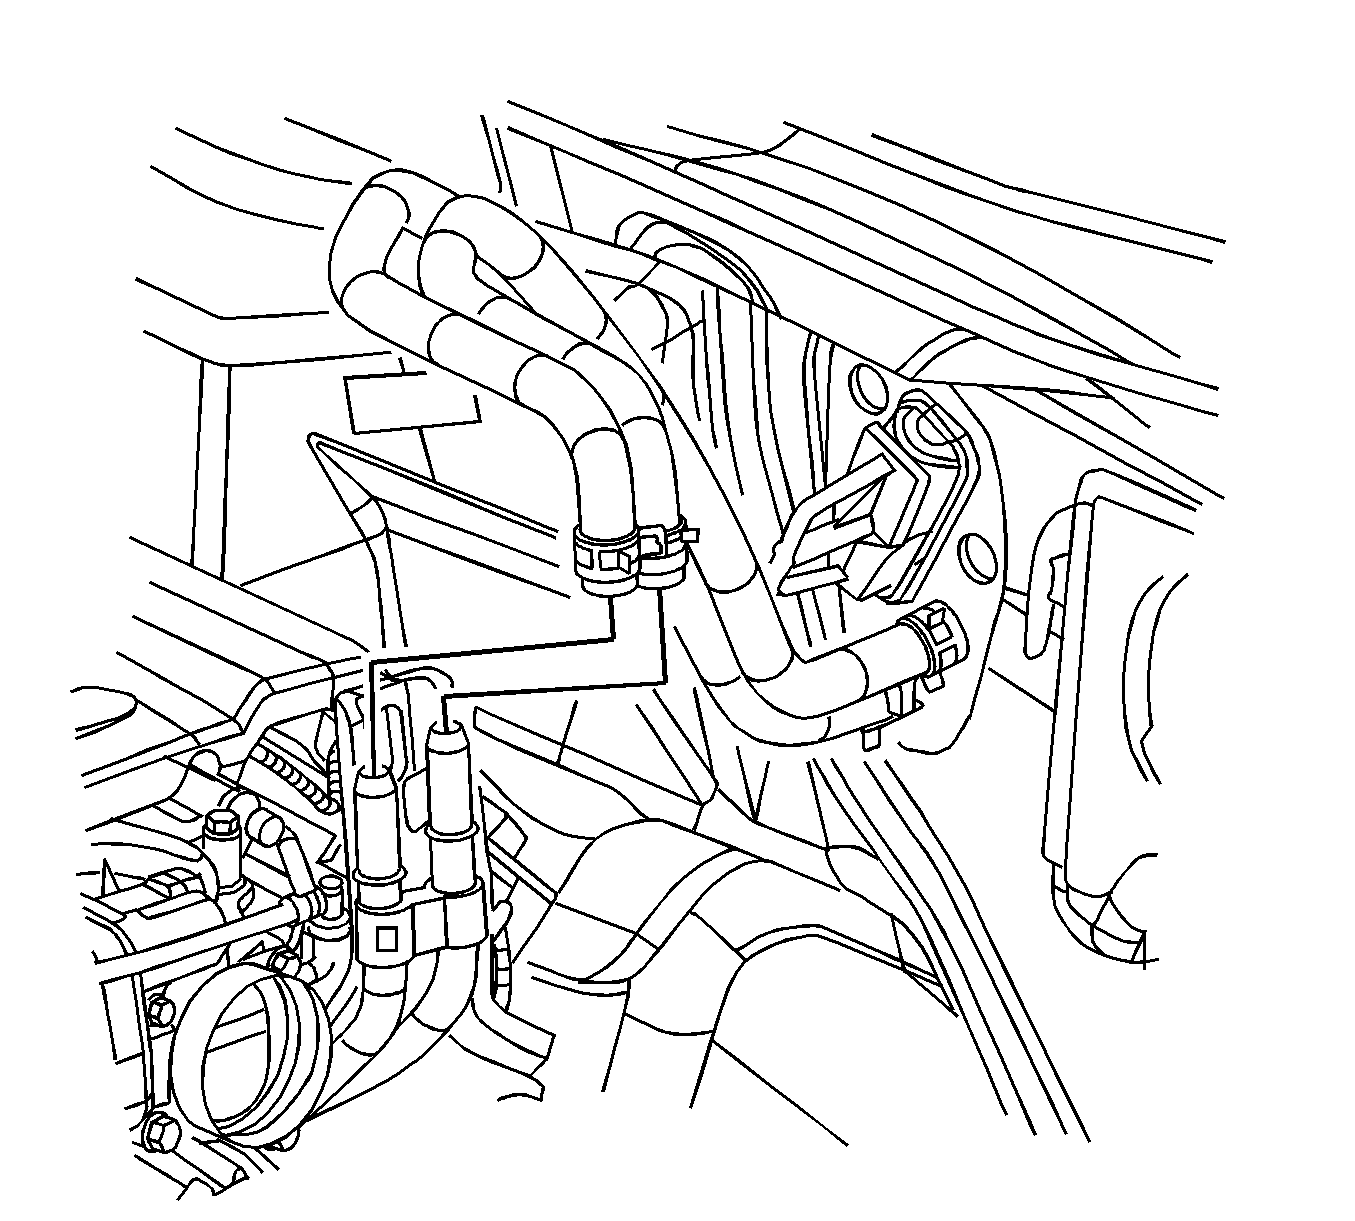
- Release and reposition the heater inlet and outlet hose clamps using the J 38185 .
- Remove the heater hoses from heater pipes.
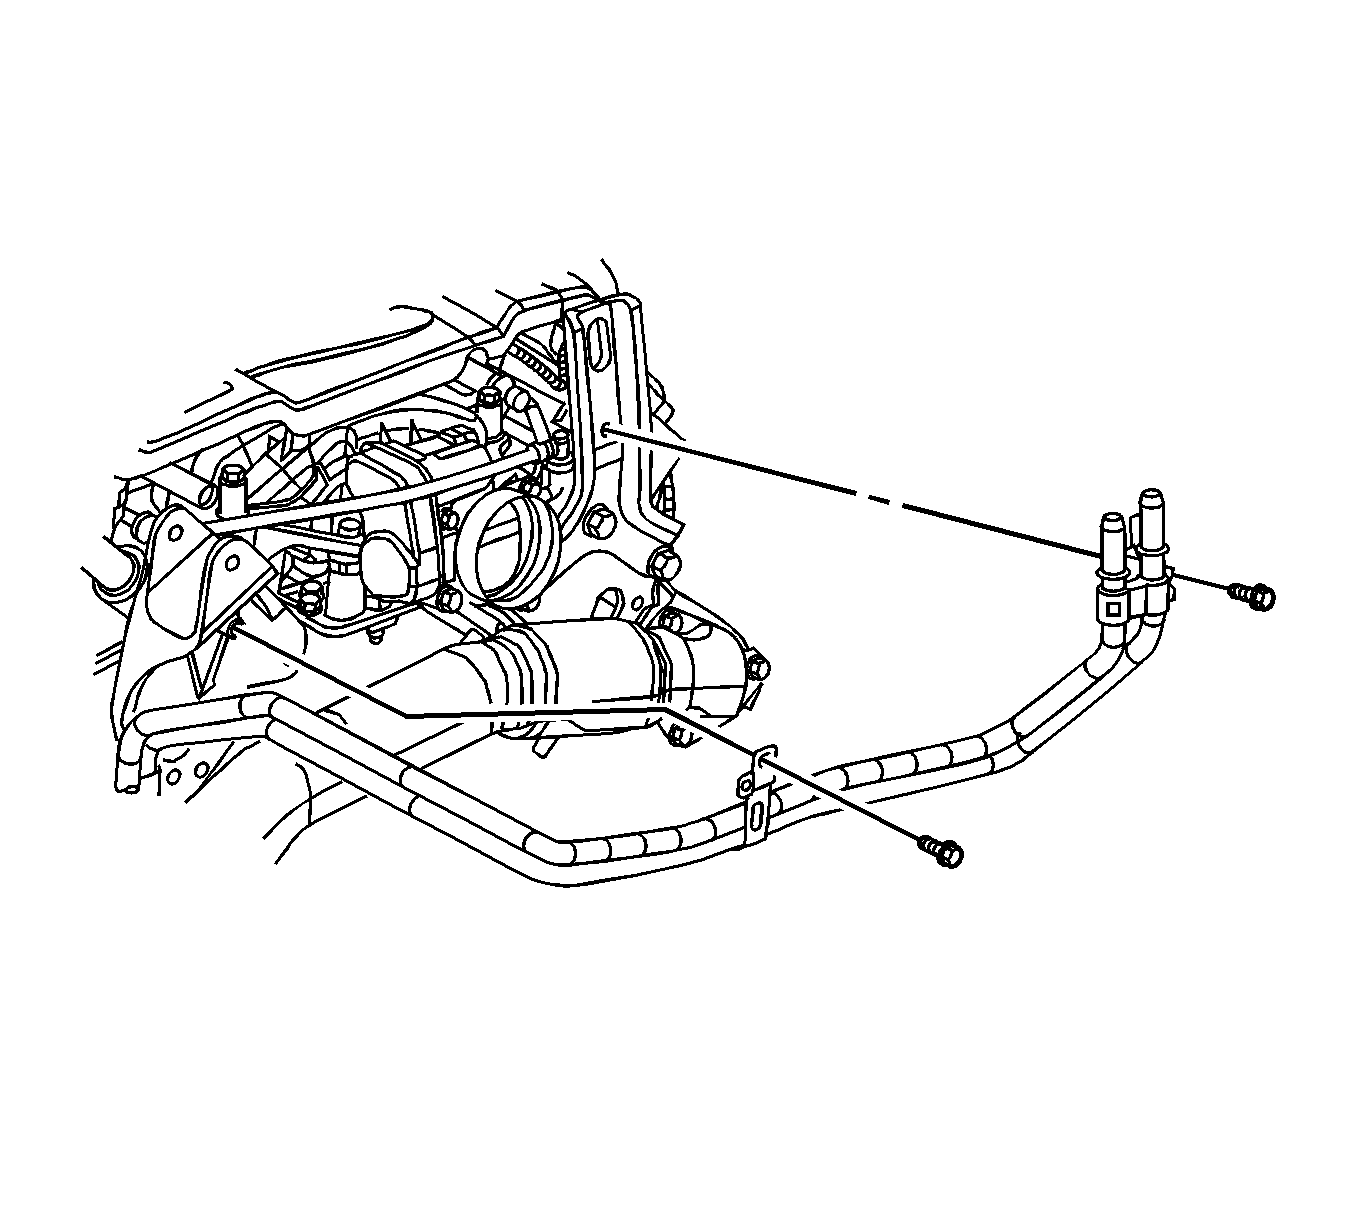
- Remove the heater pipe assembly retaining bolts from the rear the of engine.
- Remove the heater pipe assembly retaining bolt from the front of the engine.
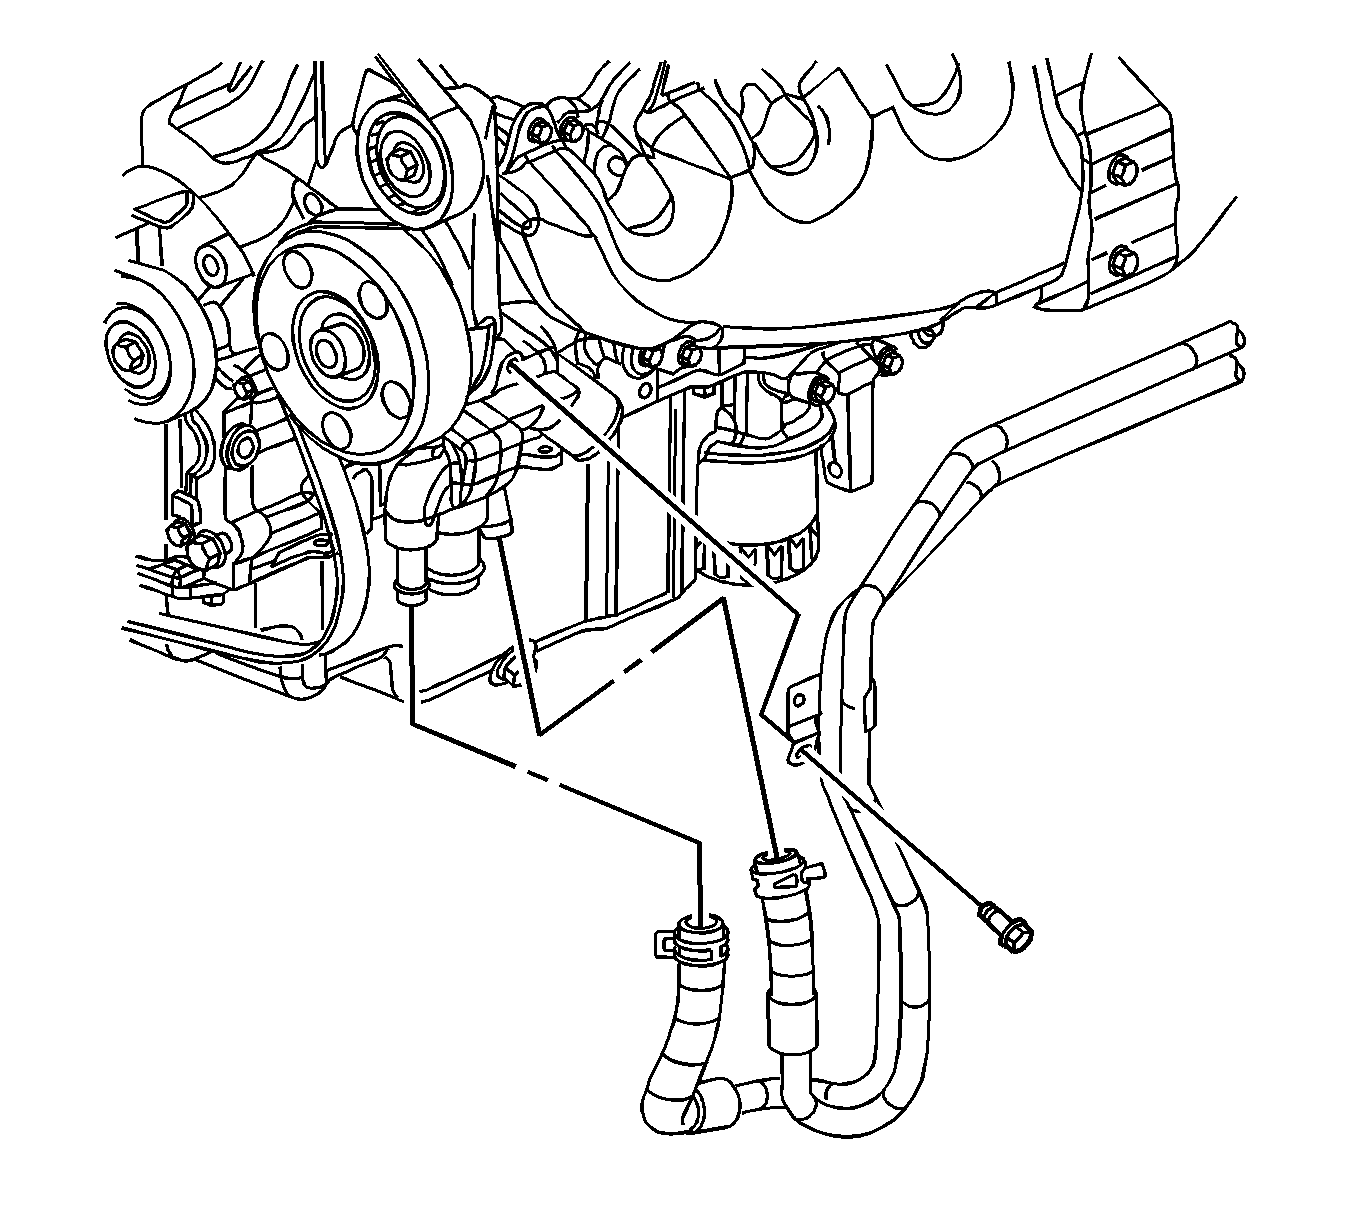
- Release and reposition the heater pipe hose clamps at the engine using the J 38185 .
- Remove the heater pipe hoses from the engine.
- Remove the heater pipe assembly from the vehicle.

Important: Cap or plug the cooling components to prevent system contamination.
Notice: Do not apply excessive force on the heater core pipes during hose removal. Applying excessive force on the heater core pipes may damage the heater core pipes.


Installation Procedure
- Using a lint-free clean, dry cloth, carefully clean the sealing surfaces of the heater pipe assembly at the engine and heater hoses.
- Install the heater pipe assembly into position in the vehicle.
- Install the heater pipe hoses to the engine.
- Reposition and release the heater pipe hose clamps at the engine using the J 38185 .
- Loosely install the heater pipe assembly retaining bolt to the front of the engine.
- Install the heater pipe assembly retaining bolts to the rear of the engine.
- Connect heater hoses to the heater pipe assembly.
- Install the heater hose clamps into position using the J 38185 .
- Install the air cleaner assembly. Refer to Air Cleaner Assembly Replacement .
- Fill the cooling system. Refer to Cooling System Draining and Filling .

Notice: Refer to Fastener Notice in the Preface section.

Tighten
Tighten all the heater pipe assembly bolts to 16 N·m (12 lb ft).

Heater Pipes Replacement LZE, LZ4, LZG

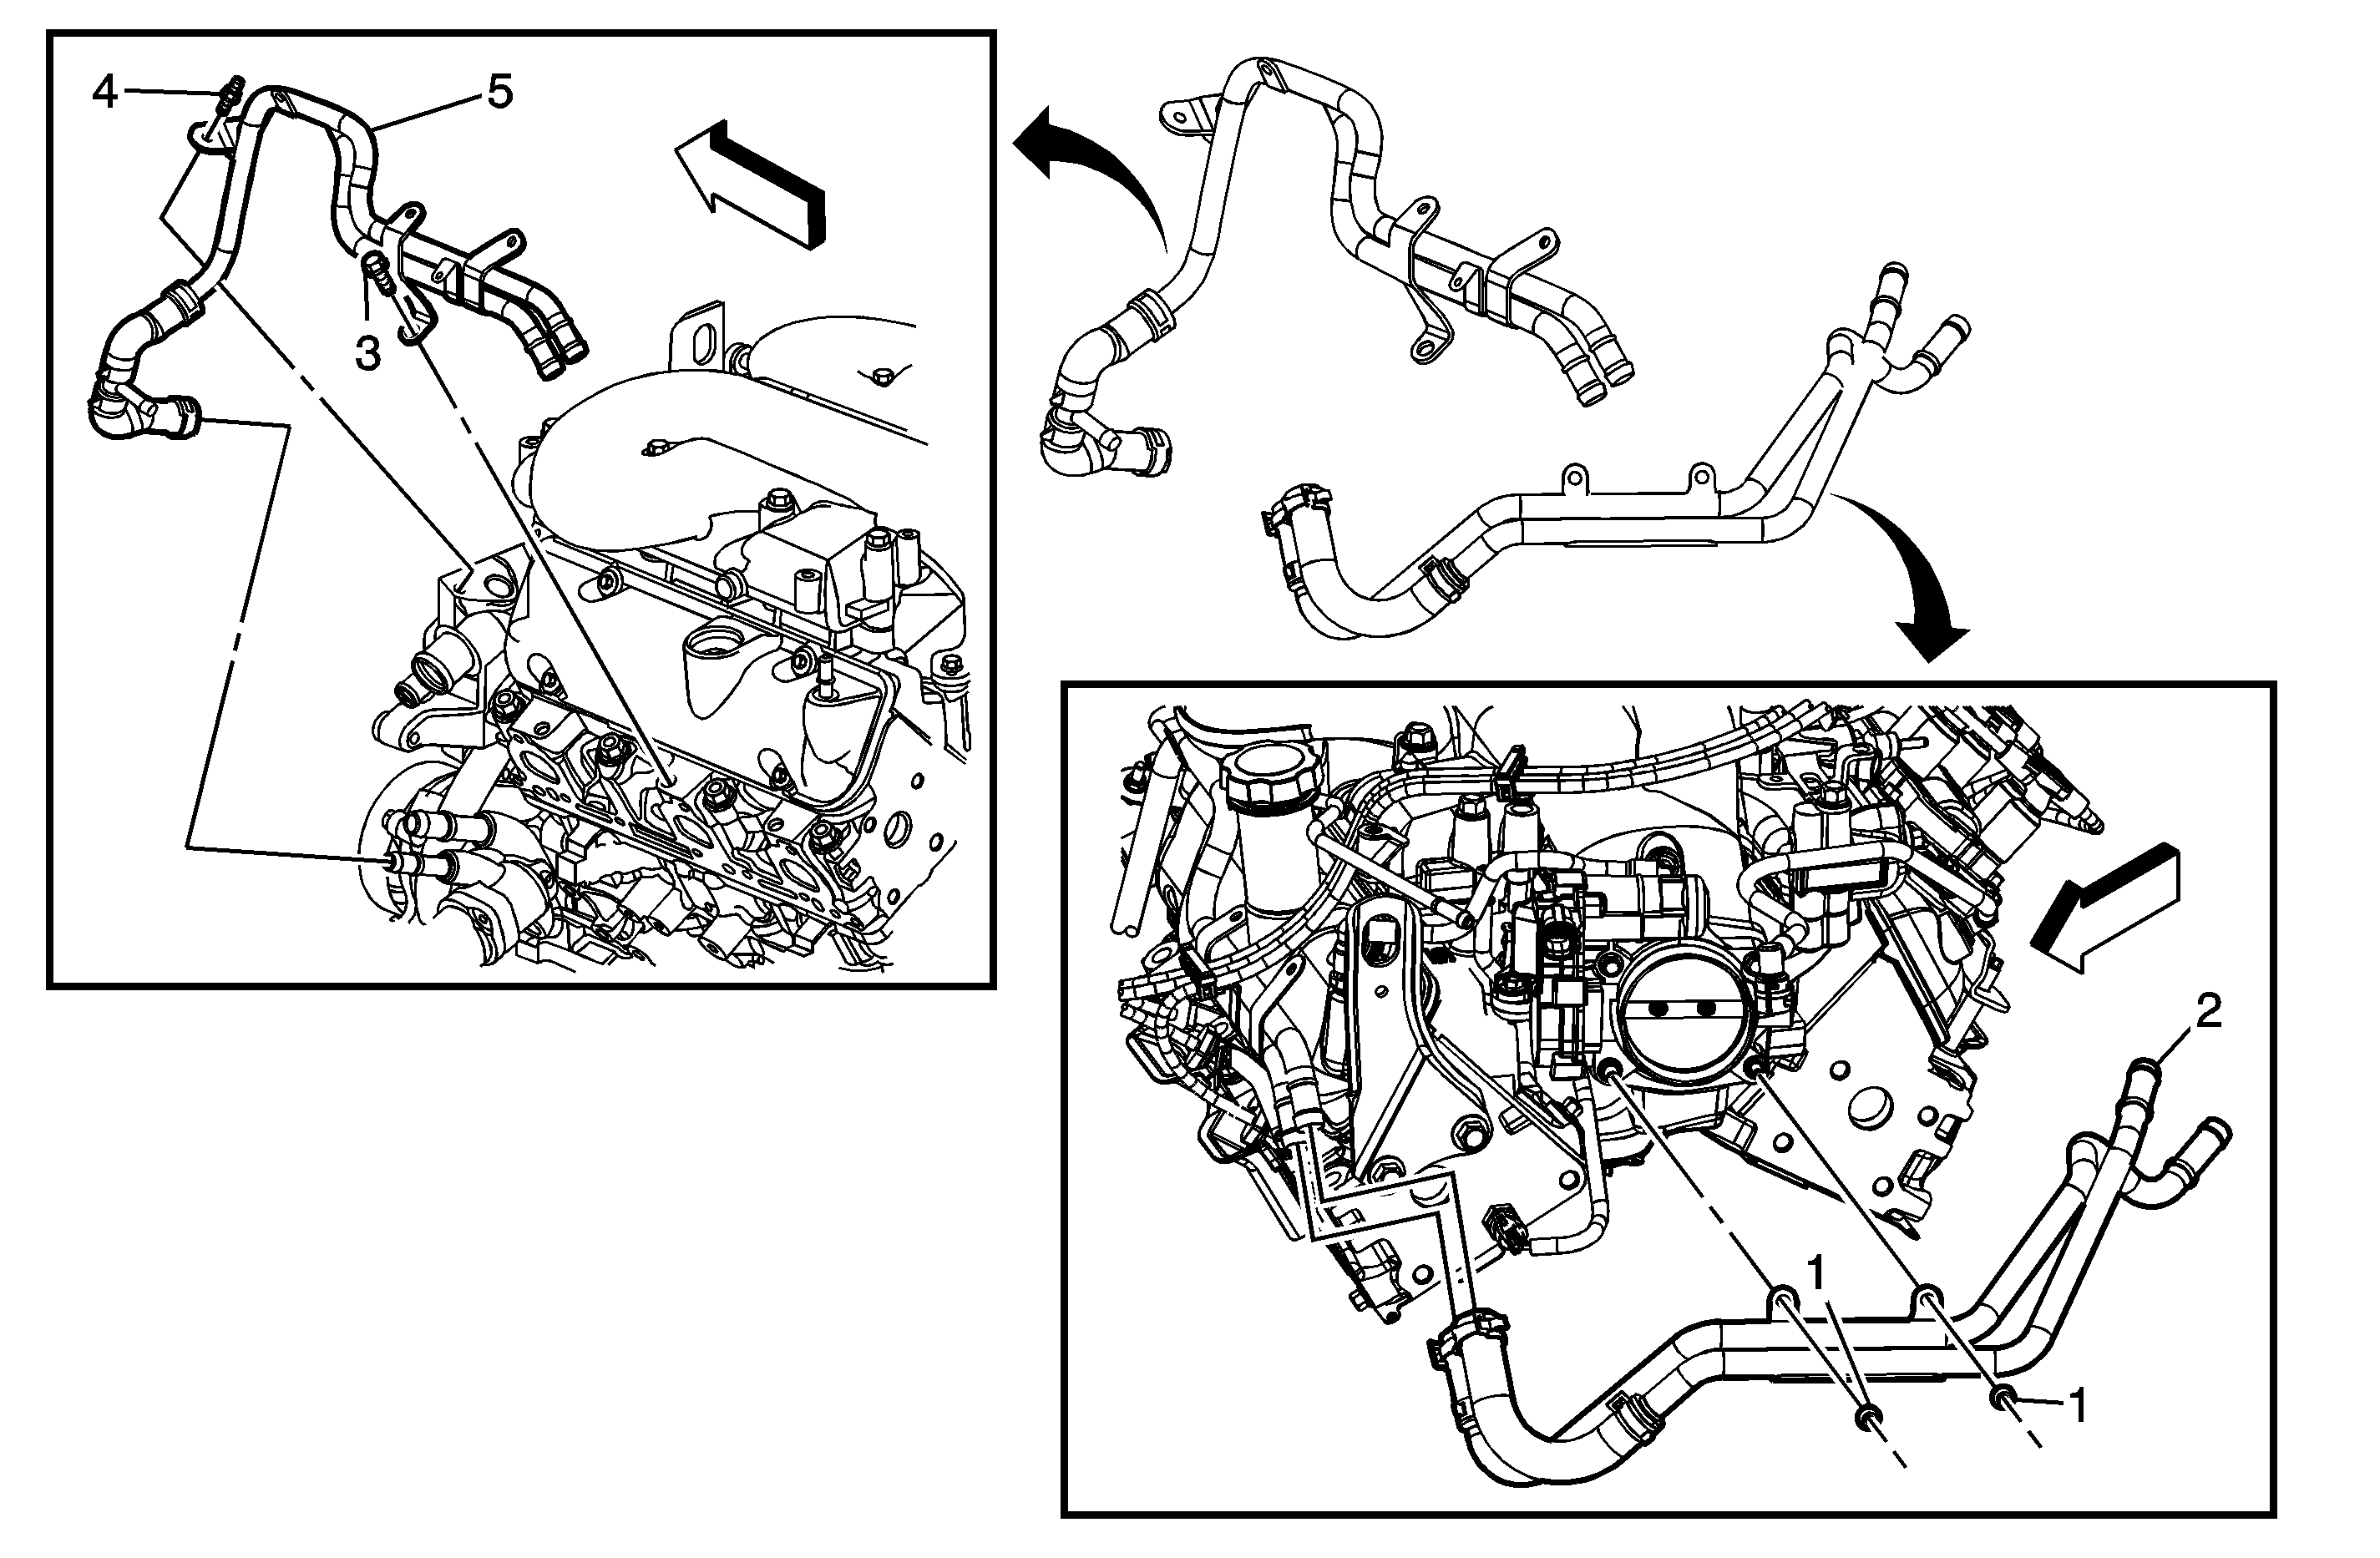
Callout | Component Name |
|---|---|
Preliminary Procedures
| |
1 | Heater Inlet and Outlet Pipe Assembly Nut - Left Notice: Refer to Fastener Notice in the Preface section. Tighten |
2 | Heater Inlet and Outlet Pipe Assembly - Left Tip |
3 | Heater Inlet and Outlet Pipe Assembly Bolt - Front Tighten |
4 | Heater Inlet and Outlet Pipe Assembly Stud - Front Tighten |
5 | Heater Inlet and Outlet Pipe Assembly - Front |
