For 1990-2009 cars only
Special Tools
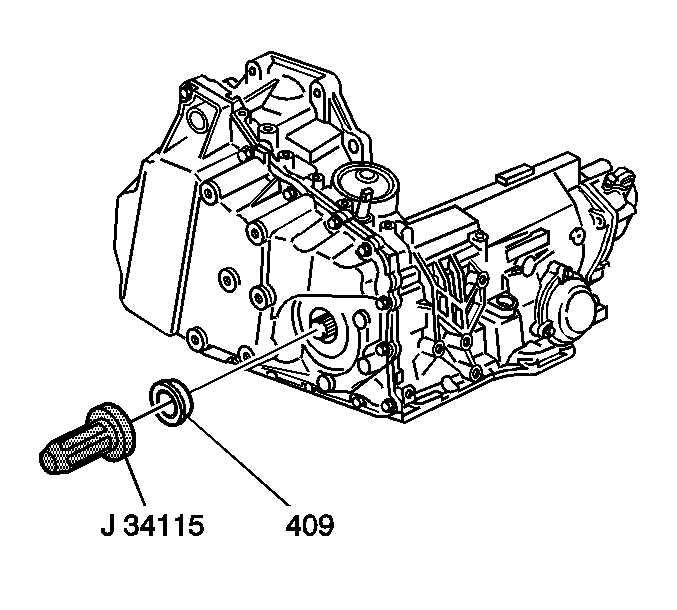
| • | J 34115 Left Side Axle Seal Installer |
| • | J 37292-B Axle Seal Protector |
Removal Procedure
- Raise and support the vehicle. Refer to Lifting and Jacking the Vehicle.
- Remove the left front tire and wheel. Refer to Tire and Wheel Removal and Installation.
- Remove the left stabilizer shaft link from the left lower control arm. Refer to Stabilizer Shaft Link Replacement.
- Remove the left tie rod end from the left steering knuckle. Refer to Steering Knuckle Replacement.
- Remove the left lower ball joint from the left steering knuckle. Refer to Steering Knuckle Replacement.
- Remove the left drive axle from the transaxle. Refer to Wheel Drive Shaft Replacement.
- Secure the left drive axle to the left steering knuckle and the strut.
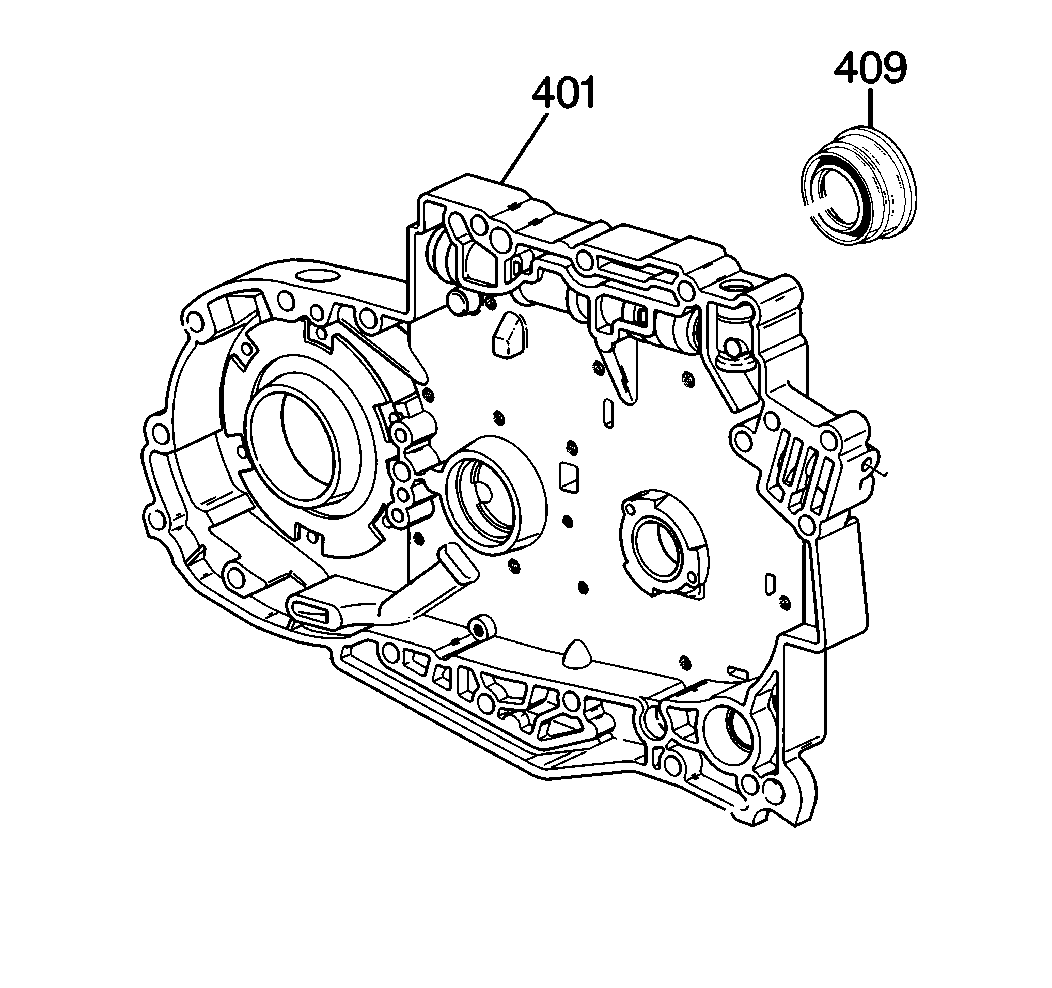
- Use a flat bladed screwdriver or a suitable tool to remove the oil seal (409) from the transaxle side case (401).

Installation Procedure
- Lubricate the seal lip with transaxle fluid.
- Install J 37292-B in the seal (409).
- Use J 34115 to install the new seal.
- Remove the J 37292-B .
- Install the drive axle to the transaxle. Refer to Wheel Drive Shaft Replacement.
- Install the left lower ball joint to the left steering knuckle. Refer to Steering Knuckle Replacement.
- Install the left tie rod end to the left steering knuckle. Refer to Steering Knuckle Replacement.
- Install the left stabilizer shaft link to the left lower control arm. Refer to Stabilizer Shaft Link Replacement.
- Install the left front tire and wheel. Refer to Tire and Wheel Removal and Installation.
- Lower the vehicle.
- Adjust the fluid level.
- Inspect for proper completion of the repairs.
- Inspect for proper fluid level.
- Inspect for fluid leaks.
Note: Carefully guide the axle shaft past the lip seal. Do NOT allow the shaft splines to contact any portion of the seal lip surface.

Caution: Do NOT overfill the transaxle. The overfilling of the transaxle causes foaming, loss of fluid, shift complaints, and possible damage to the transaxle.
