Parking Brake With Hydraulic Brakes
If the vehicle has hydraulic brakes, it has either a parking brake foot pedal or hand lever. If you have the parking brake foot pedal, it is located below the instrument panel to the left of the steering column.
Parking Brake Hand Lever Shown

If you have the parking brake hand lever, it is located to the right of the driver, on the floor.
To set the foot pedal parking brake, hold the regular brake pedal down, then push down the parking brake pedal.
Caution: It can be dangerous to get out of the vehicle without the parking brake firmly set. The vehicle can roll. If you have left the engine running, the vehicle can move suddenly. You or others could be injured. To be sure the vehicle will not move, even when you are on fairly level ground, always set the parking brake.
To set the hand lever parking brake, hold the regular brake pedal down, then pull up on the handle, until it stops.
If the ignition is on when the parking brake is set, the brake system warning light will come on.
Once the parking brake is applied, slowly remove your foot from the regular brake pedal, while checking to see if the vehicle moves. If the vehicle does start to move, press the regular brake pedal and adjust the parking brake holding force. See "Parking Brake Adjustment" later in this section.
If the parking brake still does not set, take the vehicle to your dealer/retailer for service.
To release the foot pedal parking brake, hold the regular brake pedal down. Pull the brake release handle, located just above the parking brake pedal.
To release the hand lever parking brake, hold the regular brake pedal down and push down on the handle until it stops.
If the ignition is on when the parking brake is released, the brake system warning light will go off.
Parking Brake Adjustment (Hand Lever System Only)
Make sure the parking brake burnish procedure has been previously followed before continuing with any park brake adjustment. See Parking Brake Burnish Procedure for more information. Parking brake adjustment may be necessary after the burnish procedure or at the scheduled maintenance intervals.
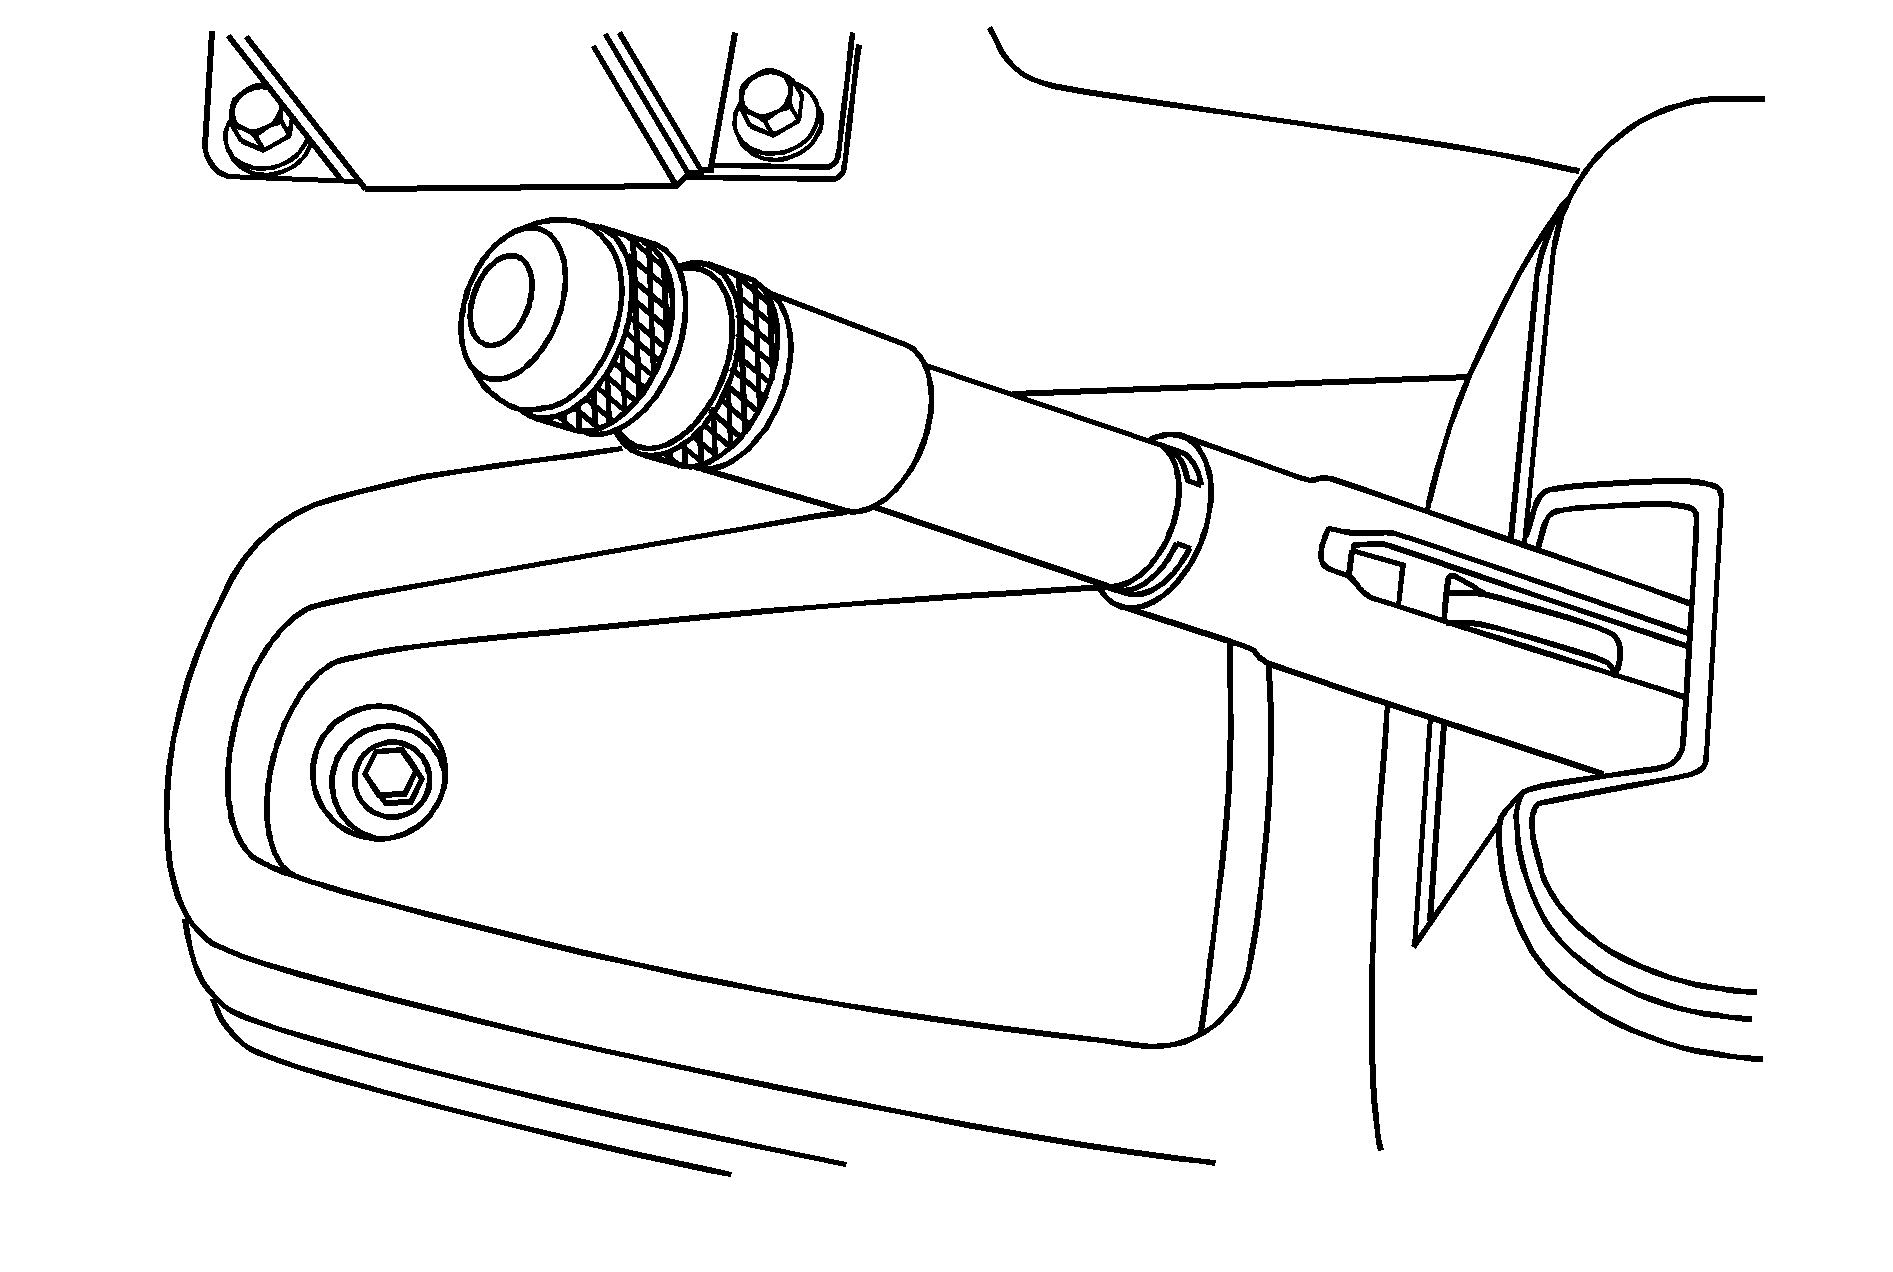
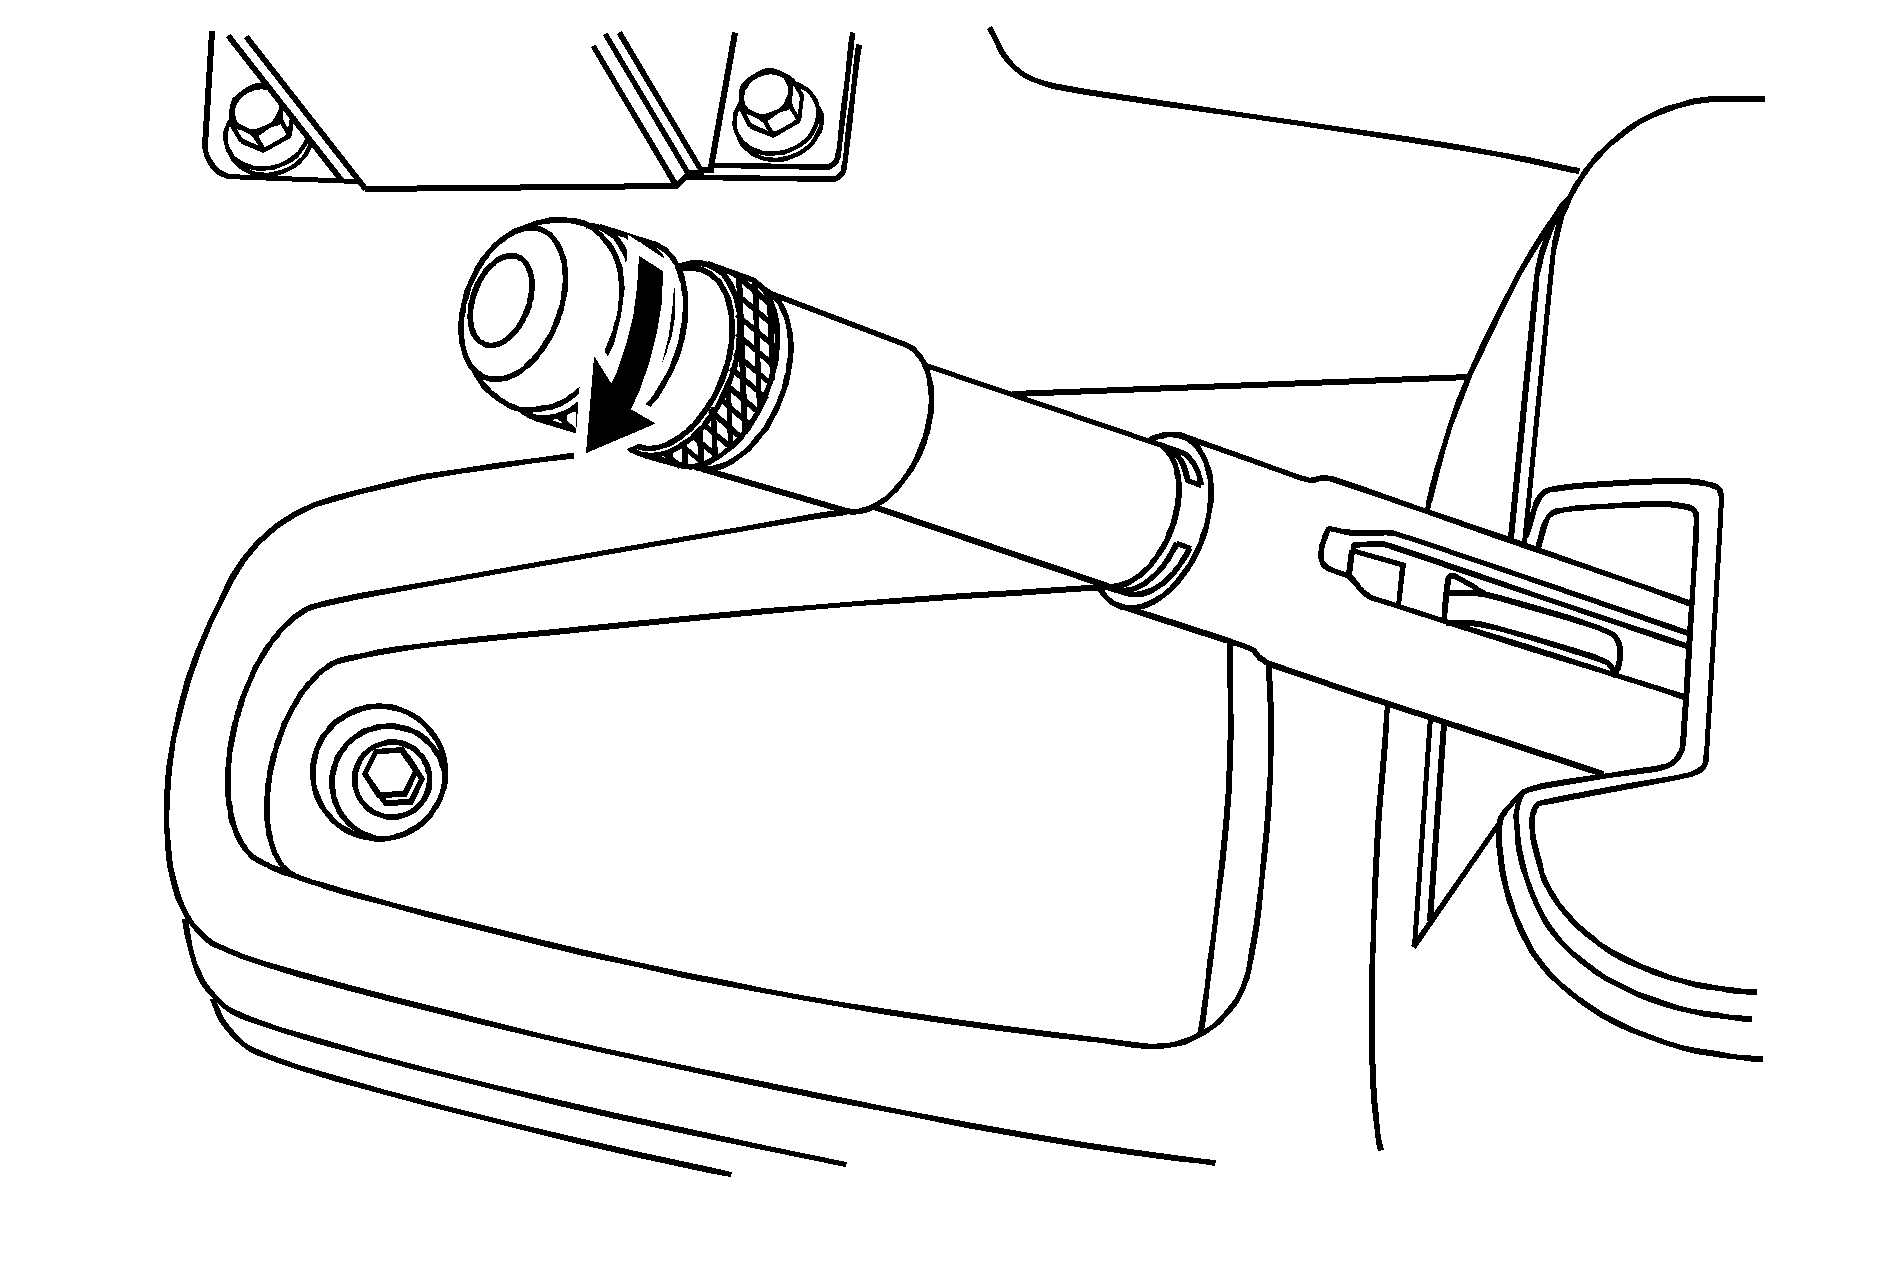
If the vehicle is has a hand-lever park brake system, an in-cab adjustment may be made to the park brake system. This will adjust the parking brake holding force. The adjustment is made with the knob located at the end of the hand lever.

To make an adjustment:
- Press and hold the regular brake pedal
- Release the parking brake
- Turn the knob only up to a half turn to the left, top of knob toward the driver. This will increase the holding force of the system.
- Check to see if the vehicle moves by slowly removing your foot from the regular brake pedal.
- If the vehicle moves, press the regular brake and repeat the adjustment procedure.
Notice: Over-tightening the park brake lever can cause damage to the park brake system. Over-tightening is possible by turning the knob more than half a turn.
Over-tightening is similar to driving down the road with your regular brakes applied. If the park brake system is over-tightened the vehicle may seem sluggish to accelerate, and/or the park brake hand lever maybe very hard to pull up and apply the park brake.
If the park brake is over-tightened turn the knob to the right until it stops and follow the parking brake adjustment procedure.
Vehicles with a foot-pedal park brake system must be serviced to make this adjustment. See Scheduled Maintenance for more information.
Parking Brake With Air Brakes

If the vehicle has air brakes, you will have this parking brake. It is located above the audio system in the instrument panel.
Pulling it out applies the parking brake. The parking brake light will come on when the air parking brake is applied.
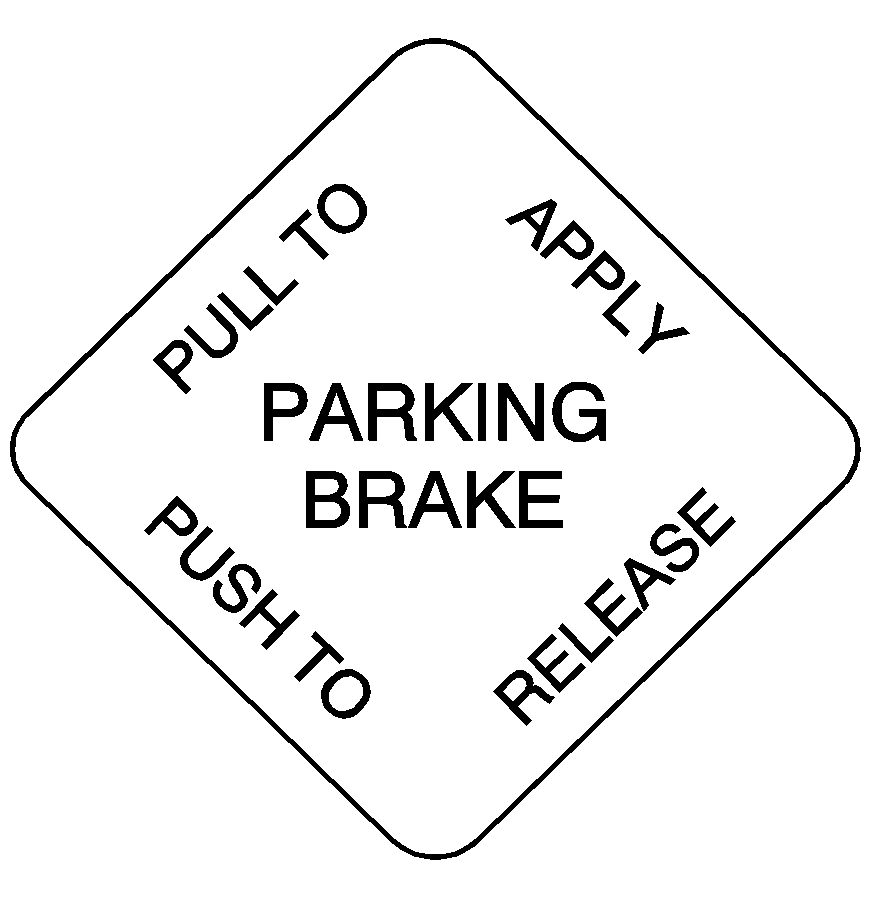
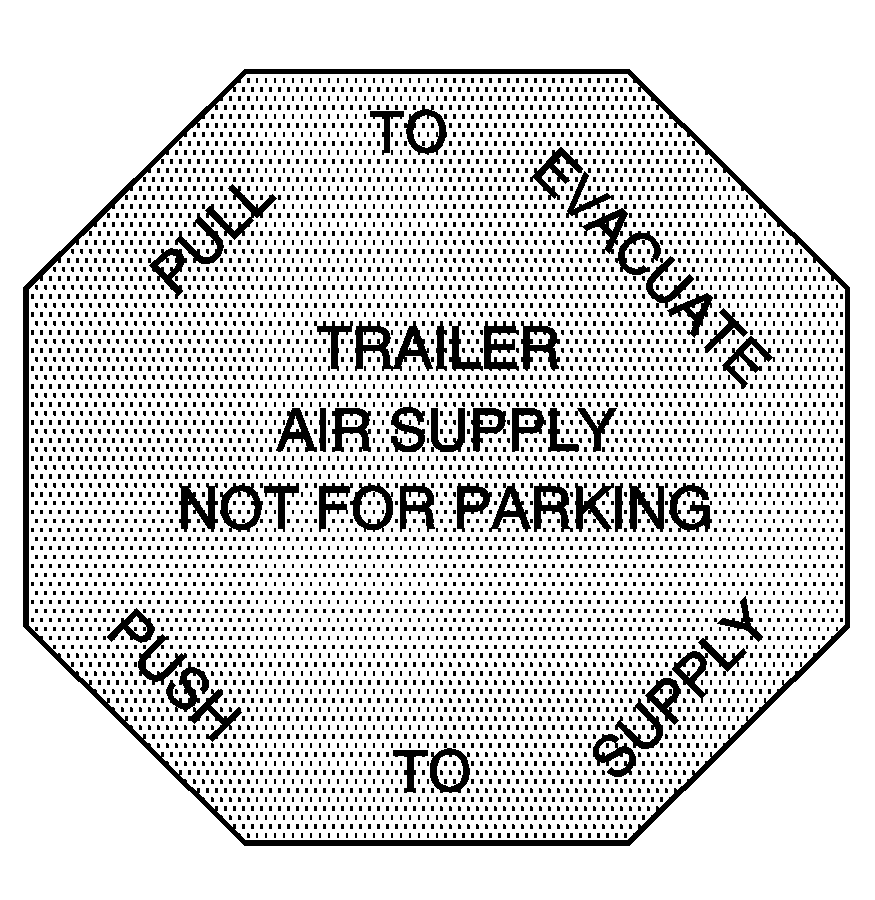
Vehicles built for use as tractors or towing vehicles have two air brake controls. They look like this:


Caution: When the yellow PARKING BRAKE and the red TRAILER AIR SUPPLY knobs are both pushed in, the rig will be free to move. It could strike someone or something. When both of these knobs are pushed in, hold the regular brake pedal down to keep the rig from moving.
To charge a trailer's air brake system do the following:
- Move the vehicle into the proper position.
- Apply the parking brake by pulling the yellow parking brake knob out.
- Hook up the trailer air system properly.
- Get into the vehicle.
- Push and hold down the regular brake pedal.
- Push in both the yellow parking brake and the red trailer air supply knobs. This will charge the trailer's air system.
After a few minutes, the trailer system should be fully charged. When it is, the air pressure gage will show about 125 to 135 psi (862 to 931 kPa). See Air Pressure Gage for more information.
For driving with a trailer, the yellow and red knobs, if equipped, must be pushed in. When you are not pulling a trailer, the red trailer air supply knob must be pulled out.
Caution: If you apply any one of the air brake parking controls while the vehicle is moving, the rig will stop suddenly. If you are not ready for this, you or others could be injured. Do not apply any one of these controls while you are driving, unless you have to make an emergency stop.
If the air pressure drops below 60 to 70 psi (413 to 482 kPa), the primary brake warning light and buzzer will come on. If the air pressure drops to 35 to 45 psi (241 to 310 kPa), the red trailer air supply knob will automatically pop out and apply the spring brakes on the trailer.
If the air pressure drops to 35 to 45 psi (241 to 310 kPa), the yellow park brake knob will automatically pop out and apply the spring brakes on the truck or tractor.
If you ever have a complete loss of air so that the air brakes automatically apply, there is a way that the tow operator can release the parking brakes to tow the vehicle. See Towing Your Vehicle.
