For 1990-2009 cars only
Stationary Window Reveal Molding Repair for Chevrolet Kodiak C-Series (Conventional) C4/C5 2009
Removal Procedure
- Lift up on the loose area of the reveal molding.
- Clean the top edge of the window surface and the reveal molding with a 50/50 mixture of isopropyl alcohol and water by volume on a dampened lint-free cloth.
Warning: Refer to Glass and Sheet Metal Handling Warning in the Preface section.
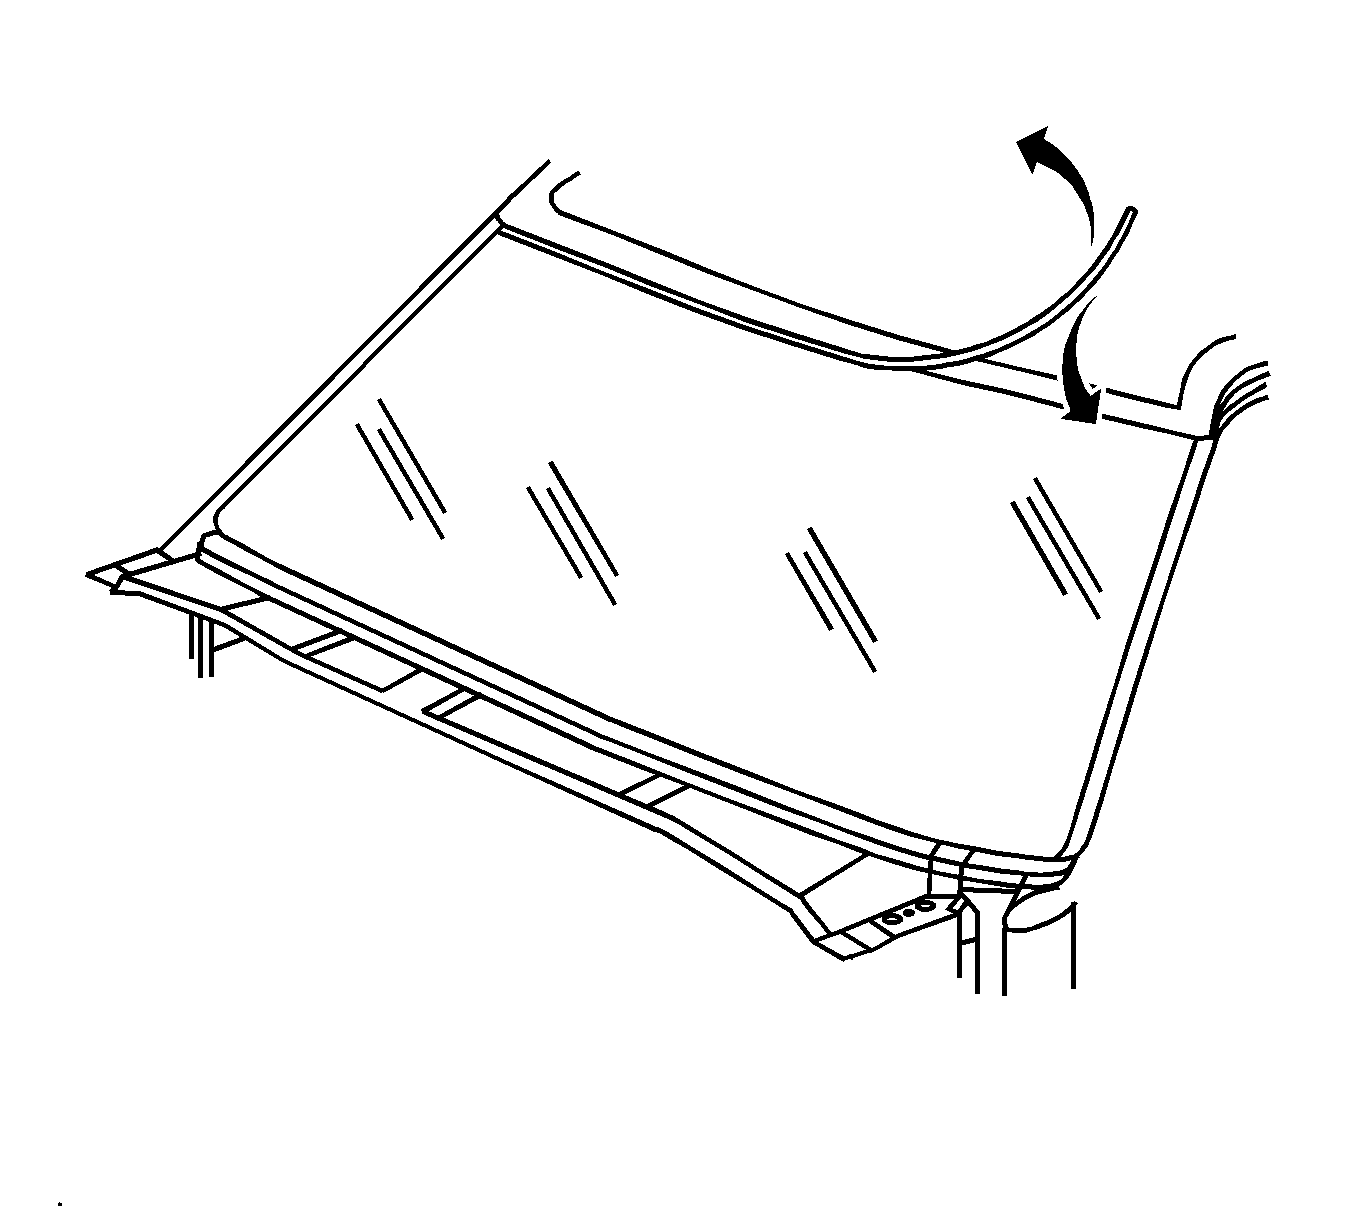
Note: The window reveal molding fills the cavity between the body and window. If the reveal molding is stretched or damaged, it cannot be reused and it must be replaced.
Installation Procedure
- Verify all primers and urethane adhesive are within expiration dates.
- Use a new dauber in order to apply glass prep, clear number 1, to the channel area approximately 13 mm (1/2 in) to the upper edge of the window.
- Wipe the glass primed area immediately with a clean lint-free cloth.
- Shake the glass primer, black number 2, for at least 1 minute.
- Use a new dauber in order to apply glass primer, black number 2, to the top edge of the window.
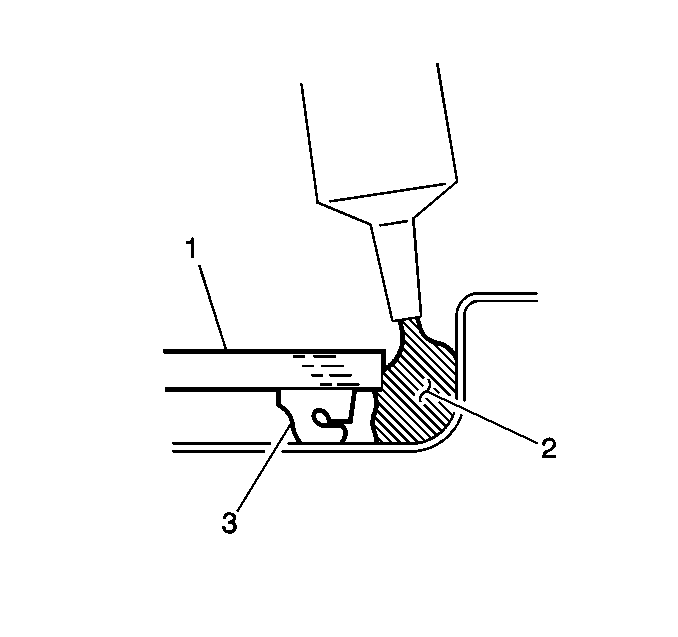
- Apply a small bead of urethane adhesive (2) between the window (1) and the pinch-weld.
- Reinstall the window reveal molding.
Warning: Refer to Window Retention Warning in the Preface section.
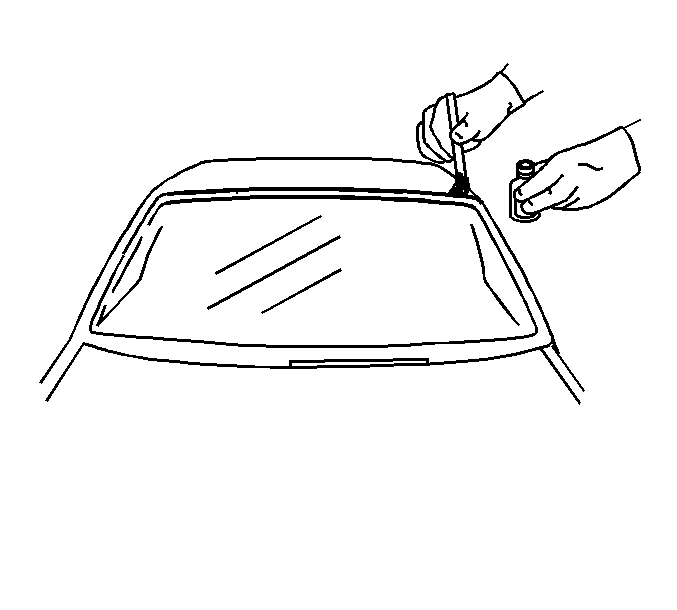
Note: Use care when applying the prep, clear number 1, to the window. This primer dries almost instantly, and may stain the viewing area of the window if not applied evenly.
| 7.1. | Start from the loose area and hand-press the reveal molding into place over the edge of the window. |
| 7.2. | Run warm water over the reveal molding in order to speed the setup time of the urethane adhesive. |
| 7.3. | Tape should be applied in order to retain the reveal molding to the window. This will maintain a flush fit with the body. |
| 7.4. | The tape is to be removed after 6 hours. |
