Glow Plug Replacement Without CTF
Inspection Procedure
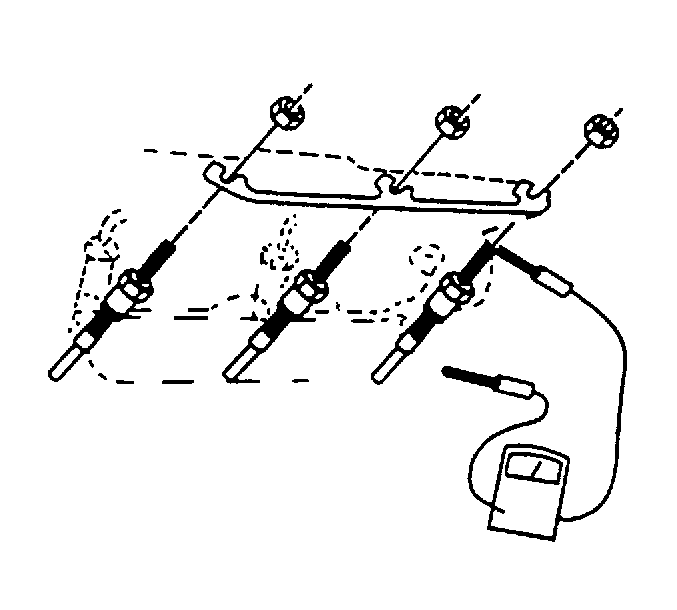
The glow plugs can be tested in 2 ways:
| • |

|
| • |

|
Removal Procedure
- Remove the air cleaner layer. Refer to Air Cleaner Replacement .
- If required, remove the engine cover. Refer to Engine Cover Replacement .
- Disconnect the negative battery cables.
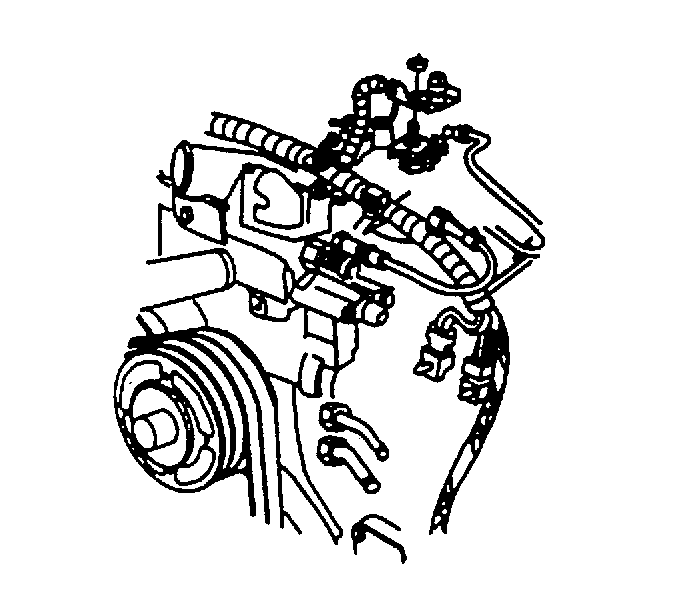
- Disconnect the glow plug power supply wire.
- Disconnect the glow plug buss bar.
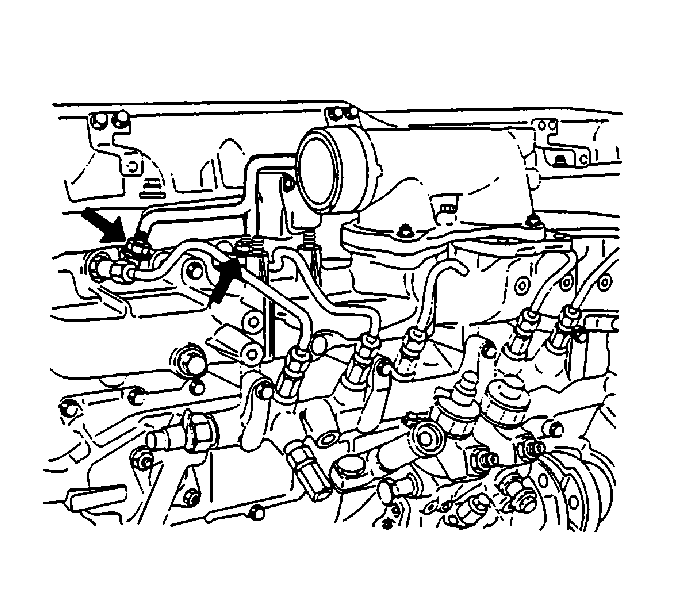
- If removing the #6 glow plug, remove the #6 injector pipe. Refer to Fuel Injector Replacement .
- Remove the glow plugs from the cylinder head.

Caution: Unless directed otherwise, the ignition and start switch must be in the OFF or LOCK position, and all electrical loads must be OFF before servicing any electrical component. Disconnect the negative battery cable to prevent an electrical spark should a tool or equipment come in contact with an exposed electrical terminal. Failure to follow these precautions may result in personal injury and/or damage to the vehicle or its components.
Installation Procedure
- Install the glow plugs to the cylinder head.
- If required, install the #6 injector pipe to the #6 injector. Refer to Fuel Injector Replacement .
- Install the glow plug buss bar.
- Connect the glow plug power supply wire.
- Connect the negative battery cables.
- If required, install the engine cover. Refer to Engine Cover Replacement .
- Install the air cleaner layer. Refer to Air Cleaner Replacement .
Notice: Refer to Component Fastener Tightening Notice in the Preface section.

Tighten
Tighten the glow plugs to 20 N·m (15 lb ft).
Tighten
Tighten the glow plug buss bar to 1.2 N·m (11 lb in).
Glow Plug Replacement With CTF
Inspection Procedure
The glow plugs can be tested in 2 ways:
| • |
| • |

|
Removal Procedure
- If required, remove the engine cover. Refer to Engine Cover Replacement .
- If required, remove the air cleaner layer. Refer to Air Cleaner Replacement .
- Disconnect the negative battery cables. Refer to Battery Negative Cable Disconnection and Connection .
- Disconnect the glow plug power supply wire.
- Disconnect the glow plug buss bar.
- Remove the glow plugs from the cylinder head.

Installation Procedure
- Install the glow plugs to the cylinder head.
- Connect the glow plug power supply wire.
- Connect the negative battery cables. Refer to Battery Negative Cable Disconnection and Connection .
- If required, install the air cleaner layer. Refer to Air Cleaner Replacement .
- If required, install the engine cover. Refer to Engine Cover Replacement .
Notice: Refer to Fastener Notice in the Preface section.
Tighten
Tighten the glow plugs to 20 N·m (15 lb ft).
Install the glow plug buss bar.
Tighten
Tighten the glow plug buss bar to 1.2 N·m (10 lb in).

