For 1990-2009 cars only
Removal Procedure
- Remove the air cleaner layer. Refer to Air Cleaner Replacement in Engine Controls.
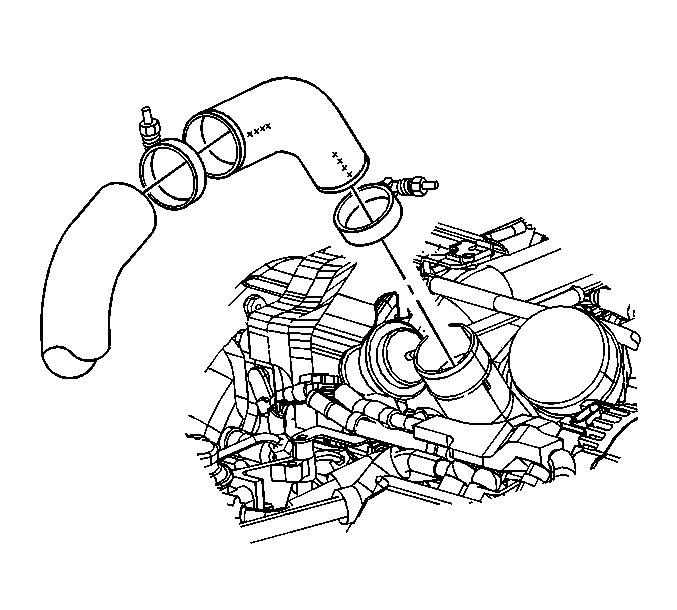
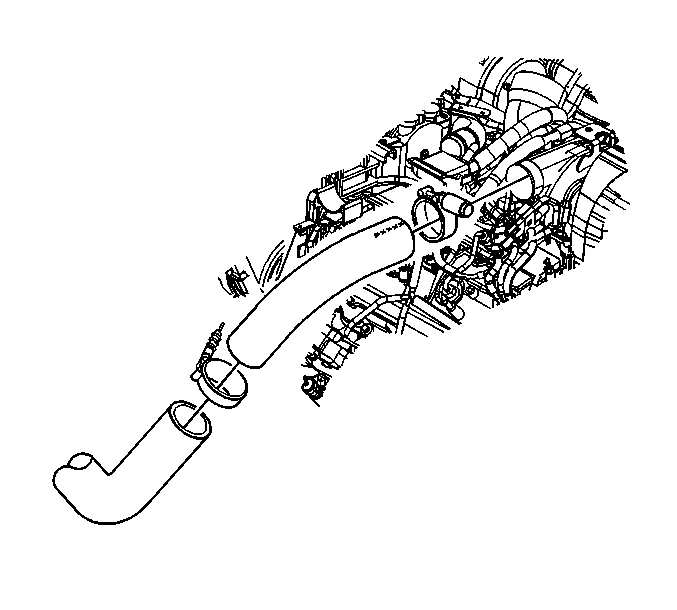
- Remove the charged air cooler outlet duct to intake hose.
- In order to access the left side, loosen the charged air cooler inlet duct to turbocharger clamp.
- Remove the charged air cooler inlet duct to turbocharger cool air outlet hose from the turbocharger.
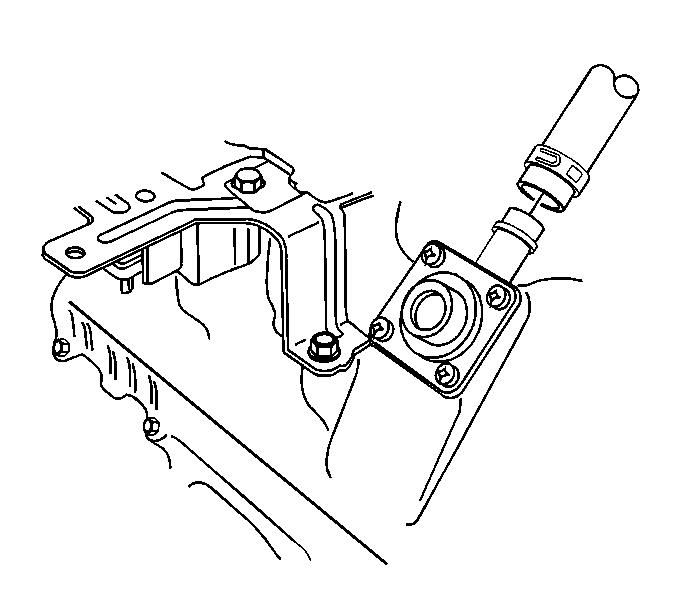
- Disconnect both of the positive crankcase ventilation (PCV) hoses from the valve rocker arm covers.
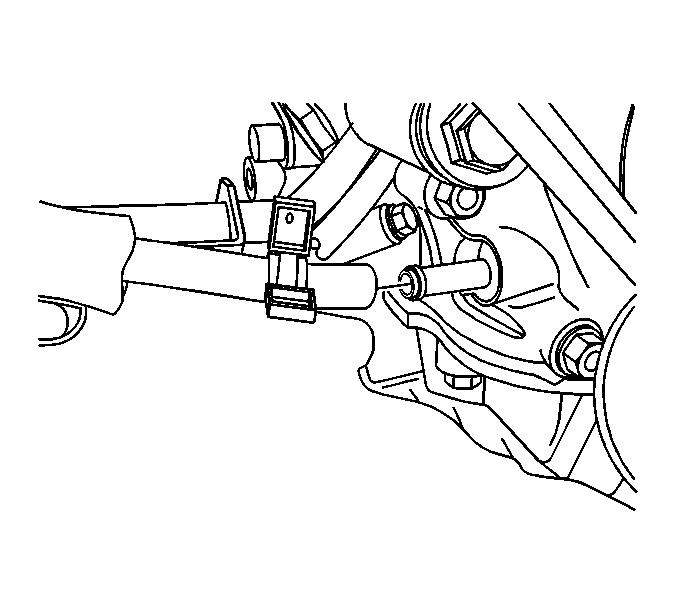
- Disconnect the oil separator oil drain hose form the engine block.
- Remove the oil separator and hoses.
- Inspect the all of the PCV hoses for damage.
- Inspect the oil separator for cracks or damage.
- Replace any parts found with damage.

In order to access the right side, loosen both charged air cooler outlet duct to intake manifold duct hose clamps.
Important: Do not use a screw driver or other tool to pry the hose loose. Loosen the hose by twisting.

Important: Do not use a screw driver or other tool to pry the hose loose. Loosen the hose by twisting.


Installation Procedure
- Connect the oil separator oil drain hose to the engine block.
- Connect both of the PCV hoses to the valve rocker arm covers.
- Install the charged air cooler inlet duct to turbocharger cool air outlet hose to the turbocharger.
- Position the clamp as shown for proper clearance.
- Install the charged air cooler outlet duct to intake manifold duct hose.
- Position the clamps as shown for proper clearance.
- Install the air cleaner assembly. Refer to Air Cleaner Replacement in Engine Controls.


Notice: Refer to Fastener Notice in the Preface section.
Tighten
Tighten the clamp to 6 N·m (53 lb in).

The hose is marked DUCT which connects to the charged air cooler outlet duct.
The hose is marked ENG which connects to the intake manifold duct.
Align the marks on the hose with the alignment marks on the pipe and duct.
Tighten
Tighten the clamps to 6 N·m (53 lb in).
