For 1990-2009 cars only
Removal Procedure
- Raise and suitably support the vehicle with safety stands. Refer to Lifting and Jacking the Vehicle .
- Support the engine using suitable safety stands.
- Disconnect any engine harness clips or line routing on the engine mount .
- Use a suitable engine hoist to lift weight off the engine mounts.
- Remove the engine mount brackets off of the mounts. Refer to Engine Front Mount Bracket Replacement .
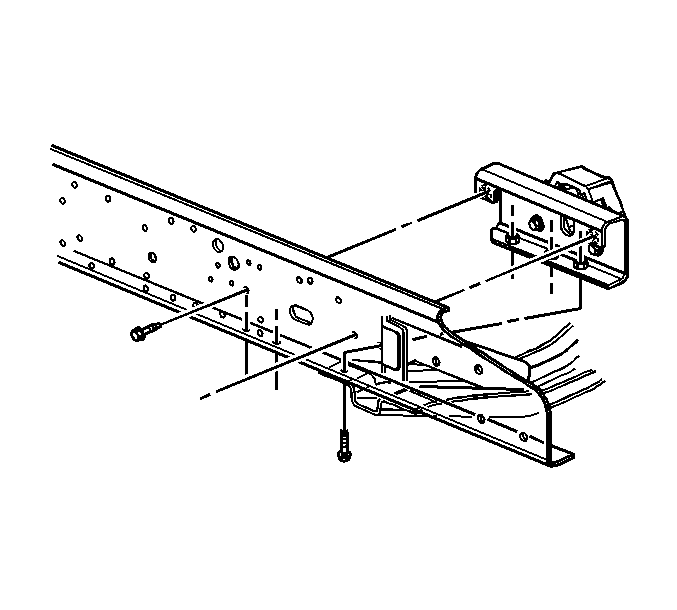
- Remove the engine front mount C channel to frame bolts.
- Remove the engine front mount and outer frame mount from frame.
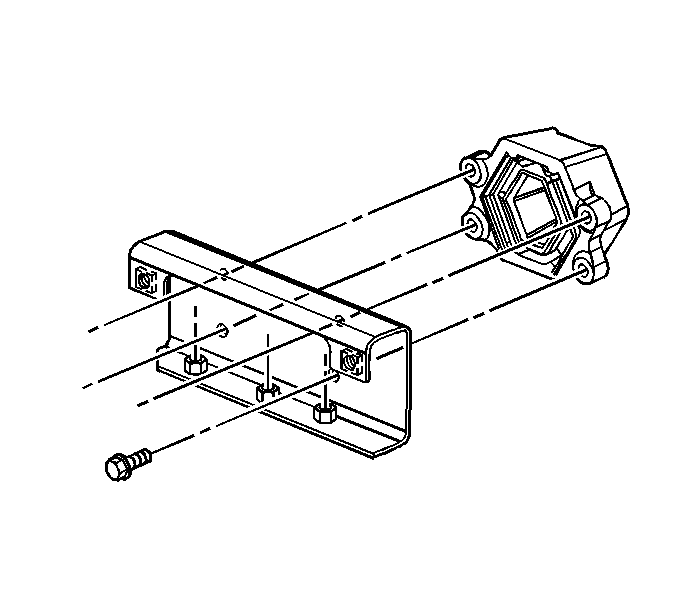
- Remove the engine front mount assembly from the C channel bracket.
Installation Procedure
- Install the engine front mount to the C channel bracket.
- Install the engine front mount to C channel bracket bolts.
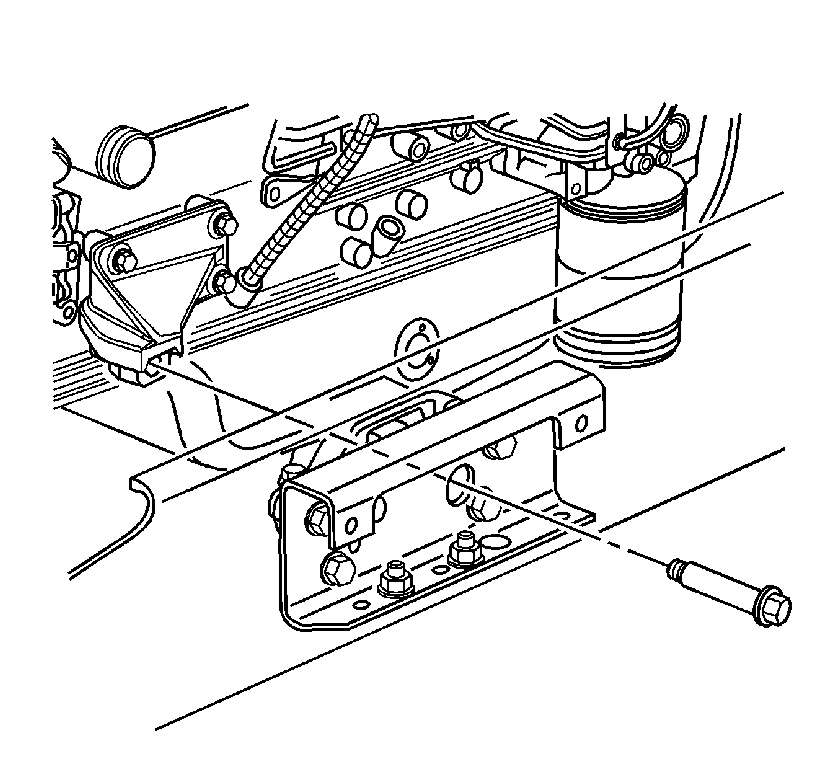
- Install the engine front mount assembly to frame.
- Install the engine front mount C channel to frame bolts.
- Install the engine front mount bracket . Refer to Engine Front Mount Bracket Replacement .
- Lower the engine on to the mounts.
- Install the engine mount brackets to engine mounts.
- Install the engine mount bracket to engine mount bolts.
- Install any engine harness clips or lines routing on the engine mount bracket.
- Remove the engine safety stands and engine hoist.
- Lower the vehicle.
Notice: Refer to Fastener Notice in the Preface section.
Tighten
Tighten the engine front mount to C channel bolts to 160 N·m (120 lb ft).
Tighten
Tighten the engine front mount C channel to frame bolts to 100 N·m (74 lb ft).
Tighten
Tighten the engine front mount bracket-to-engine mount bolts to 240 N·m (178 lb ft).
