For 1990-2009 cars only
Crankshaft Position Sensor Replacement 24X
Removal Procedure
- Disconnect the negative battery cable.
- Remove the serpentine belt.
- Raise the vehicle.
- Remove the right front wheel assembly.
- Remove the right inner fender access cover.
- Remove the crankshaft harmonic balancer retaining bolt.
- Remove the crankshaft harmonic balancer using J 38197-A .
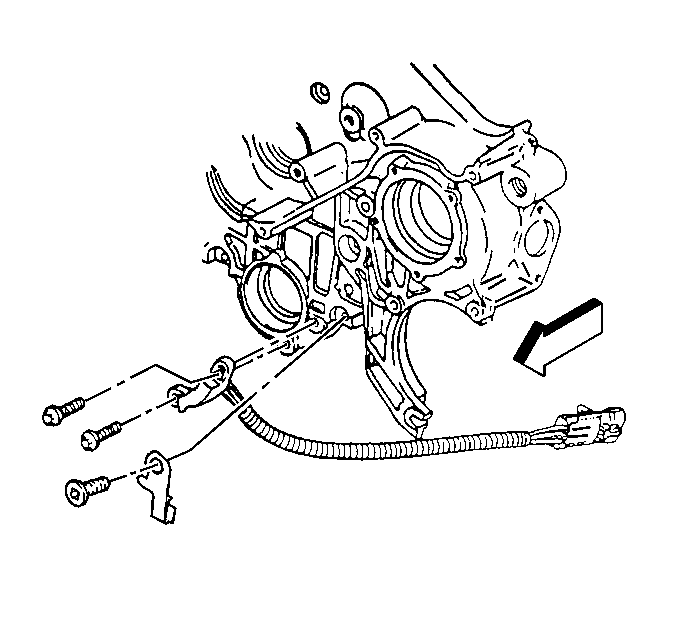
- Remove the 24X crankshaft position sensor harness retaining clip.
- Disconnect the sensor electrical connector.
- Remove the sensor from the block face.

Installation Procedure
- Install the 24X crankshaft position sensor to the block.
- Install the sensor harness retaining clip.
- Reconnect the 24X crankshaft position sensor electrical connector.
- Apply the GM-9985675 sealer to the keyway of the crankshaft balancer.
- Install the balancer on the crankshaft.
- Apply the GM-1052080 thread sealer or equivalent to the threads of the crankshaft balancer bolt.
- Install the right inner fender access cover.
- Install the right front wheel assembly.
- Install the serpentine belt.
- Reconnect the negative battery cable.

Tighten
Torque the bolts to 10 N·m (8 lb. ft.).
Tighten
Torque the crankshaft bolt to 107 N·m (79 lb. ft.).
Tighten
Torque the wheel lug nuts to 140 N·m (104 lb. ft.).
Crankshaft Position Sensor Replacement 7X
Removal Procedure
- Disconnect the negative battery cable.
- Raise the vehicle.
- Remove the intermediate exhaust pipe.
- Remove the rack and pinion heat shield.
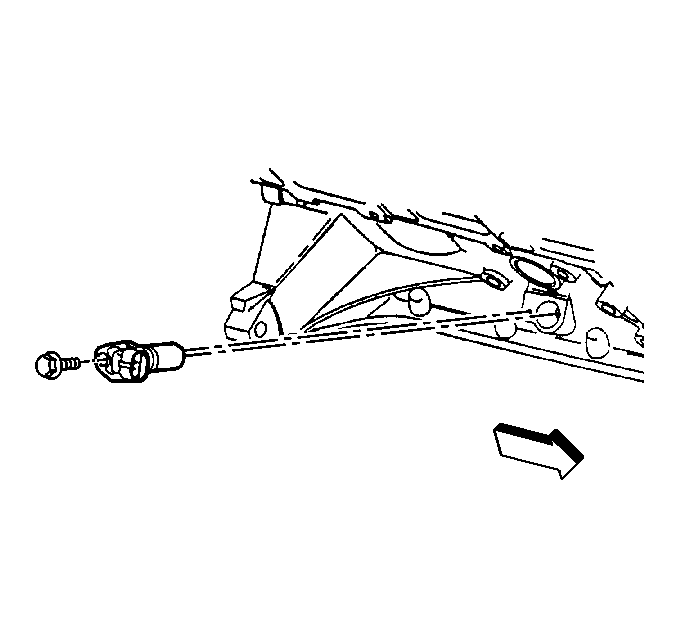
- Disconnect the 7X crankshaft position sensor electrical connector.
- Remove the sensor retainer and bolt assembly.
- Carefully remove the crankshaft position sensor from the block.

Installation Procedure
Important: Before installing the crankshaft sensor, lubricate the new O-ring with clean engine oil.
- Carefully install the 7X Crankshaft position sensor in the block.
- Install the crankshaft sensor retainer and bolt assembly.
- Install the rack and pinion heat shield.
- Install the intermediate exhaust pipe.
- Lower the vehicle.
- Reconnect the negative battery cable.

Tighten
Torque the bolt to 8 N·m (70 lb. in.).
