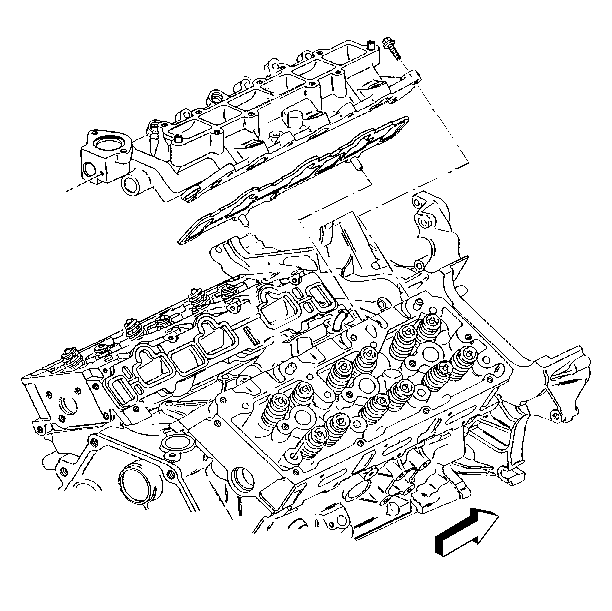
For 1990-2009 cars only
- Install the lower intake manifold gaskets.
- Install the lower intake manifold.
- Install two M8 x 1.25 x 50 mm bolts with washers to the vertical holes in the intake manifold.
- Installing the bolts in the vertical holes of the manifold will align the intake bolt grommet bores with the threaded holes in the cylinder heads. This will minimize the possibility of crossthreading and damage to the grommets resulting in a leak at the intake manifold gaskets.
- Install the lower intake manifold mounting bolts. Insert rubber isolators fully into the manifold mounting flange before tightening any fasteners.
- Draw the lower intake manifold in place by tightening the bolts gradually, starting with the middle bolts and working in a circular pattern. Do not tighten one side or one end fully.
- Remove the two bolts in the vertical holes of the intake manifold.
- Install the heater hose pipe nut at the throttle body.
- Install the fuel rail. Refer to Fuel Injection Fuel Rail Assembly Replacement.
- Install the upper intake manifold. Refer to Upper Intake Manifold Replacement.

Notice: Use the correct fastener in the correct location. Replacement fasteners must be the correct part number for that application. Fasteners requiring replacement or fasteners requiring the use of thread locking compound or sealant are identified in the service procedure. Do not use paints, lubricants, or corrosion inhibitors on fasteners or fastener joint surfaces unless specified. These coatings affect fastener torque and joint clamping force and may damage the fastener. Use the correct tightening sequence and specifications when installing fasteners in order to avoid damage to parts and systems.
Tighten
Tighten the bolts to 7 N·m (62 lb in).
Tighten
Tighten the bolts to 13 N·m (116 lb in).
