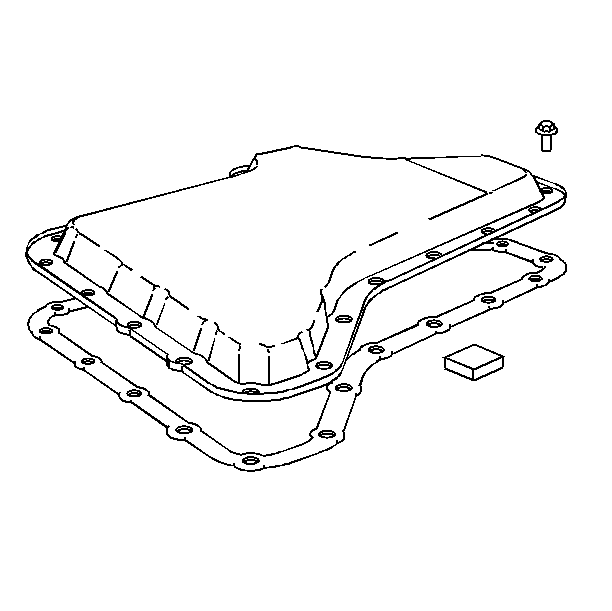
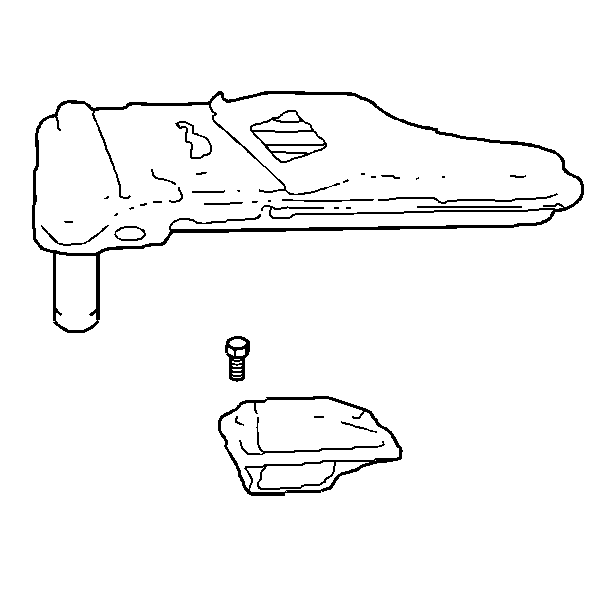
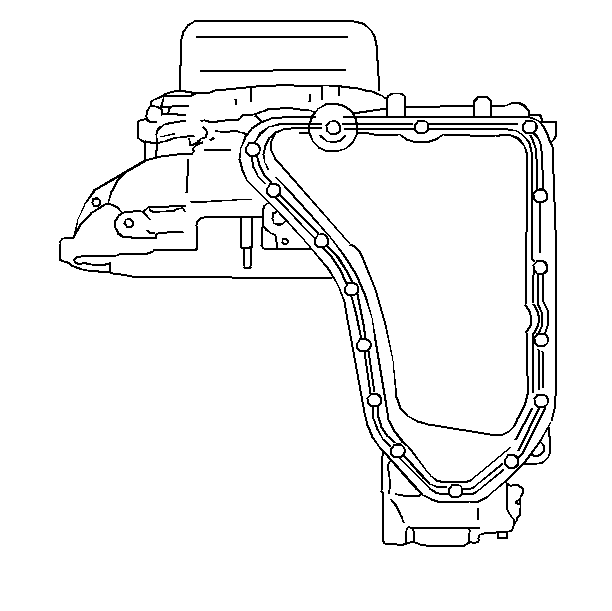
Removal Procedure
Notice: Do not overfill the transmission. Overfilling will result in foaming,
loss of fluid, and possible damage to the transmission.
- Inspect the washers on the bolts if the following procedures must
be done:
| 1.1. | The case side cover removal |
- Install a new washer if the original washer is inverted.
- Raise and suitably support the vehicle. Refer to General Vehicle
Lifting and Jacking in General Information.
- Place the drain pan under the transmission oil pan.
- Remove the oil pan bolts from the following areas:
- Loosen the rear oil pan bolts.
- Allow the fluid to drain.

- Remove the remaining oil
pan bolts.
- Tap the oil pan with a rubber mallet or pry the oil pan loose
with a screwdriver. Refer to
Notice: When removing the oil pan bolts, be careful not to damage the oil pan
sealing surfaces. Such damage may result in oil leaks in this area.
.
- Remove the pan.
- Remove the gasket.
- Remove the oil filter.

- Remove the following components
for the Hydra-Matic 4T60:
| 13.2. | The lip ring seal pressed in the case, only if replacement is
necessary. |

- Inspect the oil pan and
the screen for the following foreign materials:
| 14.2. | Clutch facing material |
- Determine the source of the contamination.
- Correct the source of the contamination.
- Inspect the pan flange for distortion.
- Straighten the pan flange, if necessary.
-
Notice: If the case and oil pan flanges are not dry and free of any oil film,
leakage may result.
. Clean the following components with
a solvent:
| 19.2. | The oil pan gasket surfaces |
| 19.2. | Clutch facing material |
- Air dry the components.
- Inspect that all old gasket material is gone.
- Clean the screen with a solvent.
- Clean the oil pan with a solvent.
- Blow-dry both components.
Installation Procedure
- Install the new lip ring seal into the case for the Hydra-Matic
4T60-E, if the seal is removed.

- Install the new filter.

- Use a new gasket and GM
Thread Locker P/N 12345382 in order to install the oil pan.
Tighten
Tighten the bolts to 17 N·m (13 lb ft) for
the Hydra-Matic 4T60-E.
Notice: Use the correct fastener in the correct location. Replacement fasteners
must be the correct part number for that application. Fasteners requiring
replacement or fasteners requiring the use of thread locking compound or sealant
are identified in the service procedure. Do not use paints, lubricants, or
corrosion inhibitors on fasteners or fastener joint surfaces unless specified.
These coatings affect fastener torque and joint clamping force and may damage
the fastener. Use the correct tightening sequence and specifications when
installing fasteners in order to avoid damage to parts and systems.
- Lower the vehicle.
- Fill the transaxle with the proper quantity of DEXRON III.
- Place the gear selector in Park.
- Start the engine.
- Run the engine at slow idle.
- Inspect the fluid level.
- Correct the level as necessary.
- Inspect the oil pan for leaks.


