Range Selector Lever Cable Replacement Console
Removal Procedure
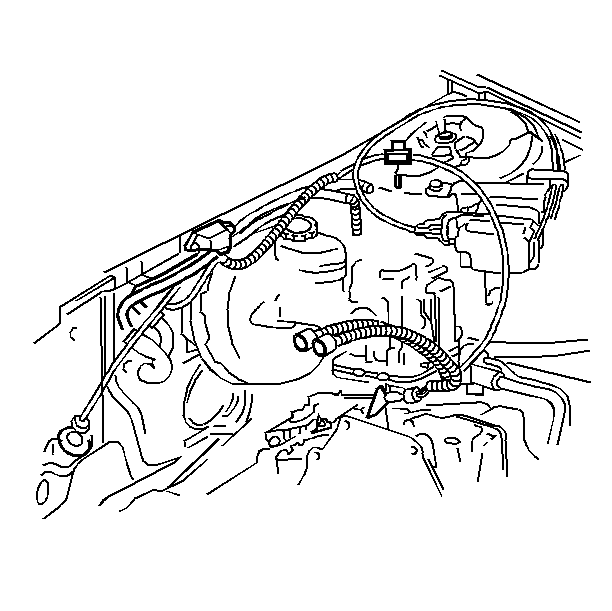
- Remove the air cleaner duct.

- Disconnect the cable from the transmission lever.
- Disconnect the cable from the bracket.

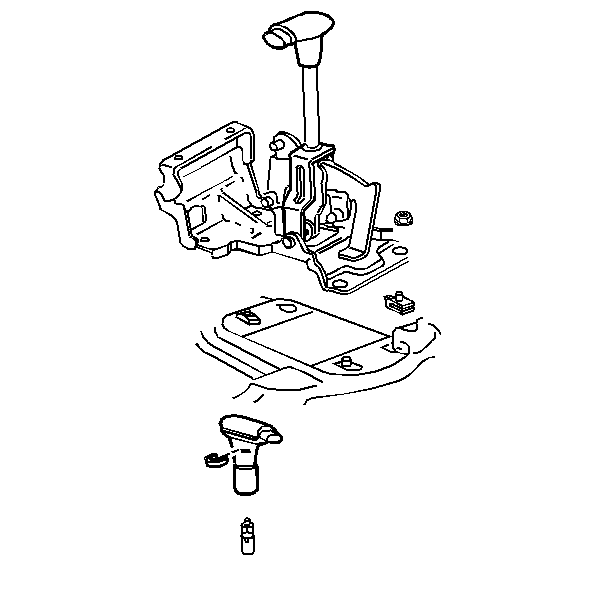
- Remove the shift handle.
- Refer to Instrument Panel and Gauges in Electrical in order to
remove the following components:
- Disconnect the following components from the console:
| 6.1. | The cable retaining clips |
- Refer to Instrument Panel and Gauges in Electrical in order to
remove the following components:
| 7.1. | The right sound insulator |
| 7.2. | The left sound insulator |
| 7.3. | The shroud side panels |
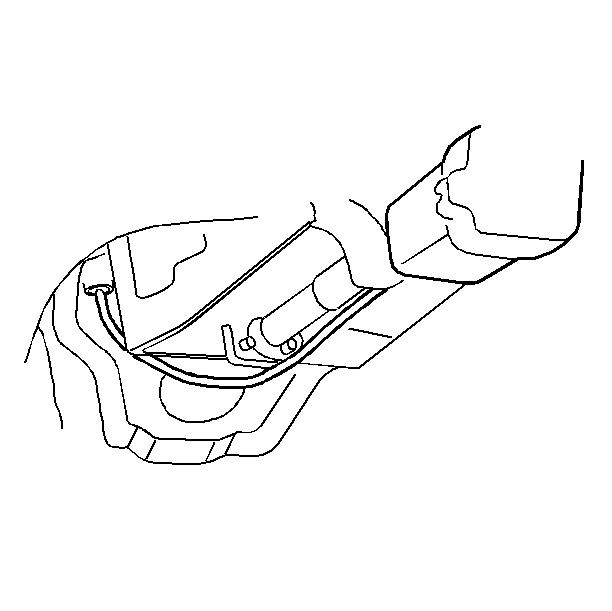
- Pull the carpet back in order to expose the cable.
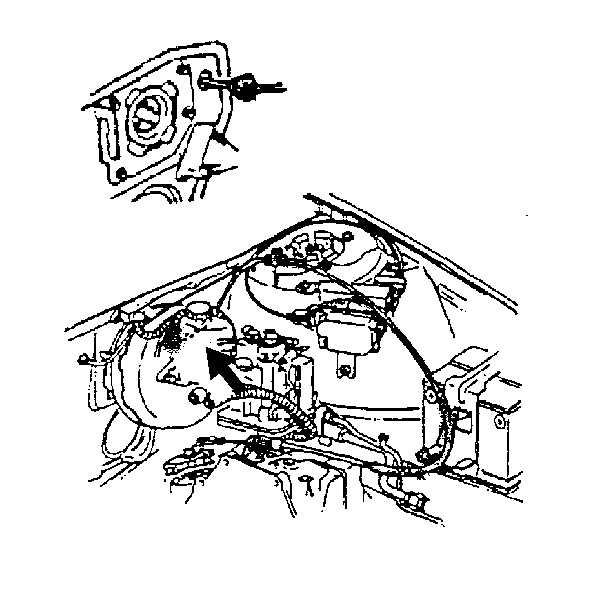
- Disconnect the cable through the cowl hole.
Installation Procedure

- Properly route the cable.
- Properly position the cable.
- Refer to Instrument Panel and Gauges in Electrical in order to
install the following components:
| 3.2. | The right sound insulators |
| 3.3. | The left sound insulators |
| 3.4. | The shroud side panels |
- Install the cable at the following components:
- Refer to Instrument Panel and Gauges in Electrical in order to
install the following components:

- Install the shift handle.
- Install the cable at the following components:
| 7.1. | The transmission lever |
- Install the air cleaner duct.
Range Selector Lever Cable Replacement Column
Removal Procedure
- Remove the air cleaner.

- Disconnect the cable from the following components:
| 1.1. | The transmission lever |
| 1.2. | The transmission bracket |
- Remove the left sound insulator. Refer to Instrument Panel and
Gauges in Electrical.
- Remove the steering column trim panel.

- Disconnect the cable from the following components:
| 4.1. | The shift control lever |
| 4.2. | The steering column bracket |
- Remove the cable through the cowl hole.
Installation Procedure

- Properly route the cable.
- Properly position the cable.

- Connect the cable to the following components:
| 3.1. | The steering column bracket |
| 3.2. | The shift control lever |
- Install the steering column trim panel.
- Install the left sound insulator. Refer to Instrument Panel and
Gauges in Electrical.
- Install the cable to the following components:
| 6.2. | The transmission lever |
| 6.3. | The transmission bracket |
- Install the air cleaner.
- Adjust the cable.


