Caution: When replacing stationary windows, use Urethane Adhesive Kit GM P/N 12346392 (Canadian P/N 10952983), or a urethane adhesive system meeting GM Specification GM3651G, to maintain original installation integrity. Failure to use the urethane adhesive kit will result in poor retention of the window which may allow unrestrained occupants to be ejected from the vehicle resulting in personal injury.
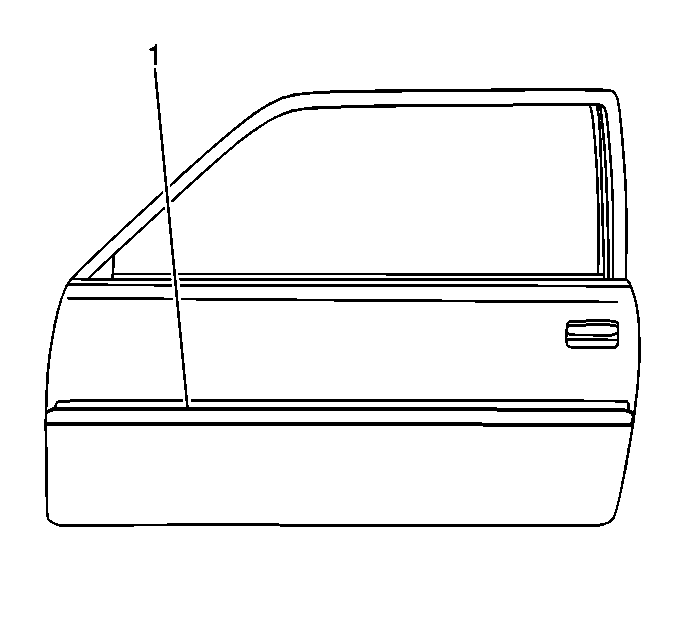
.Adhesive tape attaches the following components to the body panels:
| • | The body side moldings |
| • | The emblems |
| • | The name plates |
Ensure that the following conditions exist before you replace any of the above components:
| • | The surface temperature measures 21°-32°C (70°-90°F). |
| • | The panel surface is clean. |
| • | The panel is free of wax or oily film. |
Adhesive Body Side Moldings End Loose
Use the following method in order to attach loose molding ends:
- Wash the affected area with Liquid Wash and Wax GM P/N 1052870 or equivalent.
- Wipe the panel and the adhesive side of the molding using a clean cloth and one of the following solutions:
- Apply a length of masking tape to the vehicle for a molding guide, as needed. Use a straightedge, as needed.
- Apply adhesive to the back of the molding.
Wipe the area dry.
| • | Varnish makers and painters (VM&P) naphtha |
| • | Isopropyl alcohol |
Press the molding into place.
If you use adhesive GM P/N 1052621 or equivalent, apply constant pressure to the molding for 30 seconds or until a firm bond is made.
Adhesive Body Side Molding Completely Removed
Use the following method in order to install moldings that are removed from the vehicle:
- Thoroughly wash the repair area with Liquid Wash and Wax GM P/N 1052870 or equivalent.
- Remove all of the adhesive from the body panel and the back of the molding.
- Mark the proper position of molding with masking tape.
- Warm the body panel with a heat lamp or heat gun to a minimum temperature of 21°C (70°F).
- Apply a piece of gray double-coated foam tape GM P/N 06380 or equivalent to the molding.
- Align the molding to the tape guideline on the body panel.
- Peel the backing from the end of the molding.
- Press the molding firmly into place while you continue to remove the backing.
- Hand roll the molding to the body in order to ensure proper adhesion.
Important: The following procedure is for moldings that are not damaged. Do not use the following procedure if the molding is dented or pried from the vehicle.
Wipe the area dry.
Use varnish makers and painters (VM&P) naphtha or isopropyl alcohol.

Use the adjacent moldings as a guide.
