For 1990-2009 cars only
Instrument Panel Air Outlet Vent Replacement Left and Center
Removal Procedure
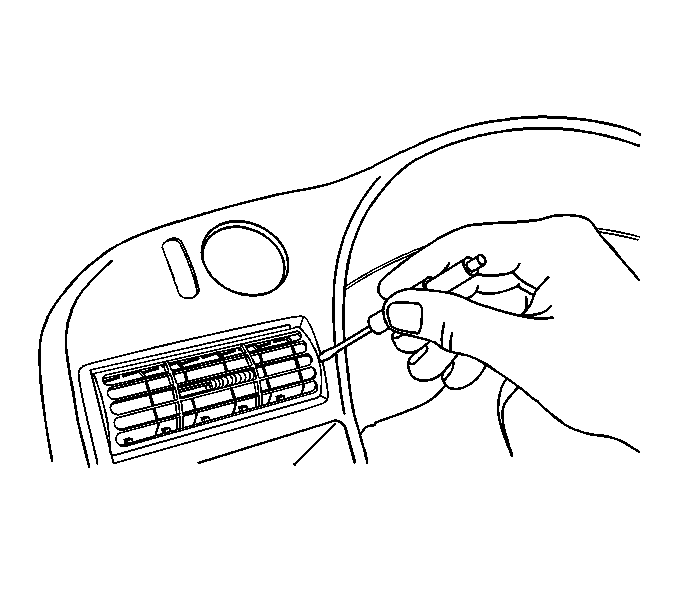
- Use a flat-bladed tool in order to press the instrument panel air outlet vent towards one side of the opening in the IP cluster trim plate.
- While pressing the air outlet vent to one side of the opening, carefully pry the instrument air outlet vent towards you.
- Remove the IP air outlet vent from the instrument panel cluster trim plate.
Installation Procedure
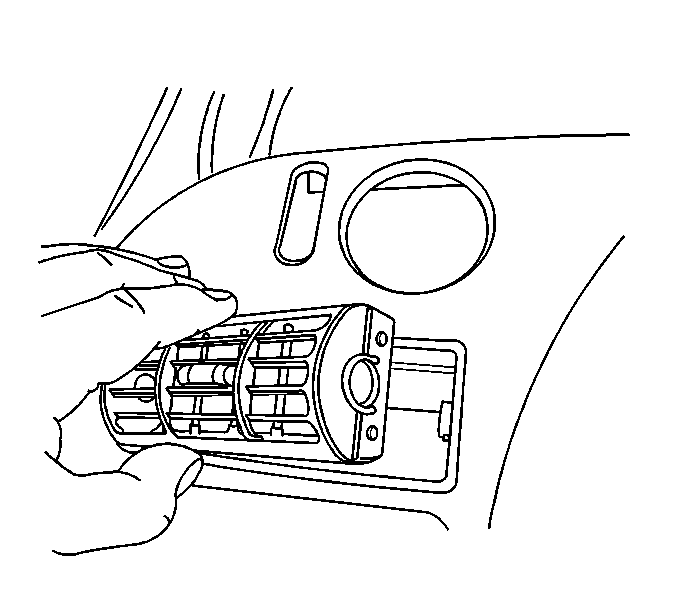
- Position the instrument panel air outlet vent to the opening in the IP cluster trim plate.
- Install the instrument panel air outlet vent pressing the air outlet vent into the instrument panel cluster trim plate until fully seated.

Instrument Panel Air Outlet Vent Replacement Right
Removal Procedure
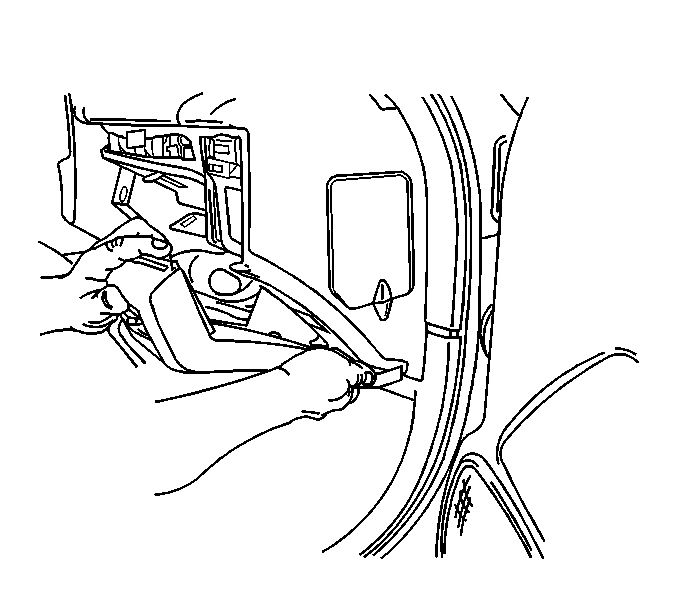
- Remove the right instrument panel trim plate. Refer to Instrument Panel Trim Panel Replacement - Right Side .
- Open the instrument panel compartment door.
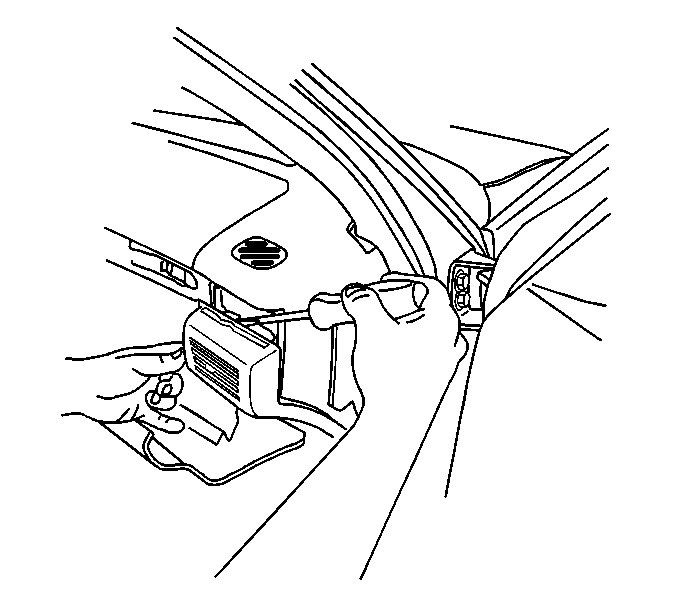
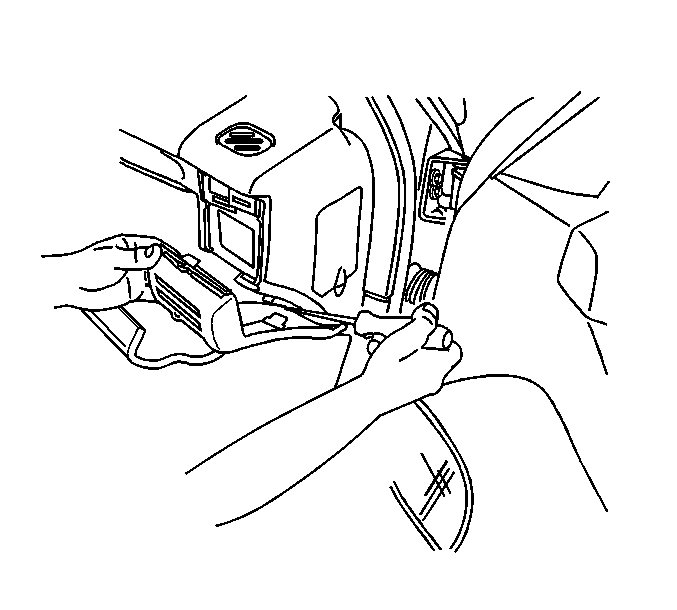
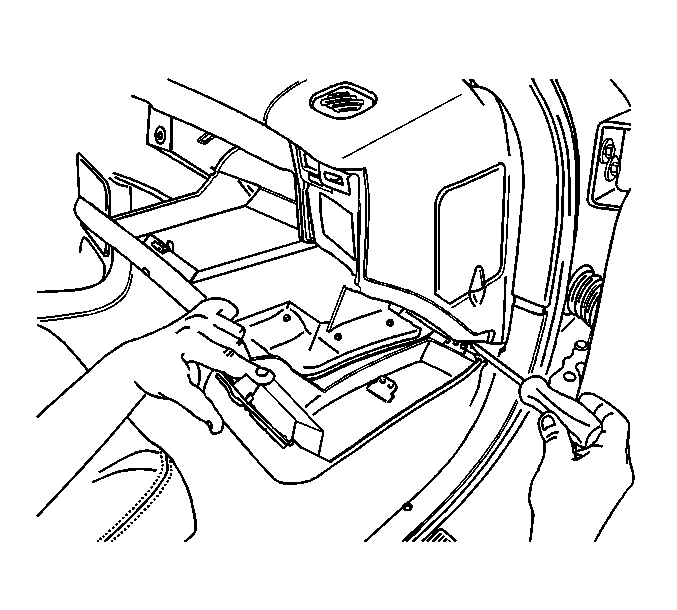
- Remove the RH instrument panel air outlet vent panel, using a small flat-bladed tool to push the air outlet vent panel rearward in order to release the top retainer.
- Grasp the RH instrument panel air outlet vent panel in the middle and pull the air outlet vent panel rearward in order to release the middle retainer using a small flat-bladed tool.
- Grasp the bottom of the RH instrument panel air outlet vent panel and carefully pull the panel straight out in order to release the final retainer using a small flat-bladed tool.
- Remove the RH instrument panel air outlet vent panel from the instrument panel.
Installation Procedure
- Position the RH instrument panel air outlet vent panel retainers to the slots in the instrument panel.
- Install the RH instrument panel air outlet vent panel starting at the bottom, press the panel straight in and working upward pressing in the retainers until fully seated.
- Close the instrument panel compartment door.
- Install the right instrument panel trim plate. Refer to Instrument Panel Trim Panel Replacement - Right Side .
