For 1990-2009 cars only
Removal Procedure
- Remove the hood latch. Refer to Hood Primary and Secondary Latch Replacement .
- Remove the air cleaner. Refer to Air Cleaner Assembly Replacement in Engine Controls.
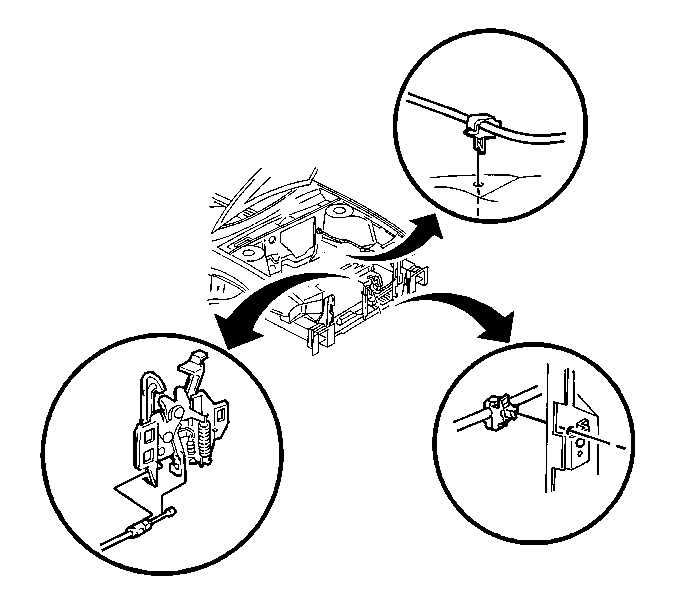
- Disconnect the hood release cable from the engine compartment.
- Remove the left instrument panel insulator. Refer to Instrument Panel Insulator Replacement in Instrument Panel, Gauges and Console.
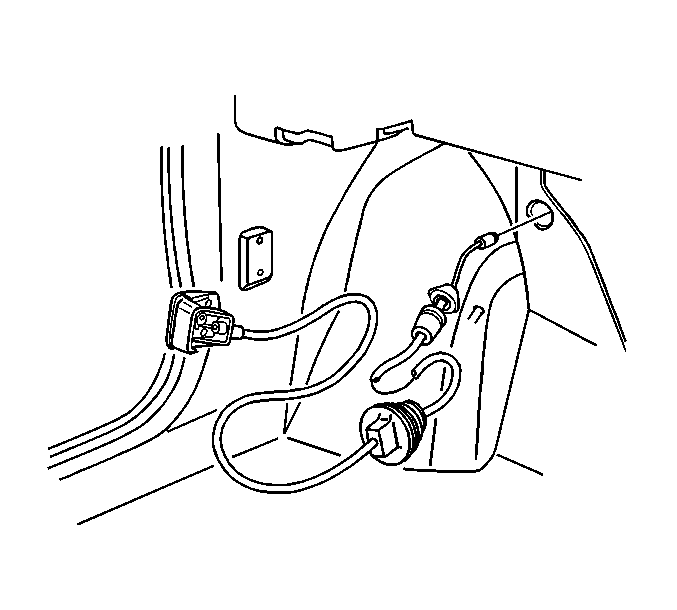
- Reposition the carpet in order to gain access to the cable.
- Tie wire or string to the end of the hood release cable in order to install a new hood release cable.
- Remove the hood release cable from the dash panel by turning the grommet counterclockwise and pulling the grommet and the hood release cable through the hole in the dash panel.
- Remove the hood release cable from the hood latch release handle. Refer to Hood Primary Latch Release Cable Handle Replacement .


Important: Ensure the end of the wire or string remains in the engine compartment.
Installation Procedure
- Tie a wire or string to the hood release cable.
- Feed the hood release cable through the hole in the dash panel.
- Turn the hood release cable grommet clockwise until fully seated.
- Reposition the carpet.
- Install the hood release cable to the hood release handle. Refer to Hood Primary Latch Release Cable Handle Replacement .
- Install the left instrument panel insulator. Refer to Instrument Panel Insulator Replacement in Instrument Panel, Gauges and Console.
- Connect the hood release cable to the engine compartment.
- Install the air cleaner. Refer to Air Cleaner Assembly Replacement in Engine Controls.
- Install the hood release cable to the hood latch. Refer to Hood Primary and Secondary Latch Replacement .


