Removal Procedure
Caution: Refer to Approved Equipment for Collision Repair Caution in the Preface section.
Caution: Refer to Safety Glasses Caution in the Preface section.
Caution: Refer to Foam Sound Deadeners Caution in the Preface section.
- Remove the cargo liner. Refer to Cargo Box Liner Replacement .
- Note the location and remove the sealers and anti-corrosion materials from the repair area, as necessary. Refer to Anti-Corrosion Treatment and Repair .
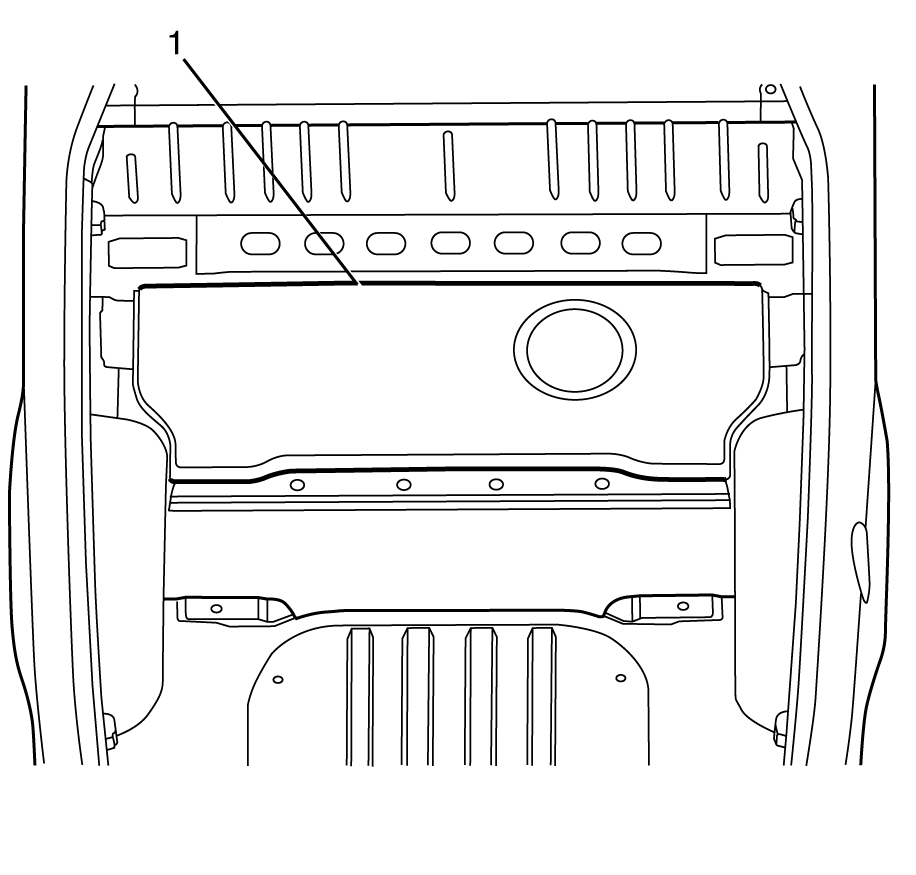
- Using a suitable tool cut the urethane bead (1).
- Remove the load floor from the vehicle.
Important: Note the location of the factory adhesive and sealants for installation of the load floor panel.

Important: The load floor panel is secured by urethane and requires cutting. Lift one corner of the load floor panel and using a suitable tool cut the urethane bead whilst lifting the load floor panel.
Installation Procedure
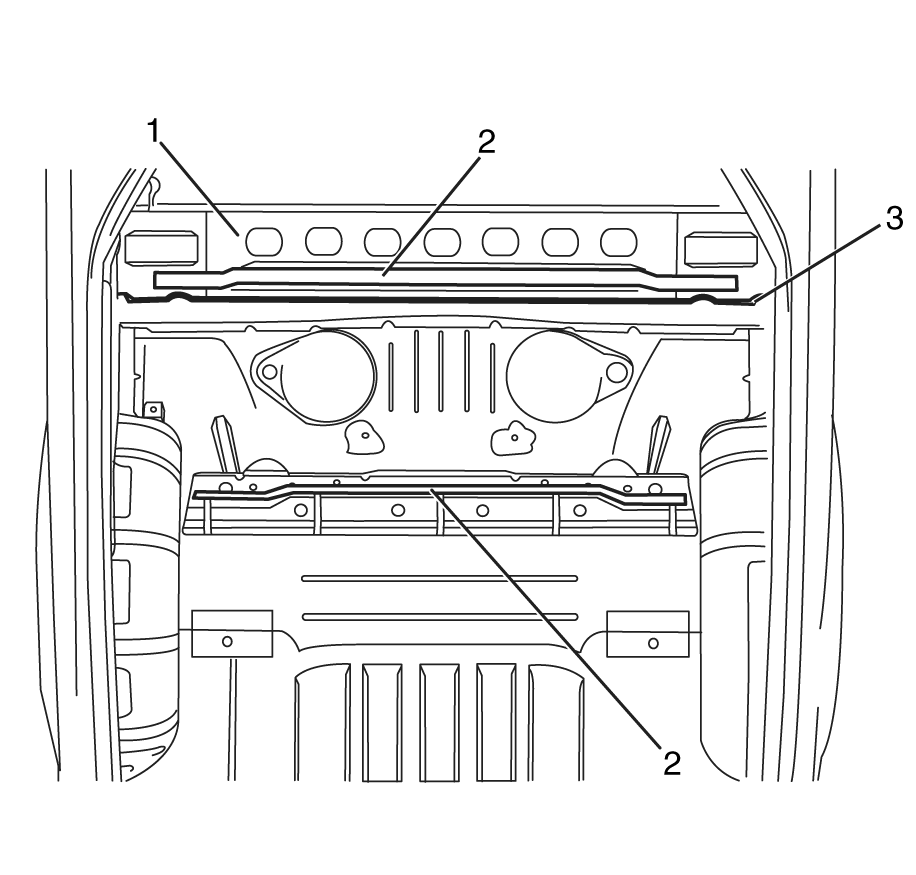
- Inspect the seal (3) on the seat back panel (1). If the sealing area is damaged apply primary sealer along the rear edge of the seat back panel and crossmember (3).
- Clean and prepare the mating surfaces on the load floor panel.
- Apply a bead of urethane adhesive (1) onto the underside the load floor support panel (3).
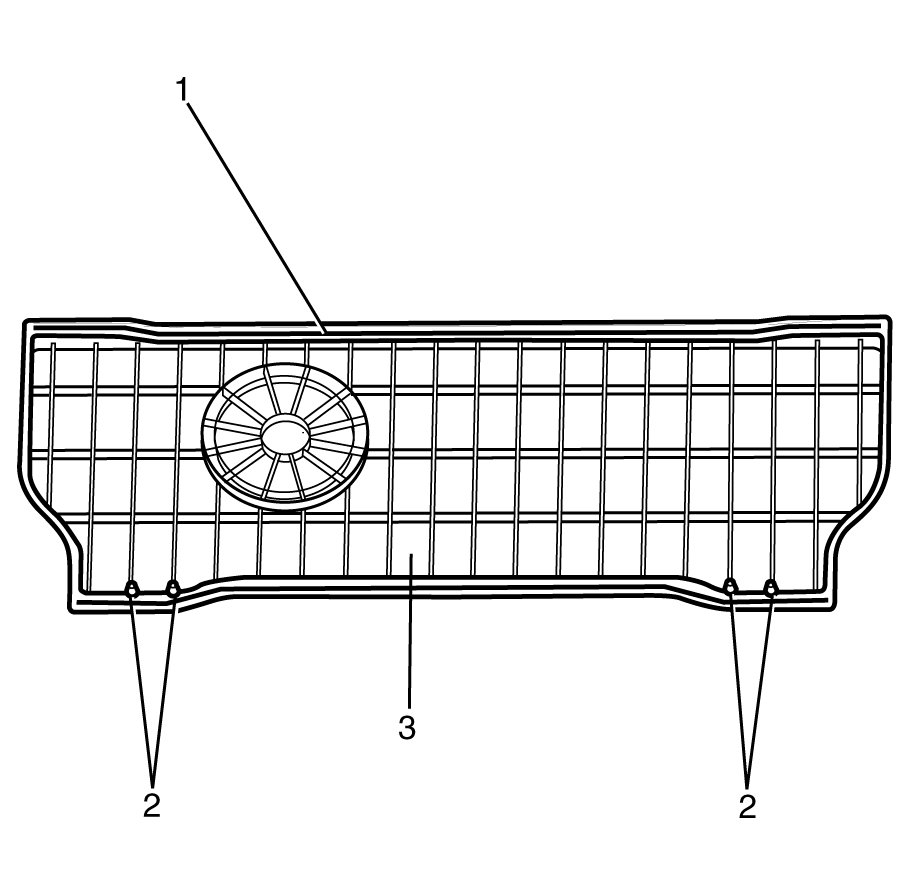
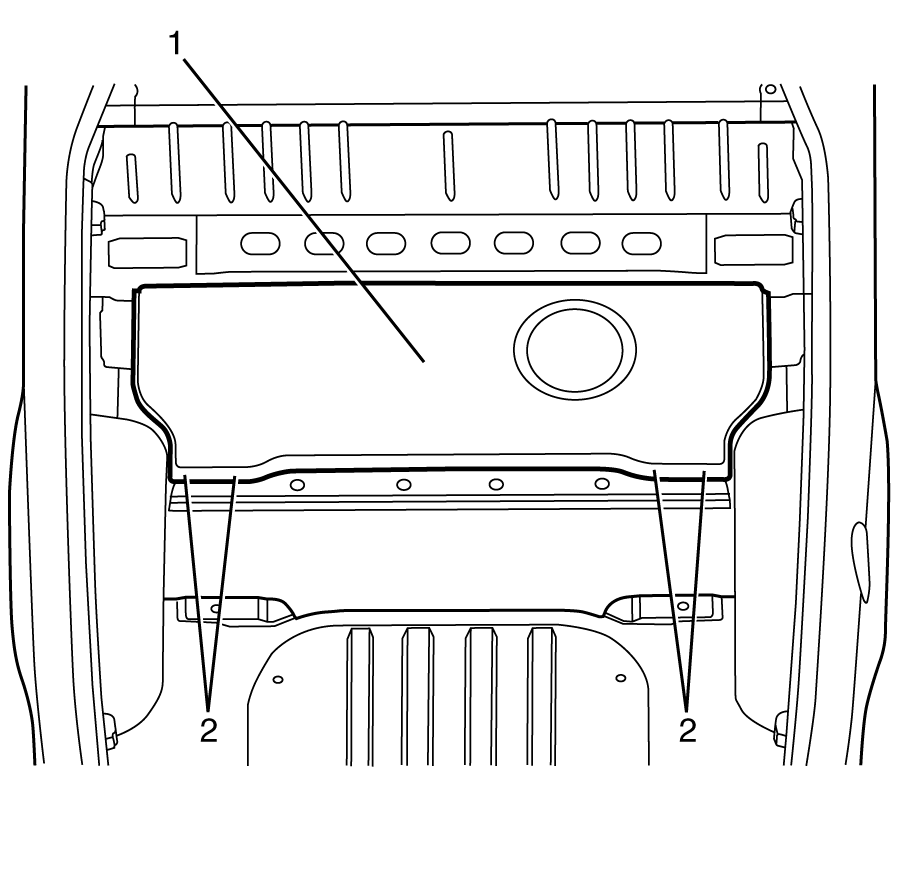
- Align the datum holes (2) and firmly press the load floor panel (1) into place until the urethane adhesive is firmly in contact with the rear floor.
- Apply the sealers and anti-corrosion materials to the repair area, as necessary. Refer to Anti-Corrosion Treatment and Repair .
- Install the cargo liner. Refer to Cargo Box Liner Replacement .

Important: Ensure the mating surfaces (2) are clean before installing the load floor panel.

Important: Follow the adhesive manufacturer's instructions during the assembly process. Heat must be applied as per the manufacturer's specifications to cure the adhesives and to expand the sealing baffles.
Important: Take note of the datum hole (2) to assist in installation of the load floor panel (3).

Important: Position the rear load floor support panel aligning the datum holes (2) in the rear floor.
Important: All joints and welds must be checked for water leaks before the vehicle is fully reassembled.
