For 1990-2009 cars only
Removal Procedure
- Raise and support the vehicle. Refer to Lifting and Jacking the Vehicle in General Information.
- Remove the rear wheels. Refer to Tire and Wheel Removal and Installation in Tires and Wheels.
- Remove the muffler assembly. Refer to Muffler Replacement in Engine Exhaust.
- Remove the lower control arms. Refer to Rear Axle Lower Control Arm Replacement .
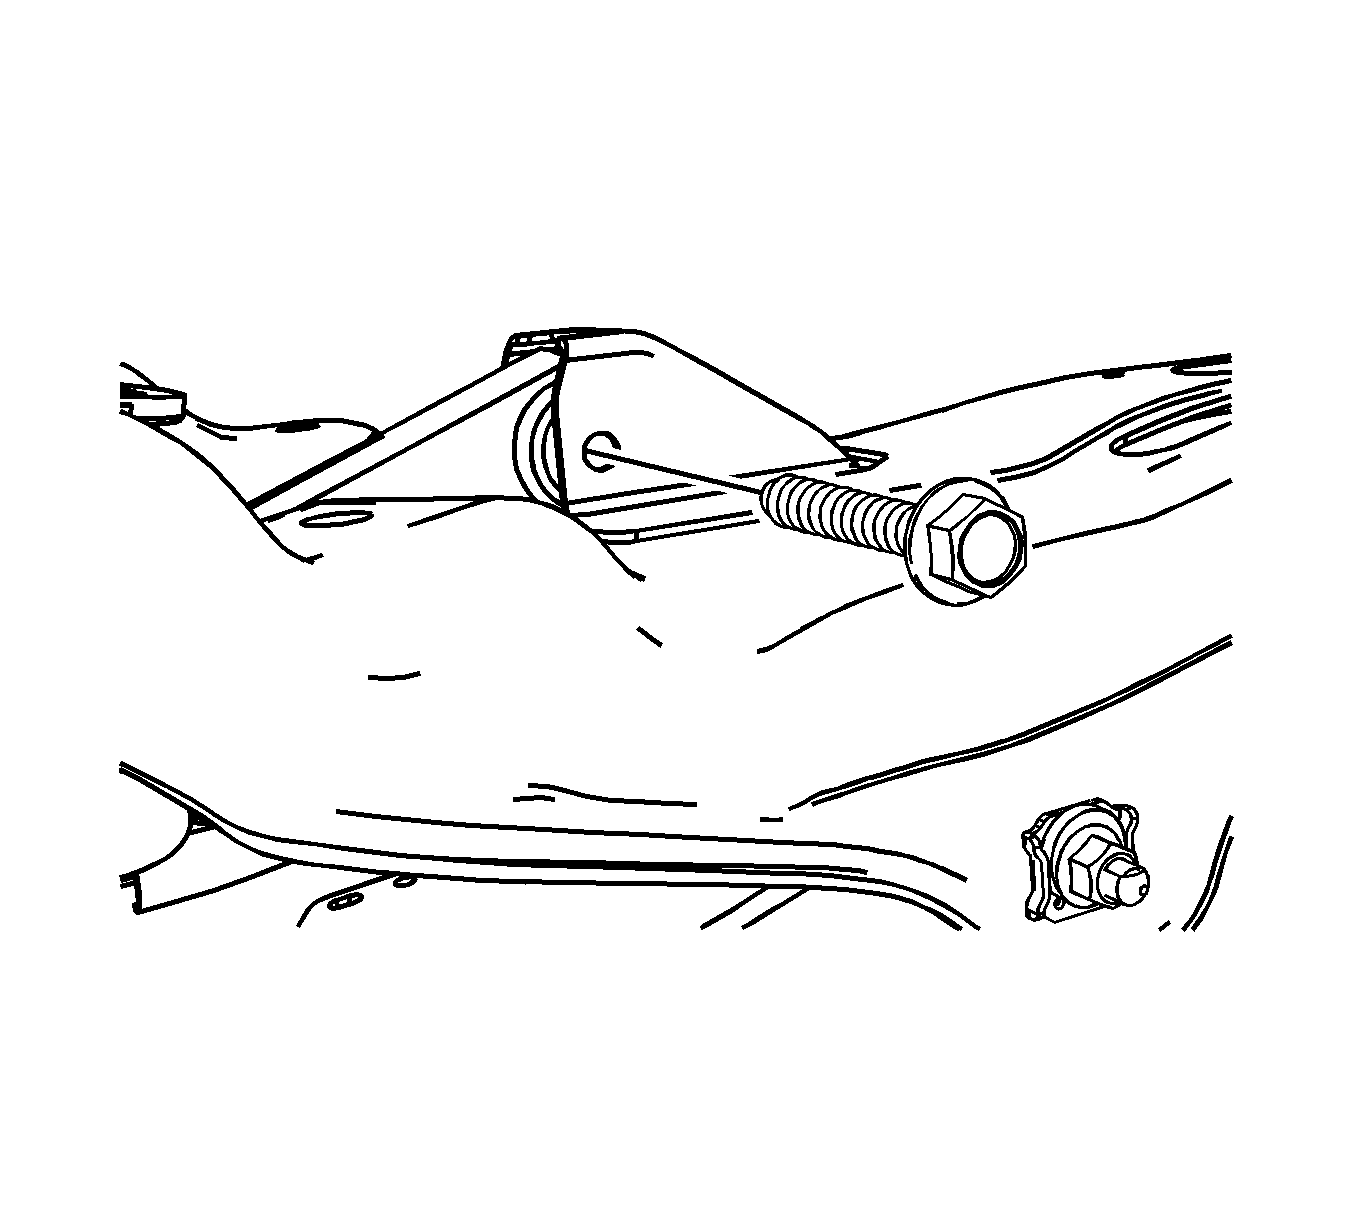
- Remove the upper control arm to support assembly bolts and nuts.
- Remove the toe links. Refer to Toe Link Replacement .
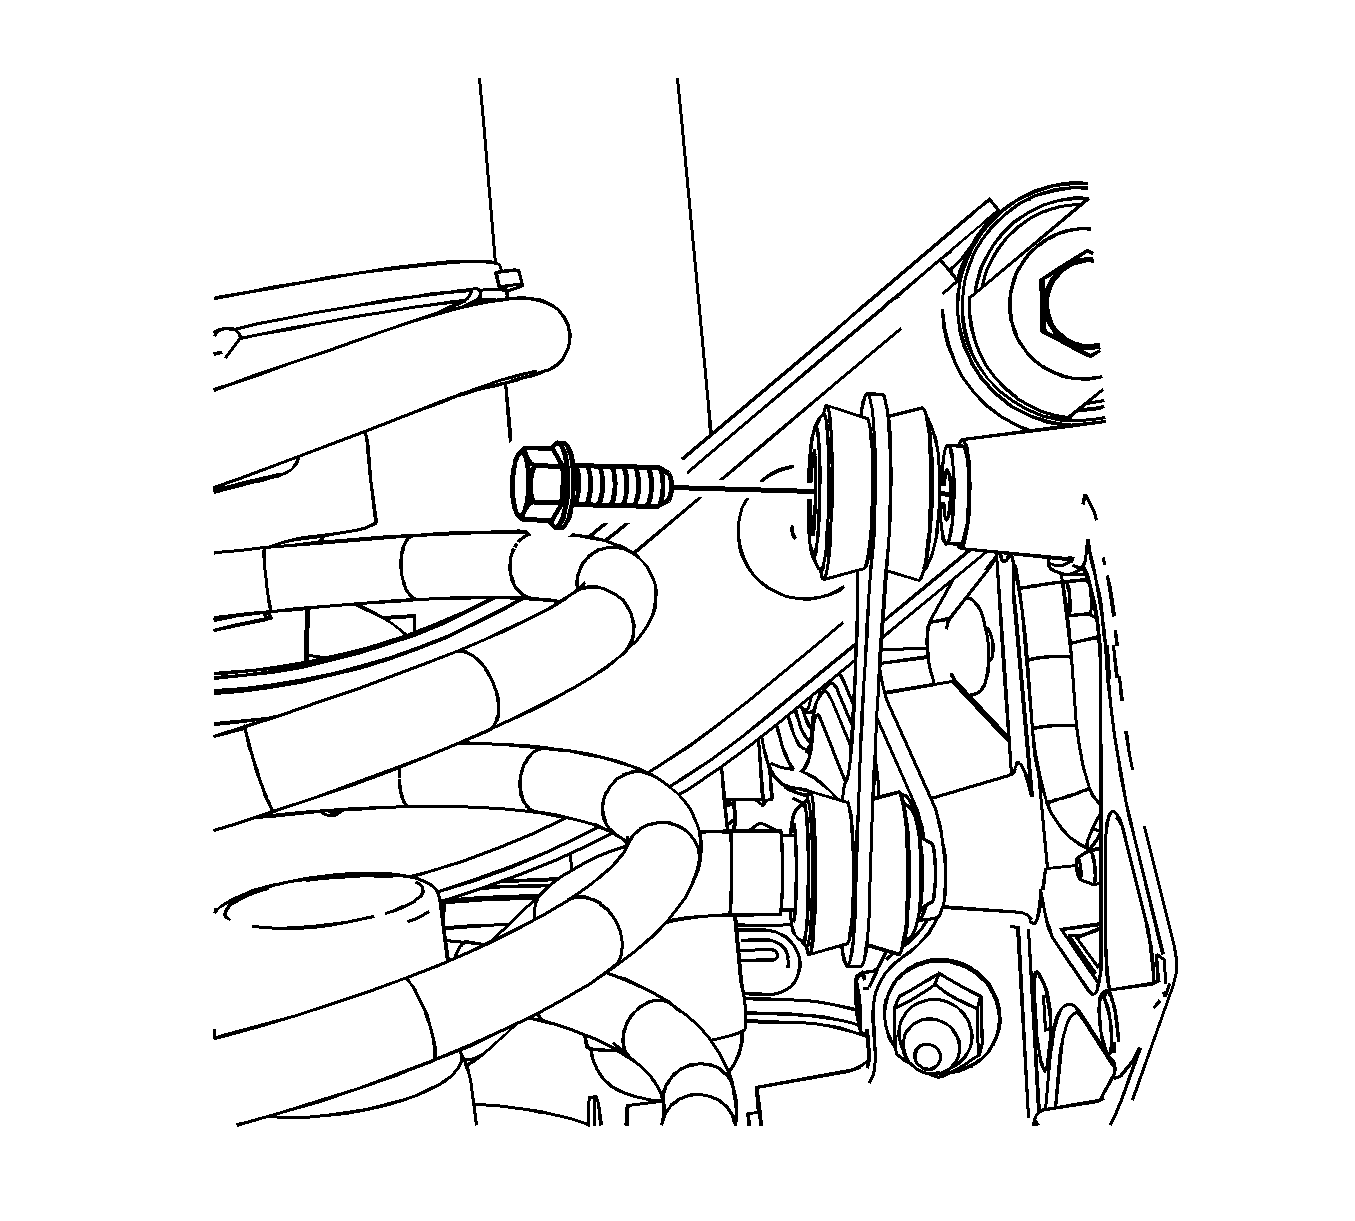
- Remove the stabilizer shaft to knuckle bolts.
- Disconnect the vehicle wiring harness from the clips on the support assembly.
- Using a suitable jack stand, support the support assembly.
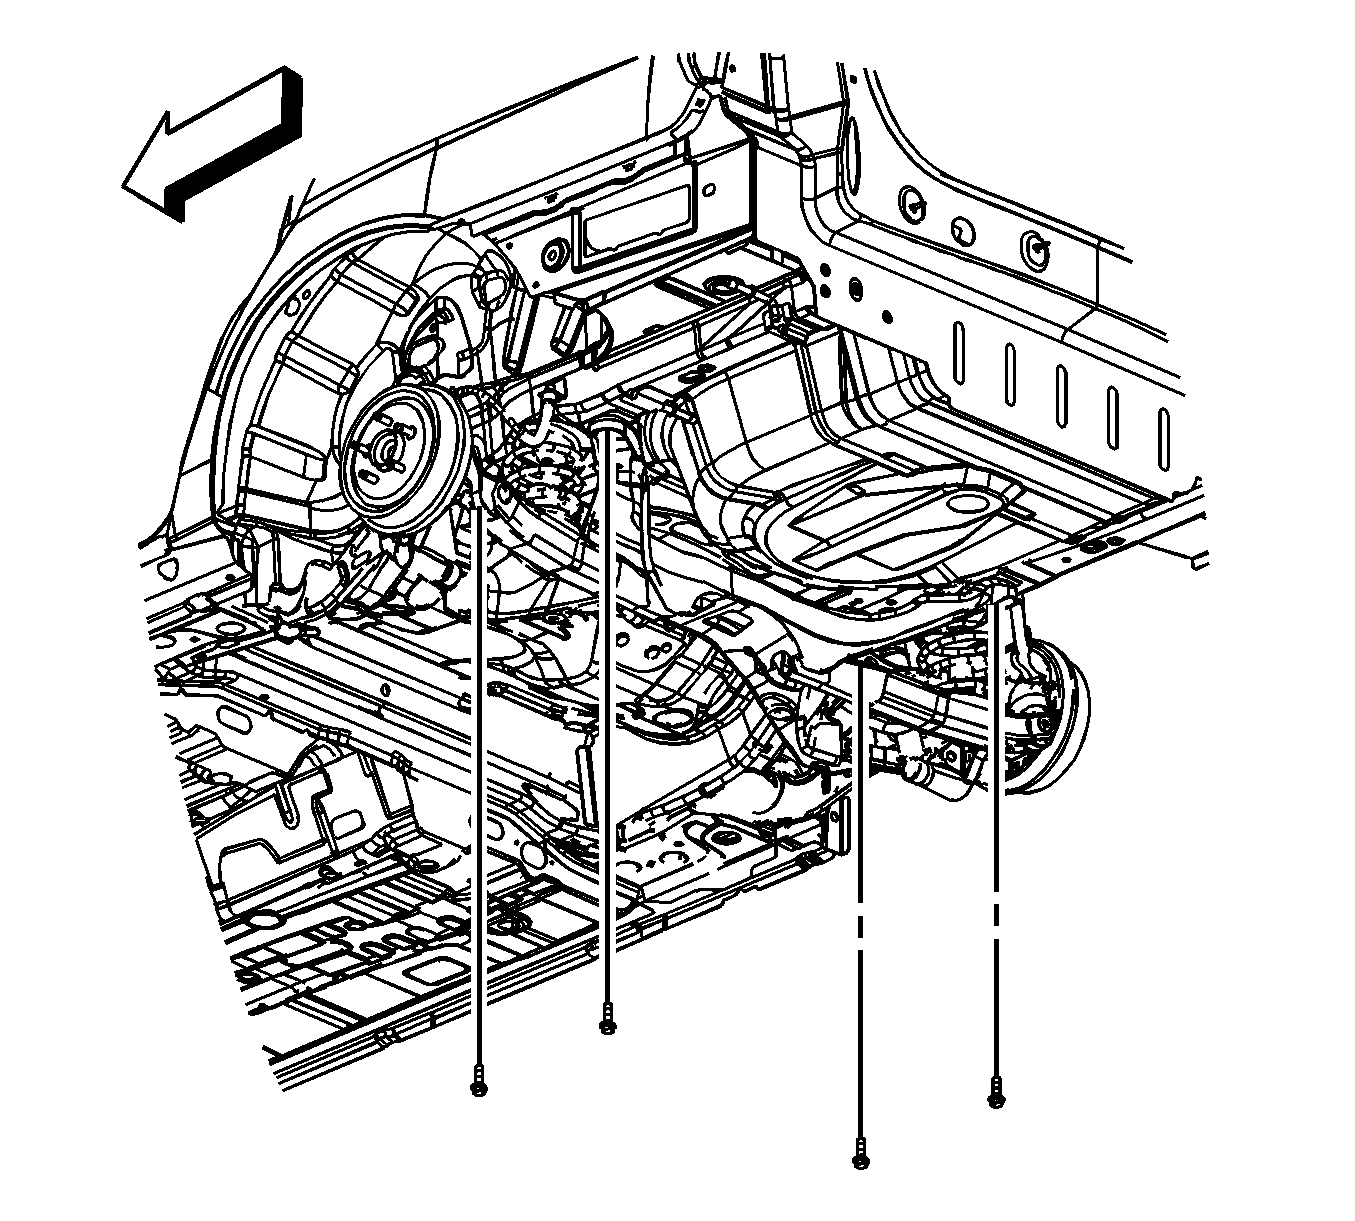
- Remove the support assembly to body bolts.
- With the aid of an assistant, remove the support assembly from the vehicle.
- Remove the stabilizer shaft. Refer to Stabilizer Shaft Replacement .


Installation Procedure
- Install the stabilizer shaft. Refer to Stabilizer Shaft Replacement .
- With the aid of an assistant, position the support assembly to the vehicle.
- Using a suitable jack stand, support the support assembly.
- Install the support assembly to body bolts.
- Remove the jack stand.
- Install the muffler assembly. Refer to Muffler Replacement in Engine Exhaust.
- Connect the vehicle wiring harness to the clips on the support assembly.
- Install the stabilizer shaft to knuckle bolts.
- Install the toe links. Refer to Toe Link Replacement .
- Install the upper control arm to support assembly bolts and nuts.
- Install the lower control arms. Refer to Rear Axle Lower Control Arm Replacement .
- Install the rear wheels. Refer to Tire and Wheel Removal and Installation in Tires and Wheels.
- Lower the vehicle.
- Adjust the rear alignment. Refer to Wheel Alignment Measurement in Wheel Alignment.
Notice: Refer to Fastener Notice in the Preface section.

Tighten
Tighten the bolts to 100 N·m (74 lb ft) plus 30 degrees.

Tighten
Tighten the bolts to 50 N·m (37 lb ft).

Tighten
Tighten the bolts and nuts to 60 N·m (44 lb ft) plus an additional 60 degrees.
