Tools Required
J 43655 Sprocket Holding Tool
Removal Procedure
- Remove the camshaft cover. Refer to Camshaft Cover Replacement .
- Remove the upper timing chain guide.
- Install the J 43655 .
- Remove both the intake and the exhaust camshaft sprocket bolts and discard.
- Slide the camshaft sprockets forward.
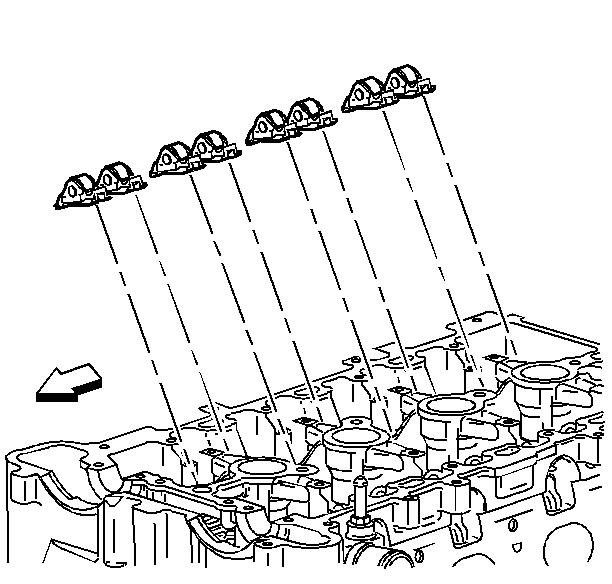
- Mark the caps to ensure that the caps are installed in the original position.
- Remove the caps.
- Remove the exhaust camshaft.
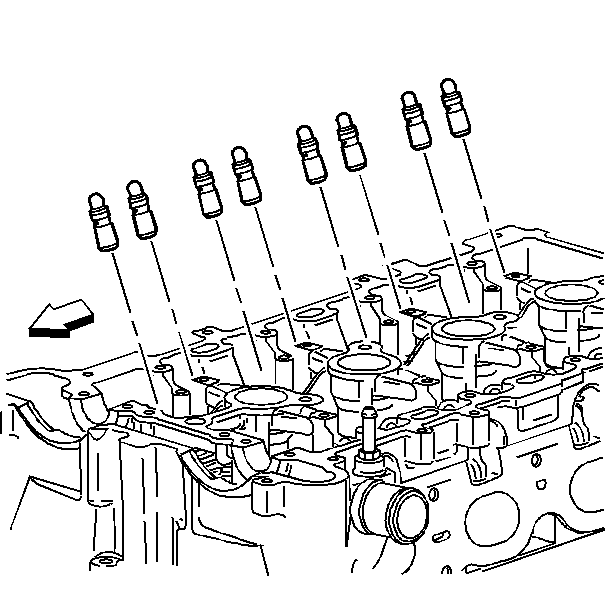
- Remove the camshaft roller followers.
- Remove the hydraulic lash adjusters.
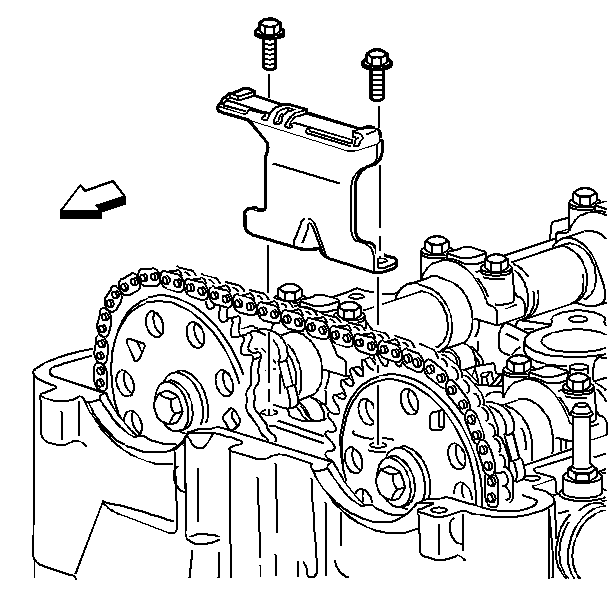
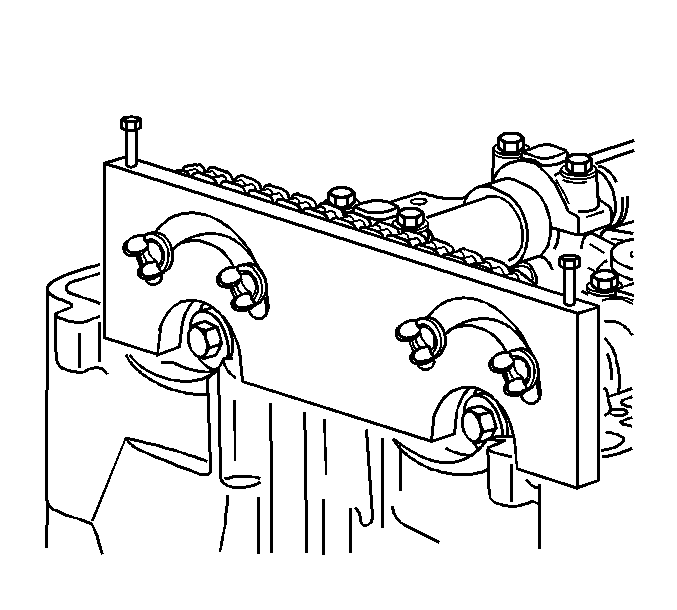
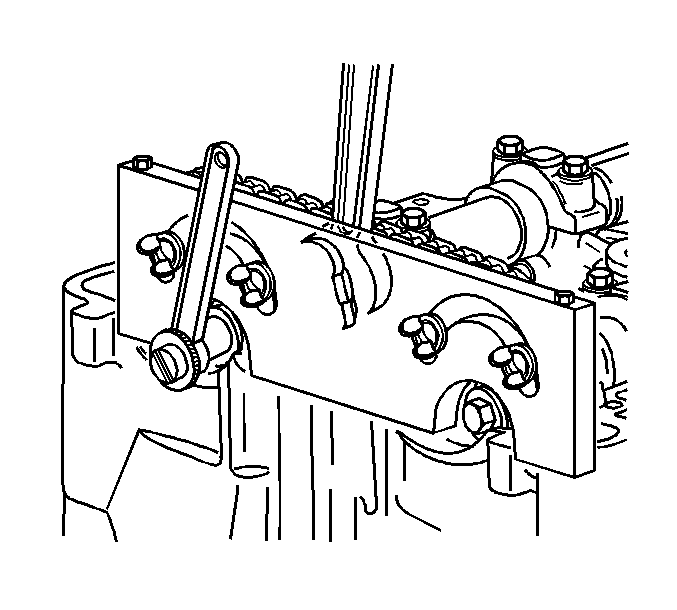
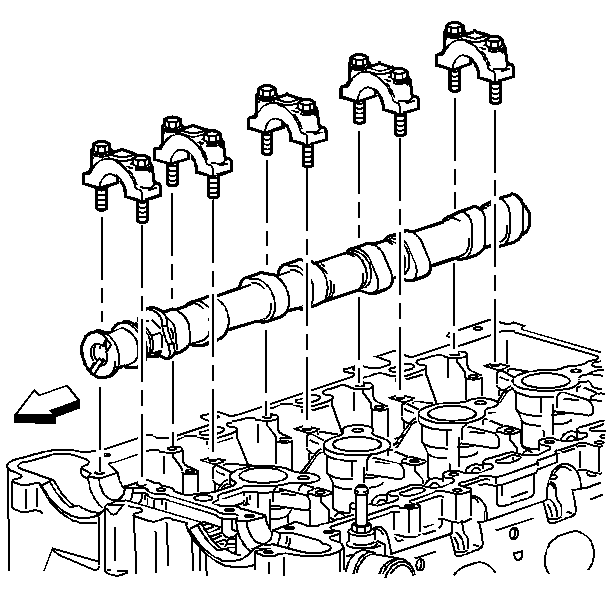
Important: Remove each bolt on each cap one turn at a time until there is no spring tension on the camshaft.
Installation Procedure
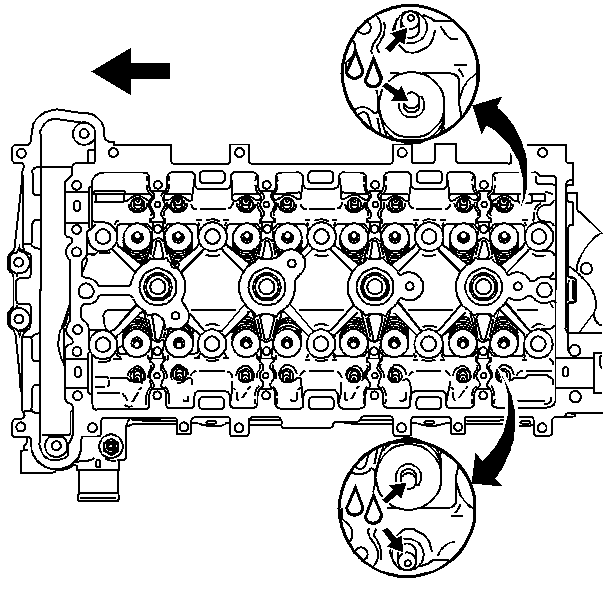
- Lubricate the valve tips.
- Install the hydraulic lash adjusters.
- Install the camshaft roller followers.
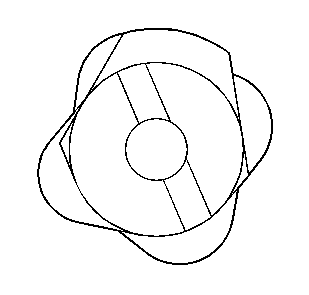
- Ensure that the alignment notches are aligned with the camshaft sprocket.
- Install the exhaust camshaft.
- Install the camshaft caps.
- Tighten the camshaft cap bolts in increments of 3 turns until they are seated.
- Install camshaft sprockets onto the camshafts.
- Hand tighten NEW camshaft sprocket bolts.
- Remove the J 43655 .
- Tighten the camshaft sprocket bolts.
- Install the upper timing chain guide.
- Install the camshaft cover. Refer to Camshaft Cover Replacement .



Notice: Use the correct fastener in the correct location. Replacement fasteners must be the correct part number for that application. Fasteners requiring replacement or fasteners requiring the use of thread locking compound or sealant are identified in the service procedure. Do not use paints, lubricants, or corrosion inhibitors on fasteners or fastener joint surfaces unless specified. These coatings affect fastener torque and joint clamping force and may damage the fastener. Use the correct tightening sequence and specifications when installing fasteners in order to avoid damage to parts and systems.
Tighten
Tighten the camshaft cap bolts to 10 N·m (89 lb in).
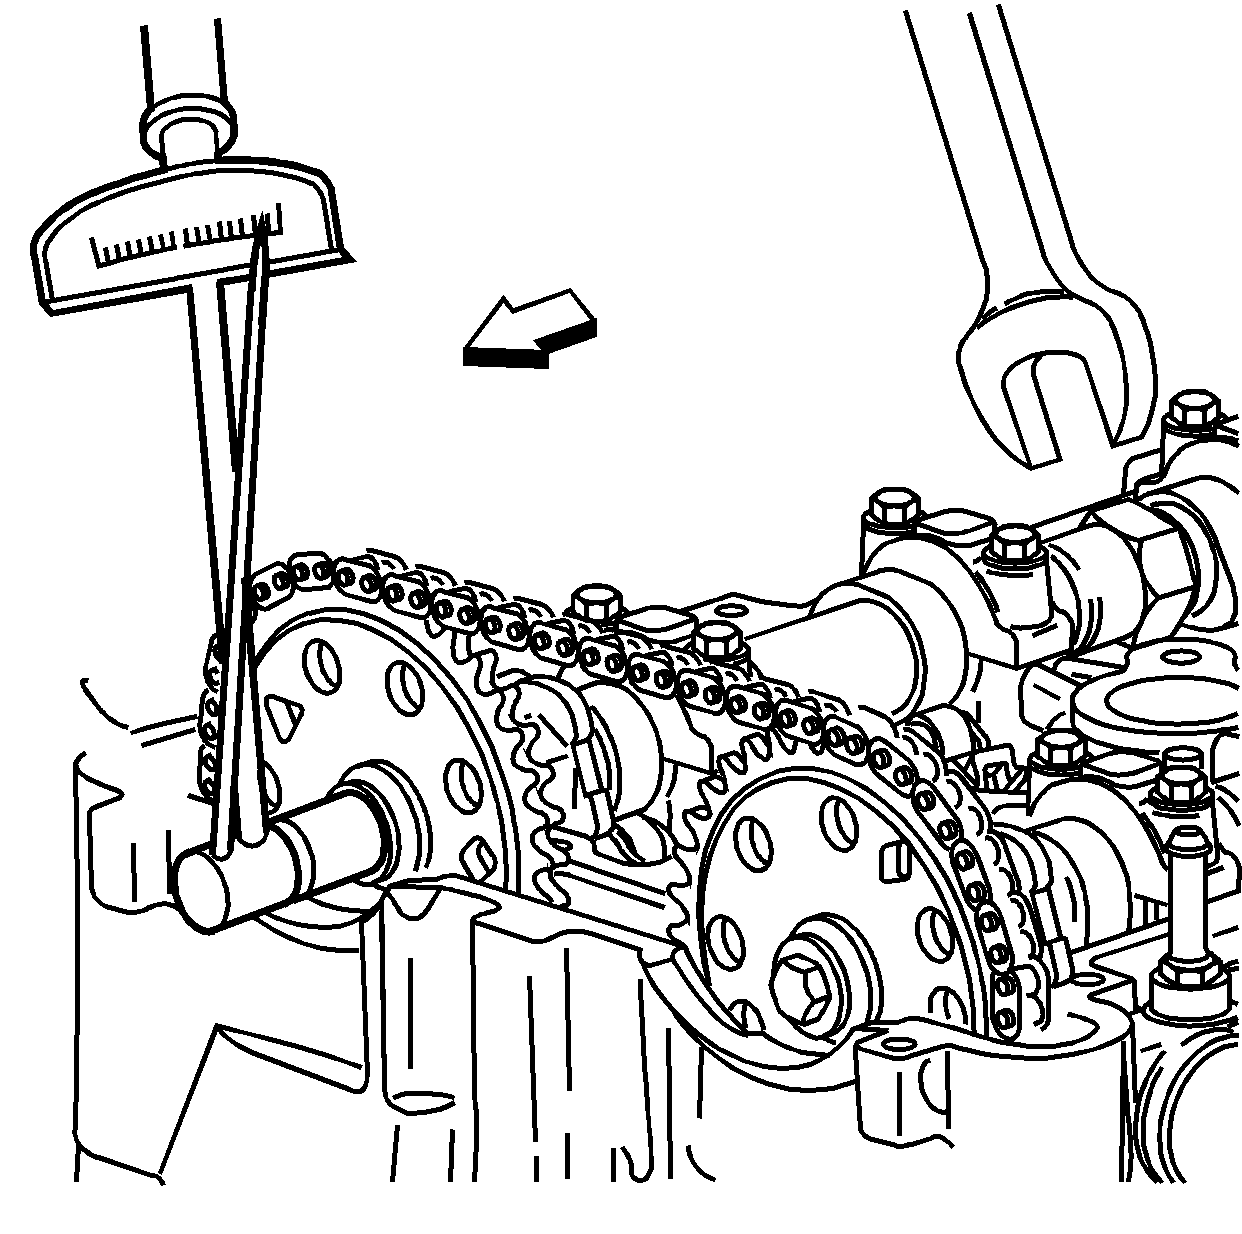
Tighten
Tighten the bolts to 85 N·m (63 lb ft) plus 30 degrees.

Tighten
Tighten the upper timing chain guide to 10 N·m (89 lb in).
