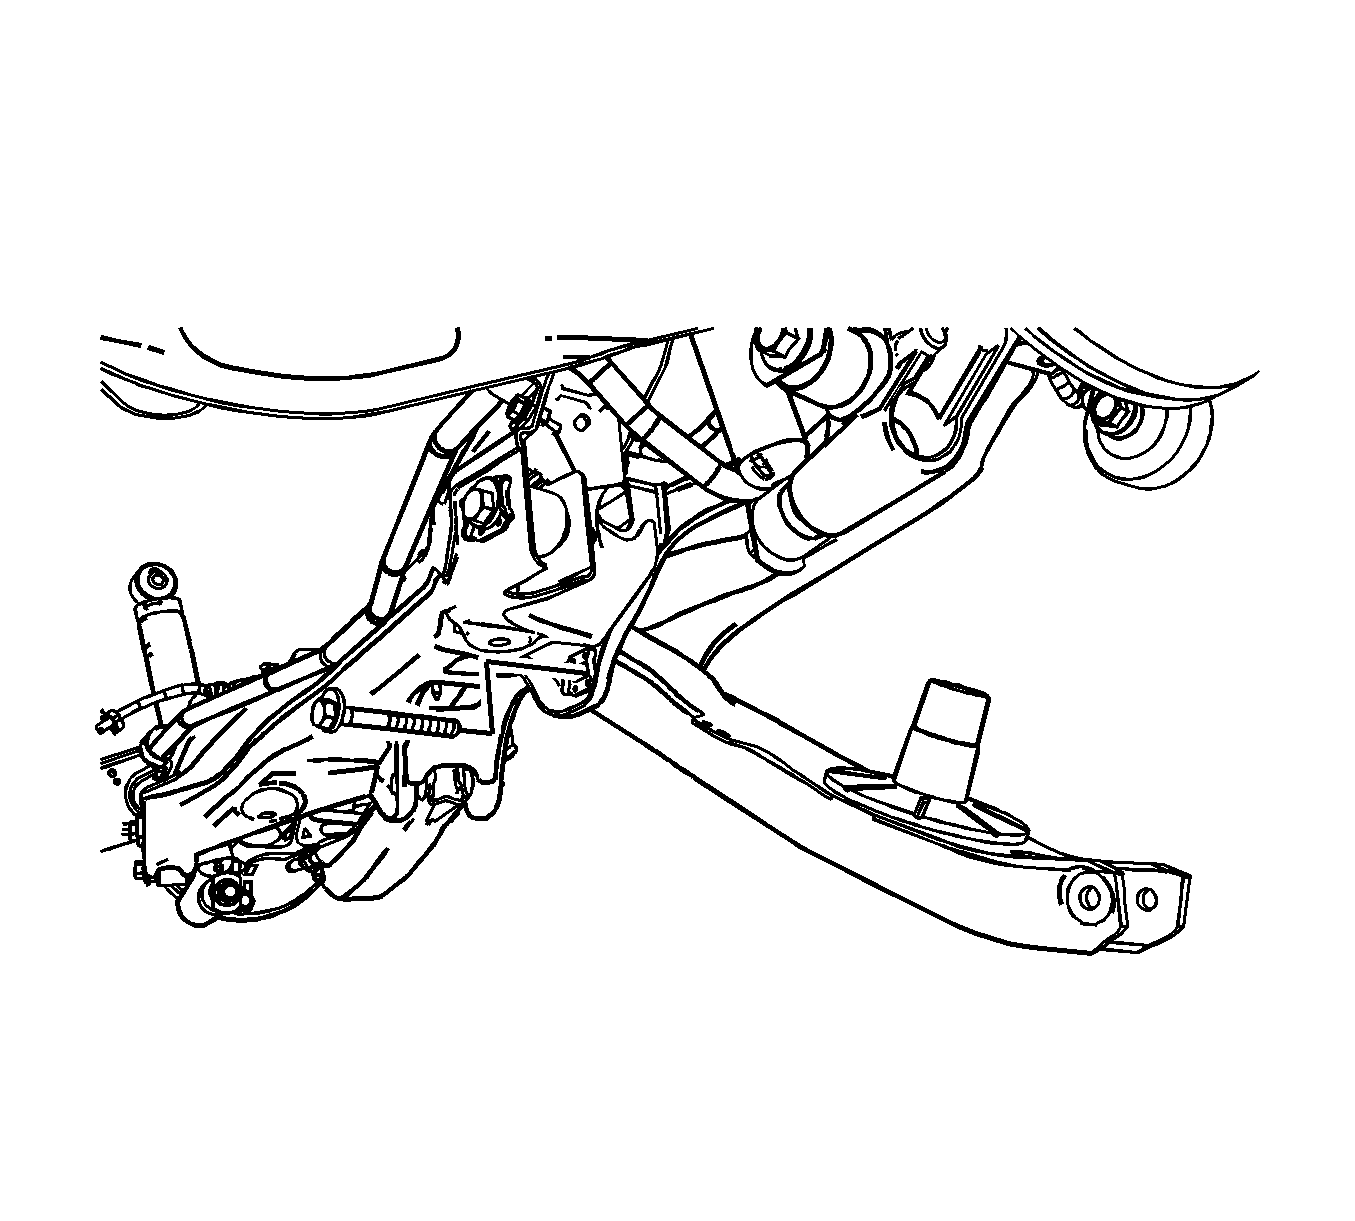
For 1990-2009 cars only
Removal Procedure
- Raise and support the vehicle. Refer to Lifting and Jacking the Vehicle .
- Remove the tire and wheel. Refer to Tire and Wheel Removal and Installation .
- Remove the rear spring. Refer to Coil Spring Replacement .
- Remove the lower control arm to support assembly bolt and nut.
- Remove the lower control arm from the vehicle.
- Remove the lower control arm spring insulators. Inspect the lower spring insulator for damage and replace as necessary.

Installation Procedure
- Install the lower control arm spring insulators.
- Position the lower control arm to the support assembly.
- Install the lower control arm to support assembly bolt and nut.
- Install the rear spring. Refer to Coil Spring Replacement .
- Install the tire and wheel. Refer to Tire and Wheel Removal and Installation .
- Lower the vehicle.
- Check the rear alignment. Refer to Wheel Alignment Measurement .
Notice: Refer to Fastener Notice in the Preface section.

Tighten
Tighten the nut and bolt to 110 N·m (81 lb ft).
