Tools Required
J 39400-A Halogen Leak Detector
Removal Procedure
- Recover the refrigerant. Refer to Refrigerant Recovery and Recharging .
- Remove the left headlamp. Refer to Headlamp Assembly or Headlamp Bulb and/or Cornering, Sidemarker, Park, Turn Signal Bulb Replacement in Lighting Systems.
- Remove the right headlamp. Refer to Headlamp Assembly or Headlamp Bulb and/or Cornering, Sidemarker, Park, Turn Signal Bulb Replacement in Lighting Systems.
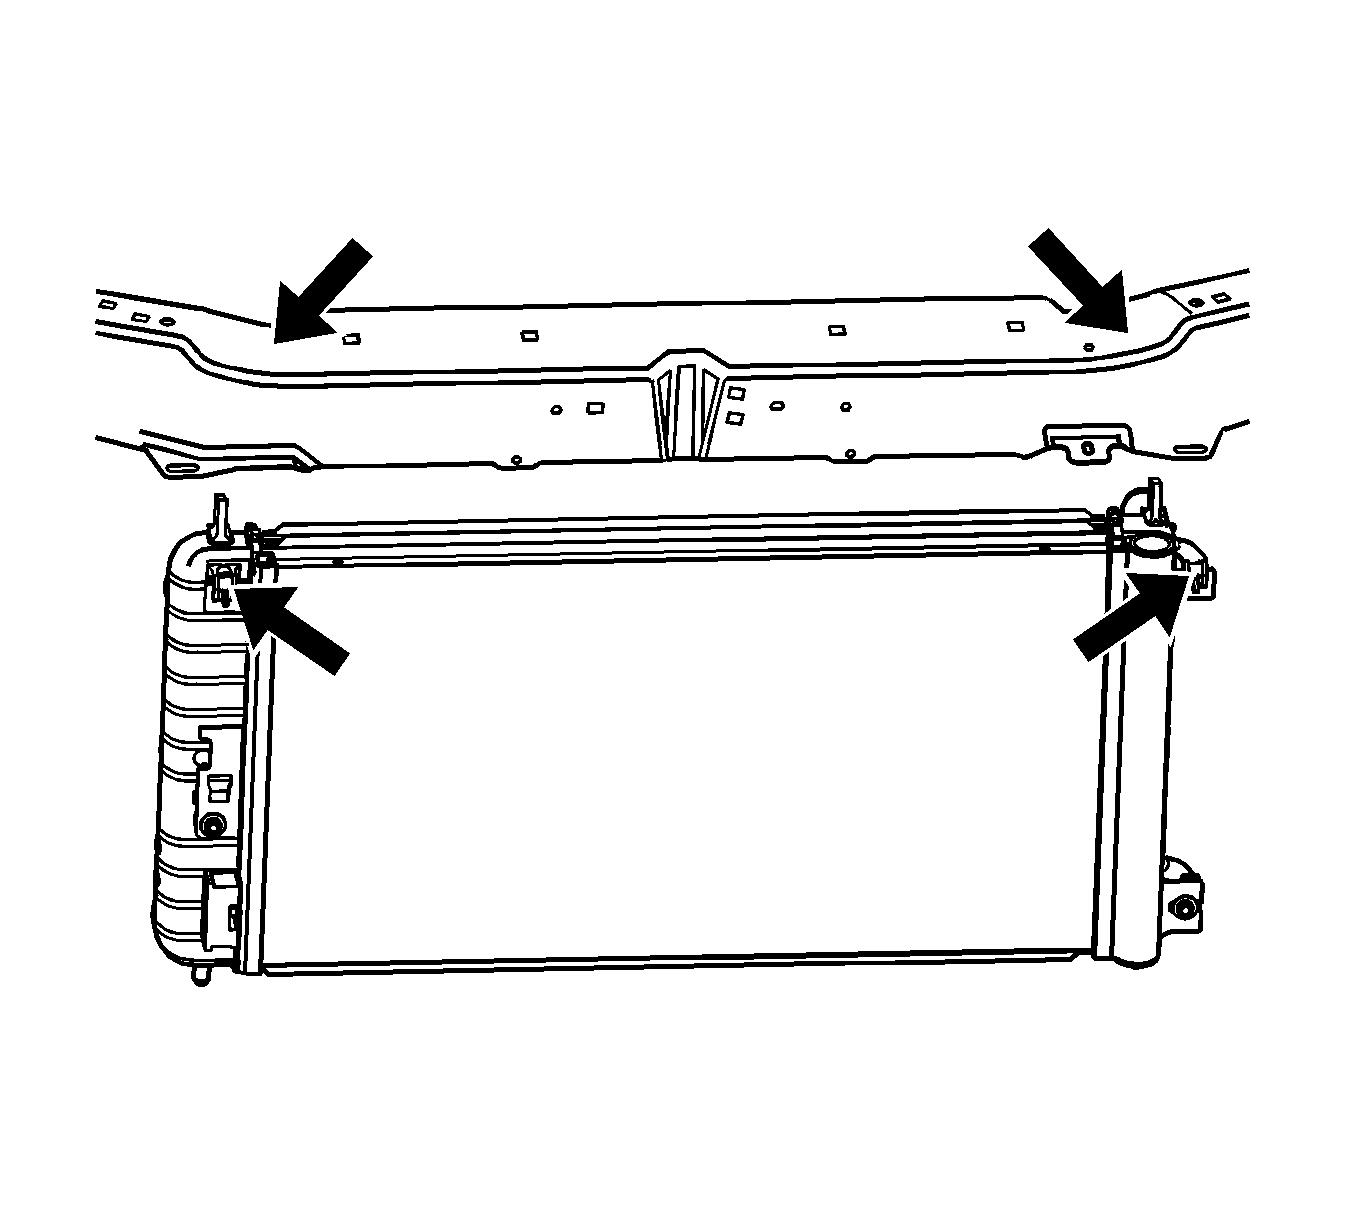
- Loop a rope around each of the 2 upper tabs of the radiator and tie the rope around the upper tie bar.
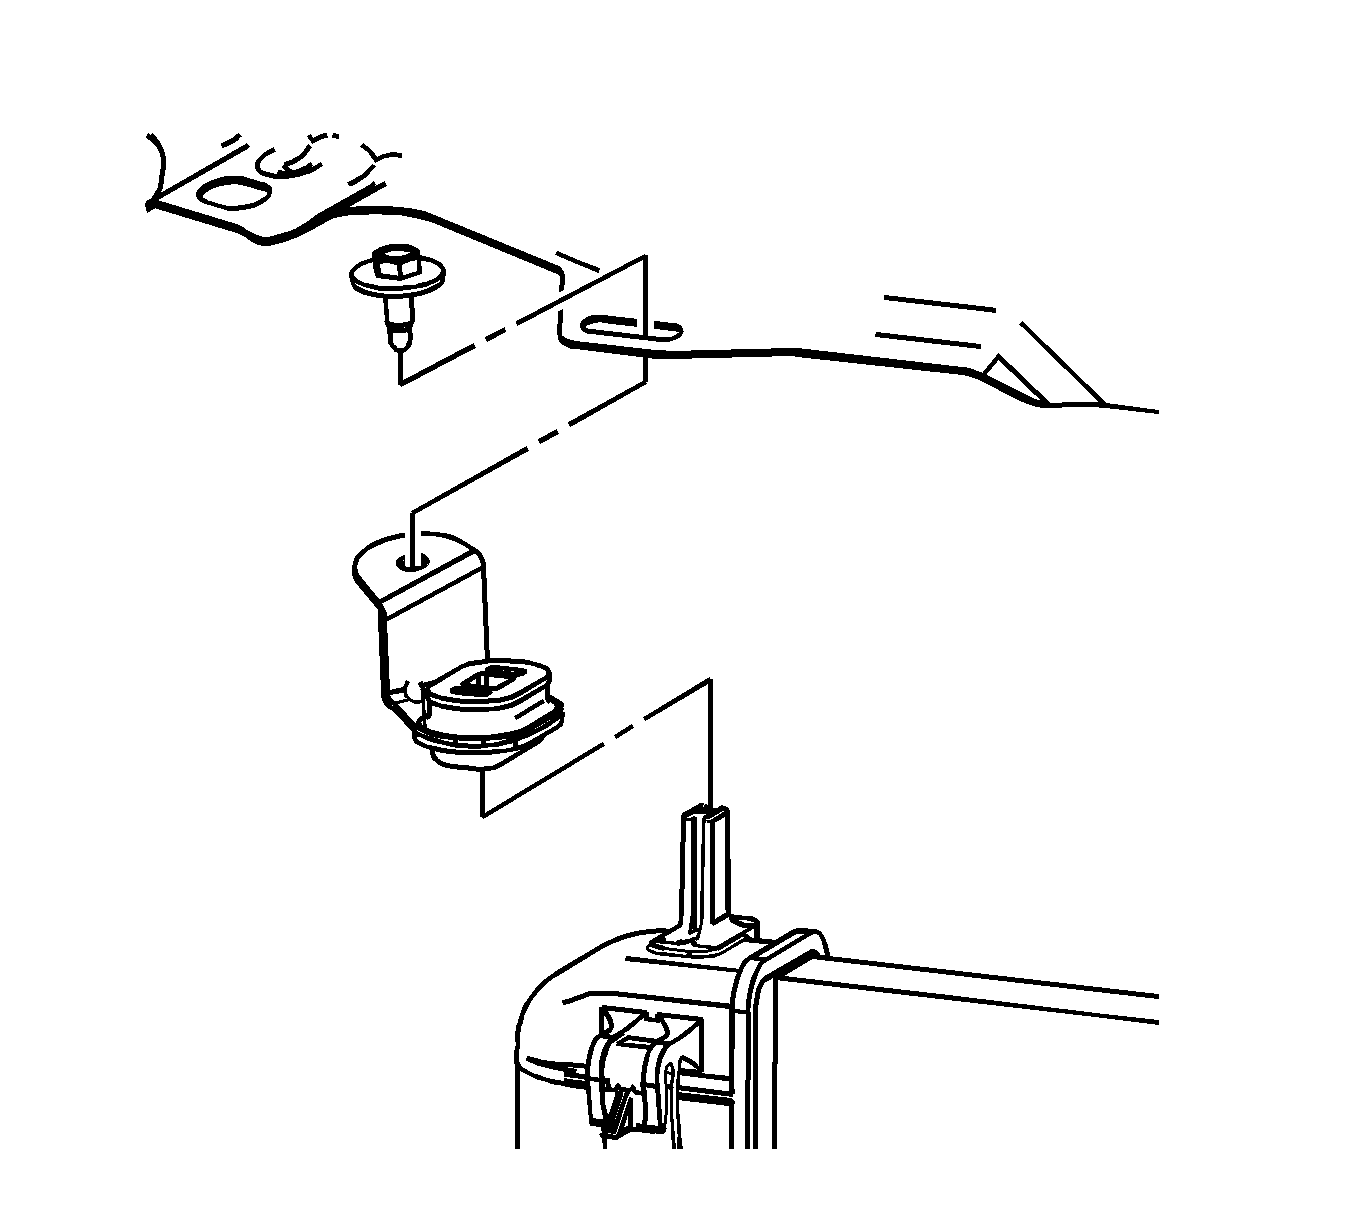
- Remove both upper radiator support bracket bolts.
- Remove both upper radiator support brackets.
- Raise the vehicle. Refer to Lifting and Jacking the Vehicle in General Information.
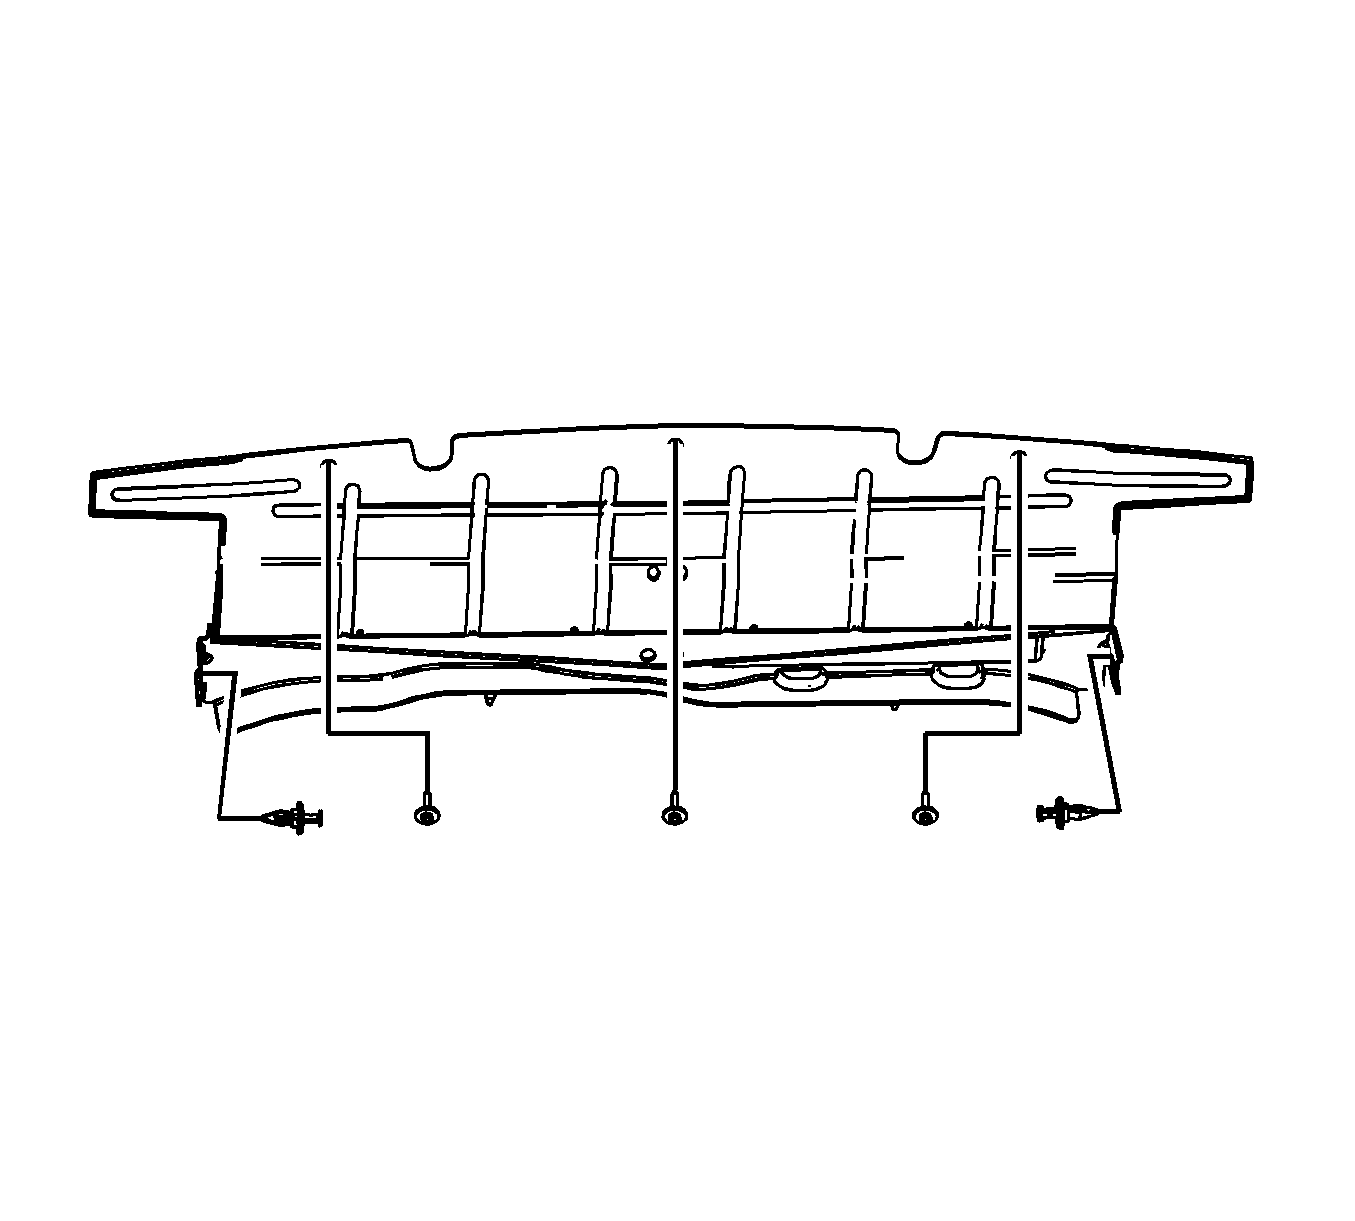
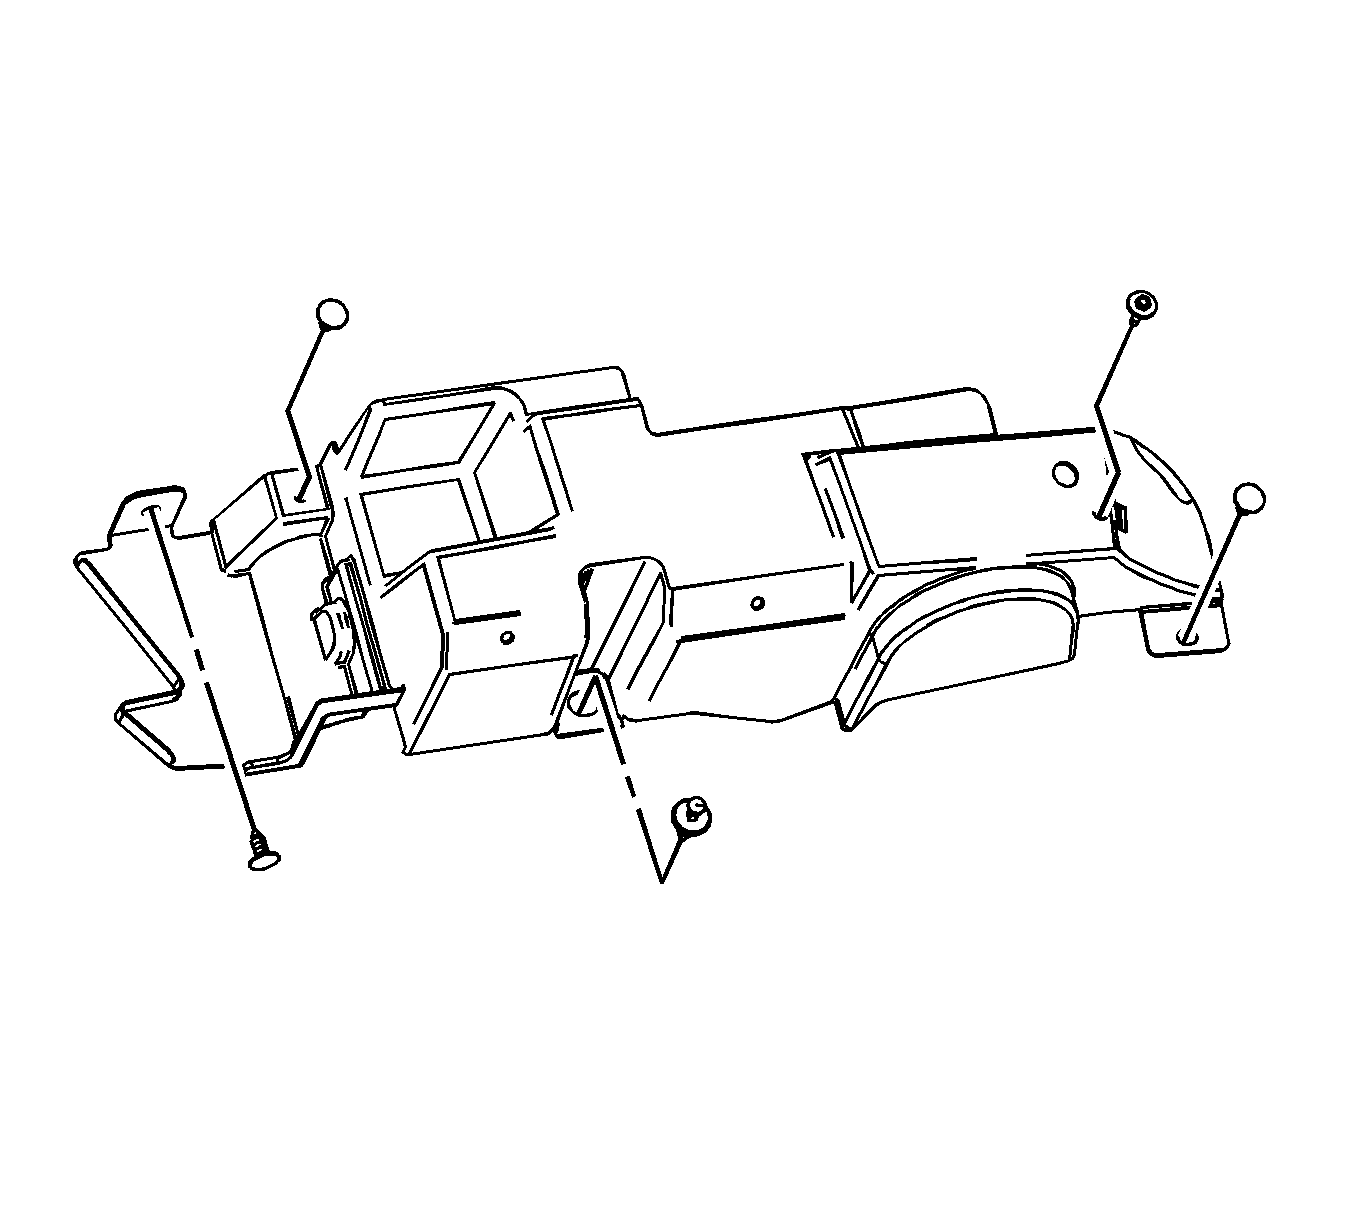
- Remove the lower radiator air deflector retainers.
- Remove the lower radiator air deflector.
- Remove the right front fender liner. Refer to Front Fender Liner Replacement in Body Front End.
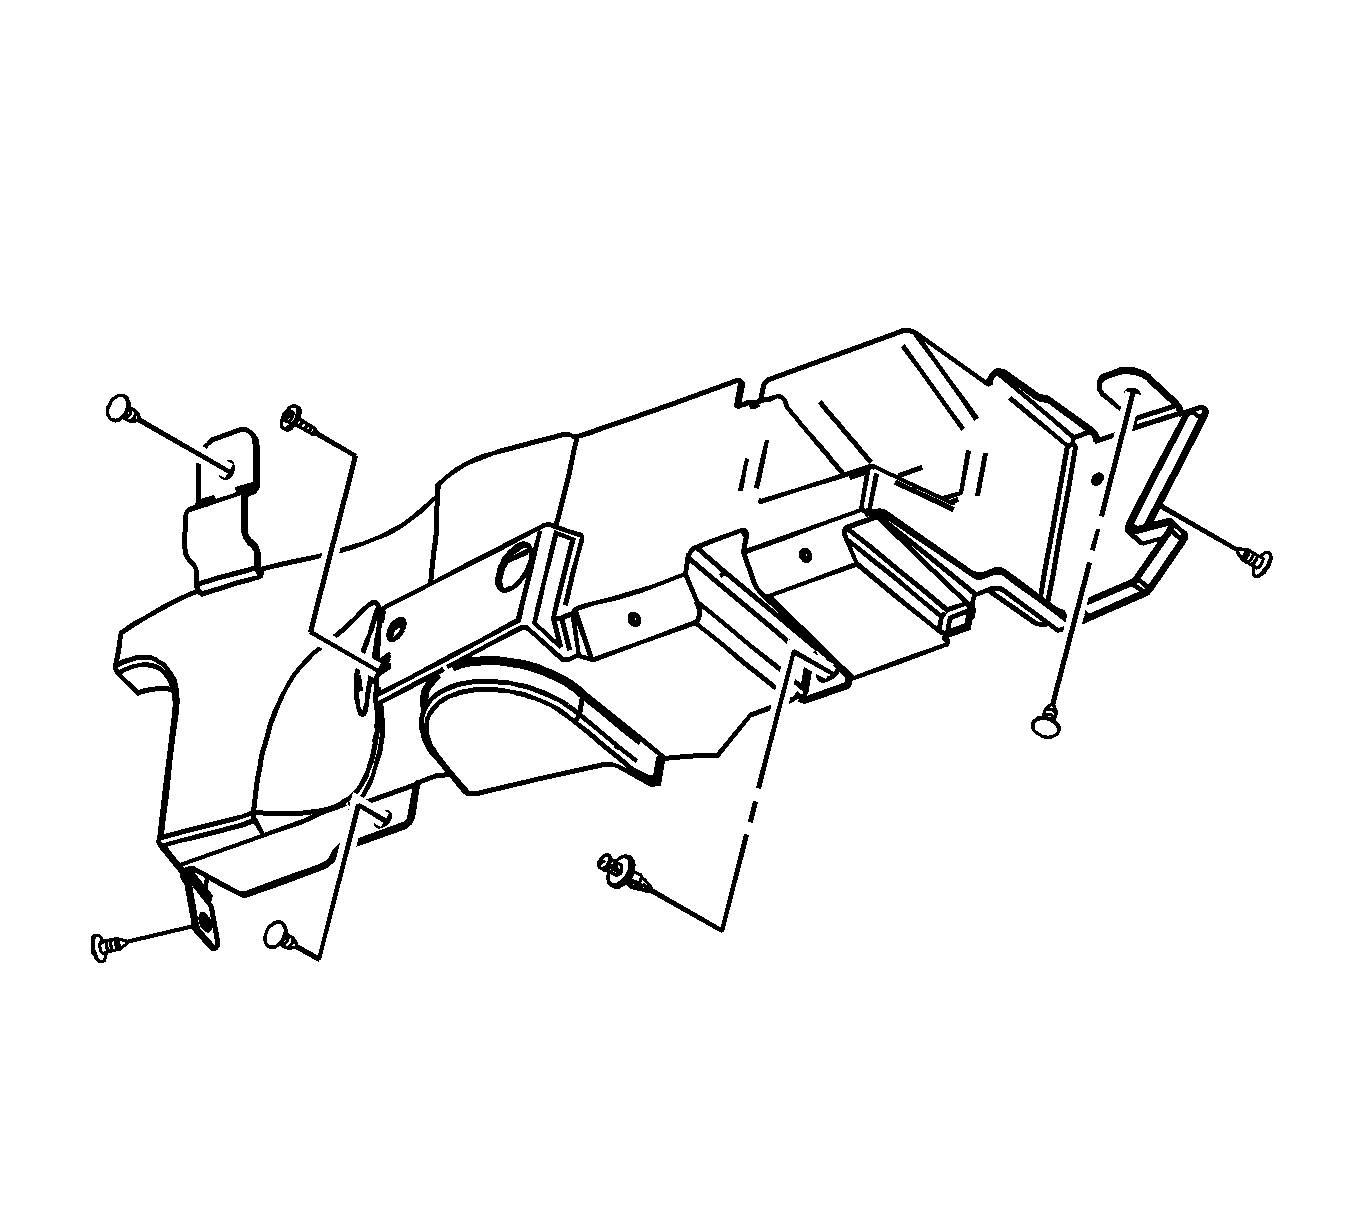
- Remove the right radiator air deflector retainers.
- Remove the right radiator air deflector.
- Remove the left radiator air deflector retainers.
- Remove the left radiator air deflector.
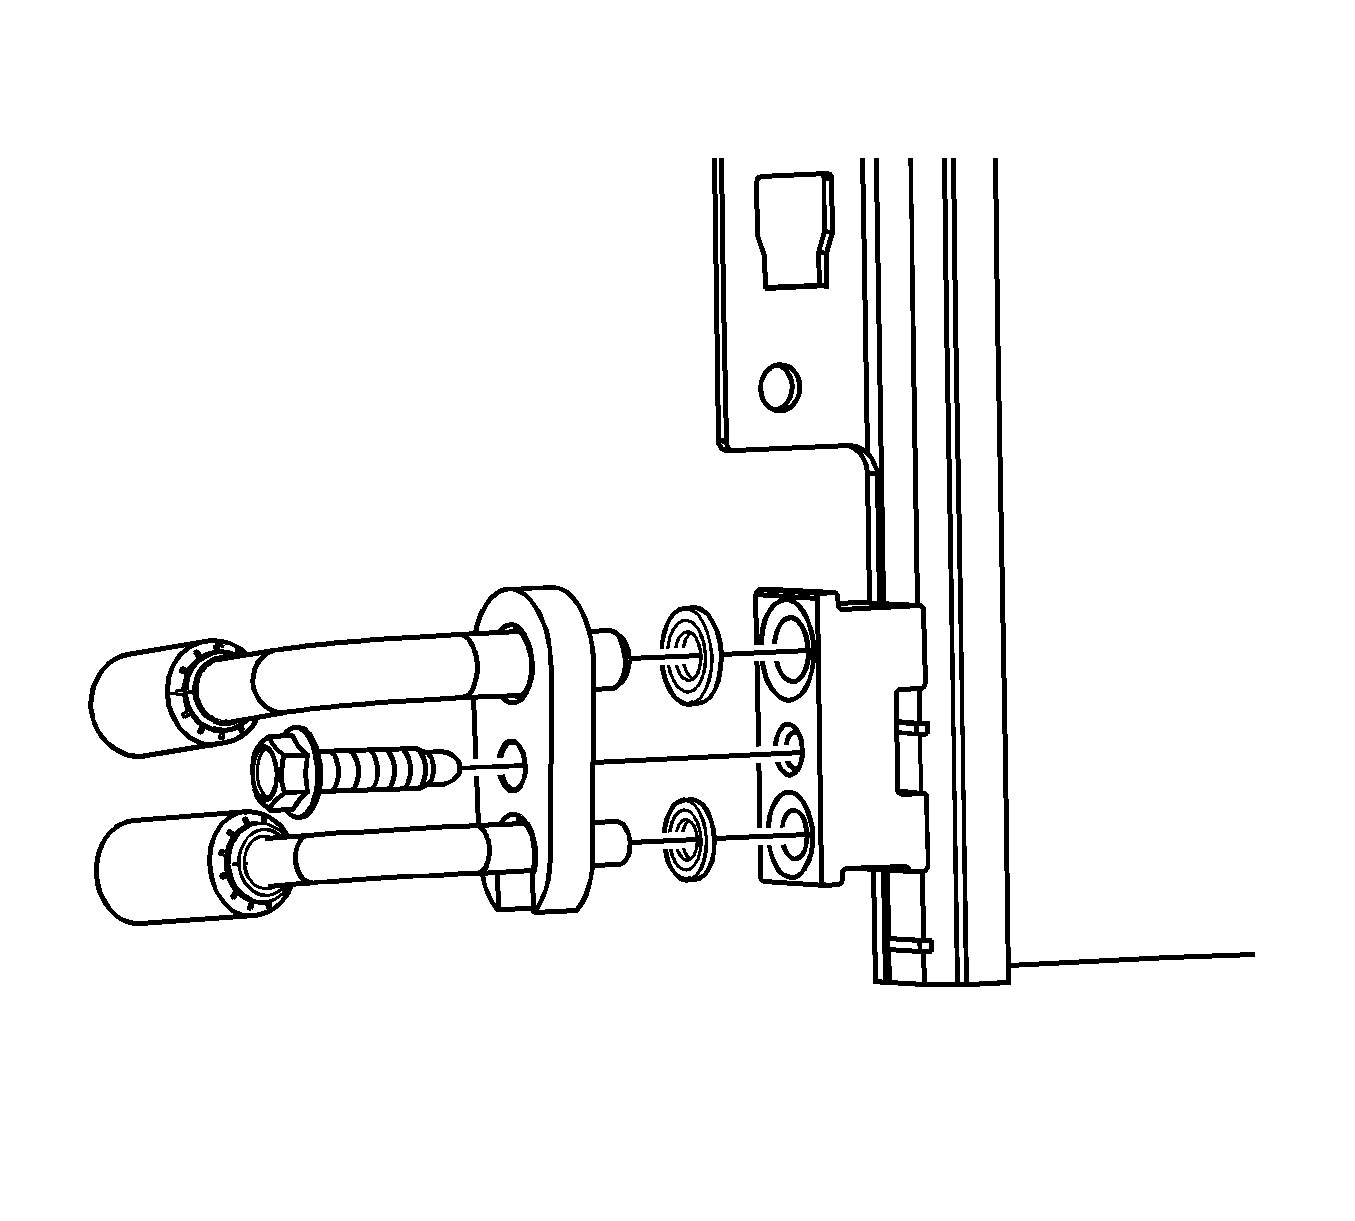
- Remove the liquid line and compressor hose bolt from condenser.
- Remove the compressor hose from the condenser.
- Remove the liquid line from the condenser.
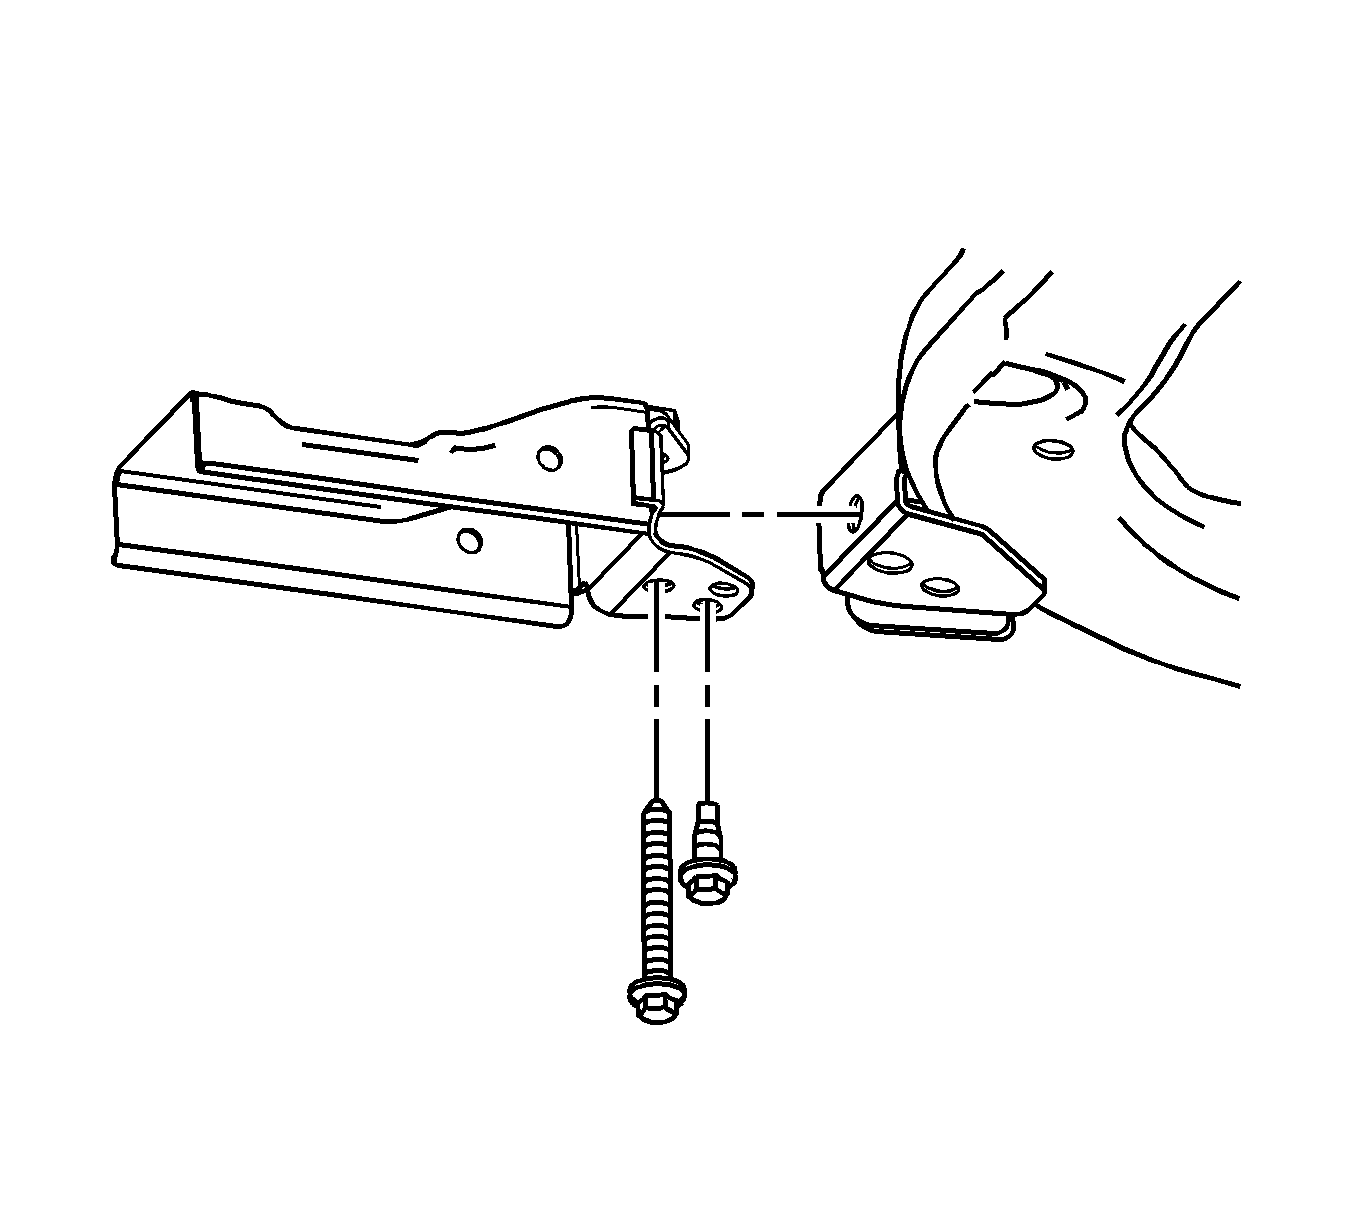
- Remove both lower radiator mounting bracket bolts.
- Remove both lower radiator mounting brackets.
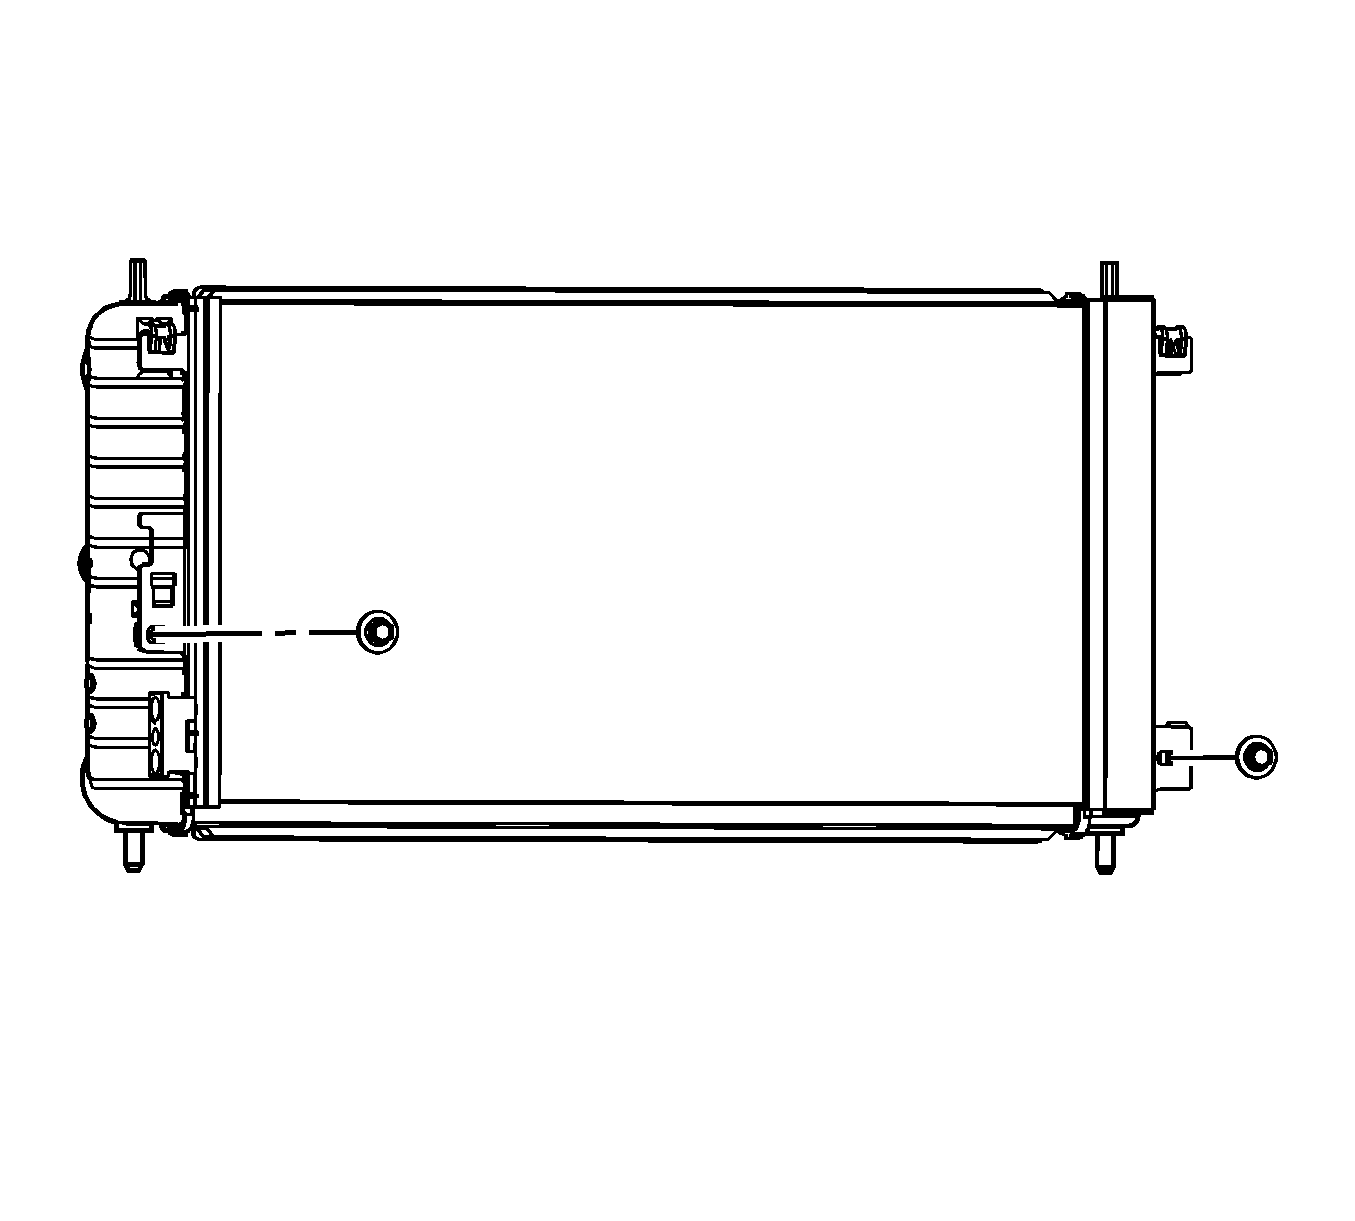
- Remove and discard the condenser mounting bolts.
- Remove and discard the condenser mounting nuts.
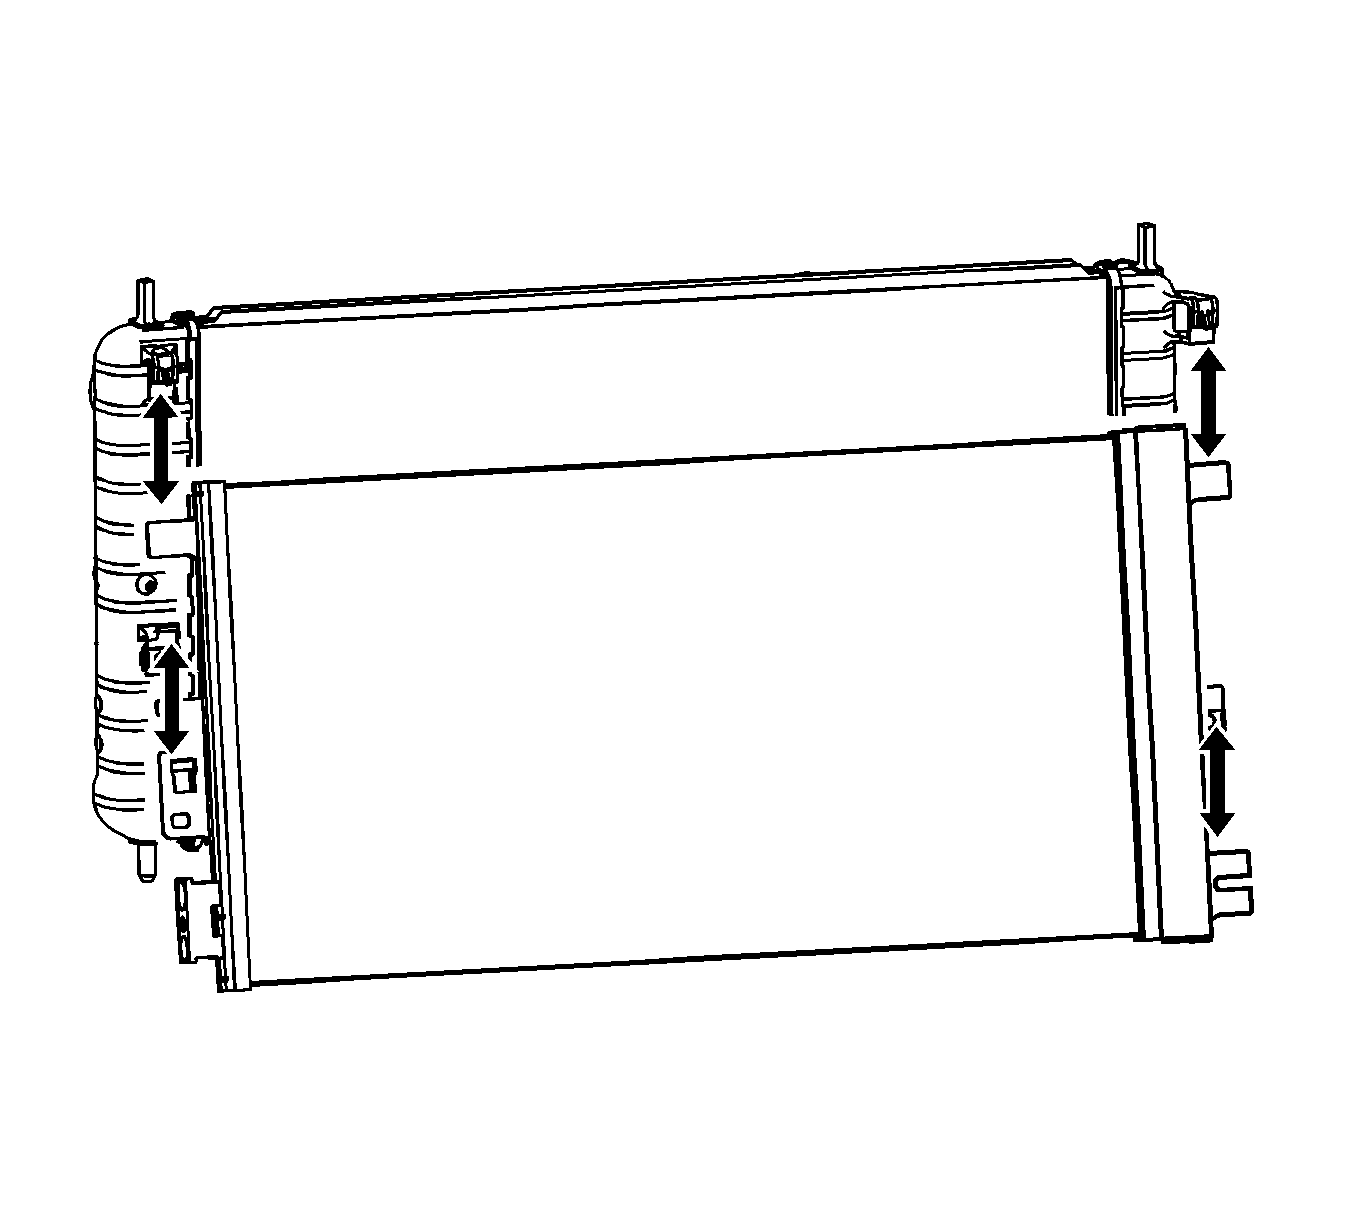
- Push upward on the radiator and downward on the condenser to unsnap the condenser mounting tabs from the radiator clip.
- Remove the condenser.
- Remove the upper seal.
- Remove and discard the sealing washers.
Important: The desiccant is inside the condenser and is not serviced separately. The condenser must be replaced if new desiccant is required.
Important: Cap all A/C components immediately to prevent system contamination.
Installation Procedure
- Uncap A/C components.
- Install new sealing washers. Refer to Sealing Washer Replacement .
- Install the upper seal.
- If replacing the condenser, add the specific amount of PAG® oil directly to the condenser. Refer to Refrigerant System Capacities .
- Install the radiator air side seals onto the condenser mounting tabs on the radiator.
- Insert condenser mounting tabs into the radiator clips.
- Install the condenser mounting nuts.
- Install the condenser mounting bolts.
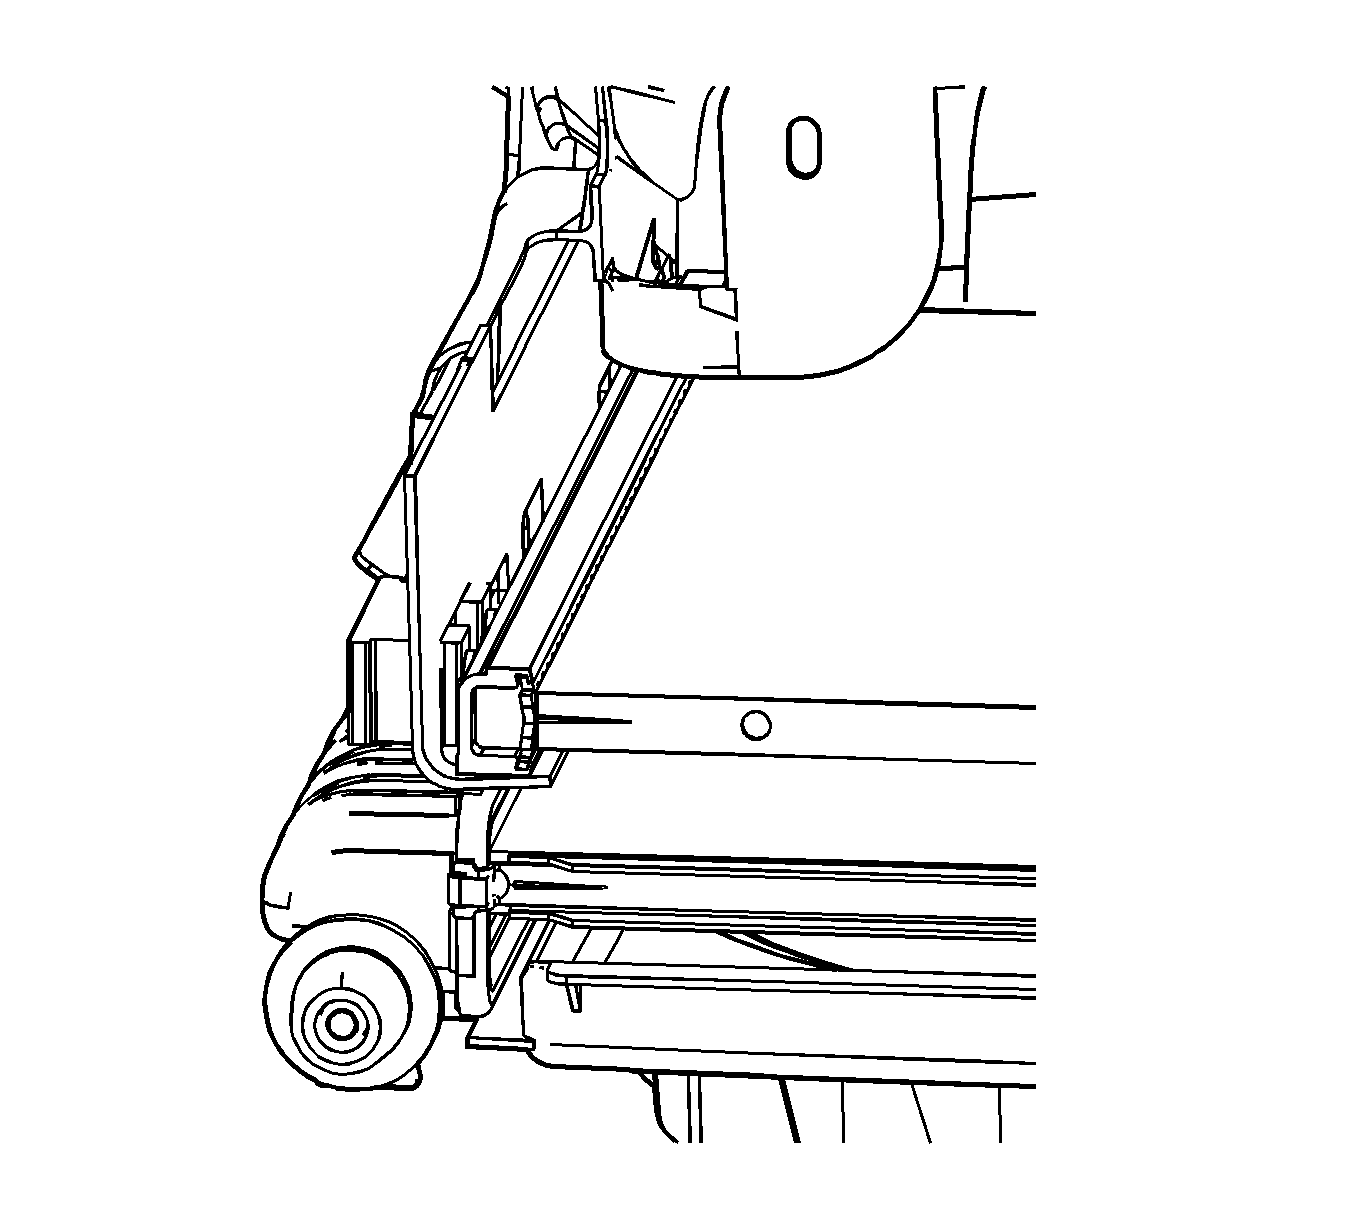
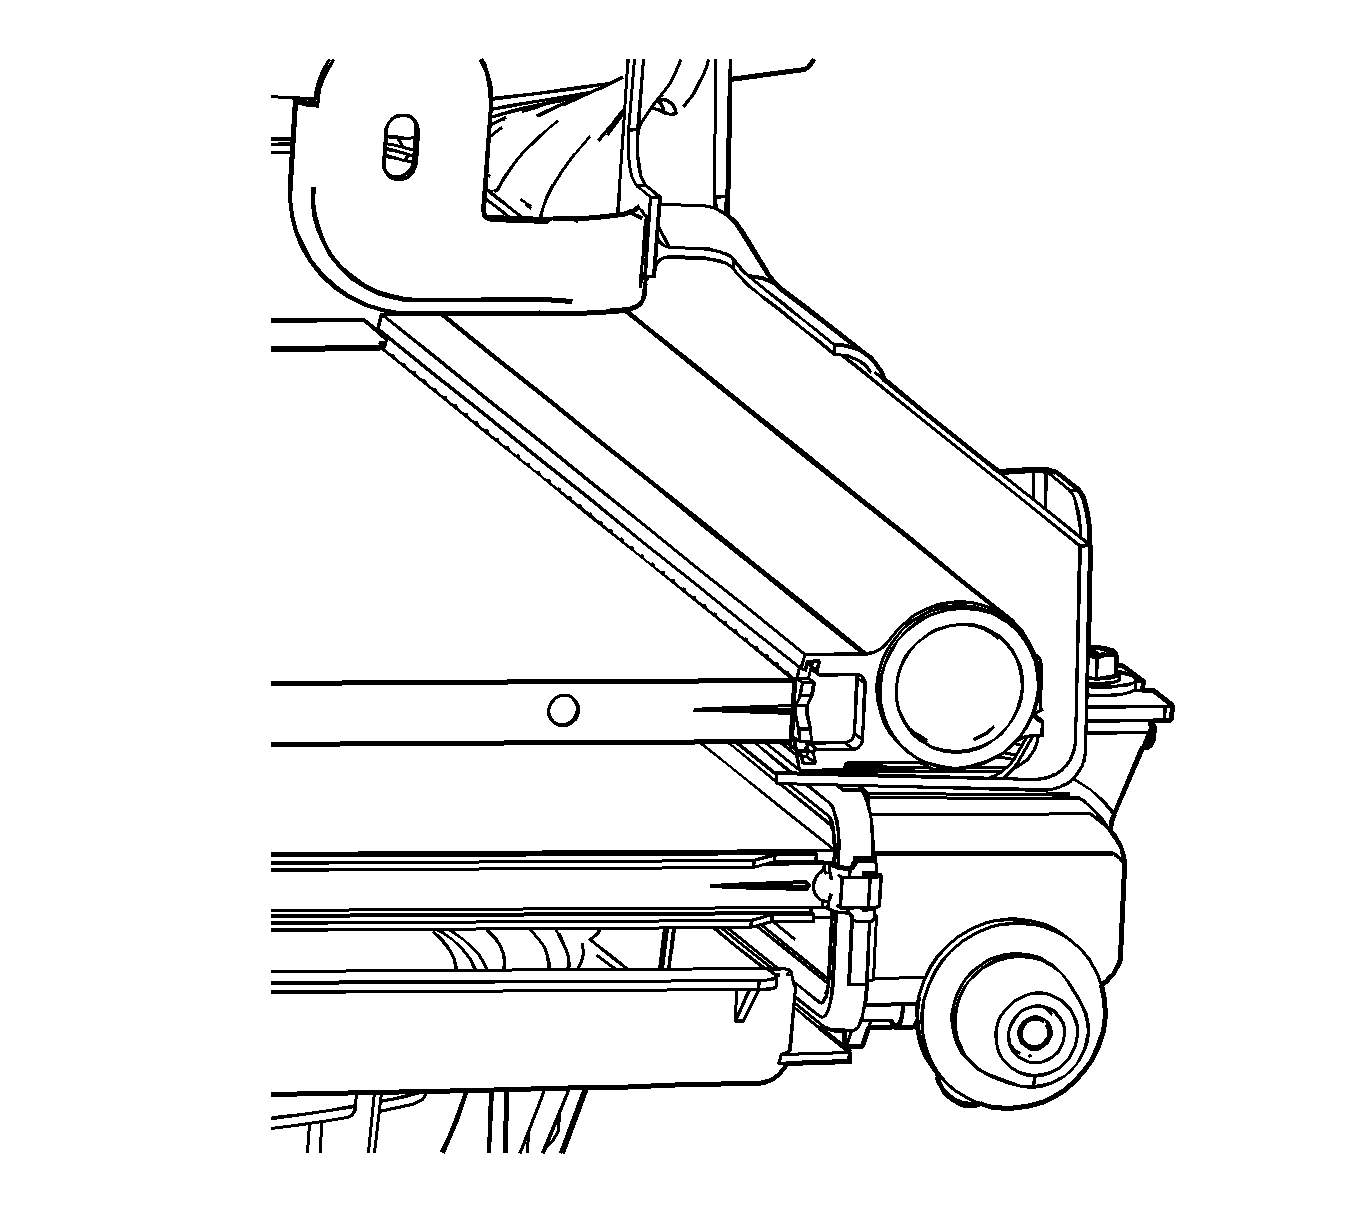
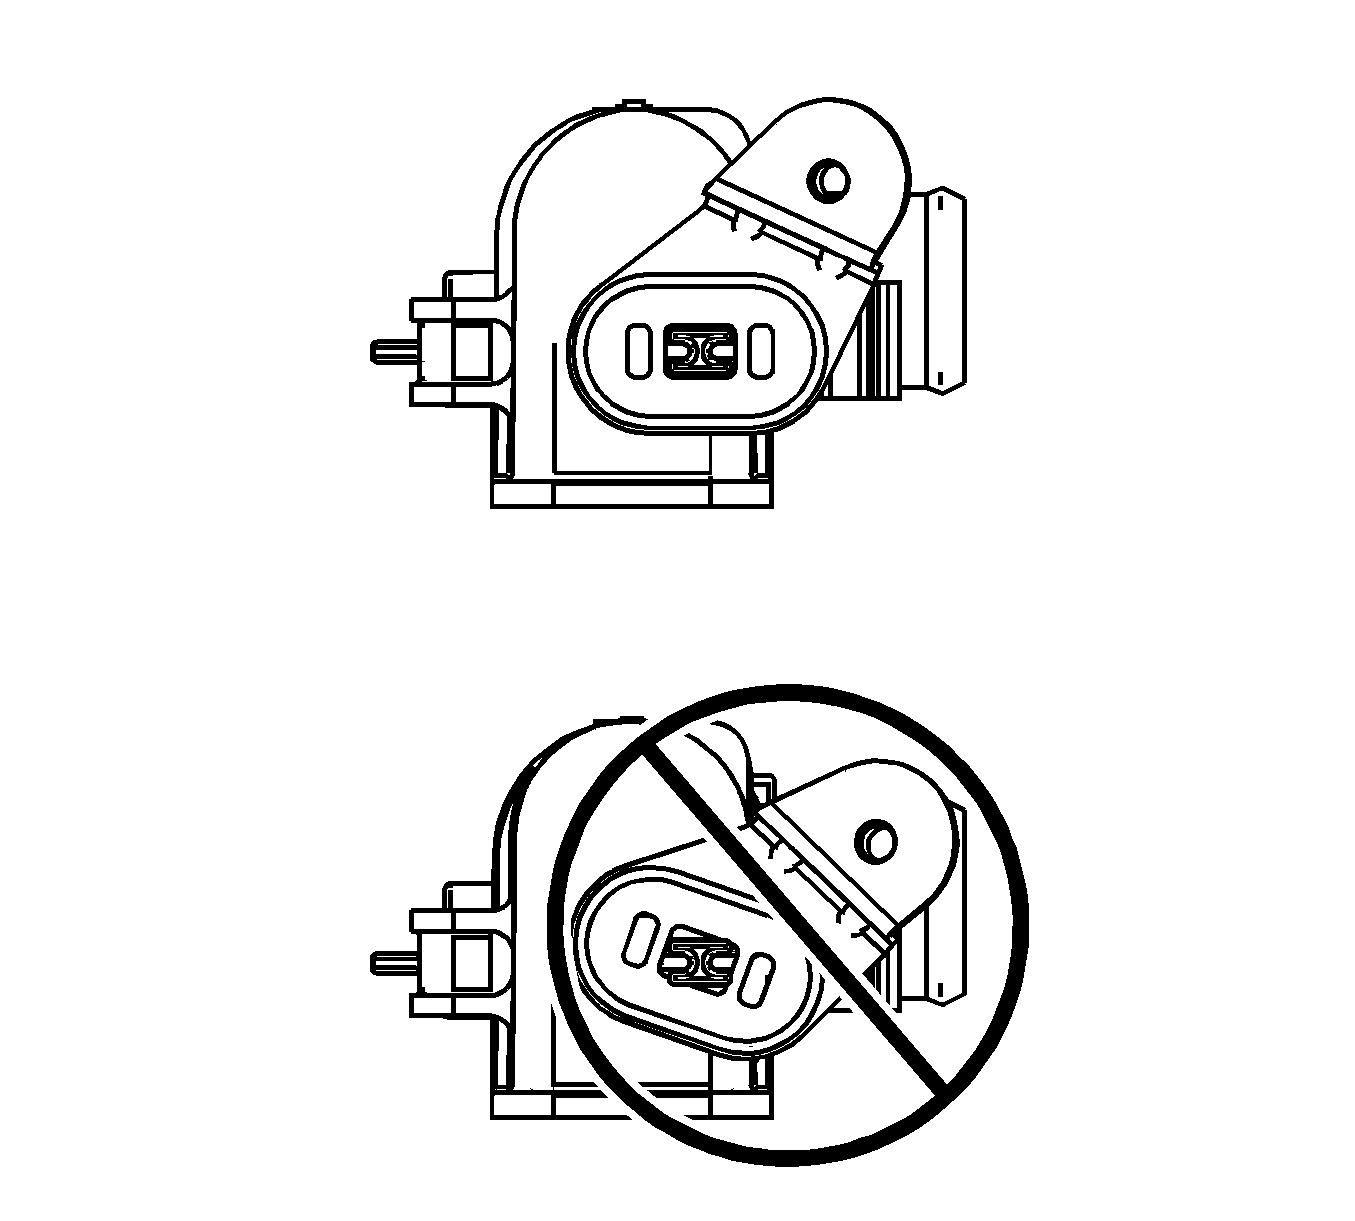
- Bend the radiator air side seals and insert the seals into the channel of the intake air splash shields.
- The radiator air side seals must be in the proper position for proper airflow.
- Install both lower radiator mounting brackets.
- Install both lower radiator mounting brackets bolts.
- Install the liquid line to the condenser.
- Install the compressor hose to the condenser.
- Install the liquid line and compressor hose bolt to the condenser.
- Install the left radiator air deflector.
- Install the left radiator air deflector retainers.
- Install the right radiator air deflector.
- Install the right radiator air deflector retainers.
- Install the right front fender liner. Refer to Front Fender Liner Replacement in Body Front End.
- Install the lower radiator air deflector.
- Install the lower radiator air deflector retainers.
- Lower the vehicle.
- Remove the rope attached to the radiator and upper tie bar.
- Install both upper radiator support brackets.
- Install both upper radiator support bracket bolts.
- Install the right headlamp. Refer to Headlamp Assembly or Headlamp Bulb and/or Cornering, Sidemarker, Park, Turn Signal Bulb Replacement in Lighting Systems.
- Install the left headlamp. Refer to Headlamp Assembly or Headlamp Bulb and/or Cornering, Sidemarker, Park, Turn Signal Bulb Replacement in Lighting Systems.
- Evacuate and charge the refrigerant system. Refer to Refrigerant Recovery and Recharging .
- Leak test the fittings using the J 39400-A .
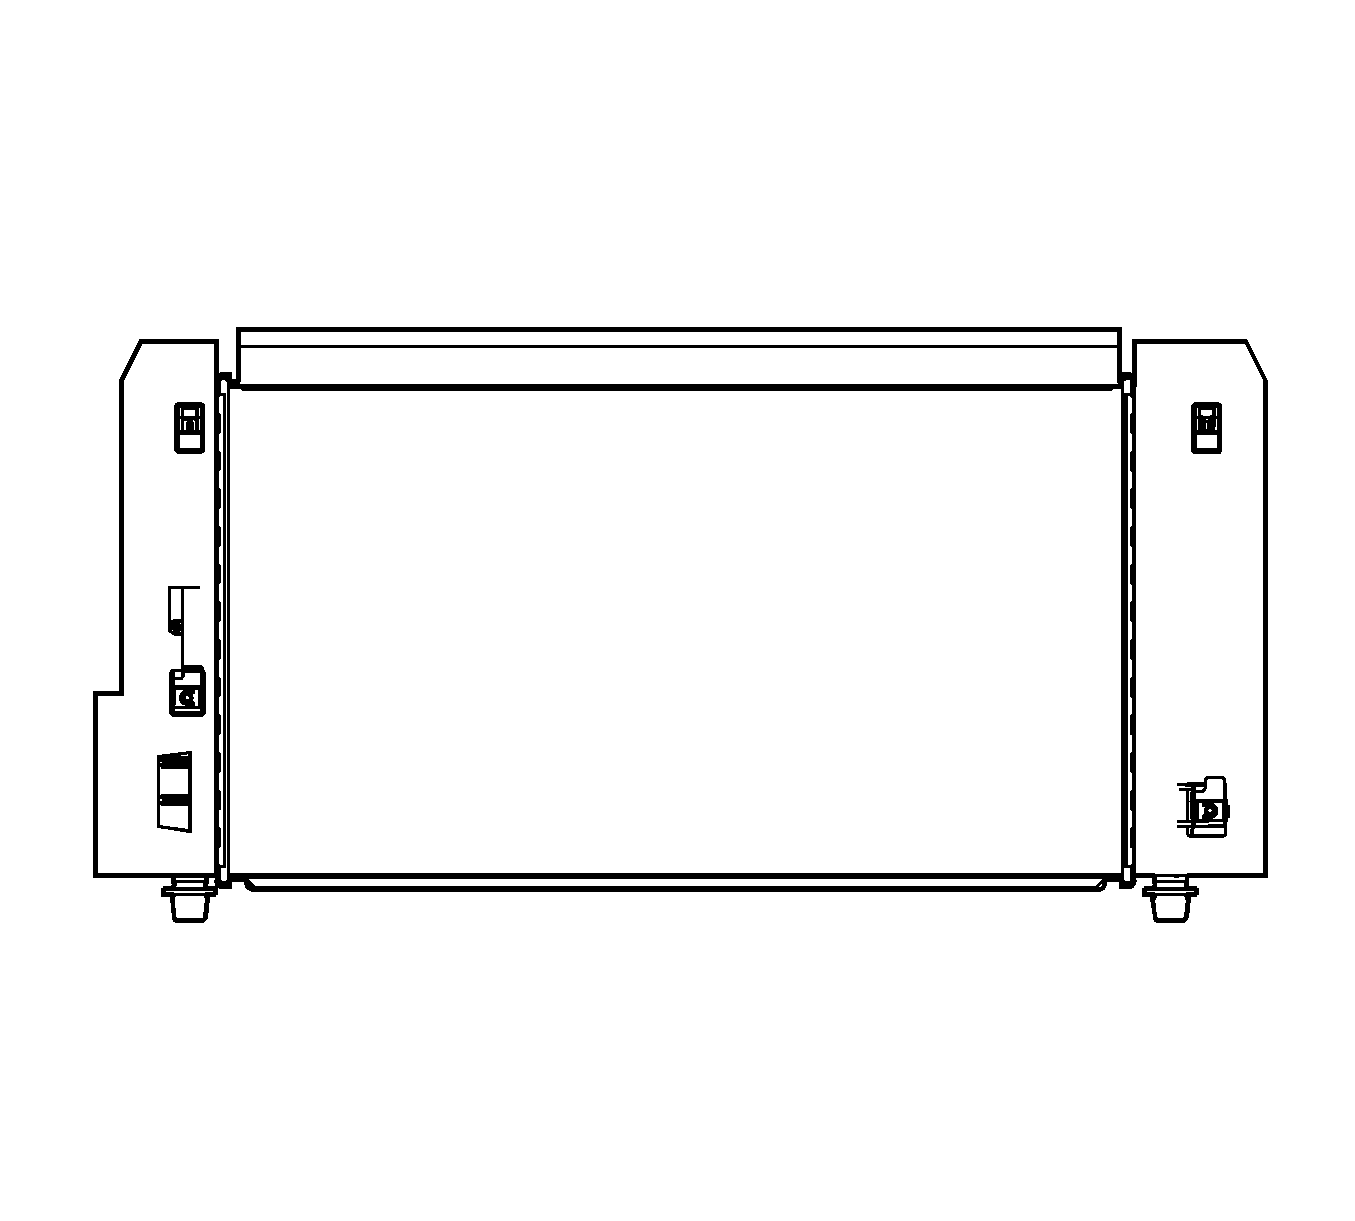

Notice: The bolt retaining the condenser to the radiator end tank is a special length and should be the ONLY bolt used upon reinstallation. The use of a longer bolt will damage the radiator end tank.
Important: Replace the condenser mounting bolts and nuts.
Notice: Refer to Fastener Notice in the Preface section.

Tighten
Tighten the mounting bolts to 6 N·m
(53 lb in).

Tighten
Tighten the bolts to 60 N·m (44 lb ft).

Tighten
Tighten the bolt to 20 N·m (15 lb ft).

Important: Radiator air deflectors must be properly installed or reduced A/C and engine cooling system performance could occur.


Important: Do not allow the upper bracket to twist when tightening the radiator mounting bolts or vibration may result.
Tighten
Tighten the bolt to 10 N·m (89 lb in).
