For 1990-2009 cars only
Removal Procedure
- Remove the HVAC module assembly. Refer to HVAC Module Assembly Replacement .
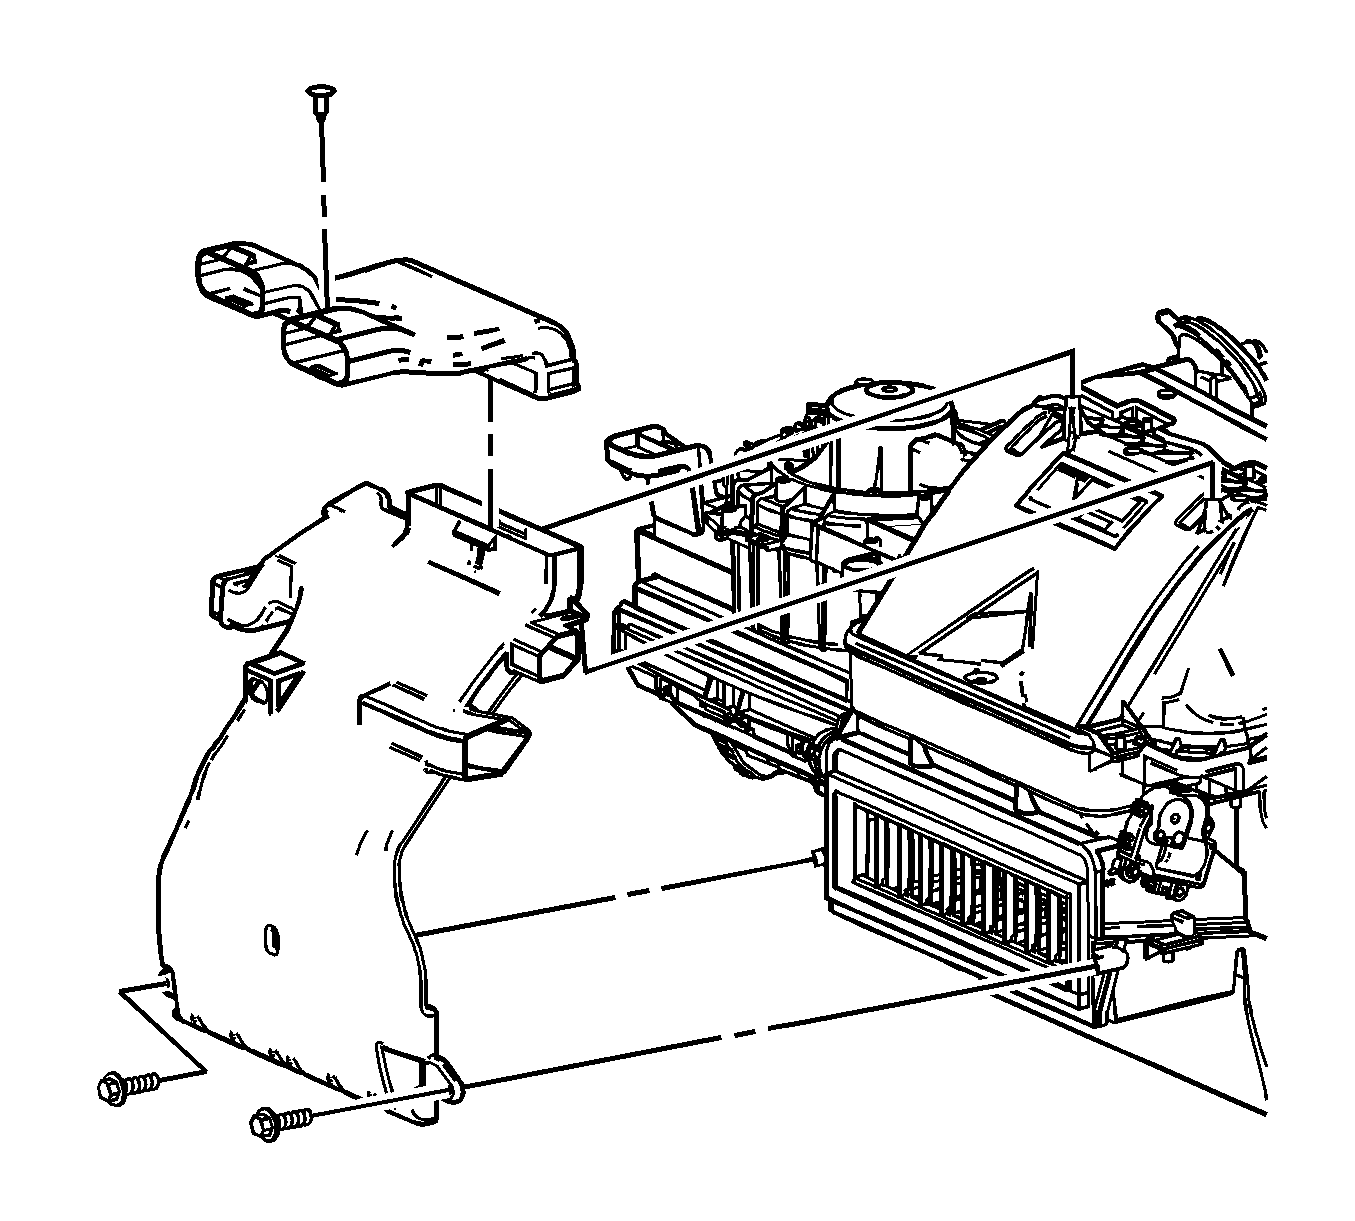
- Remove the lower center floor air outlet duct.
- Remove the upper center floor air outlet duct screws.
- Remove the upper center floor air outlet duct.
- Remove the air inlet assembly screws.
- Remove the air inlet assembly.
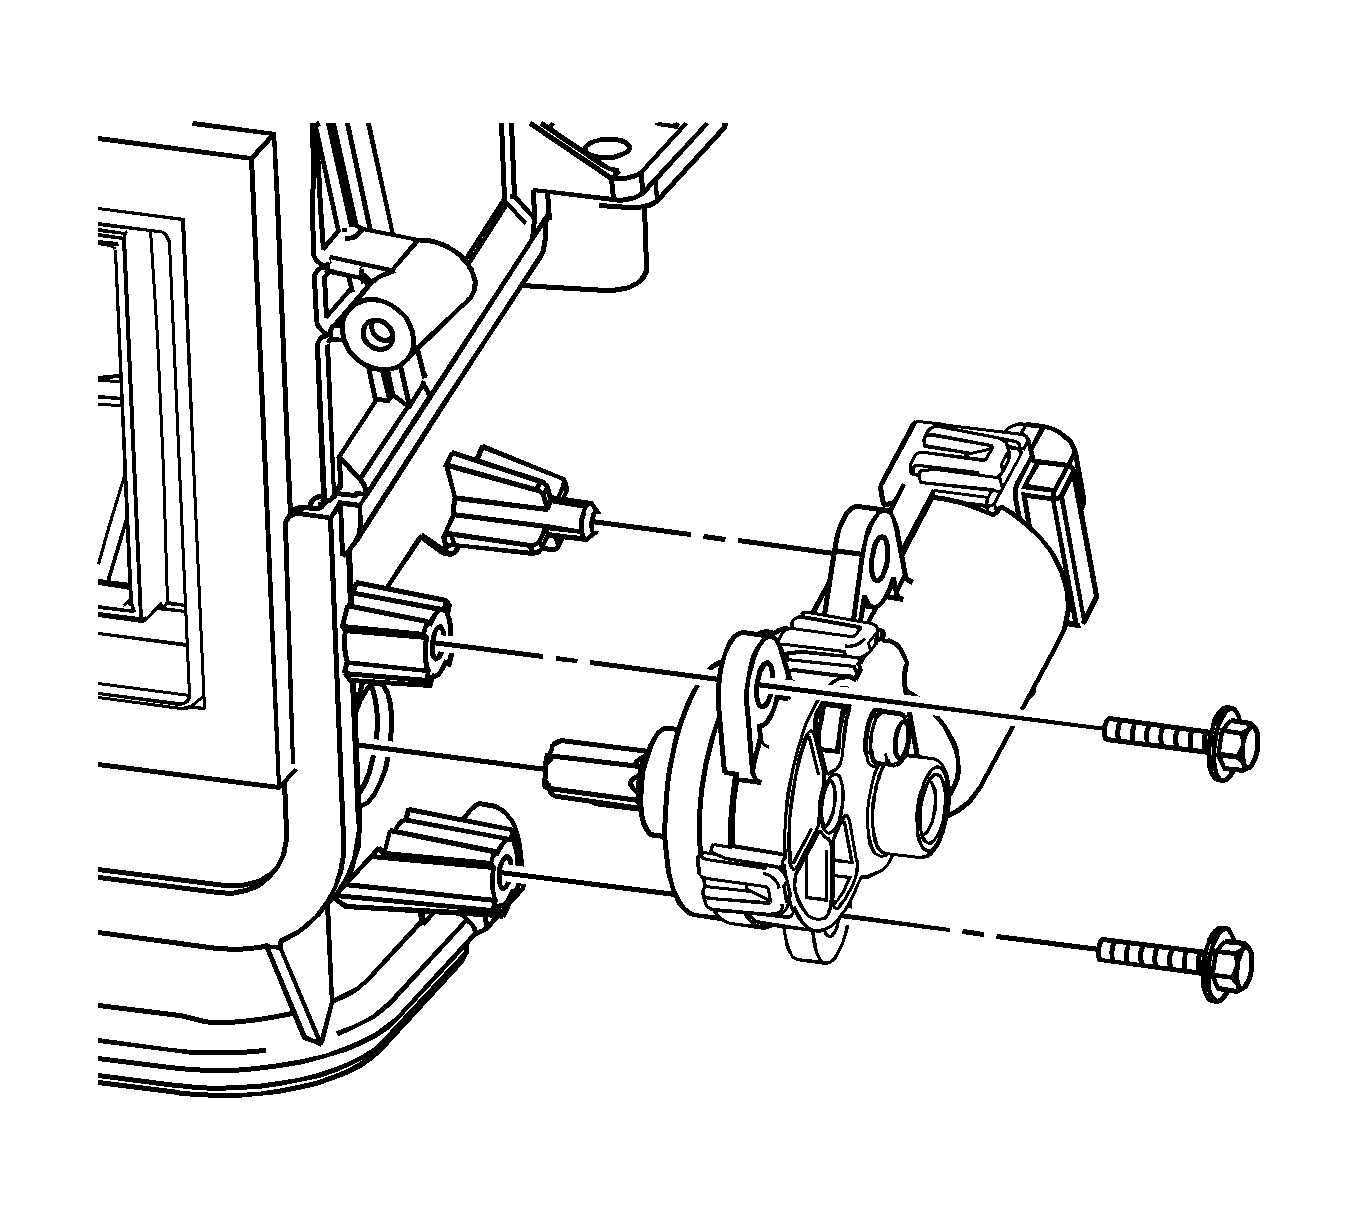
- Remove the air temperature actuator screws.
- Remove the air temperature actuator.
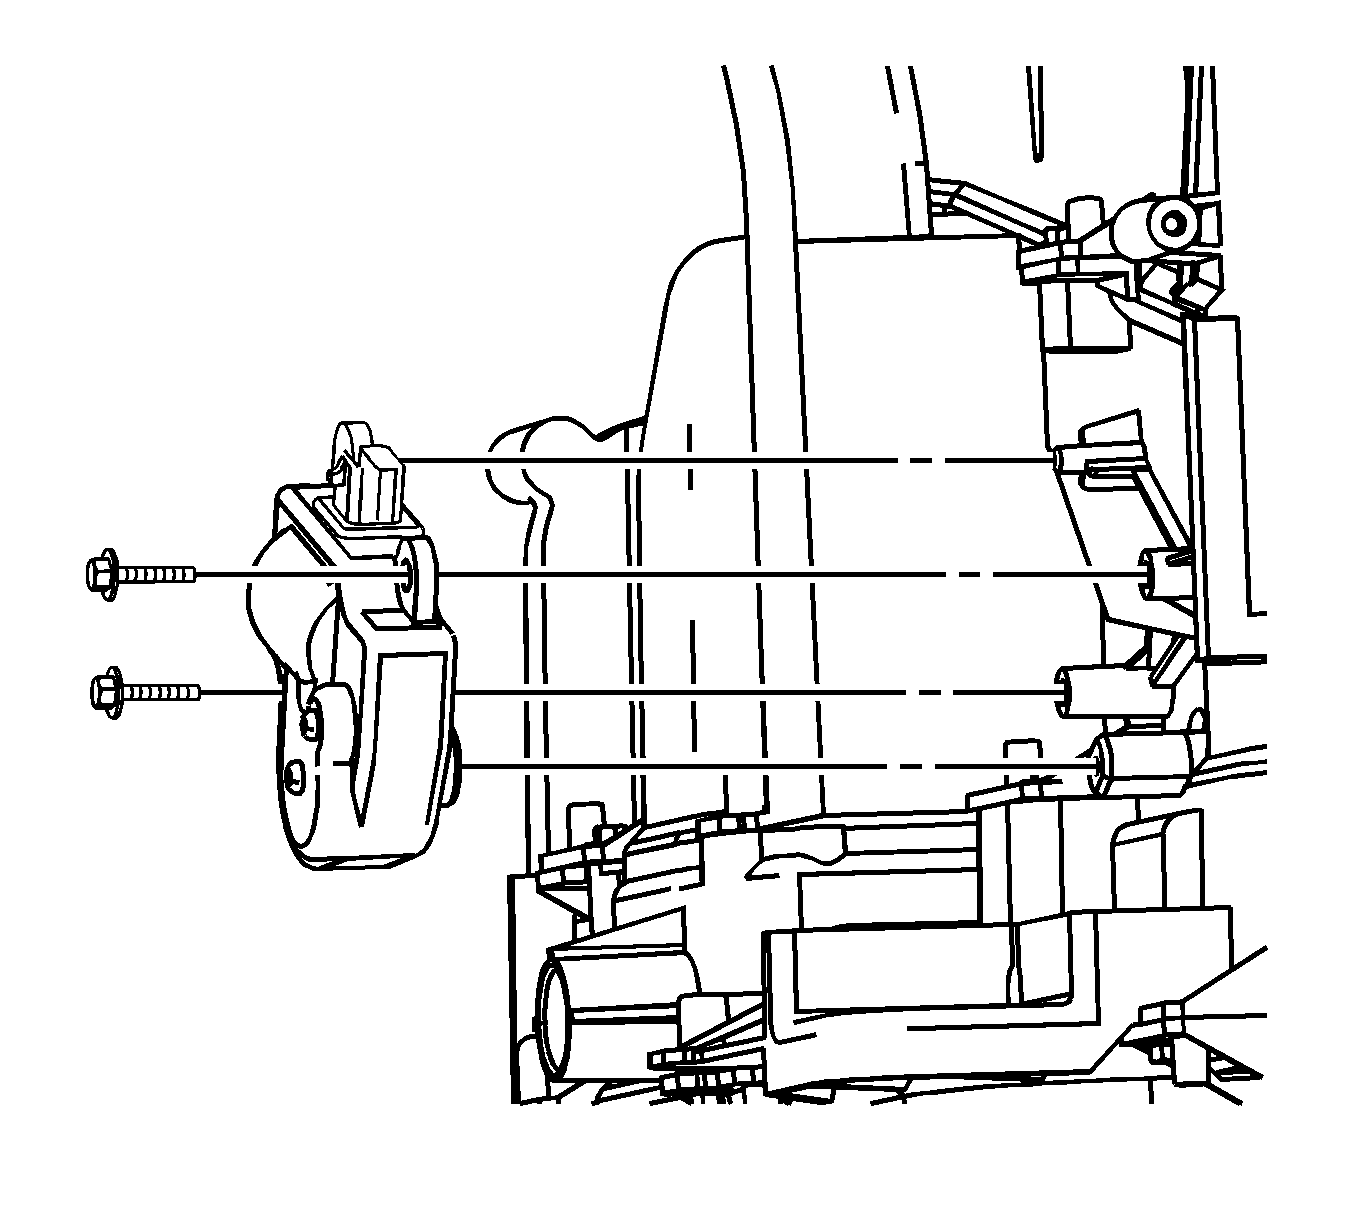
- Remove the mode actuator screws.
- Remove the mode actuator.
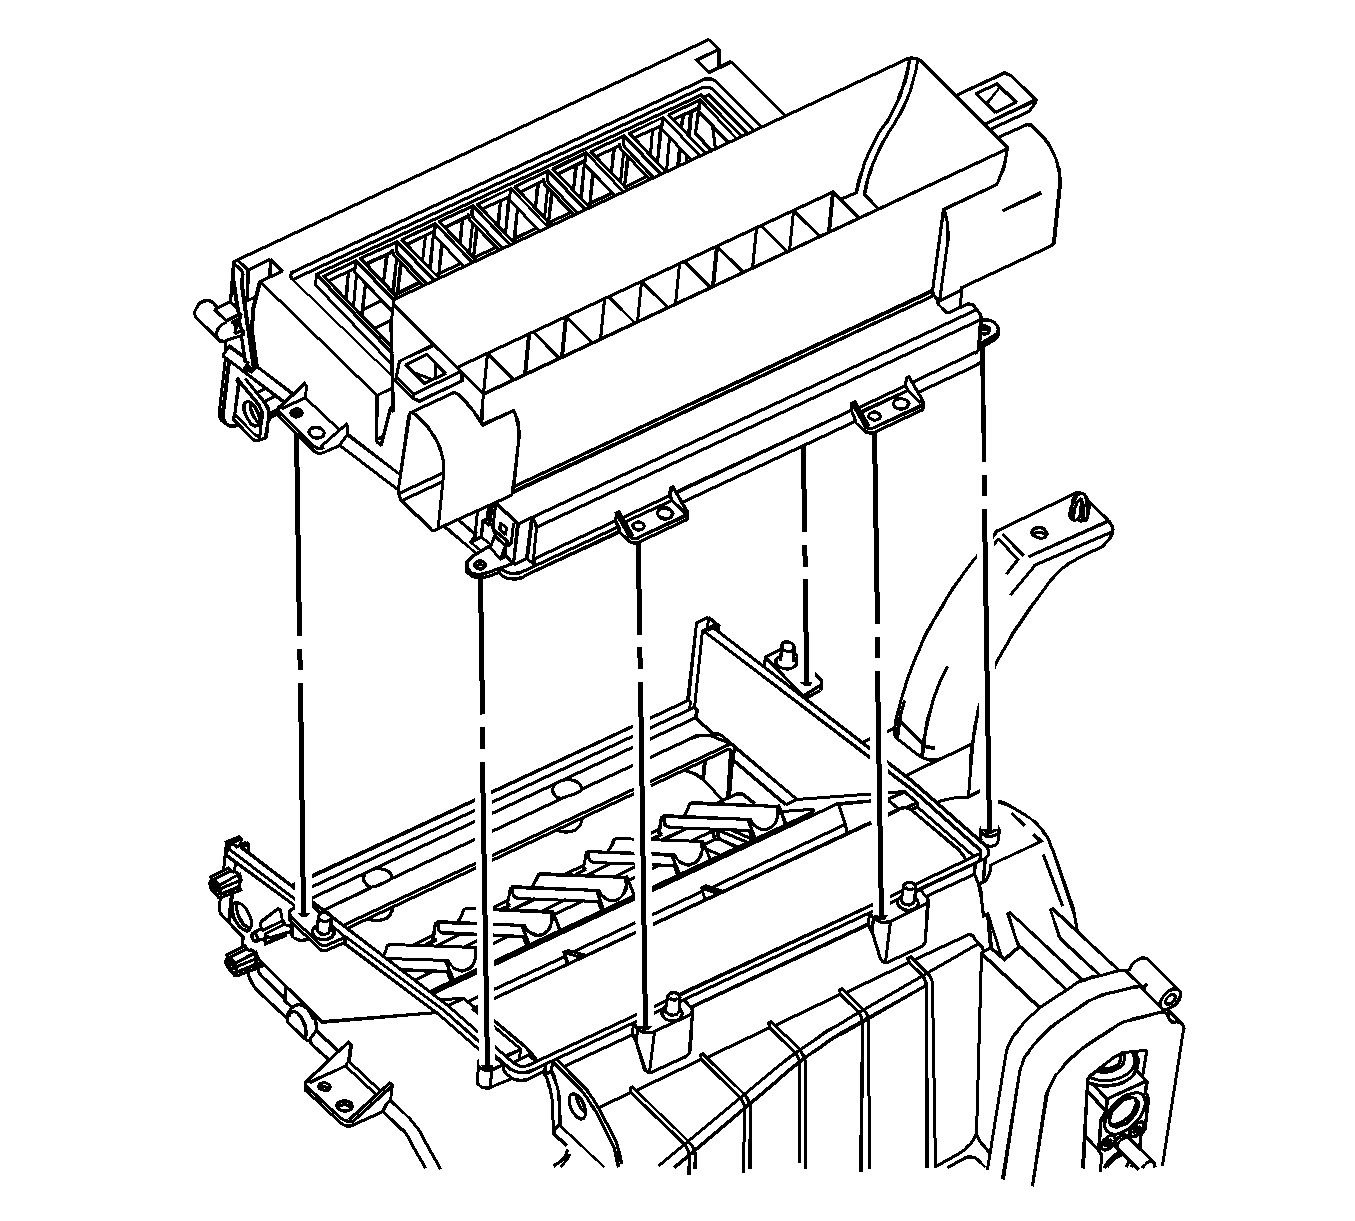
- Drill out the mode valve assembly heat stakes.
- Remove the mode valve assembly screws.
- Remove the mode valve assembly.
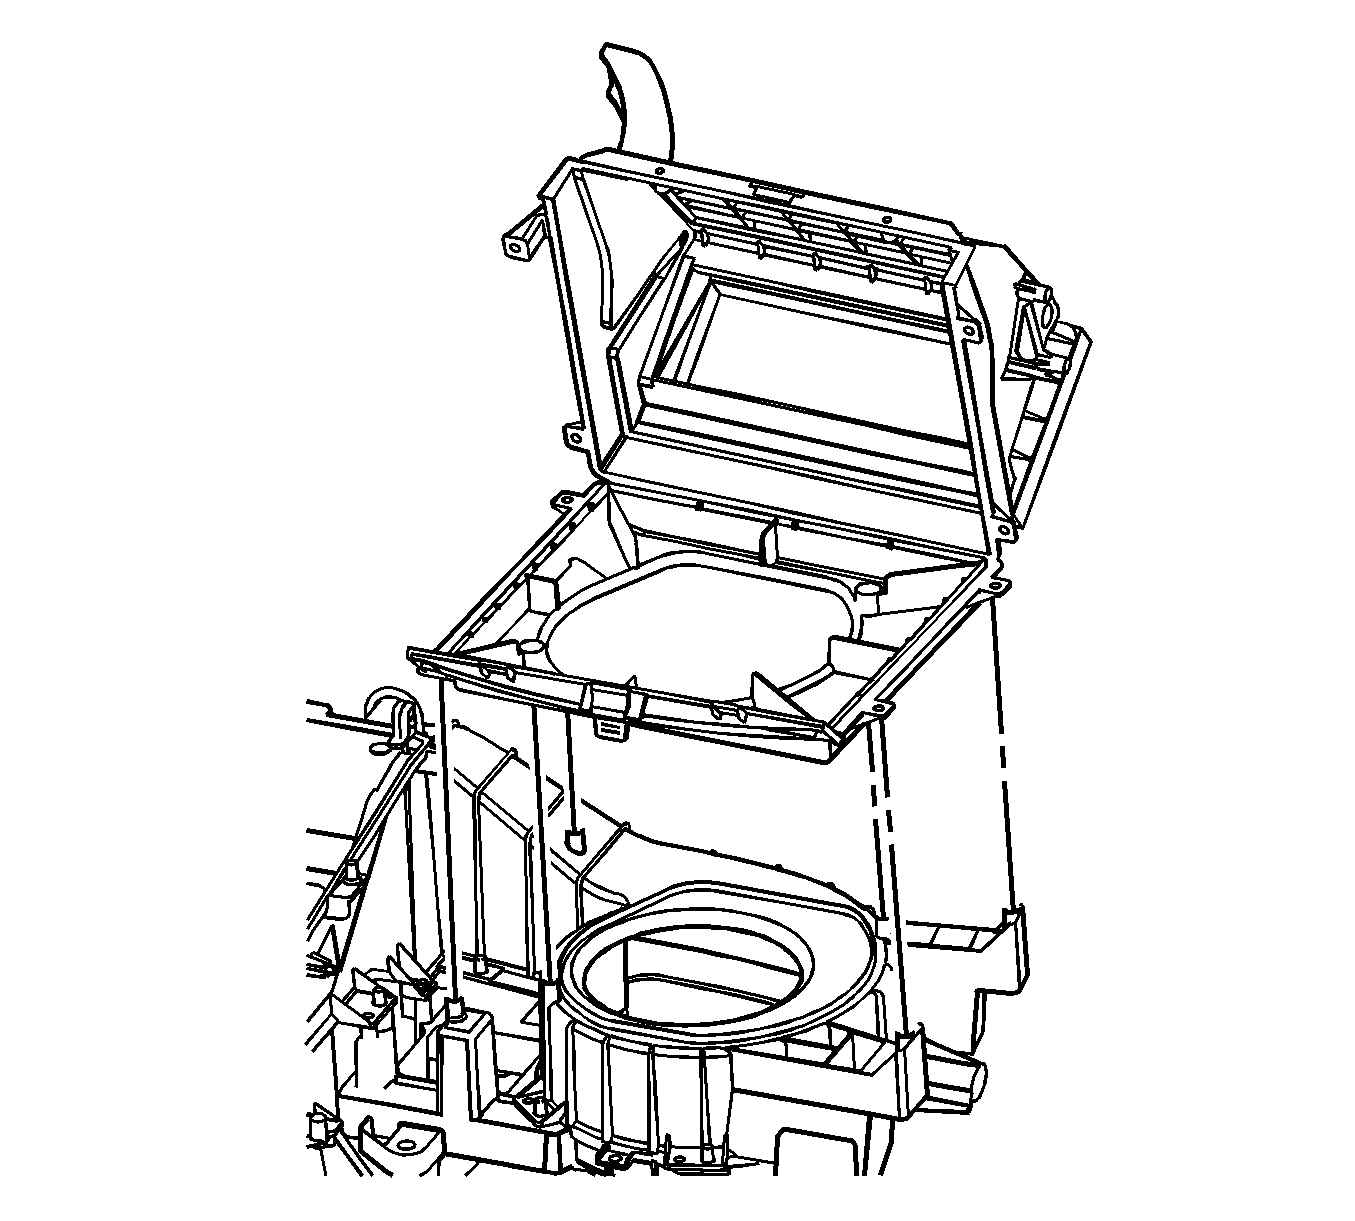
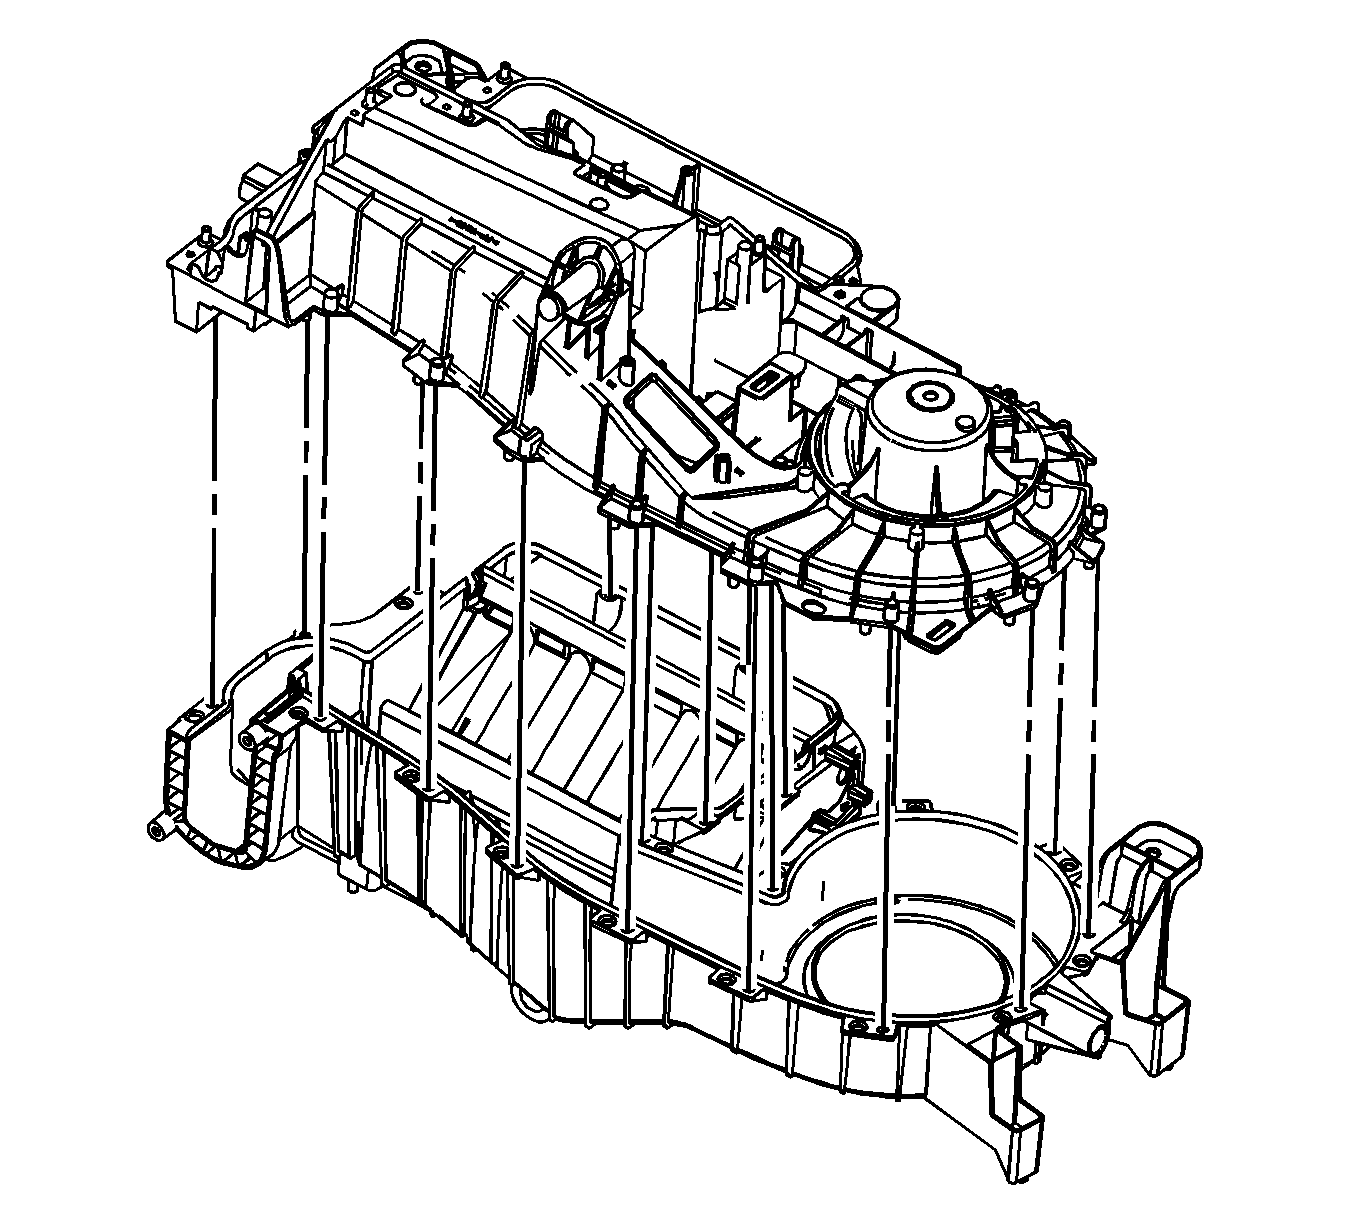
- Drill out the lower HVAC module case heat stakes.
- Remove the lower HVAC module case screws.
- Remove the lower HVAC module case.
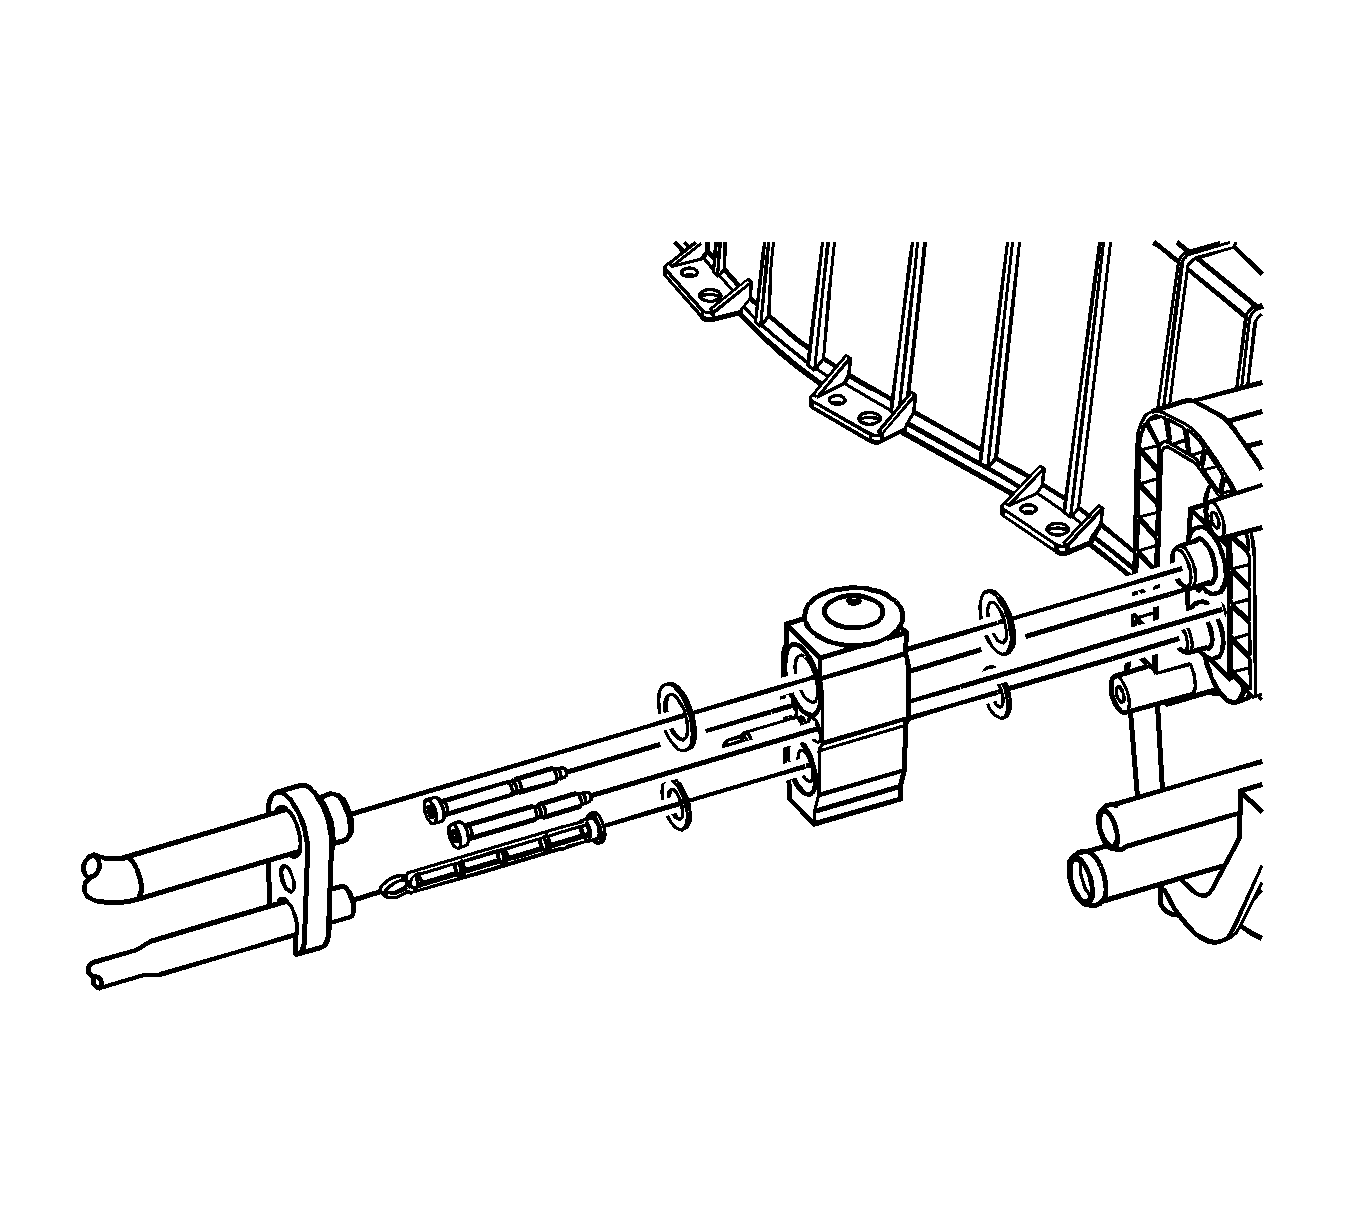
- Remove the thermal expansion valve screws.
- Remove the thermal expansion valve.
- Remove and discard the sealing washers
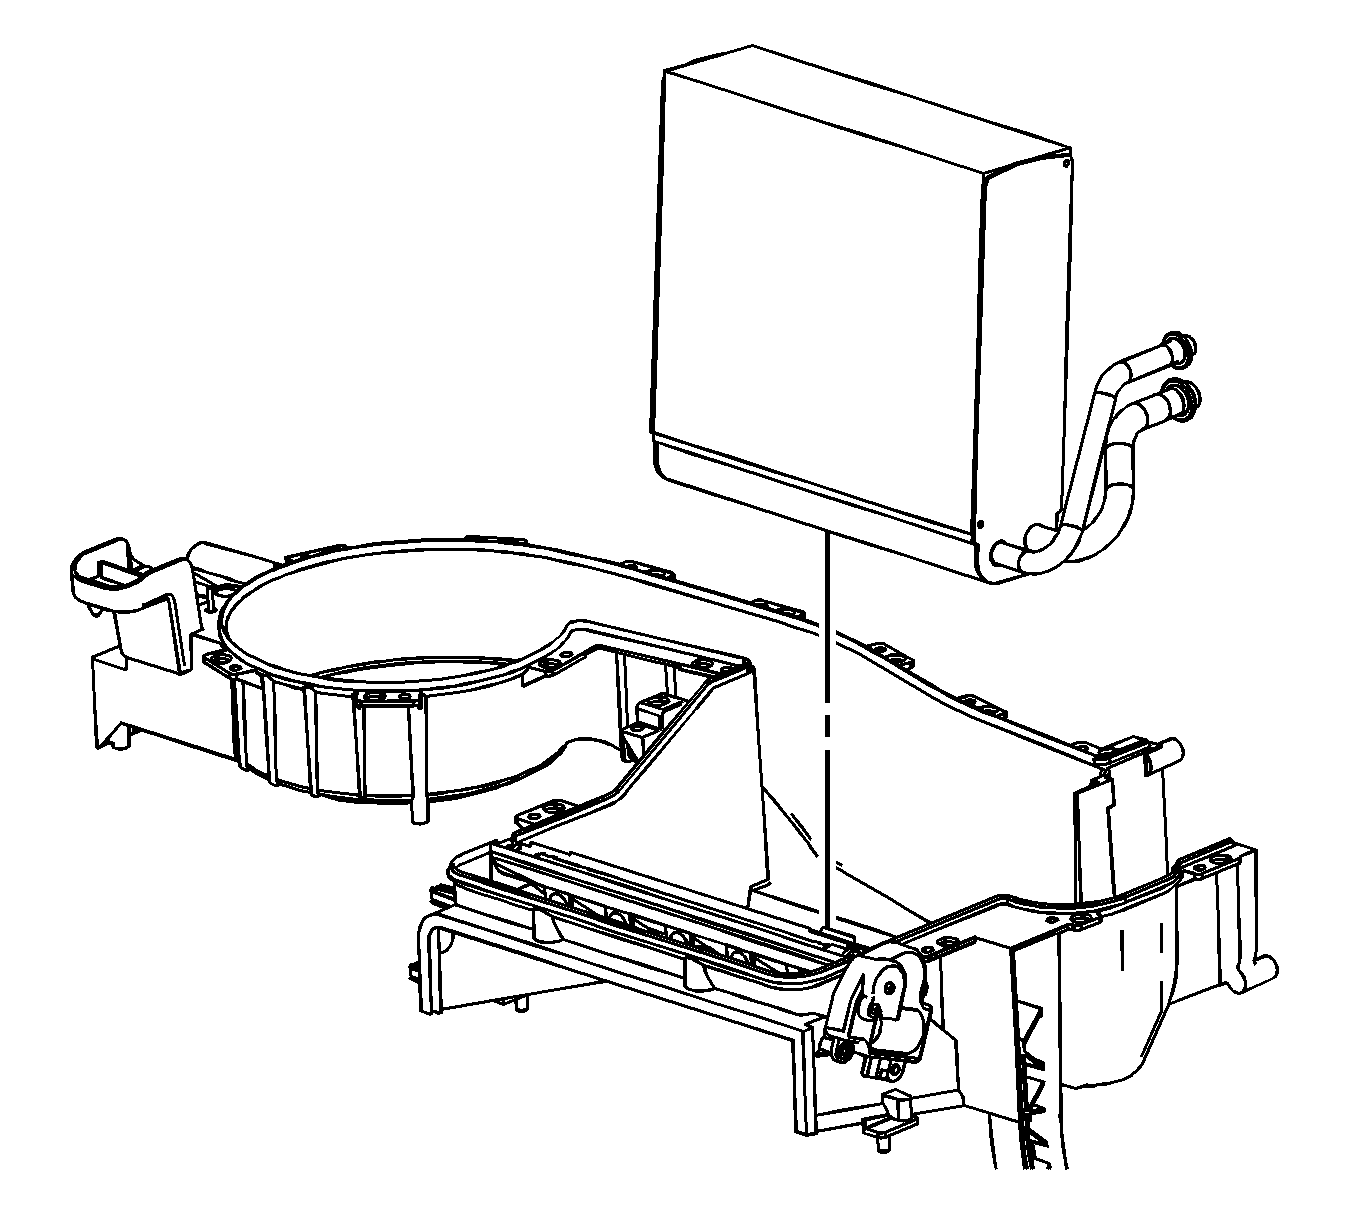
- Remove the evaporator.
Installation Procedure
- If replacing the evaporator, add the specific amount of PAG® oil directly to the evaporator. Refer to Refrigerant System Capacities
- Install the evaporator.
- Install new sealing washers. Refer to Sealing Washer Replacement .
- Install the thermal expansion valve.
- Install the thermal expansion valve screws.
- Install the lower HVAC module case.
- Install the lower HVAC module case screws.
- Install the mode valve assembly.
- Install the mode valve assembly screws.
- Install the mode actuator.
- Install the mode actuator screws.
- Install the air temperature actuator.
- Install the air temperature actuator screws.
- Install the air inlet assembly.
- Install the air inlet assembly screws.
- Install the upper center floor air outlet duct.
- Install the upper center floor air outlet duct screws.
- Install the lower center floor air outlet duct.
- Install the HVAC module assembly. Refer to HVAC Module Assembly Replacement .


Notice: Refer to Fastener Notice in the Preface section.
Tighten
Tighten the screws to 7 N·m (62 lb in).

Tighten
Tighten the screws to 1.5 N·m (13 lb in).

Tighten
Tighten the screws to 1.5 N·m (13 lb in).

Tighten
Tighten the screws to 1.5 N·m (13 lb in).

Tighten
Tighten the screws to 1.5 N·m (13 lb in).

Tighten
Tighten the screws to 1.5 N·m (13 lb in).

Tighten
Tighten the screws to 1.5 N·m (13 lb in).
