For 1990-2009 cars only
Front Compartment Front Rail Sectioning Steel Dash
Removal Procedure
- Disable the SIR system. Refer to SIR Disabling and Enabling .
- Disconnect the negative battery cable. Refer to Battery Negative Cable Disconnection and Connection .
- Remove all of the related panels and the components.
- Remove the sealers and anti-corrosion materials from the repair area, as necessary. Refer to Anti-Corrosion Treatment and Repair .
- Repair as much of the damage as possible to factory specifications. Refer to Dimensions - Body .
- Remove the tie bar attach bracket.
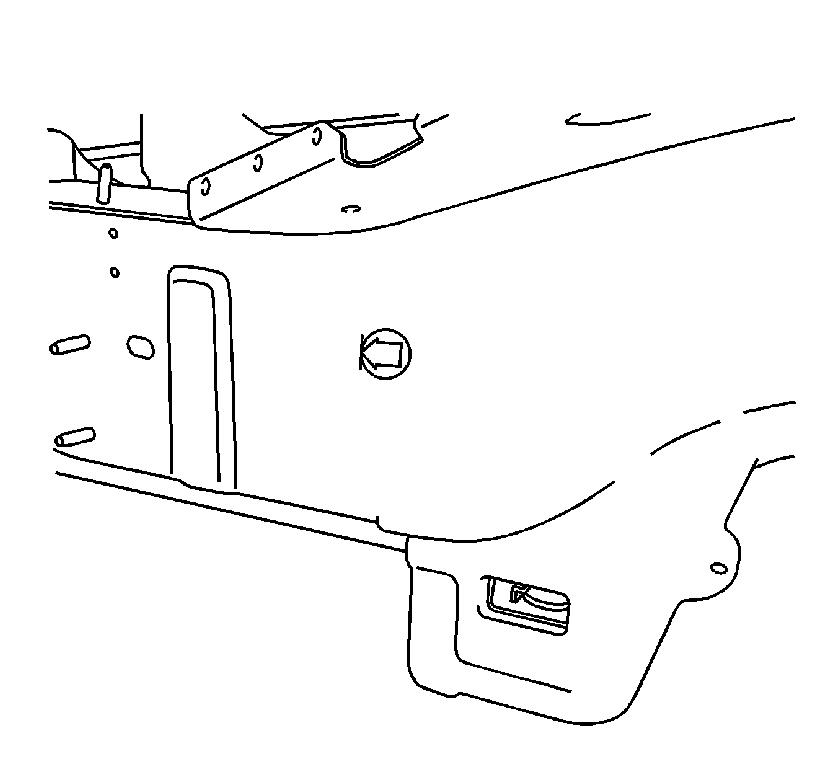
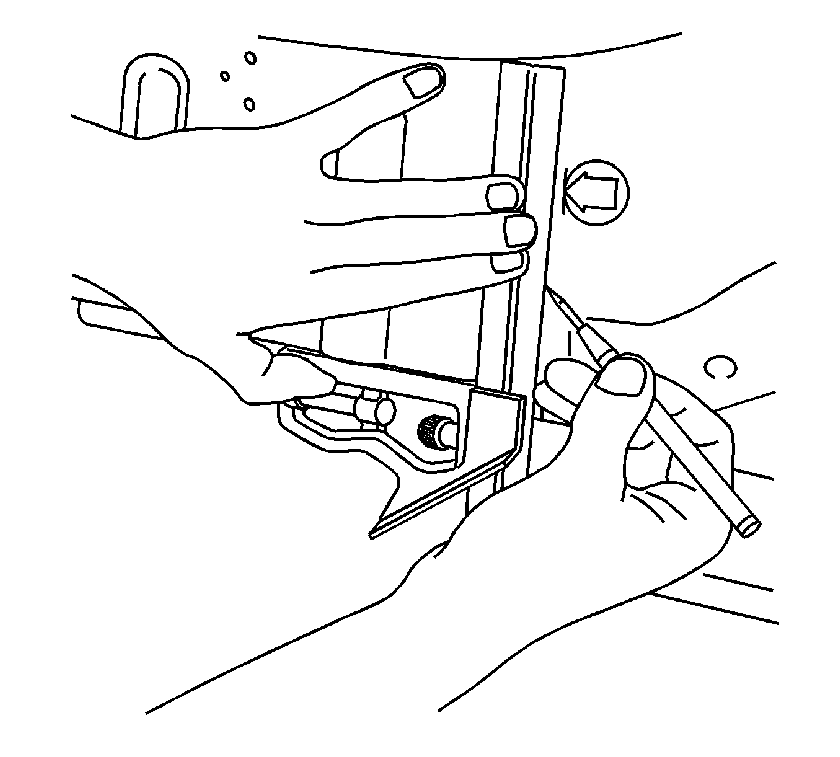
- Locate the die marks on the inner and outer halves of the front rail .
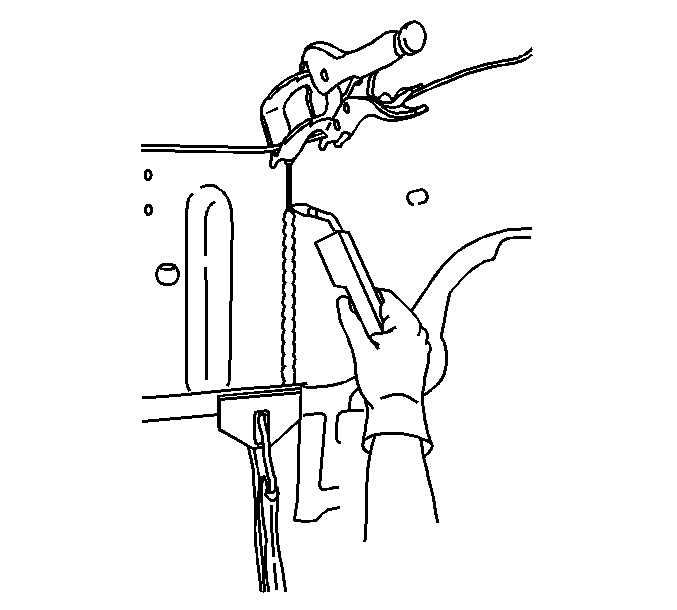
- At the tip of the arrow in the die mark, align a sliding square or similar tool to the bottom side of the front rail. Scribe a line 360 degrees around the frame rail.
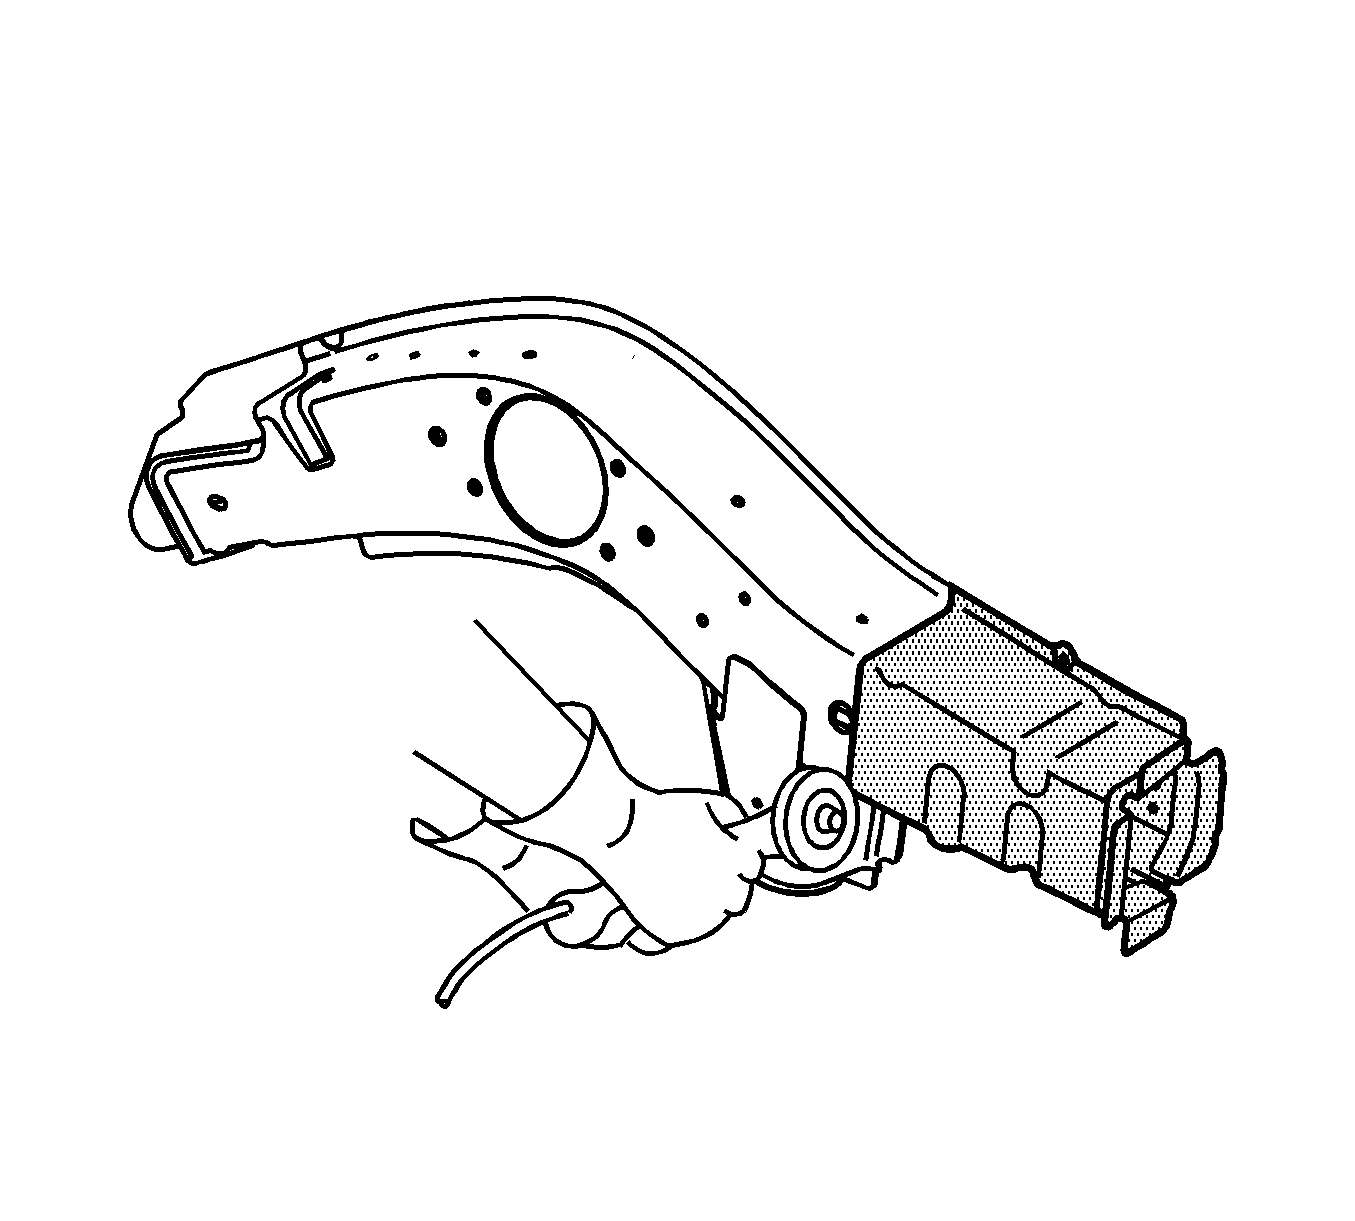
- Cut the rail at the marked location.
- Remove the damaged component from the vehicle.
Caution: Refer to Approved Equipment for Collision Repair Caution in the Preface section.
Caution: Sectioning should be performed only in the recommended areas. Failure to do so may compromise the structural integrity of the vehicle and cause personal injury if the vehicle is in a collision.
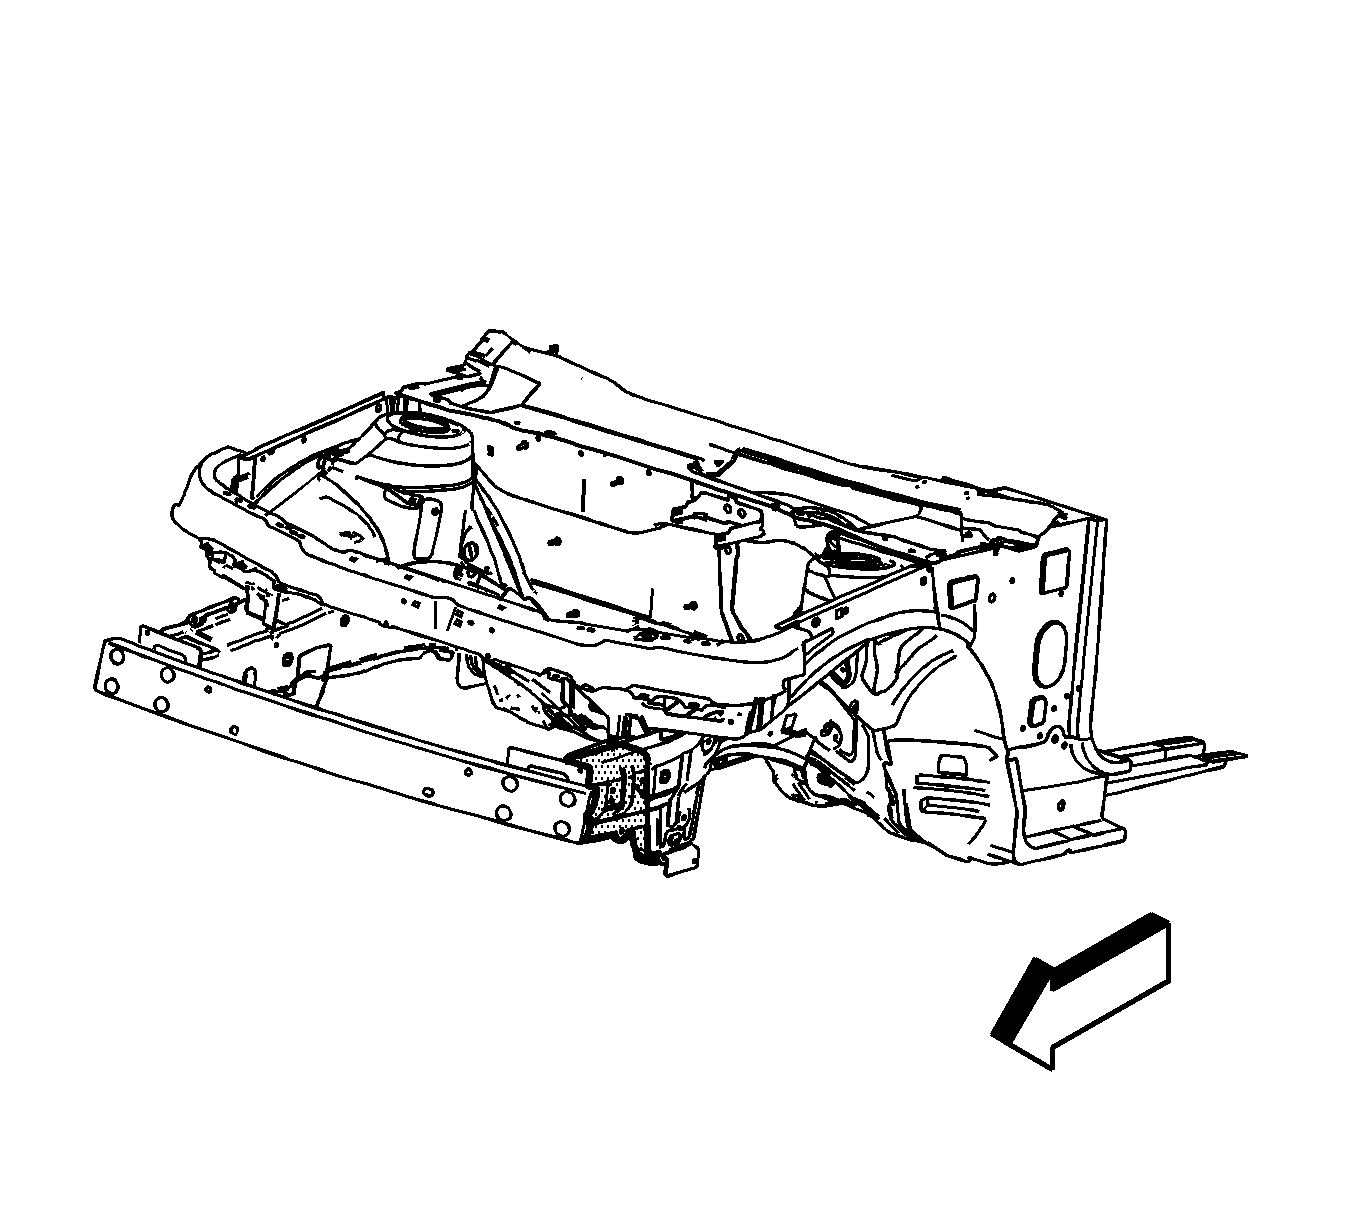
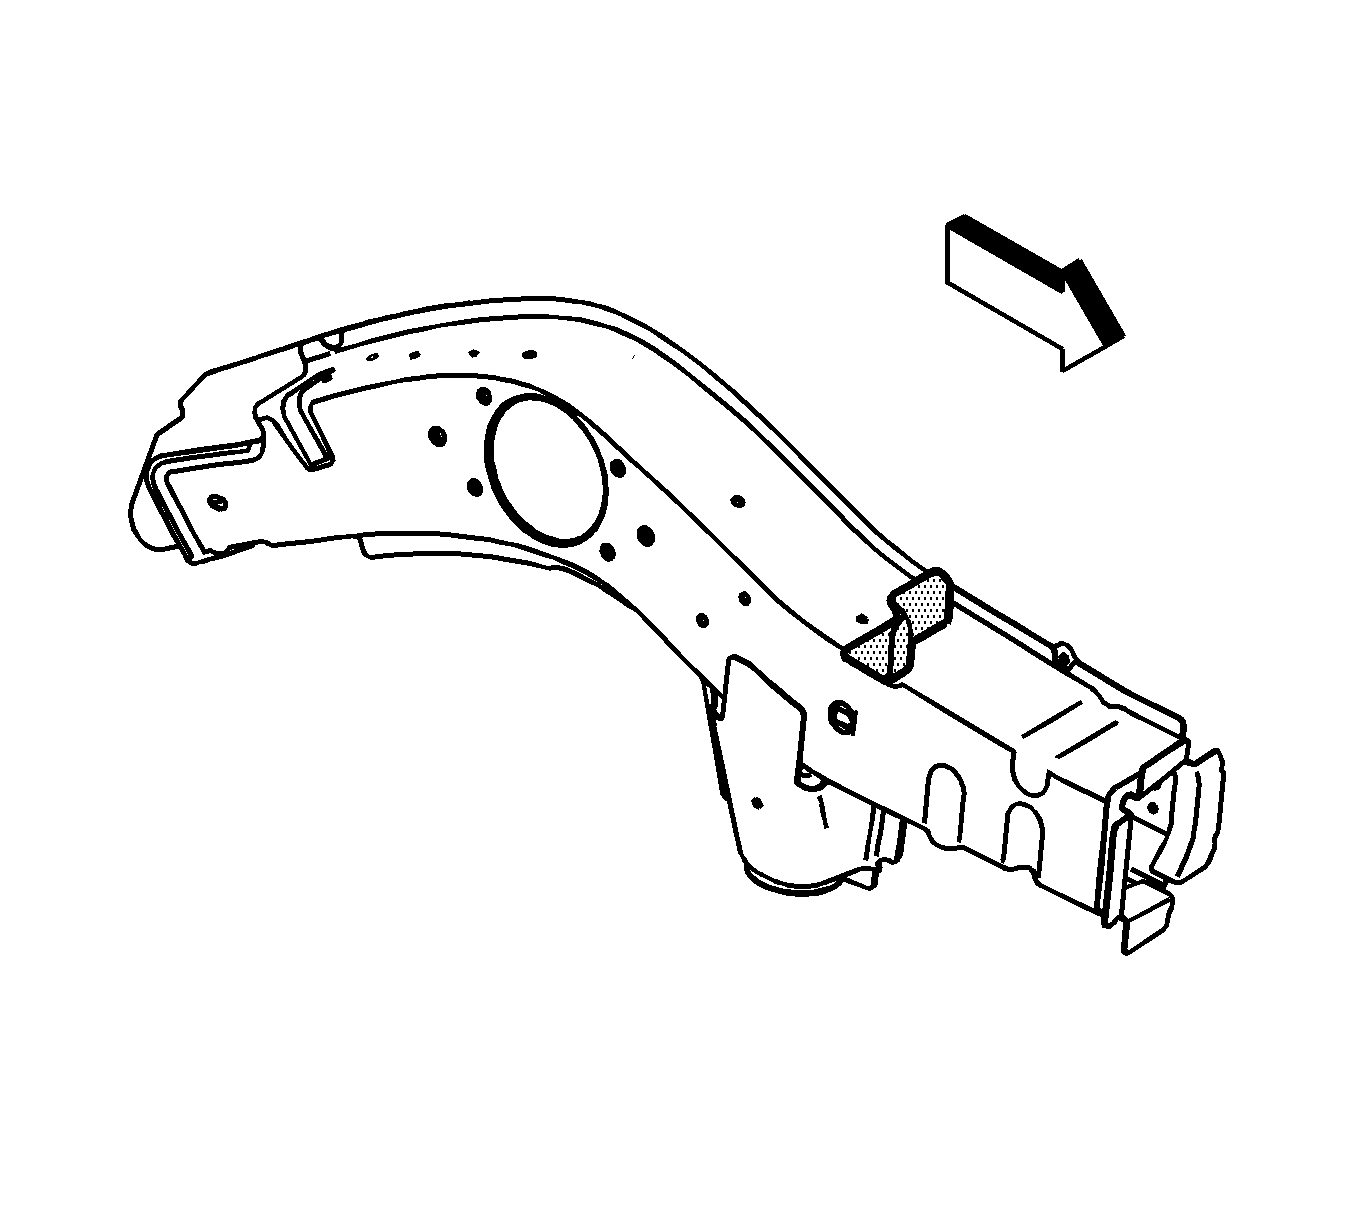
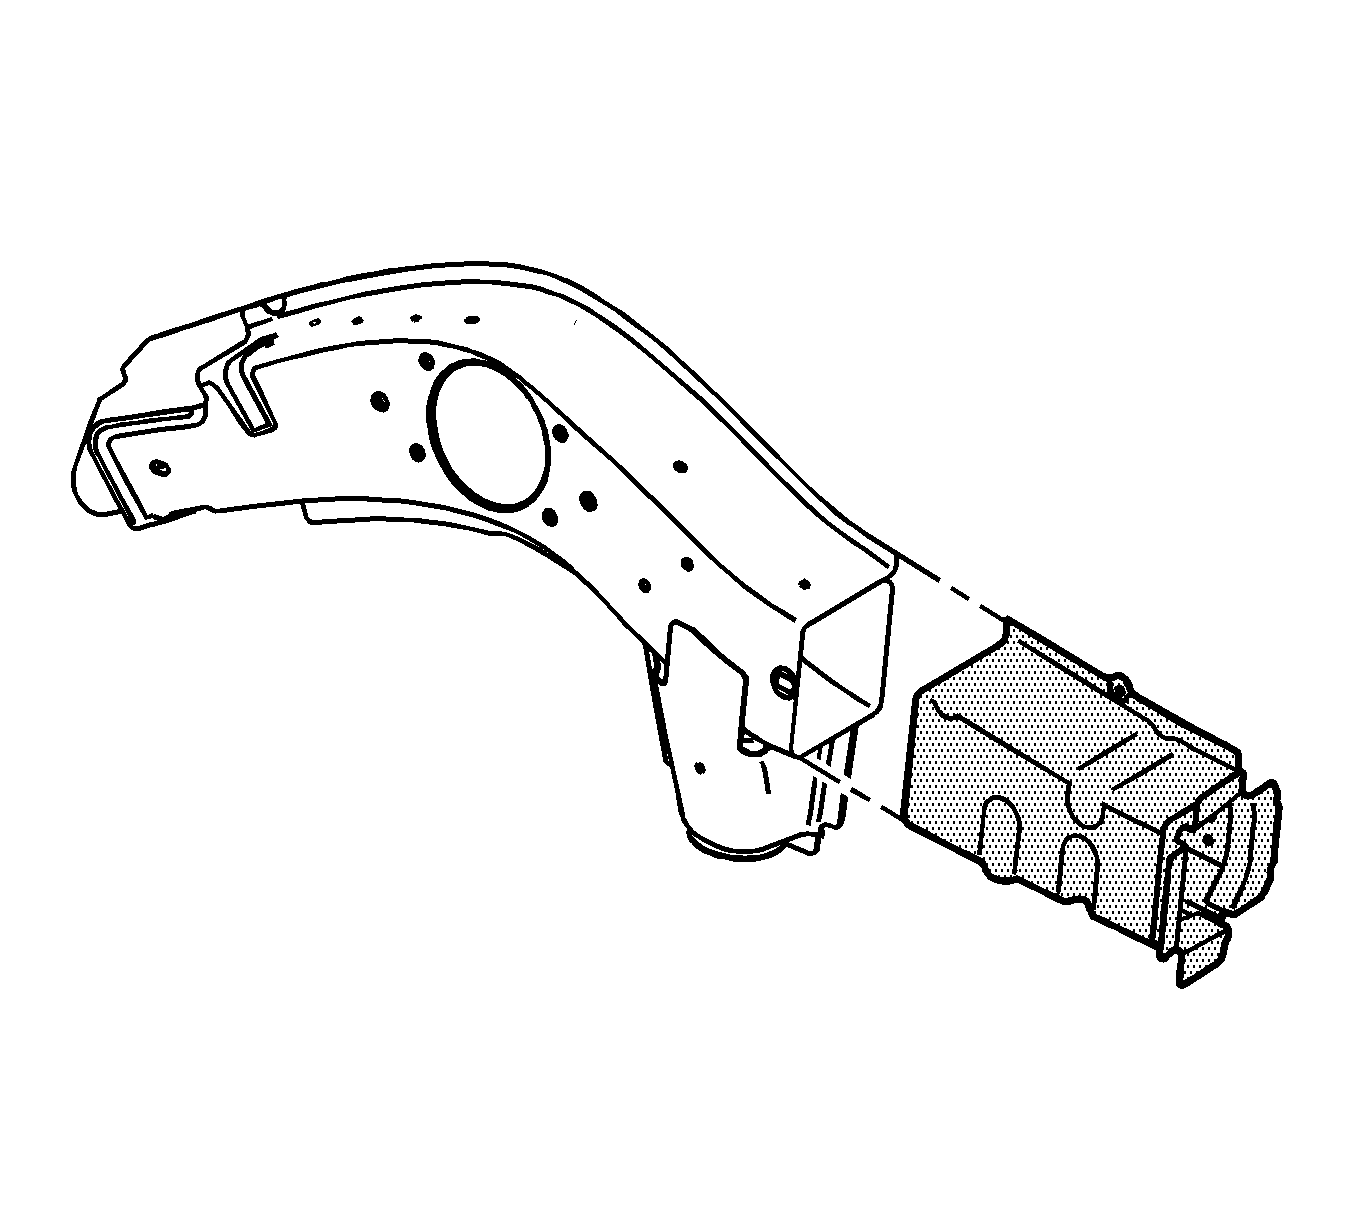
Important: Do not section the rail except where indicated.
Installation Procedure
- In order to create the service part, complete the following steps:
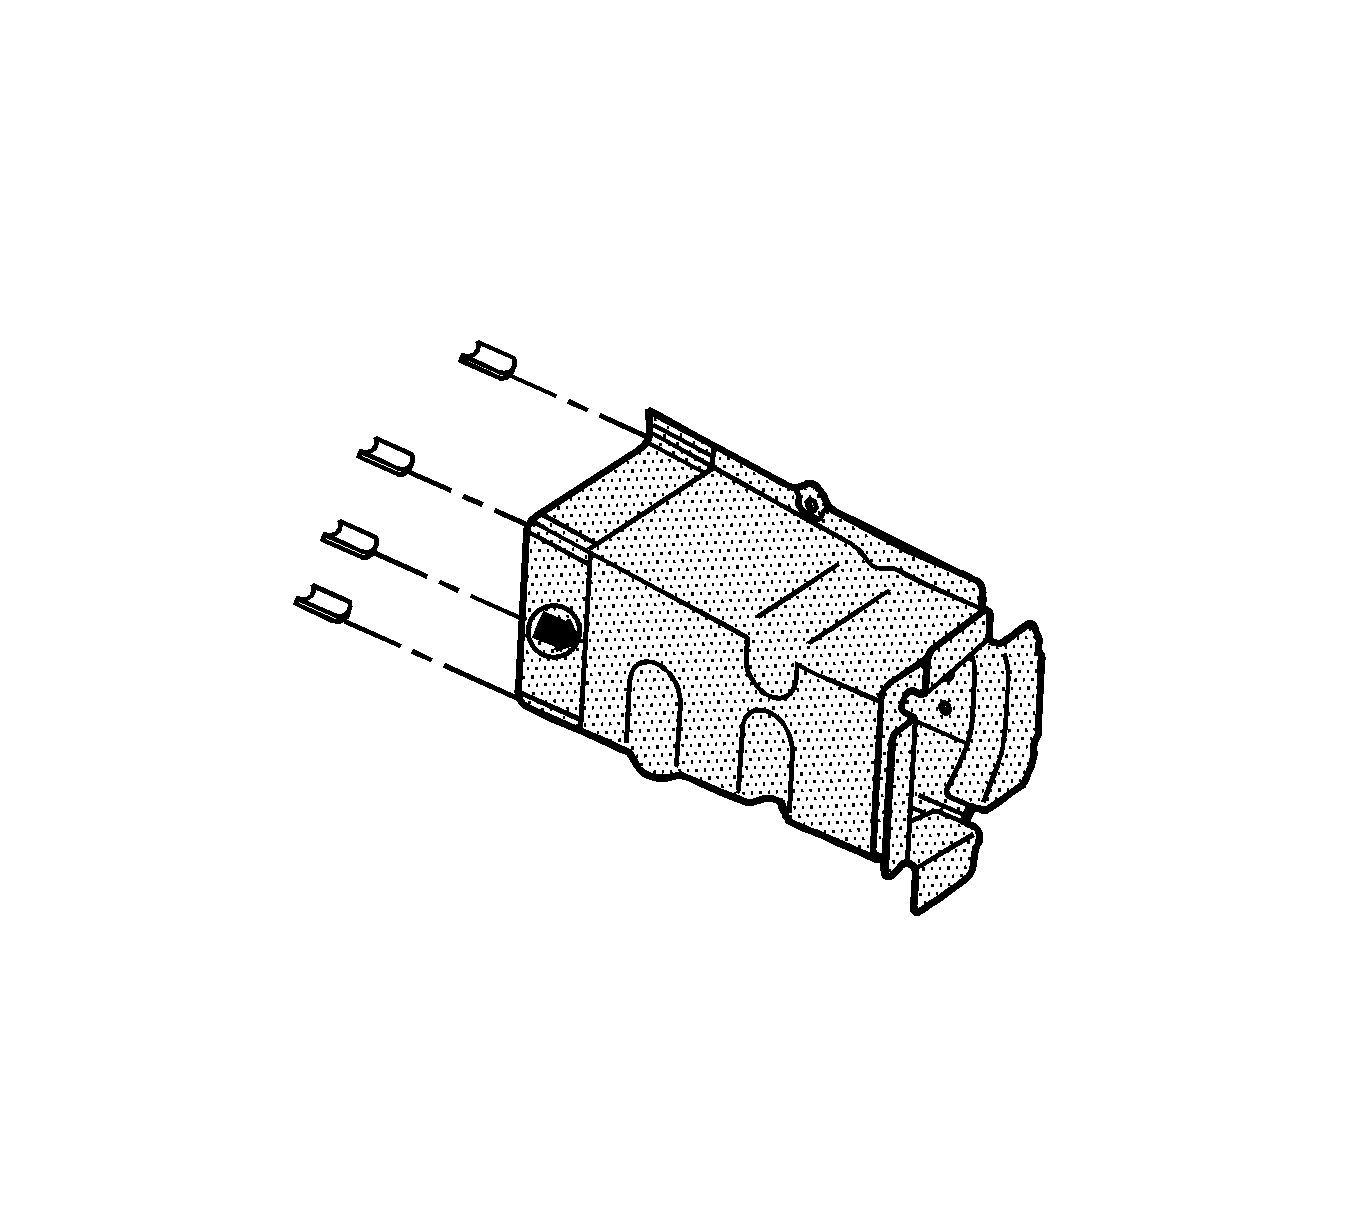
- Cut the upper and lower inner and outer corners of the frame rail. Cut at the beginning and the end of the radius at each corner rearward 20 mm (3/4 in) to the scribe line.
- Bend each side of the rail inward by aligning a vice grip flanging tool or similar tool to the scribe line. Bend a 20 mm (3/4 in) flange inward slightly. This flange is the welding backer that will fit into the existing frame rail on the vehicle.
- Prepare the sectioning weld area as necessary for welding.
- Apply GM-approved weld-thru coating or equivalent to all mating surfaces. Refer to Anti-Corrosion Treatment and Repair .
- Insert the service rail into the undamaged frame rail of the vehicle.
- Position the front rail section using 3-dimensional measuring equipment. Clamp the service part in place.
- Tack weld the part into position.
- Inspect the service rail for proper dimensions using 3-dimensional measuring equipment.
- Stitch weld along the entire sectioning joint. Make 25 mm (1 in) welds along the seam with 25 mm (1 in) gaps between.
- Complete the stitch weld.
- Install the tie bar attach bracket.
- Clean and prepare the welded surfaces.
- Install all of the related panels and components.
- Apply the sealers and anti-corrosion materials to the repair area, as necessary. Refer to Anti-Corrosion Treatment and Repair .
- Paint the repaired area. Refer to Anti-Corrosion Treatment and Repair .
- Enable the SIR system. Refer to SIR Disabling and Enabling .
- Connect the negative battery cable. Refer to Battery Negative Cable Disconnection and Connection .
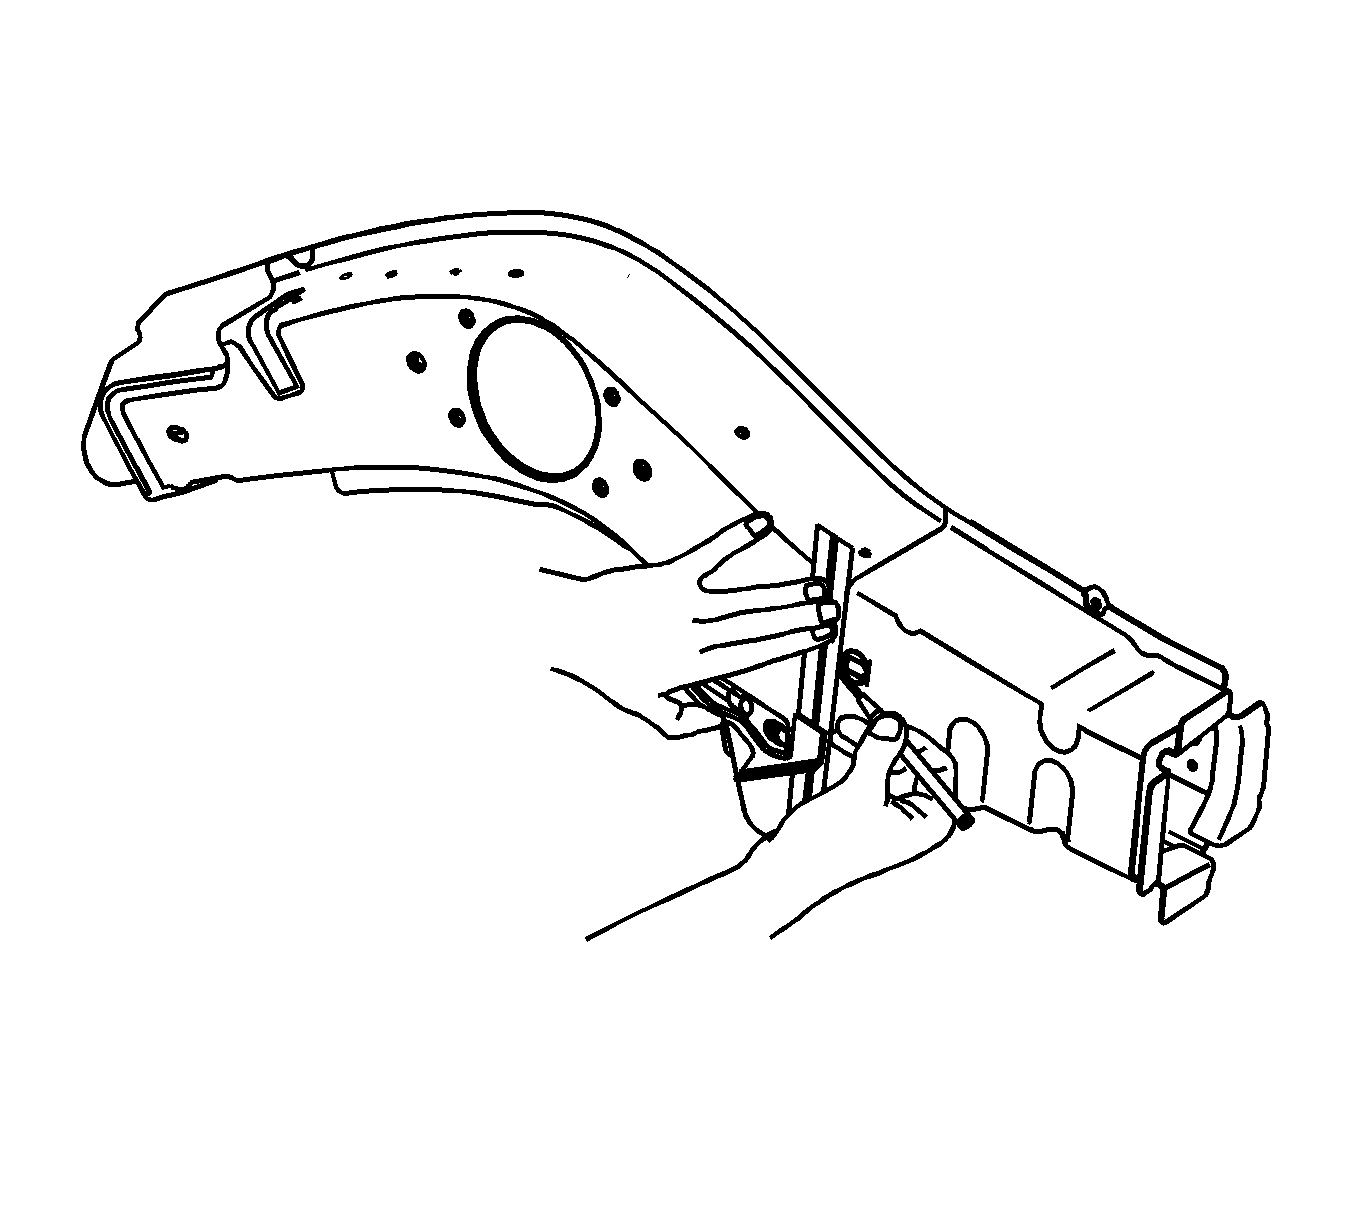
| 1.1. | At the back side of the die mark on the service part, align a sliding square or similar tool to this line and the bottom side of the front lower rail. Scribe a line completely around the frame rail. |
| 1.2. | Cut the rail at the marked located. |
| 1.3. | Remove the front portion of the rail. This is the service part. |
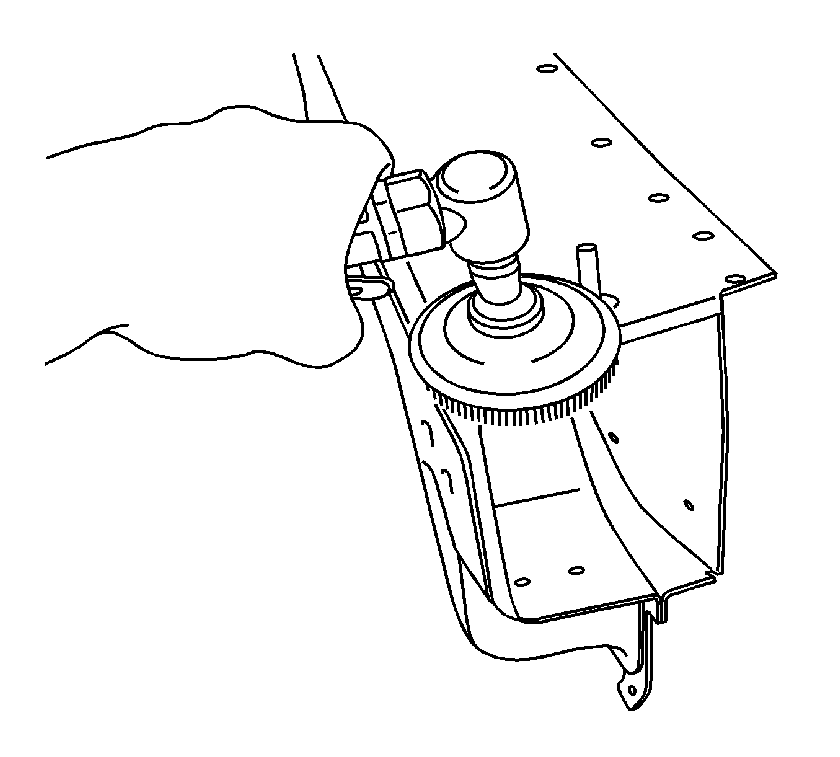
Important: Allow for a snug fit.

