For 1990-2009 cars only
Tools Required
| • | J 37872 Universal Spanner Wrench |
| • | J 6083 Snap Ring Pliers |
Removal Procedure
- Raise the vehicle. Refer to Lifting and Jacking the Vehicle .
- Remove the right front fender liner. Refer to Front Fender Liner Replacement .
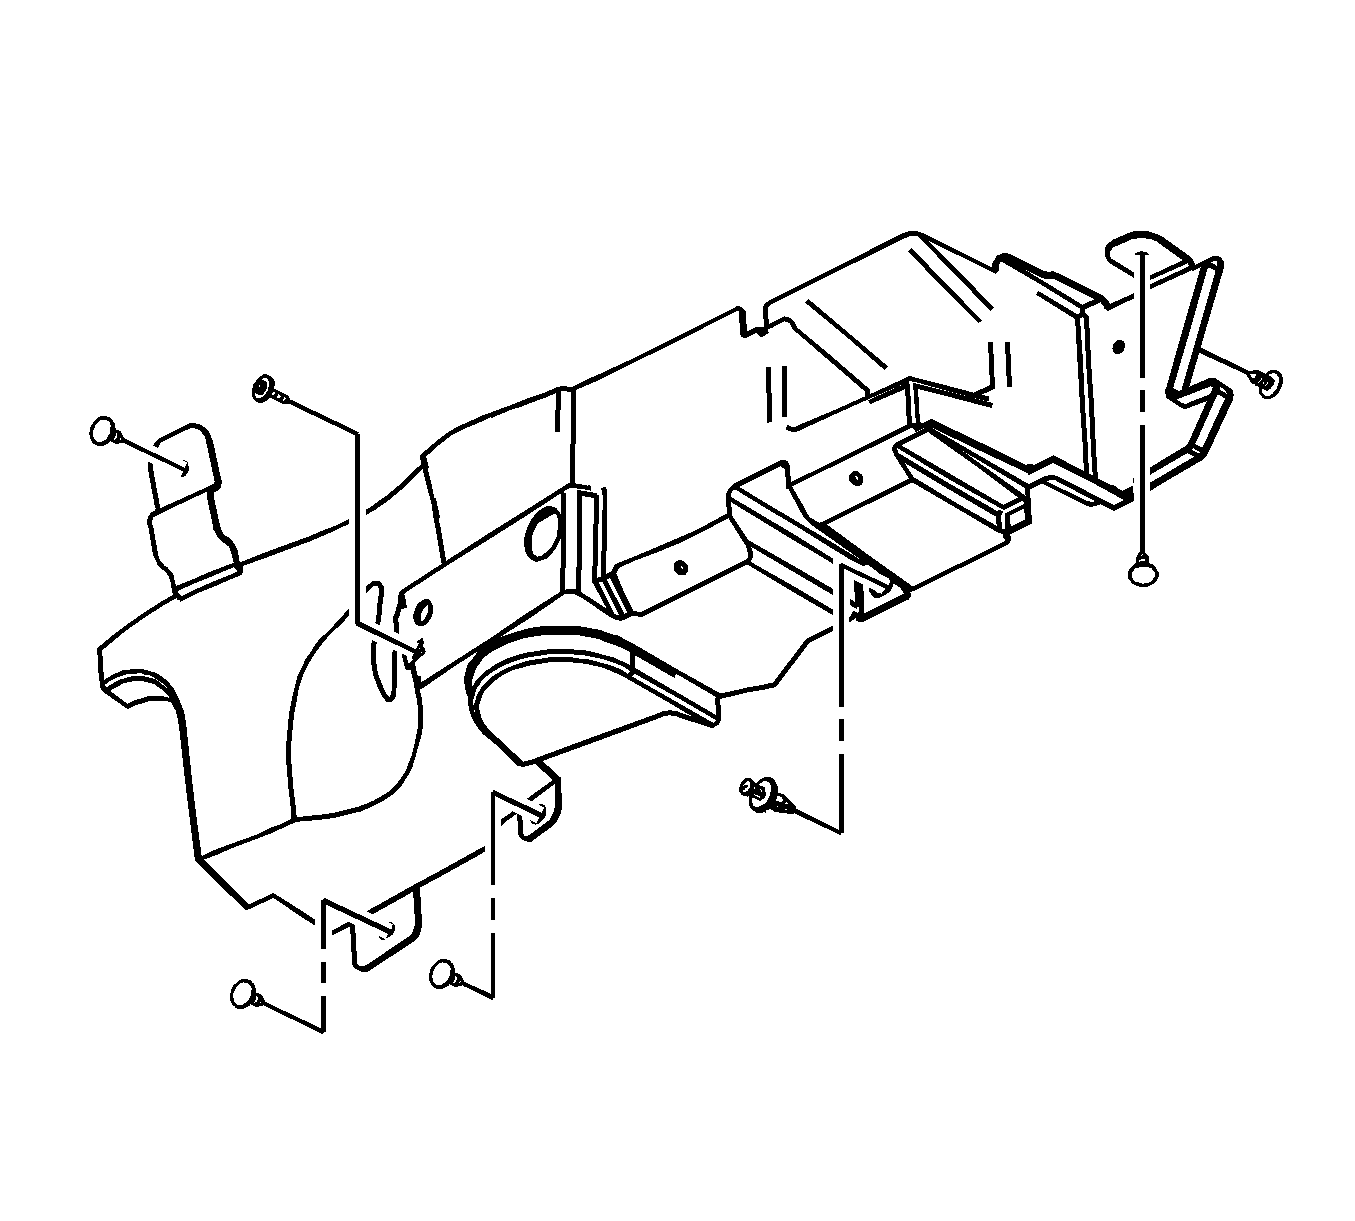
- Remove the right radiator air deflector retainers.
- Remove the right radiator air deflector.
- Remove the engine drive belt. Refer to Drive Belt Replacement .
- Remove the compressor mounting bolts.
- Remove the compressor from the engine with compressor line attached.
- Remove and discard the compressor clutch plate bolt.
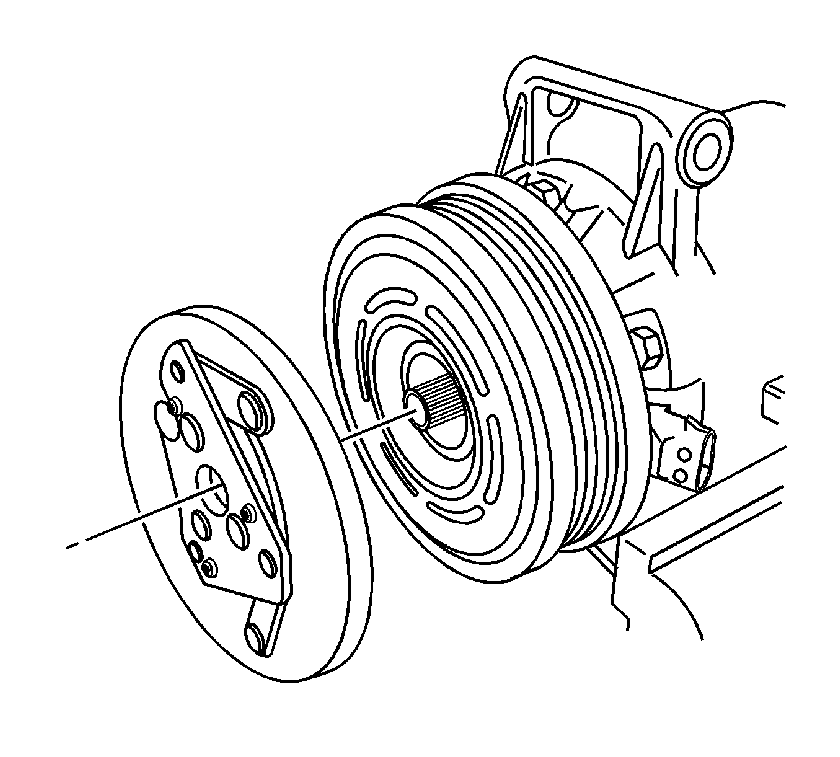
- Remove the compressor clutch plate from the compressor.
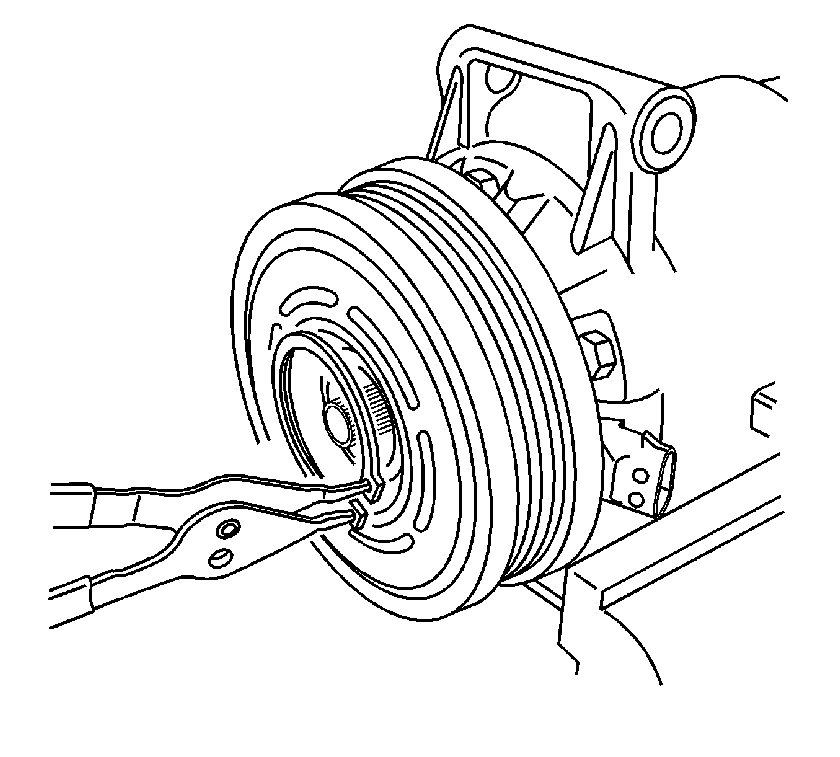
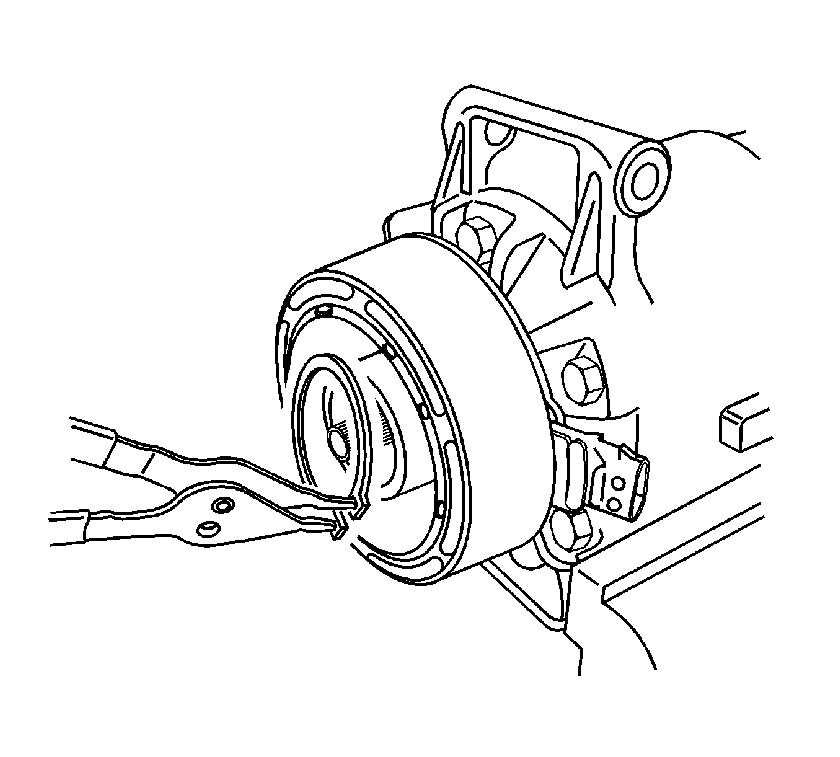
- Remove the compressor pulley snap ring using the J 6083 .
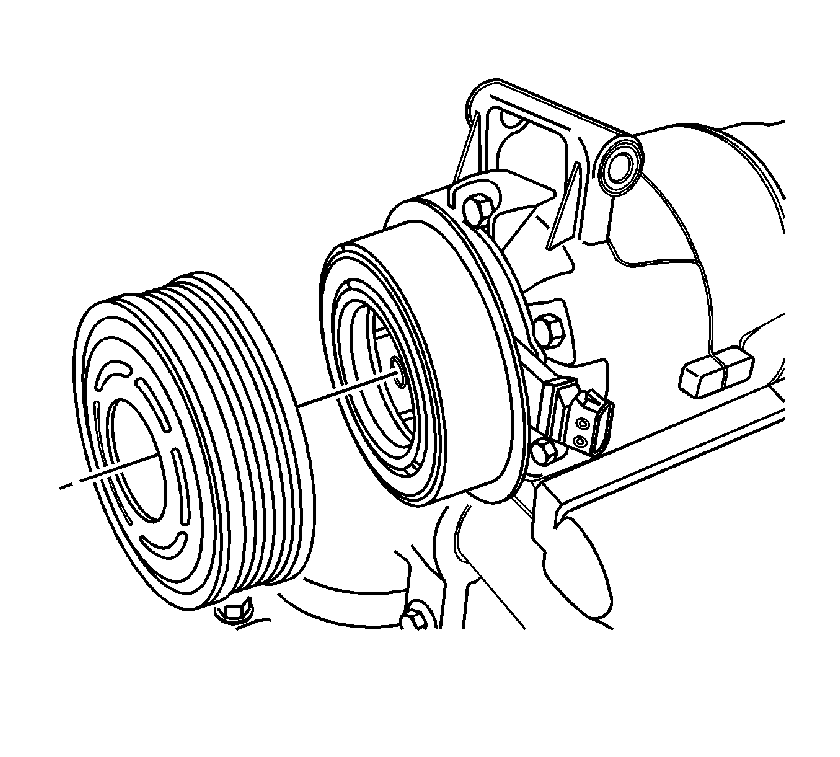
- Remove the compressor pulley from the compressor.
- Remove the compressor clutch coil snap ring using the J 6083 .
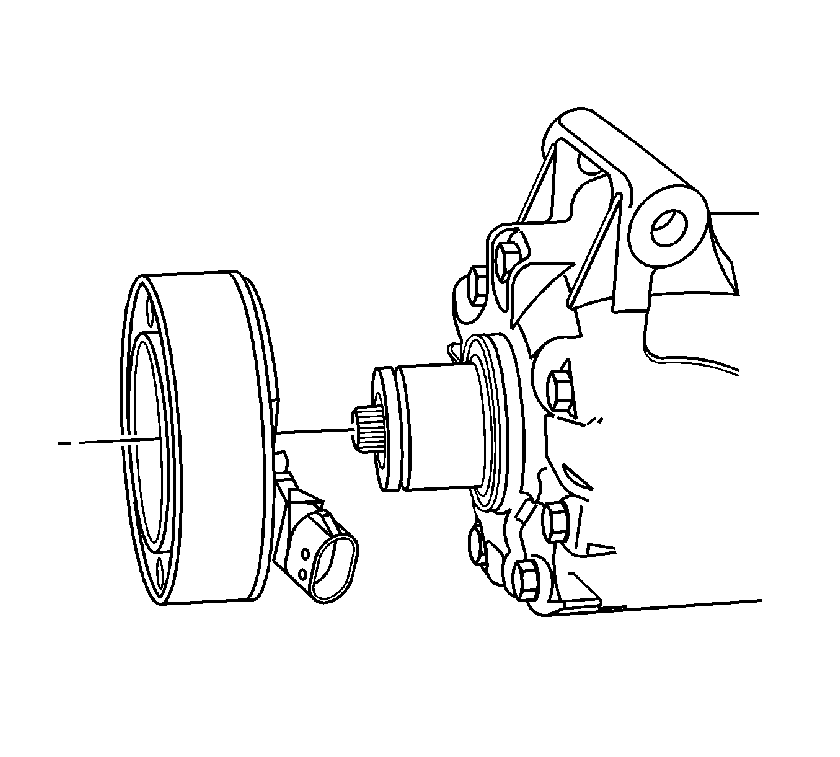
- Remove the compressor clutch coil from the compressor.
Important: Discharge of the A/C system is not required.
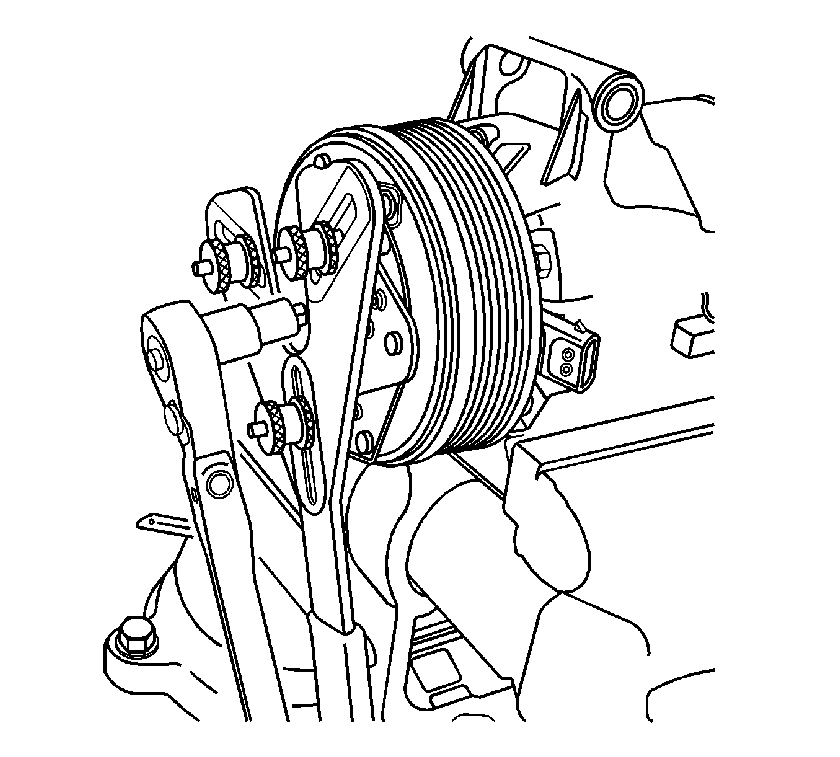
Important: Remove the 3 adjustable dowels from the J 37872 .
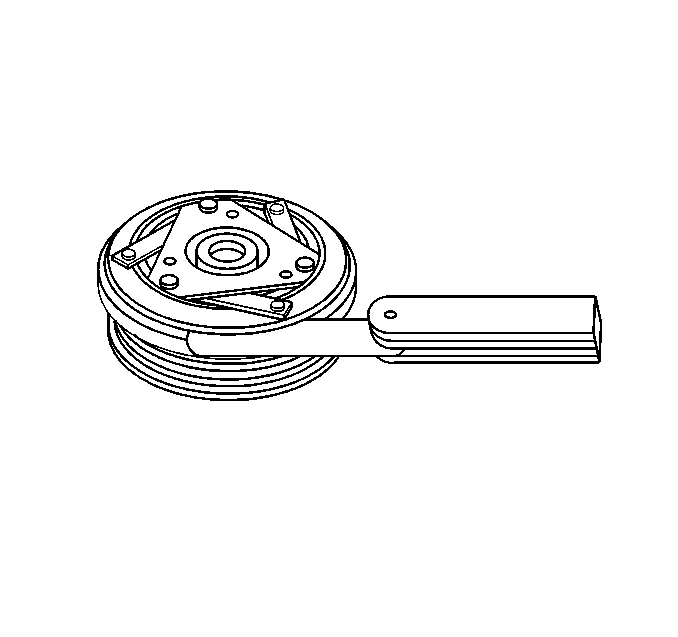
Install three 5/16 x 1 inch bolts in place of the dowels.Use the J 37872 to hold the compressor clutch plate from turning.
Installation Procedure
- Carefully clean the clutch plate bolt threads with a M6x1.0 tap. Carefully blow out debris with compressed air.
- Install the compressor clutch coil to the compressor.
- Install the compressor clutch coil snap ring using the J 6083 .
- Install the compressor pulley to the compressor.
- Install the compressor pulley snap ring using the J 6083 .
- Place a small amount of oil on the 0.4 mm (0.016 in) air gap shim and place inside the clutch drive plate.
- Install the compressor clutch plate to the compressor.
- Measure the air gap between the pulley and the drive plate. Adjust the shims to achieve a 0.3-0.6 mm (0.012-0.024 in) air gap.
- Install the clutch drive plate bolt.
- Tighten the compressor clutch drive plate bolt.
- Install the compressor to the engine.
- Install the compressor mounting bolts.
- Install the engine drive belt. Refer to Drive Belt Replacement .
- Install the right radiator air deflector.
- Install the right radiator air deflector retainers.
- Install the right front fender liner. Refer to Front Fender Liner Replacement .
- Lower the vehicle.


Important: Make certain that the drive plate does not drag against the pulley when the pulley is rotated.

Important: Make certain that the new drive plate bolt has colored adhesive on at least 5 threads.
Notice: Refer to Fastener Notice in the Preface section.
Use the J 37872 to hold the compressor clutch plate from turning.
Tighten
Tighten the bolt to 12 N·m (106 lb in).
Tighten
Tighten the bolt to 50 N·m (37 lb ft).
Important: Radiator air deflectors must be properly installed or reduced A/C and engine cooling system performance could occur.

