For 1990-2009 cars only
Compressor Pressure Relief Valve Replacement L61
Special Tools
J 39400-A Halogen Leak Detector
Removal Procedure
- Recover the refrigerant. Refer to Refrigerant Recovery and Recharging .
- Disconnect the battery negative cable. Refer to Battery Negative Cable Disconnection and Connection .
- Raise the vehicle. Refer to Lifting and Jacking the Vehicle .
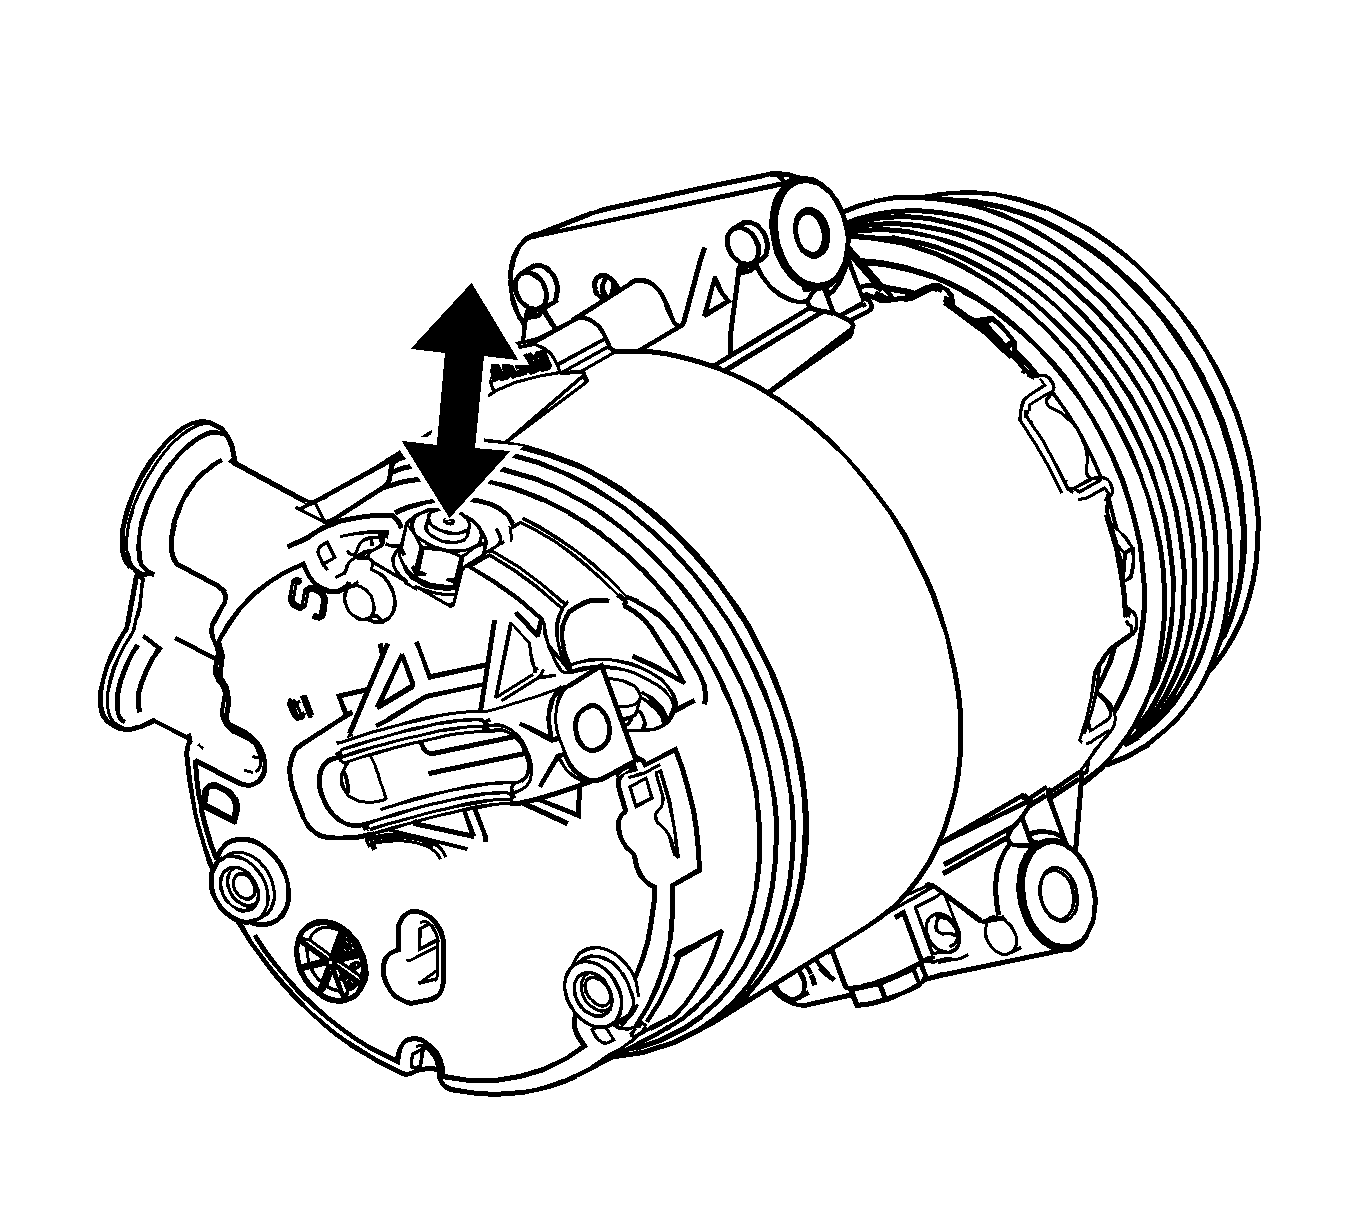
- Remove the compressor pressure relief valve.

Installation Procedure
- Install the compressor pressure relief valve.
- Lower the vehicle.
- Connect the battery negative cable.
- Evacuate and charge the refrigerant system. Refer to Refrigerant Recovery and Recharging .
- Leak test the fittings using the J 39400-A .
Notice: Refer to Fastener Notice in the Preface section.

Tighten
Tighten to 8 N·m (70 lb in).
Compressor Pressure Relief Valve Replacement LZ4
Special Tools
J 39400-A Halogen Leak Detector
Removal Procedure
- Recover the refrigerant. Refer to Refrigerant Recovery and Recharging .
- Remove the air conditioning compressor. Refer to Air Conditioning Compressor Replacement .
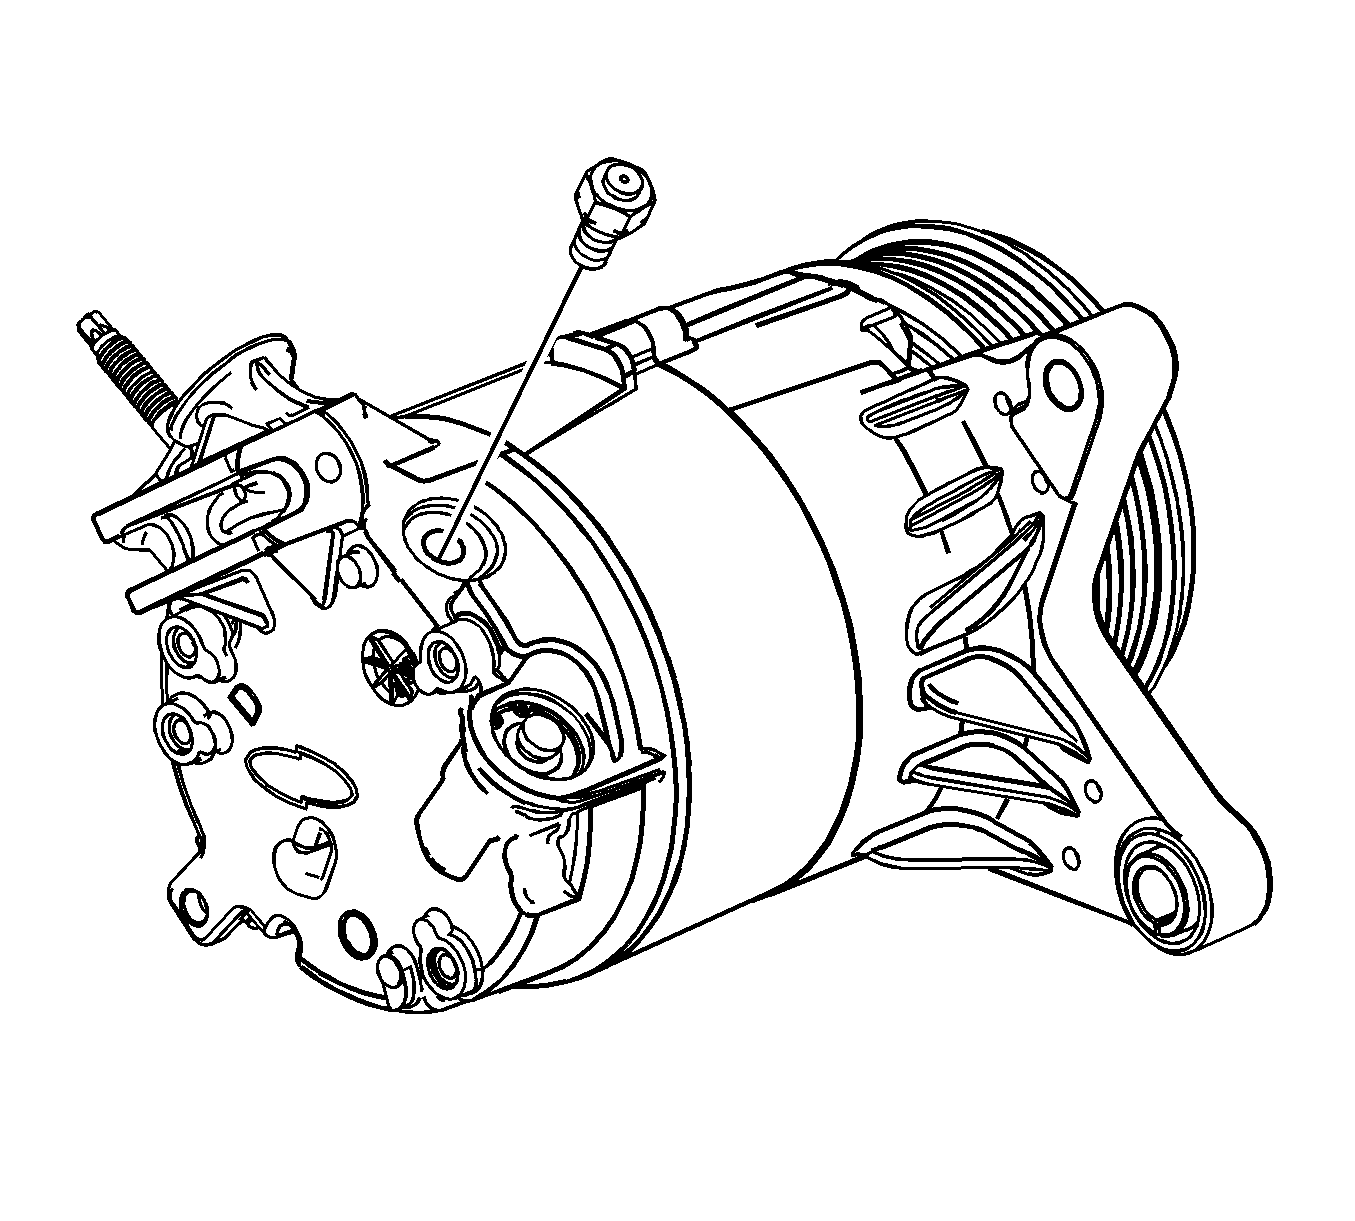
- Remove the high pressure relief valve.
Important: Cap or tape the open A/C components immediately to prevent system contamination.

Installation Procedure
- Remove the cap or tape from the A/C compressor.
- Install the high pressure relief valve.
- Install the air conditioning compressor. Refer to Air Conditioning Compressor Replacement .
- Evacuate and recharge the refrigerant system. Refer to Refrigerant Recovery and Recharging .
- Leak test the fittings of the component using J 39400-A .
Notice: Refer to Fastener Notice in the Preface section.

Tighten
Tighten the valve to 8 N·m (70 lb in).
