For 1990-2009 cars only
Removal Procedure
- Remove the instrument panel (I/P) assembly. Refer to Instrument Panel Assembly Replacement .
- Remove the recirculation actuator wire harness connector.
- Remove the air temperature actuator wire harness connector.
- Remove the mode actuator wire harness connector.
- Remove the blower motor wire harness connector.
- Remove the blower motor resistor wire harness connector.
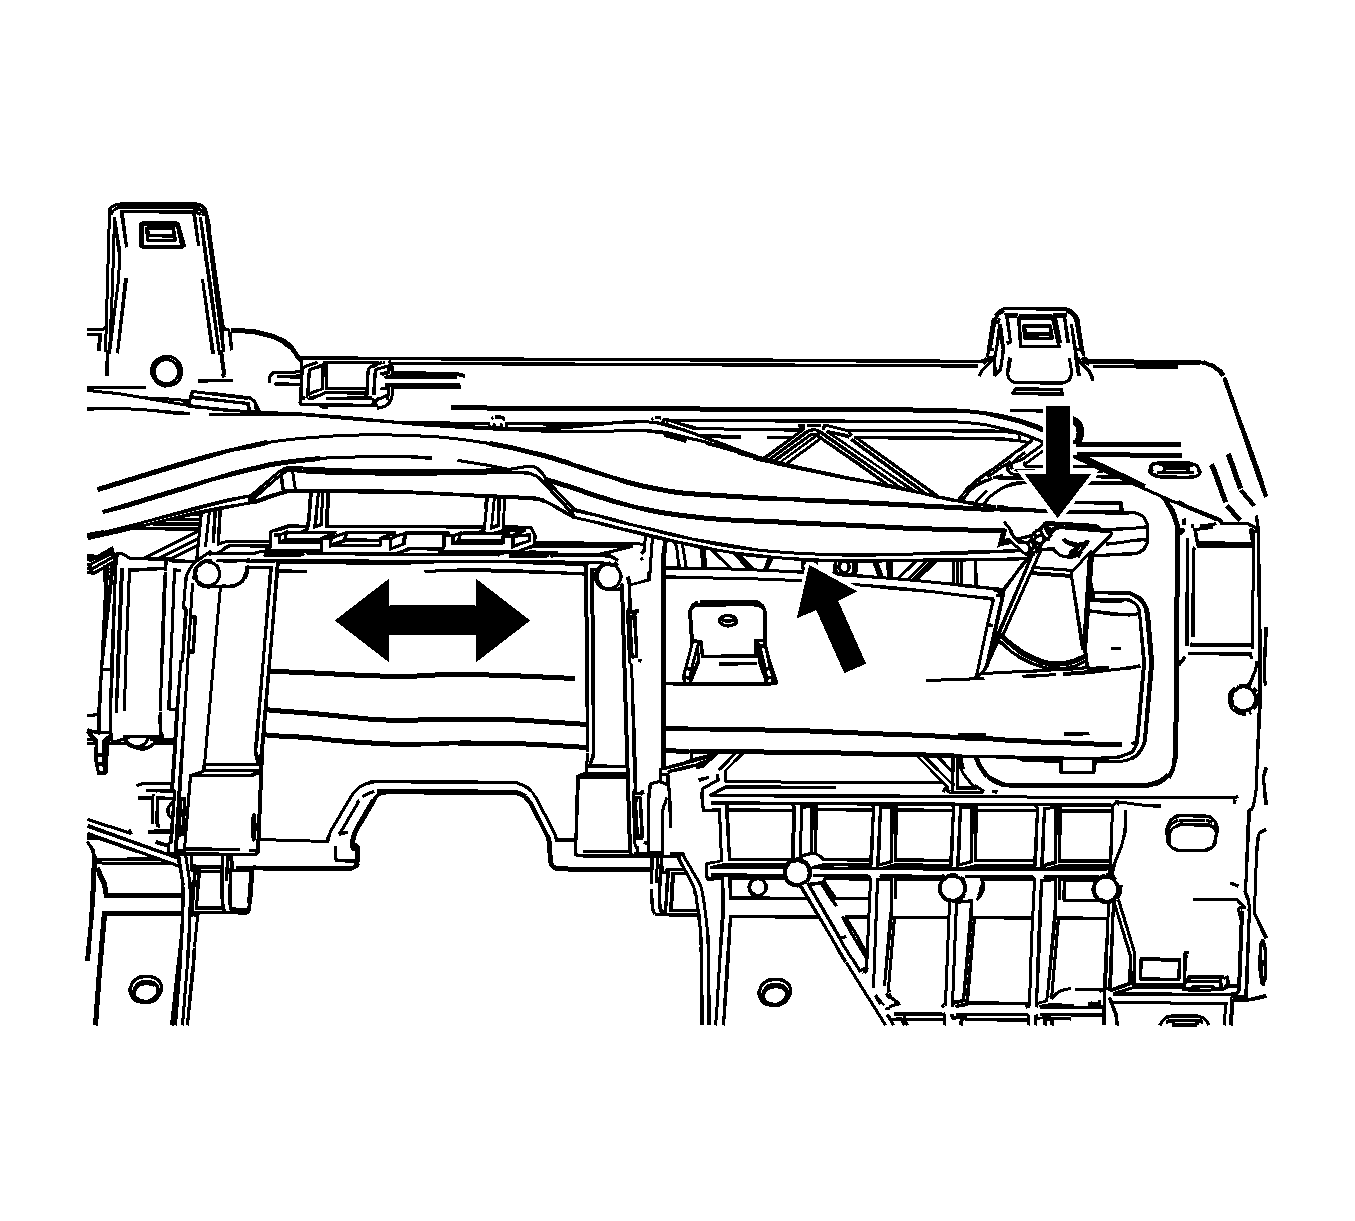
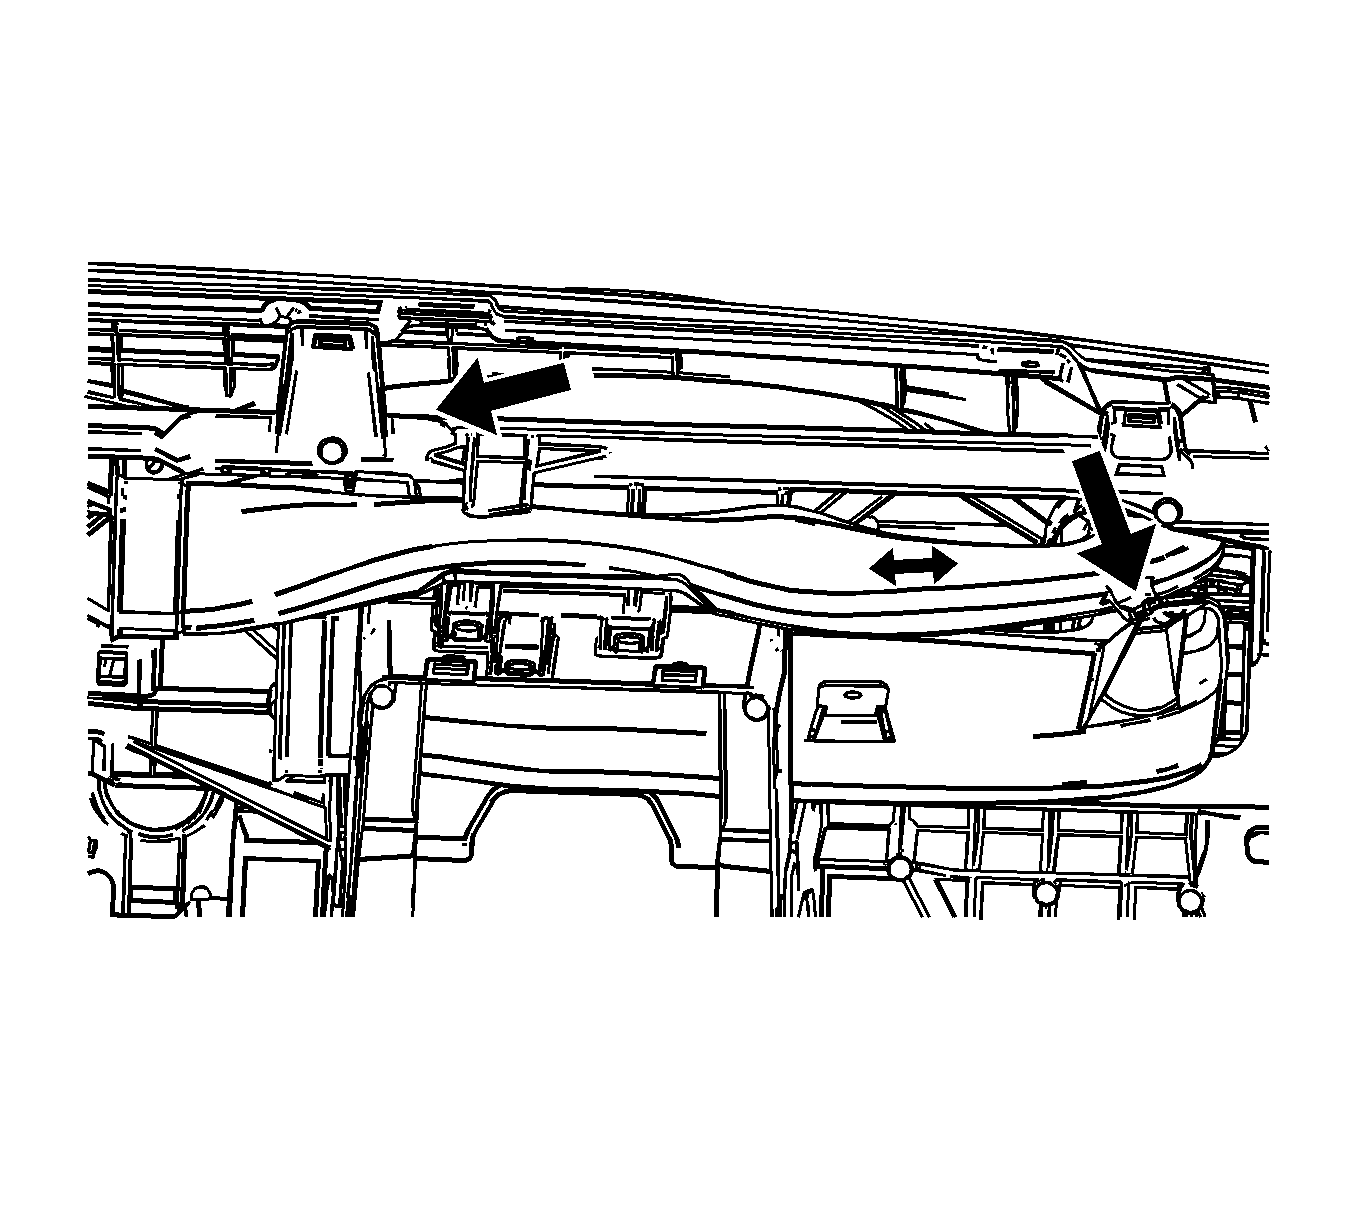
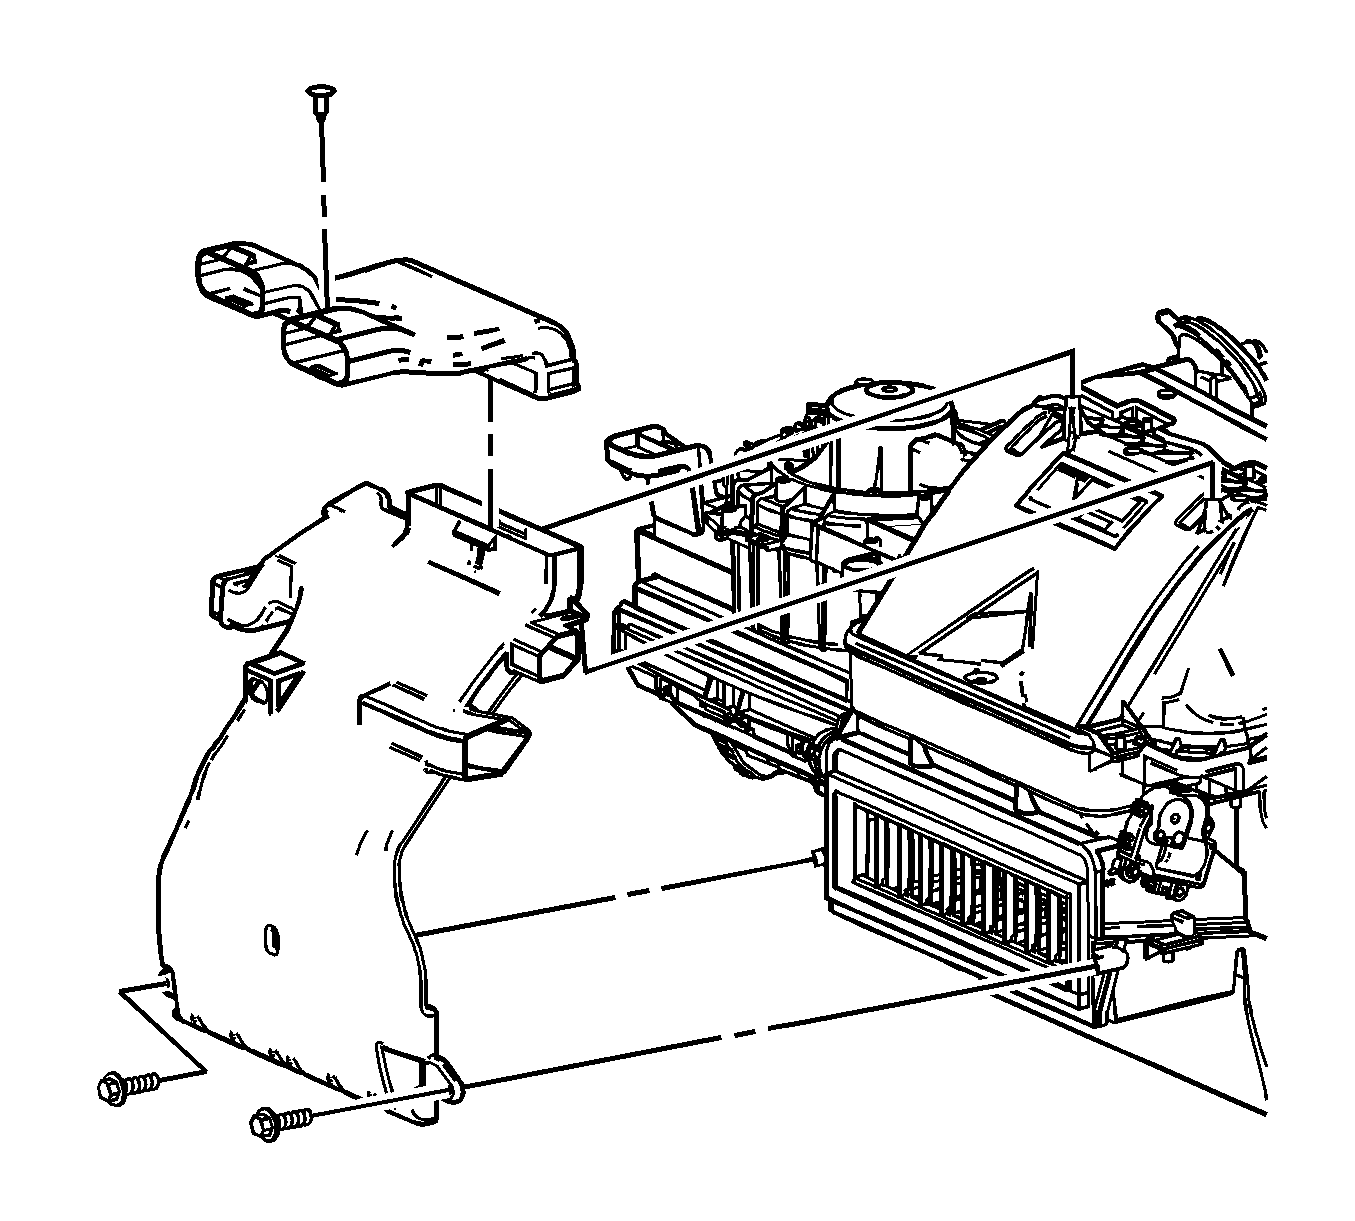
- Remove the left hand side window defogger outlet duct.
- Remove the lower floor duct push-in fastener.
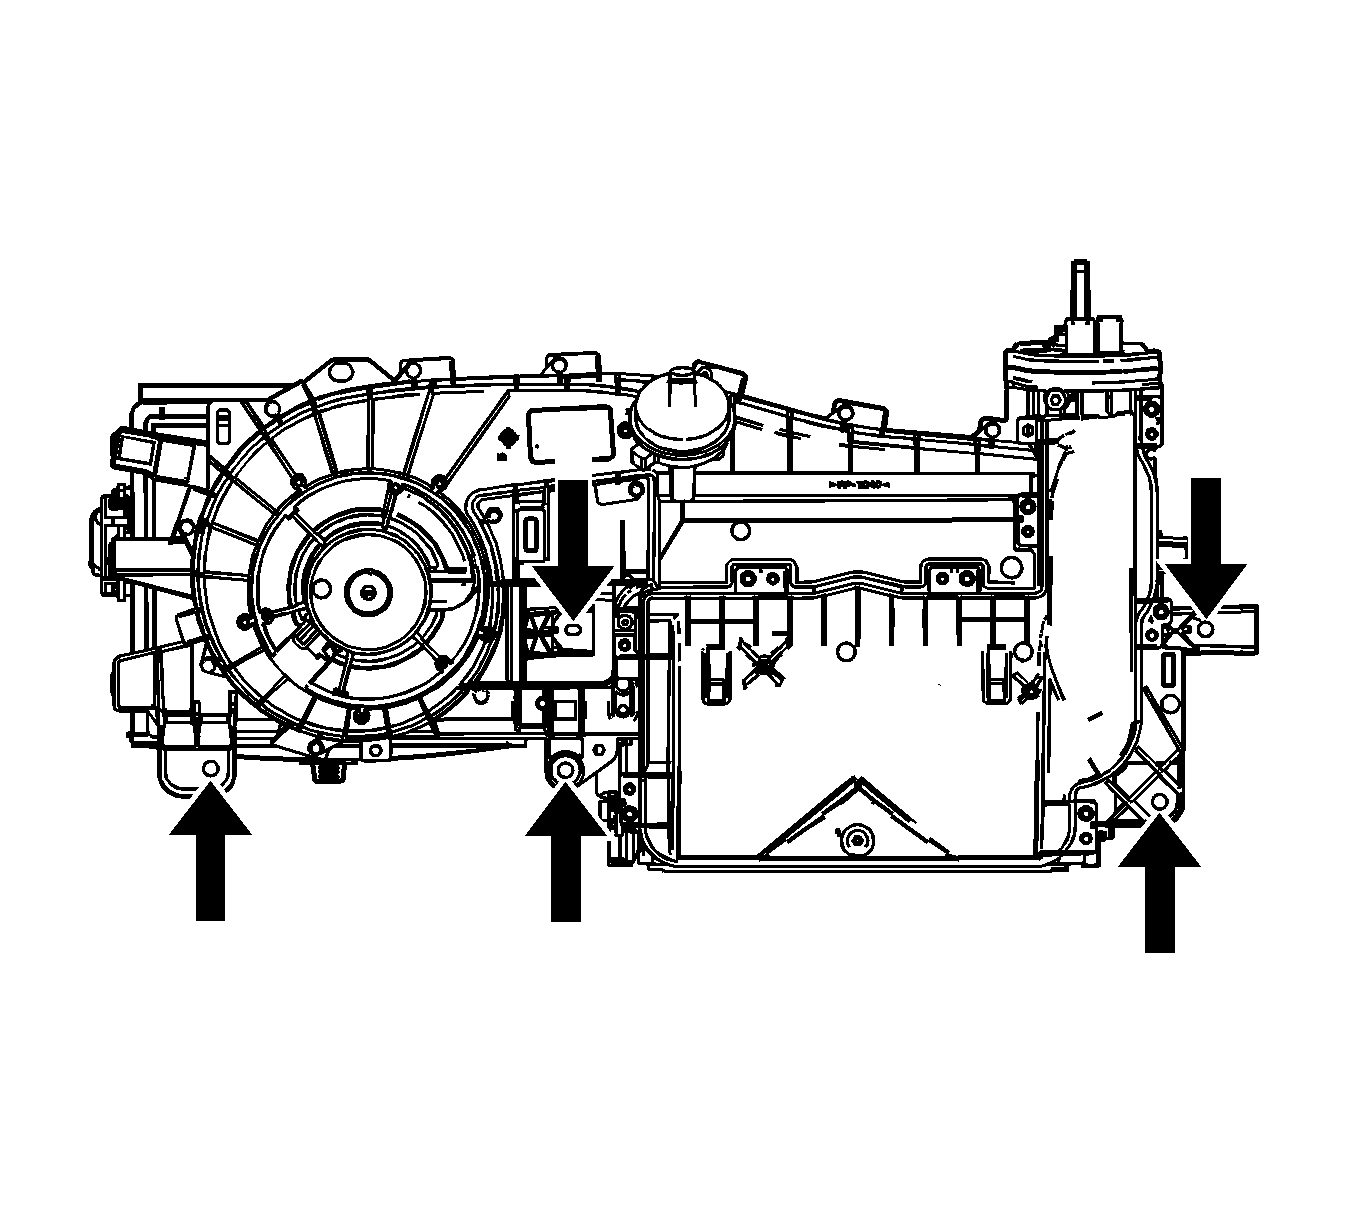
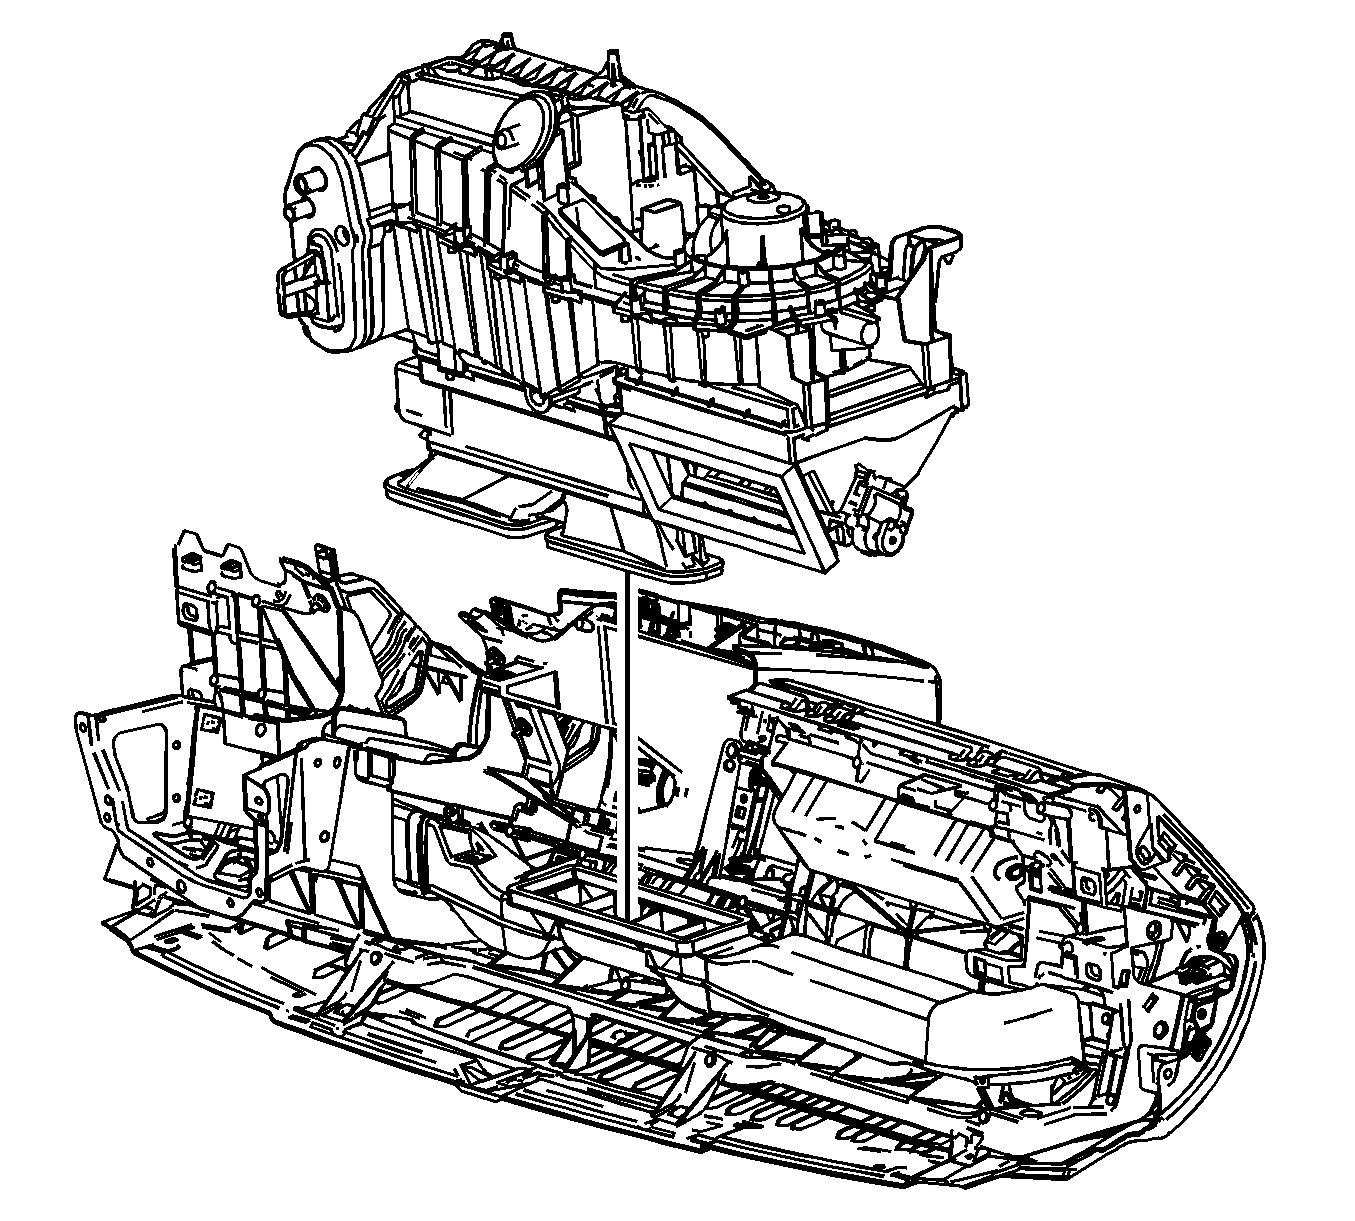
- Remove the HVAC module assembly mounting bolts.
- Remove the HVAC module assembly.
Installation Procedure
- Install the HVAC module assembly.
- Install the HVAC module assembly mounting bolts.
- Install the lower floor duct push-in fastener.
- Install the left hand side window defogger outlet duct.
- Install the blower motor resistor wire harness connector.
- Install the blower motor wire harness connector.
- Install the mode actuator wire harness connector.
- Install the air temperature actuator wire harness connector.
- Install the recirculation actuator wire harness connector.
- Install the I/P assembly. Refer to Instrument Panel Assembly Replacement .

Notice: Refer to Fastener Notice in the Preface section.

Tighten
Tighten the bolts to 5 N·m (44 lb in).

