Crankshaft Front Cover Oil Seal Replacement for Chevrolet Metro 1999
Removal Procedure
- Disconnect the negative battery cable.
- Remove the crankshaft pulley. Refer to Crankshaft Pulley Replacement in Engine Mechanical.
- Remove the timing belt. Refer to Timing Belt Replacement in Engine Mechanical.
- Pry out the front oil seal of the crankshaft with a screwdriver.
Caution: Unless directed otherwise, the ignition and start switch must be in the OFF or LOCK position, and all electrical loads must be OFF before servicing any electrical component. Disconnect the negative battery cable to prevent an electrical spark should a tool or equipment come in contact with an exposed electrical terminal. Failure to follow these precautions may result in personal injury and/or damage to the vehicle or its components.
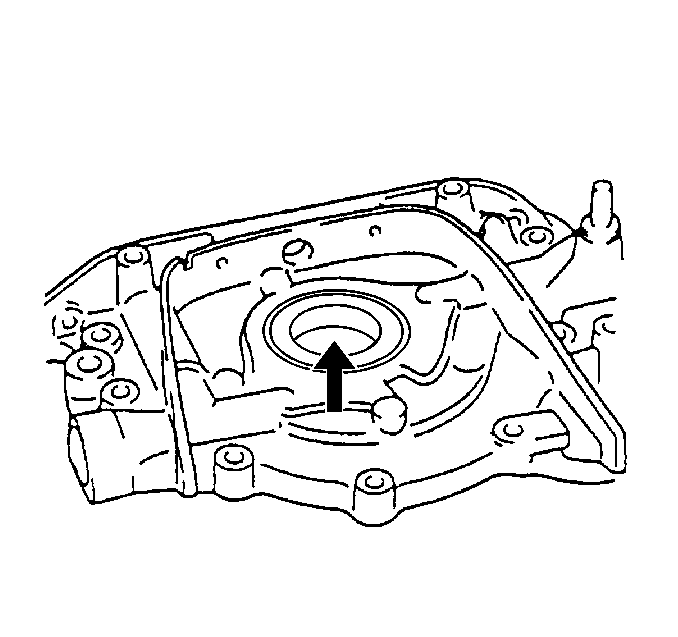
Important: In order to protect the crankshaft from damage, wrap the tip of the screwdriver with tape.
Installation Procedure
Tool Required
J 37747 Crankshaft Front Seal Installer

- Lubricate the new front oil seal on the crankshaft with Chassis Grease GM P/N 1051344 or with an equivalent.
- Using a hammer and J 37747 , lightly tap the crankshaft front oil seal into place.
- Install the timing belt. Refer to Timing Belt Replacement in Engine Mechanical.
- Install the crankshaft pulley. Refer to Crankshaft Pulley Replacement in Engine Mechanical.
- Connect the negative battery cable.
- Start the engine.
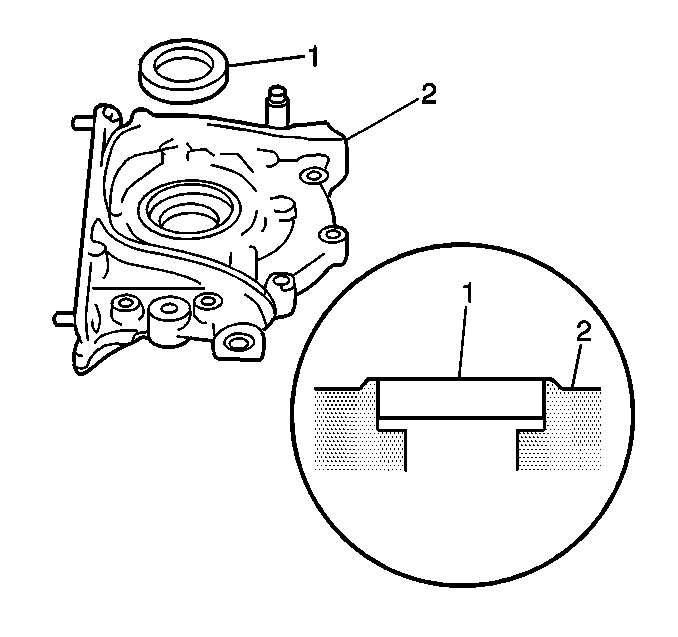
Important: Tap the oil seal in until the surface is flush with the oil seal retainer edge on the fron of the crankshaft.
Tighten
Tighten the nut 15 N·m (11 lb ft).
