For 1990-2009 cars only
Oil Pan Cleaning and Inspection for Chevrolet Monte Carlo 1996
- Remove the low oil level indicator screw.
- Remove the low oil indicator.
- Clean the oil pan flanges.
- Clean the oil pan rail.
- Clean the front cover.
- Clean the rear main bearing cap.
- Clean the threaded holes.
- Clean the oil pan in solvent. Remove all sludge and varnish from the oil pan.
- Clean the gasket surfaces on the oil pan.
- Inspect the gasket flanges for bending or damage.
- Inspect the oil pan for cracks or dents.
- Inspect the oil pan side bolts. Ensure that the rubber gasket on the inside of the bolt head is not damaged.
- Install the low oil level indicator.
- Install the low oil level indicator screw.
- Install the oil pan drain plug. Install the oil pan drain plug washer.
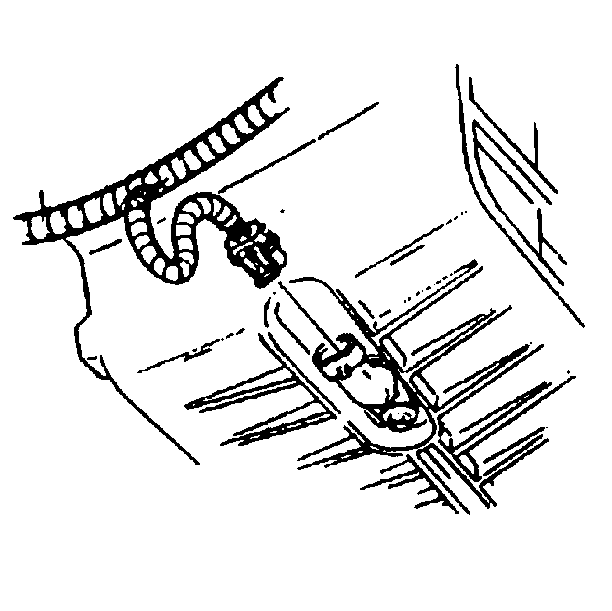
Tighten
Tighten the indicator bolt to 10 N·m (89 lb in).
Notice: Use the correct fastener in the correct location. Replacement fasteners must be the correct part number for that application. Fasteners requiring replacement or fasteners requiring the use of thread locking compound or sealant are identified in the service procedure. Do not use paints, lubricants, or corrosion inhibitors on fasteners or fastener joint surfaces unless specified. These coatings affect fastener torque and joint clamping force and may damage the fastener. Use the correct tightening sequence and specifications when installing fasteners in order to avoid damage to parts and systems.
Tighten
Tighten the plug to 25 N·m (18 lb ft).
