Removal Procedure
| • | J 35668 Strut Alignment Rod |
| • | J 35669 Strut Rod Nut Socket |
| • | J 35671 Strut Cap Nut Wrench |
| • | J 38844 Strut Alignment Tool |
Caution: Do not service the strut cartridge unless the weight of the vehicle is on the suspension. The weight of the vehicle keeps the coil spring compressed, otherwise the released coil spring could cause personal injury.
- Raise the hood.
- Scribe marks in the strut cover to body in order to assure proper camber adjustment.
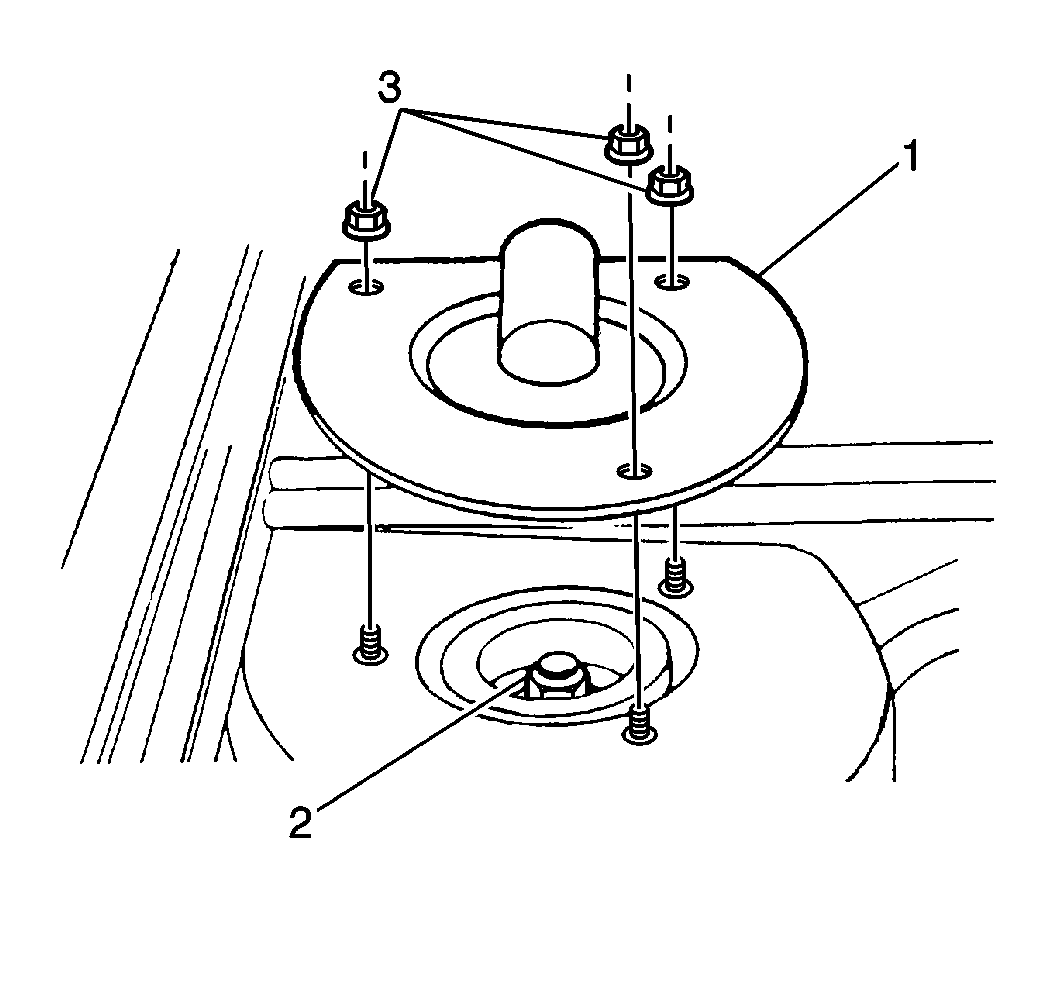
- Remove the three strut mount cover nuts (3) to remove the strut mount cover.
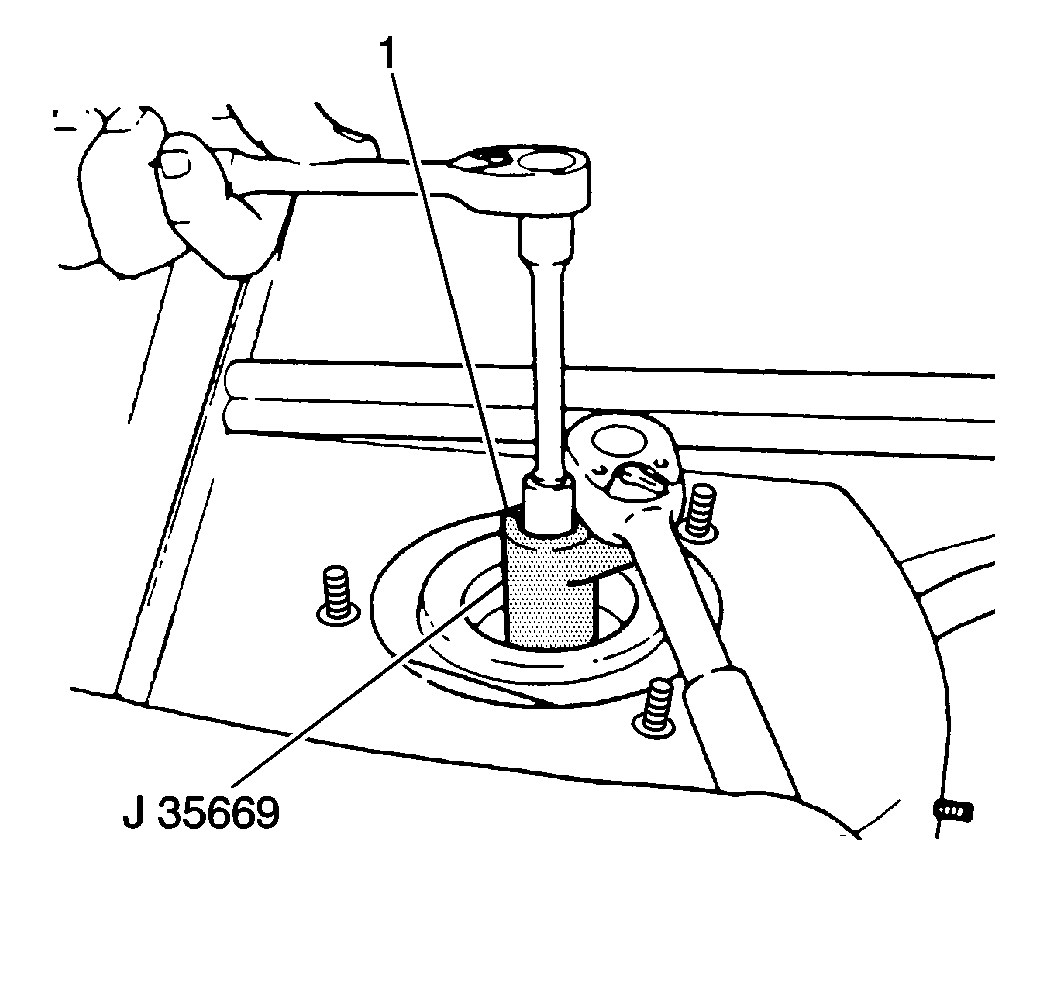
- Use the No. 50 Torx® bit (1) and the J 35669 in order to remove the strut shaft nut.
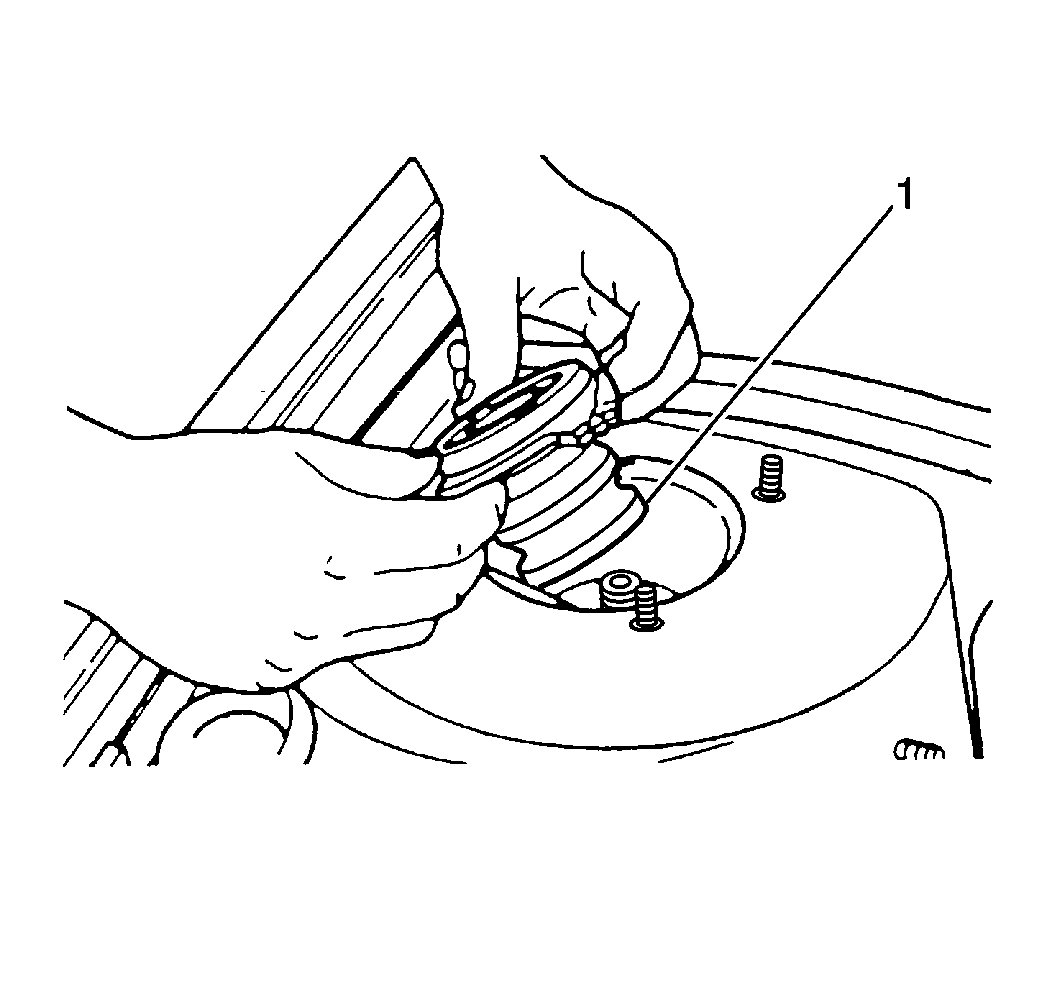
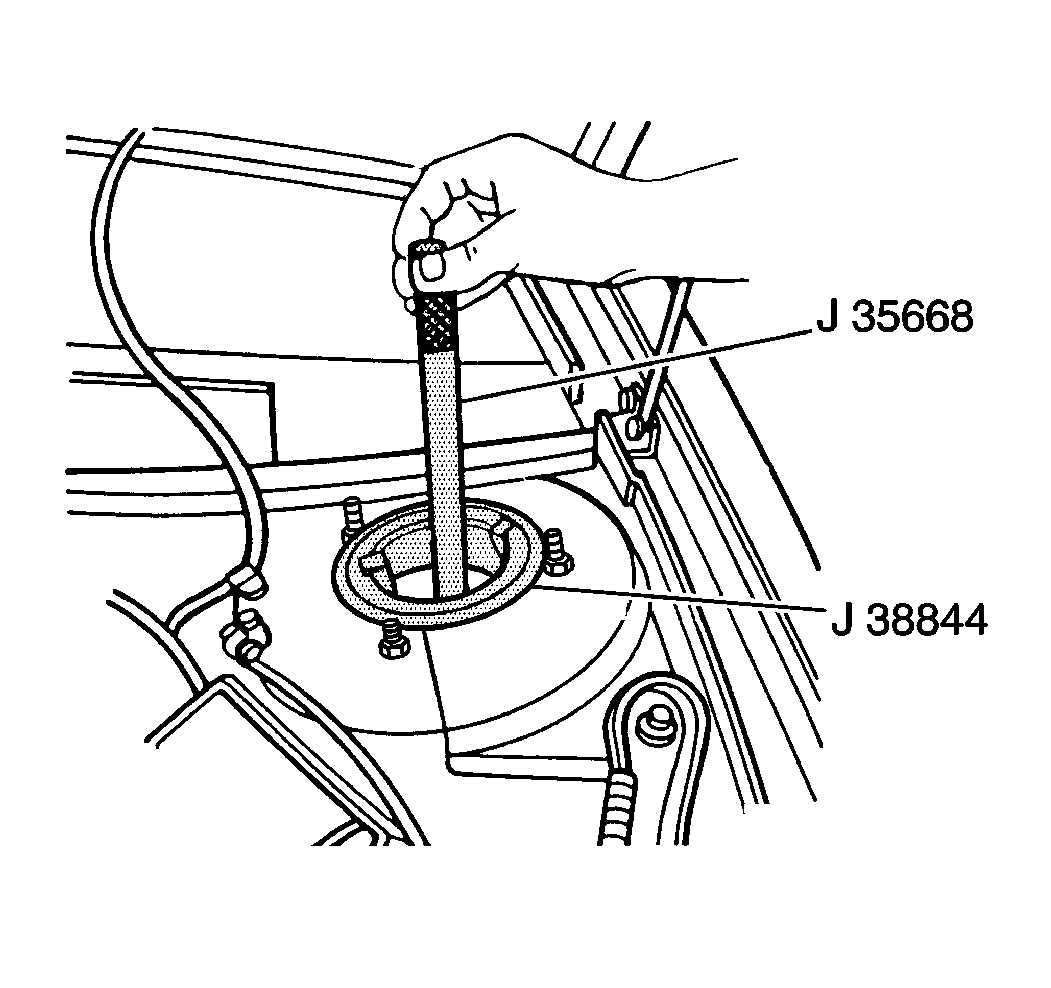
- Remove the strut mount insulator (1) by prying with a suitable tool. Use the J 35668 in order to apply pressure on the strut and relieve the side load (compression) on the bushing.
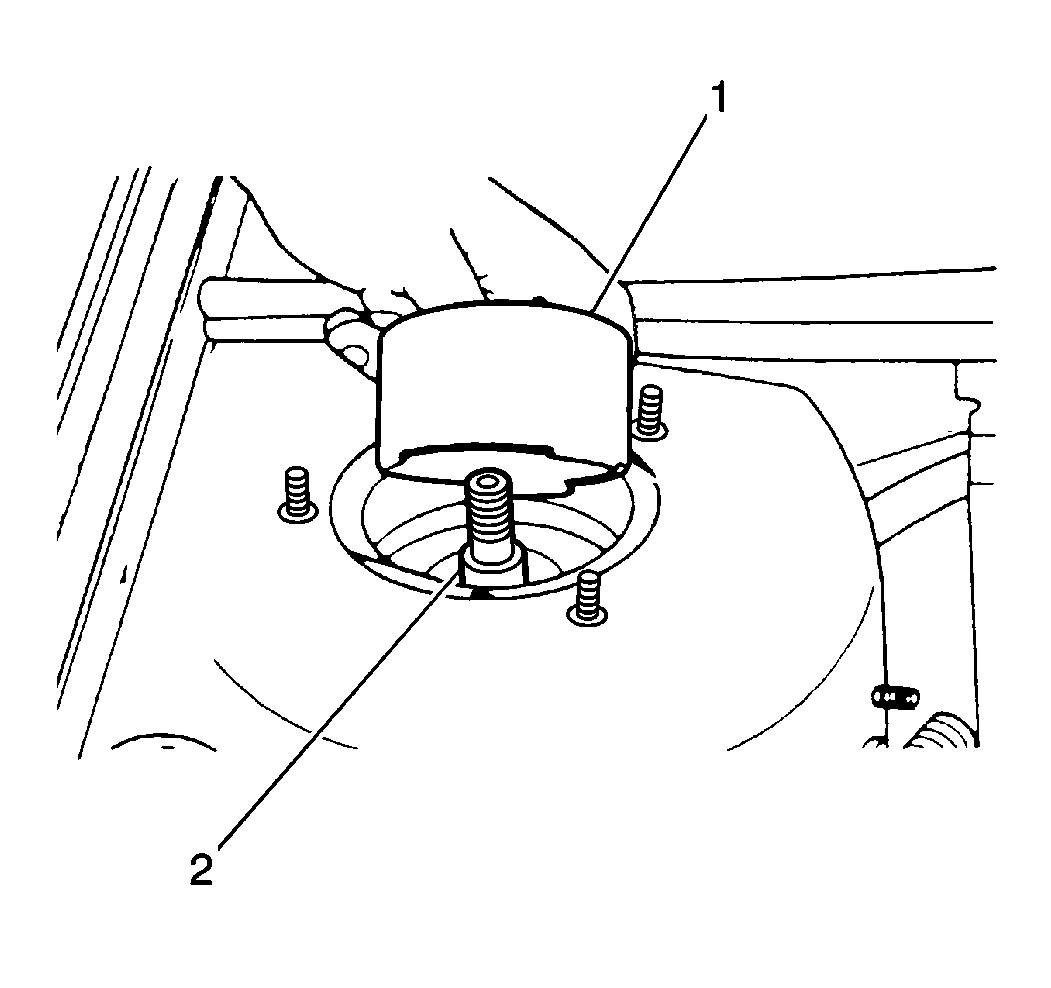
- Remove the front suspension strut bumper (1) by attaching the J 35668 to the strut and pulling out the bumper.
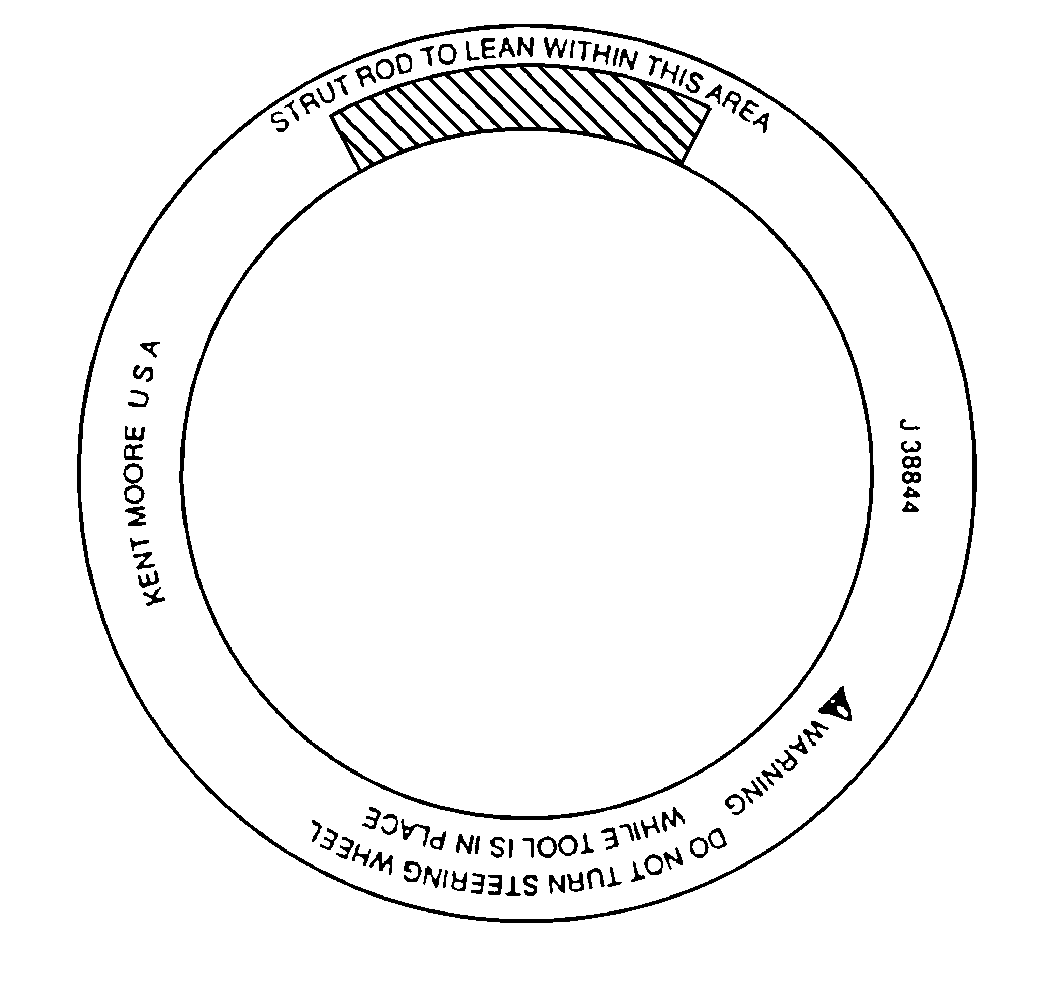
- Install the J 38844 . Use the information on the tool label in order to ensure proper installation.
- Compress the strut down into the cartridge.
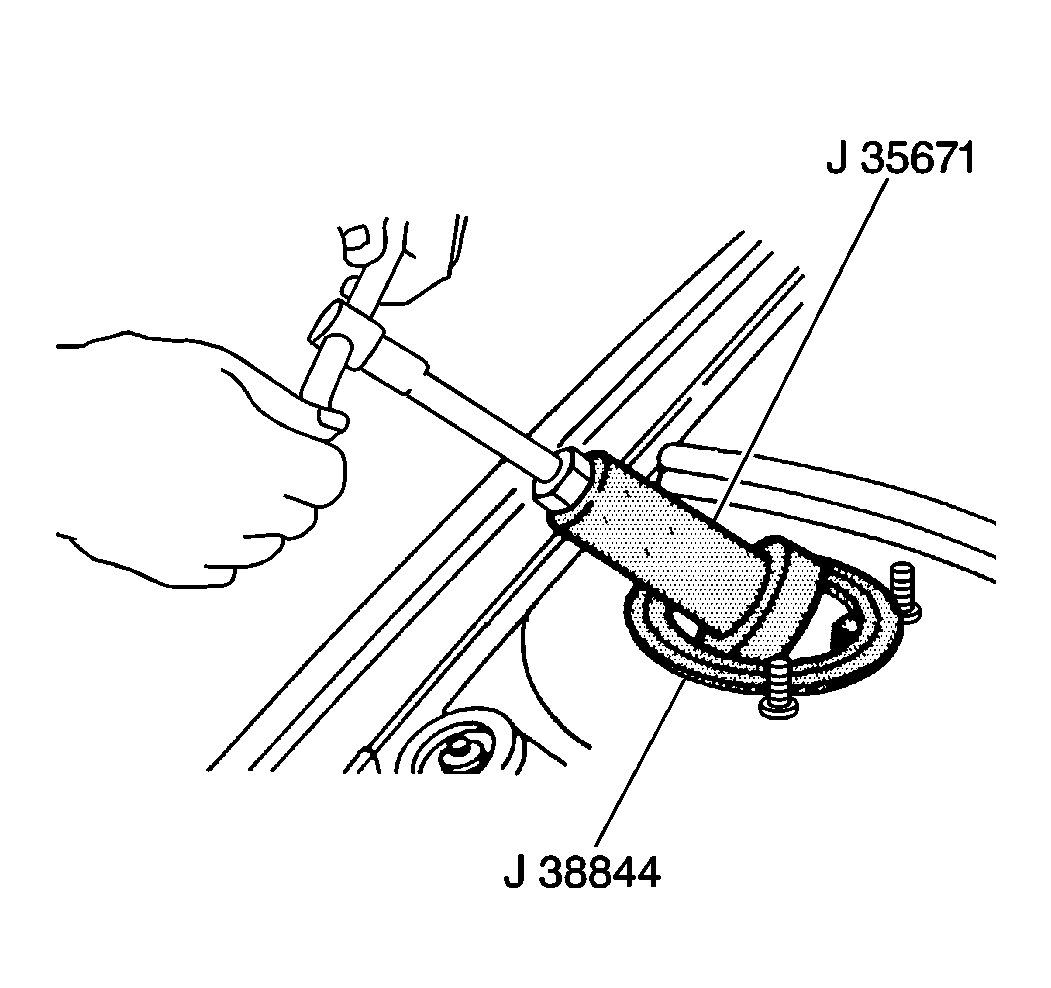
- Use the J 35671 to remove the strut cartridge closure nut by unscrewing the closure nut .
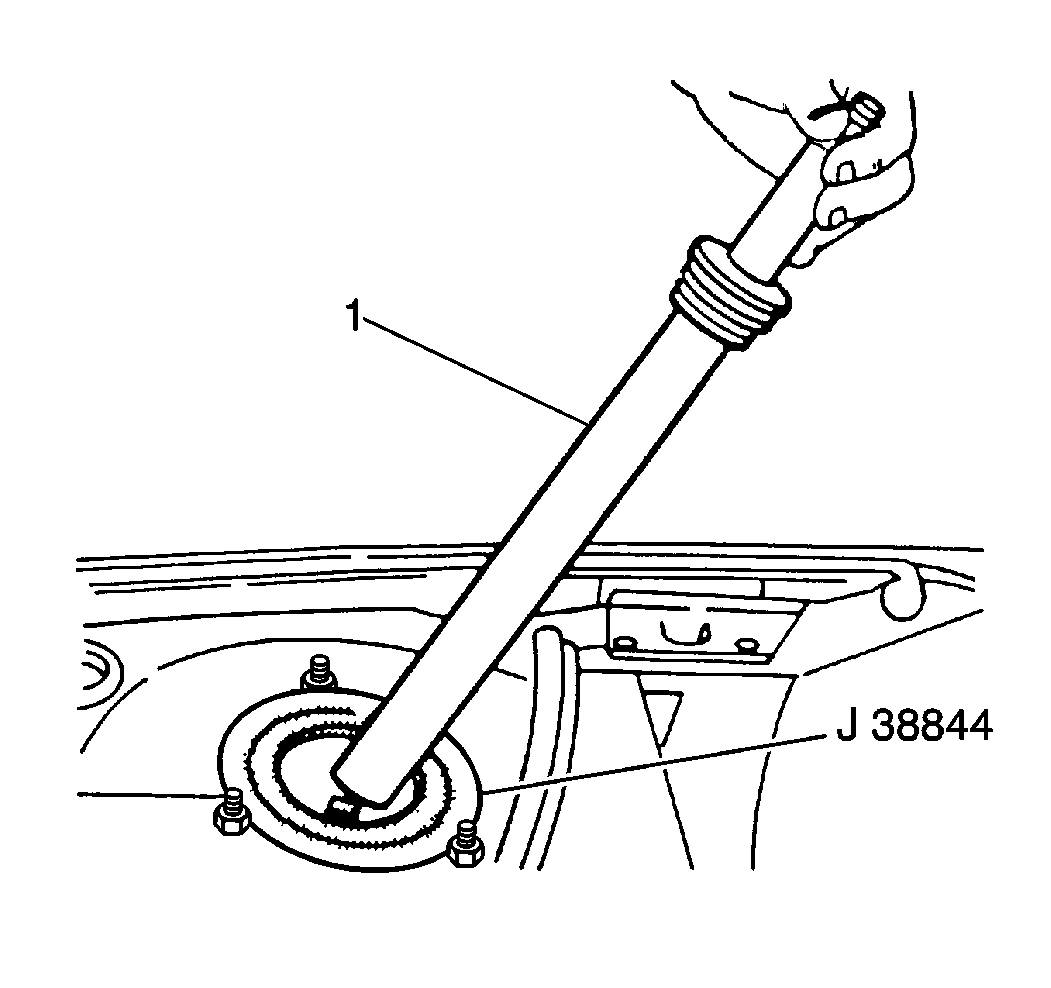
- Remove the strut cartridge (1).
- Use a suction device to remove any oil from the strut tube.
Installation Procedure
- Install the self contained replacement cartridge (1).
- Use the J 35671 to install the cartridge closure nut.
- Install the J 35668
- Remove the J 38844
- Install the front suspension strut bumper (1).
- Raise the strut.
- Remove the J 35668
- Install the strut mount insulator (1).
- Use a No. 50 Torx® bit (1) and use the J 35669 in order to install the strut shaft nut.
- Install the strut mount cover (1) and nuts (3). Align the scribe marks.
- Close the hood.


Notice: Use the correct fastener in the correct location. Replacement fasteners must be the correct part number for that application. Fasteners requiring replacement or fasteners requiring the use of thread locking compound or sealant are identified in the service procedure. Do not use paints, lubricants, or corrosion inhibitors on fasteners or fastener joint surfaces unless specified. These coatings affect fastener torque and joint clamping force and may damage the fastener. Use the correct tightening sequence and specifications when installing fasteners in order to avoid damage to parts and systems.
Tighten
Tighten the strut closure nut to 110 N·m (82 lb ft).


Important:
• Use a soap solution in order to lubricate the strut mount insulator
bushing for ease of installation. • If necessary, install the J 35668
after partially installing the bushing and position the strut
as required
in order to assist in bushing installation.

Tighten
Tighten the strut piston shaft nut to 80 N·m (59 lb ft).

Tighten
Tighten the cover plate nuts (3) to 33 N·m (24 lb ft).
