Caution: Bodily injury may occur if the cleaning solvent is inhaled or exposed
to the skin.
Important: Clean the piston ring grooves of carbon to the bare metal. Do not scrape
the piston skirt.
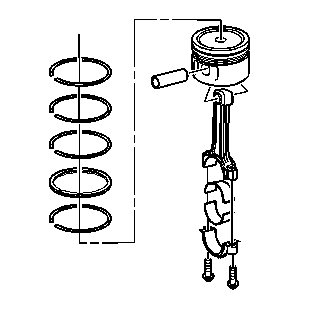
- Clean the sludge and carbon from the following components:
| • | Soak the pin in a cleaning solvent in order to remove the varnish
from the piston. |

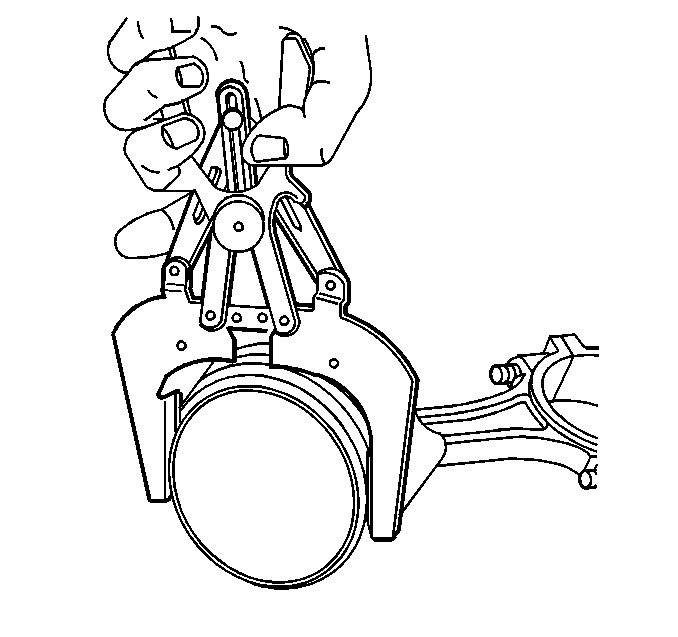
- Clean the piston ring
grooves using a suitable ring groove cleaning tool.
- Clean the oil lubrication holes and slots.

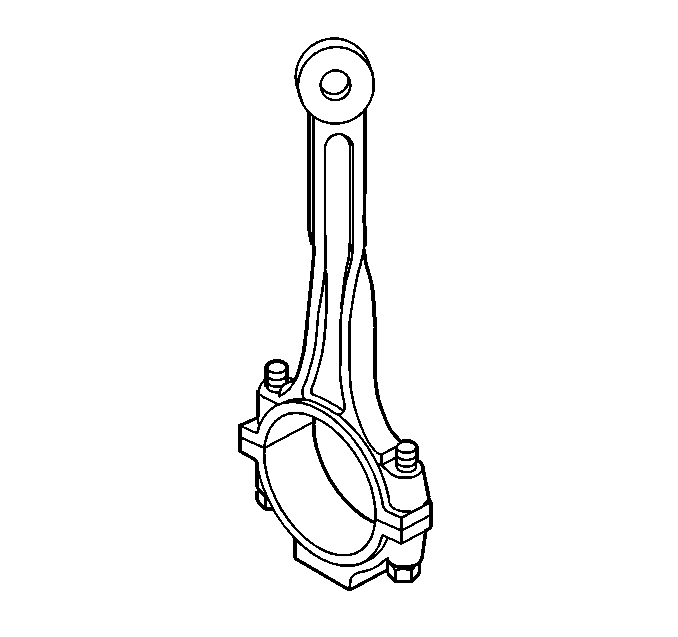
- Inspect the connecting
rod for bending or twisting.
| 4.1. | Install the connecting rod cap. |
| 4.2. | Place the connecting rod assembly on a checking fixture. Inspect
the assembly for bending or twisting. |
| 4.3. | Do not attempt to straighten the connecting rod. |
Ensure that the connecting rod meets the following conditions:
| • | The connecting rods are not bent more than 0.18 mm (0.007 in). |
| • | The connecting rods are not twisted more than 0.038 mm
(0.0015 in). |
| 4.4. | Replace any bent or twisted connecting rods. |
| 4.5. | Inspect the new connecting rods before using the new rods. |

- Inspect the connecting
rod bearings for craters or pockets.
Flattened sections on the connecting rod bearing halves may indicate
fatigue.

- Inspect the connecting
rod bearings for excessive scoring or discoloration.
- Inspect the connecting rod bearings for dirt or debris imbedded
into the connecting rod bearing halves.

- Inspect the connecting
rod bearings for improper seating indicated by bright, polished sections
of the bearings.
- Inspect the inside of the connecting rod bearing and the outside
diameter of the connecting rod bearing journal for wear. This indicates
high spots.

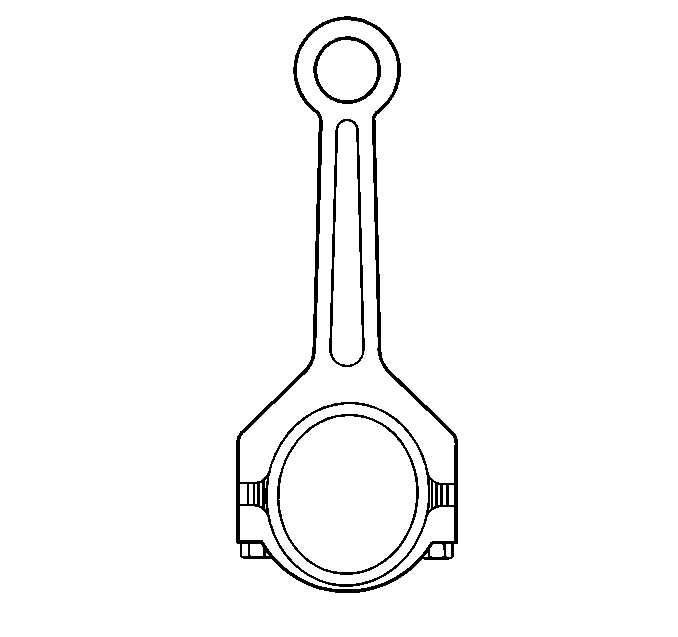
- Inspect the connecting rod bearing bore for taper and out-of-round.
- Inspect the connecting rod piston pin bore for taper and out-of-round.
- Inspect the connecting rod bores for nicks or gouges.

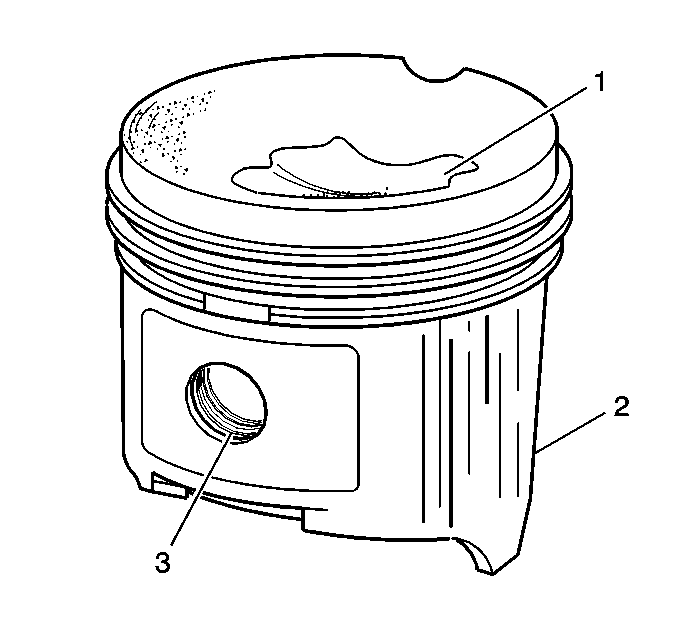
- Inspect the piston for
the following conditions:
| • | Damage to the top of the piston (1) |
| • | Scoring of the skirt (2) |
| • | Scoring of the piston pin bore (3) |
| • | Broken ring groove lands |
- Inspect the piston pin for scoring or galling caused by improper
installation.

Important: Take the measurements of the components with the components at normal
room temperature.
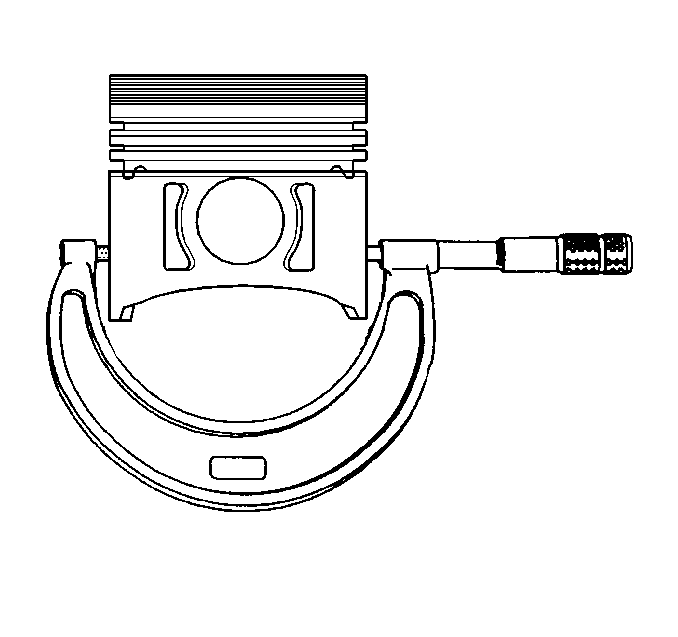
- Measure the piston diameter. When measuring the piston for size or taper,
ensure that the measurement is made as shown when the piston pin is removed.
If the piston is worn or damaged, replace the piston using a standard
or oversize piston.

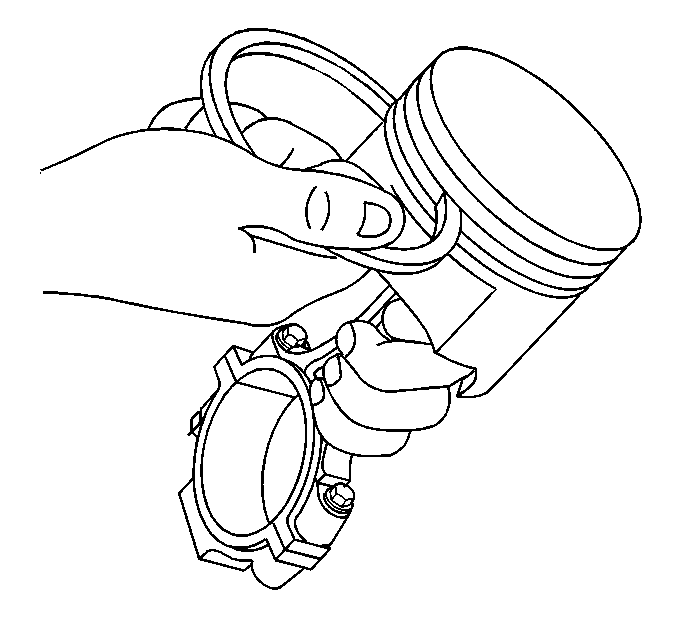
- Inspect the piston ring-to-piston
ring groove side clearance. Complete the following steps:
| 16.1. | Insert the edge of the piston ring into the piston ring groove. |
| 16.2. | Roll the piston ring completely around the piston. |
| 16.3. | If binding is caused by a distorted piston ring groove, you may
remove minor ring groove imperfections using a fine file. |
| 16.4. | If binding is caused by a distorted piston ring, replace the piston
ring. |

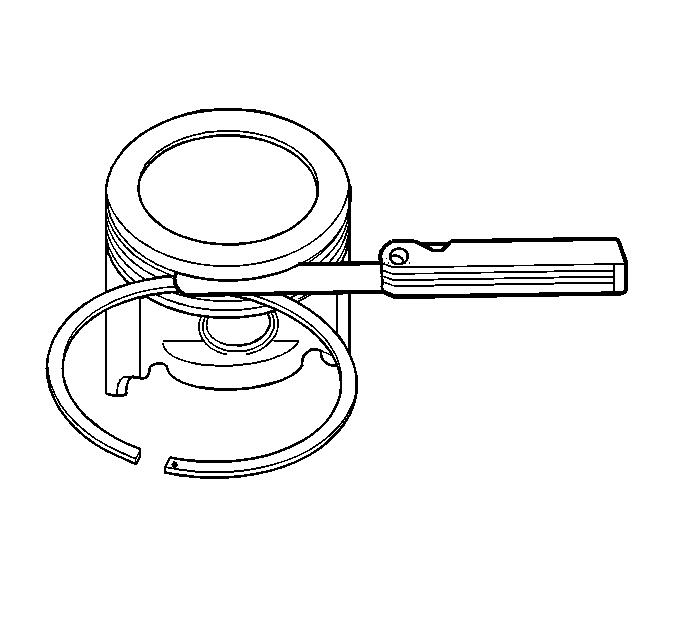
- Measure the piston ring
side clearance using a feeler gauge.
- If the side clearance is too small, try another piston ring set.
- If a proper piston ring-to-piston ring groove clearance cannot
be achieved, replace the piston.

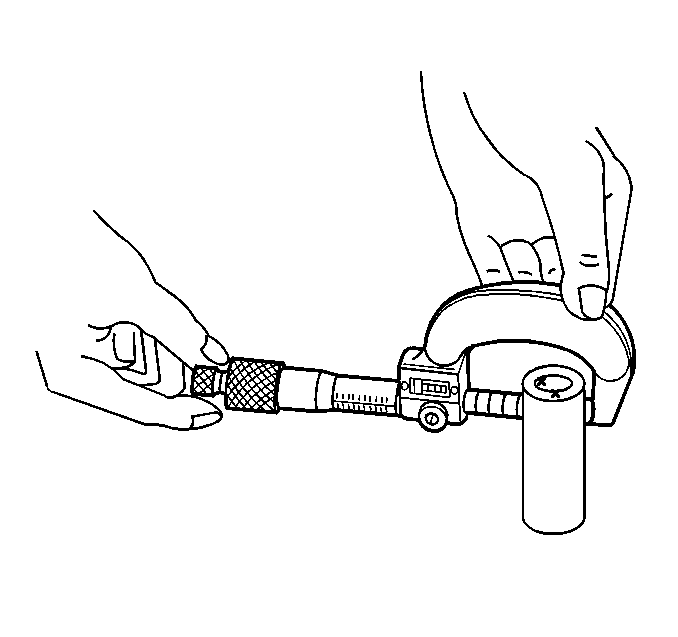
- Measure the piston pin
diameter using an outside micrometer.

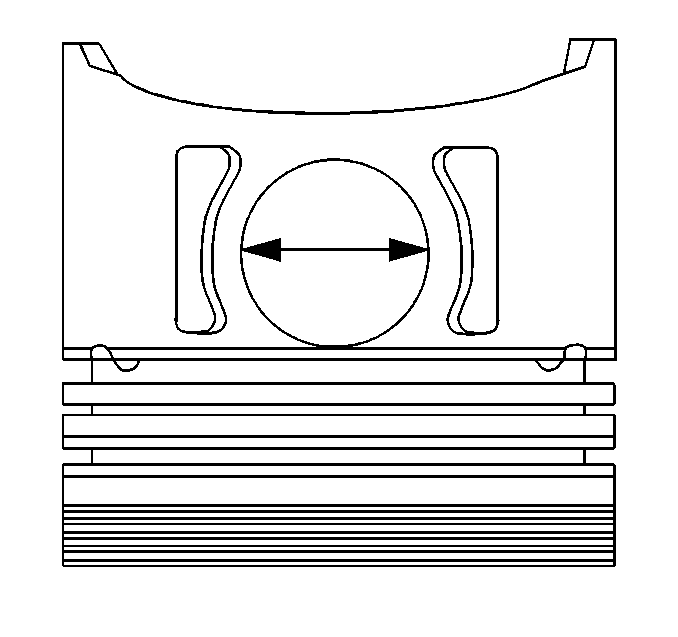
- Measure the piston pin
bore using an inside micrometer.
- Subtract the piston pin diameter from the piston pin bore diameter
in order to determine the piston pin-to-piston pin bore clearance.
- Replace the piston and the piston pin if the piston and the piston
pin are not within specifications.

- Place the piston into
the cylinder at the bottom of the ring travel.
Important: Measure the piston ring in the cylinder in which the piston may be used.
- Place a piston ring on top of the piston.
- Back off the piston.
- Measure the ring gap. If the gap is below specification, increase
the gap by carefully filing off excess material.
